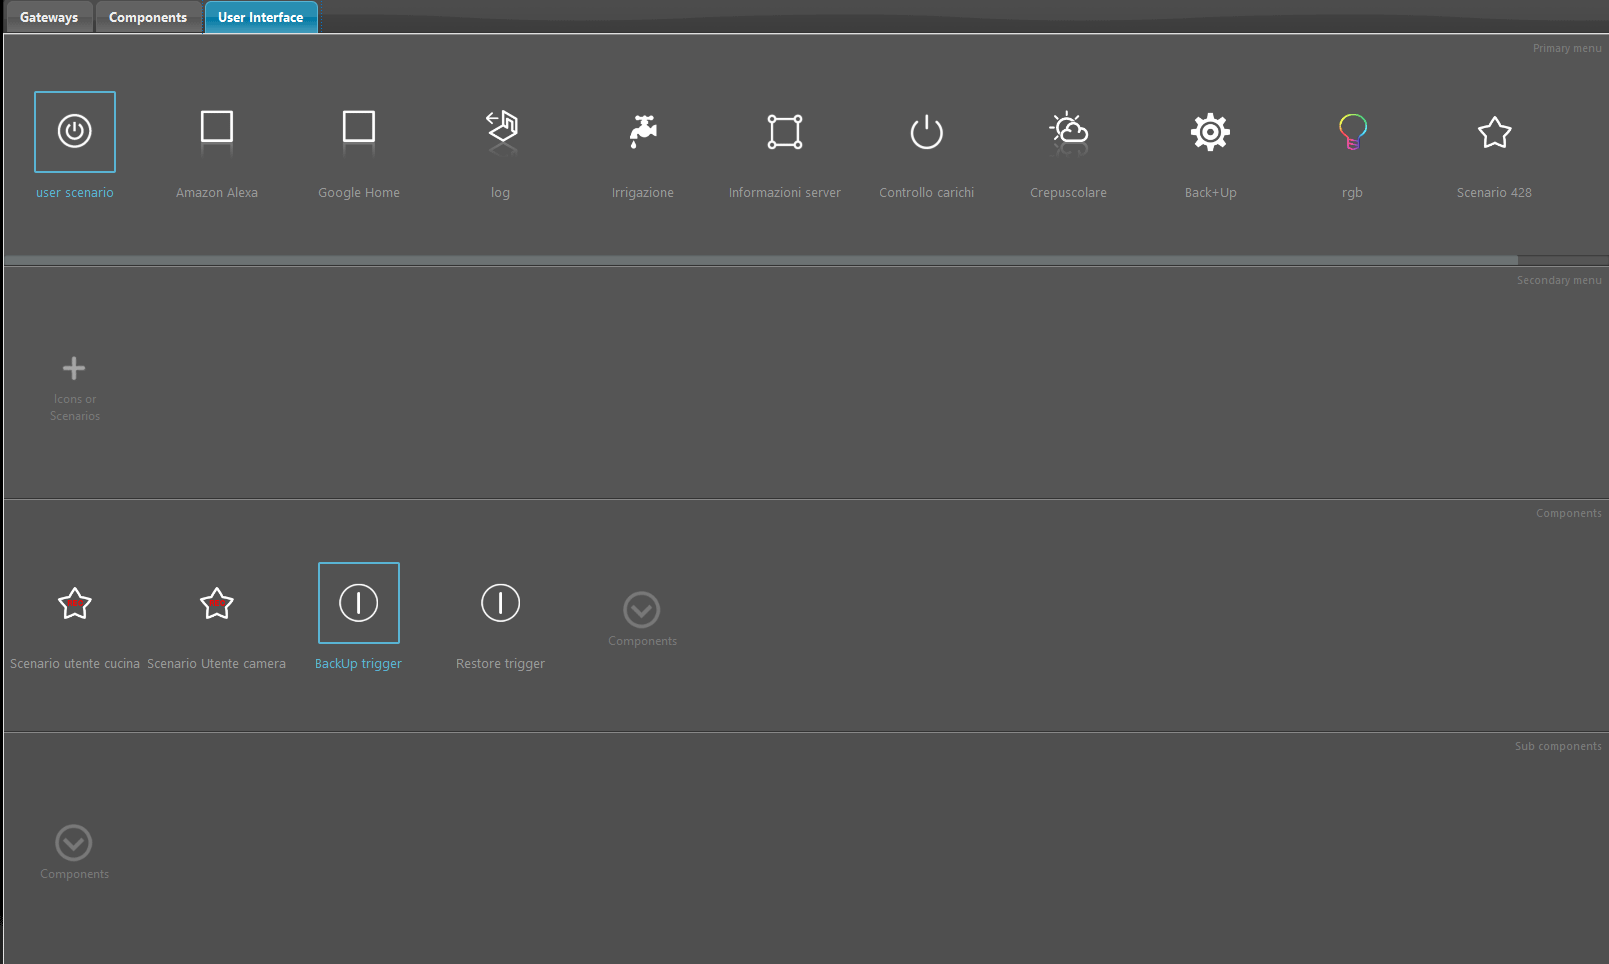
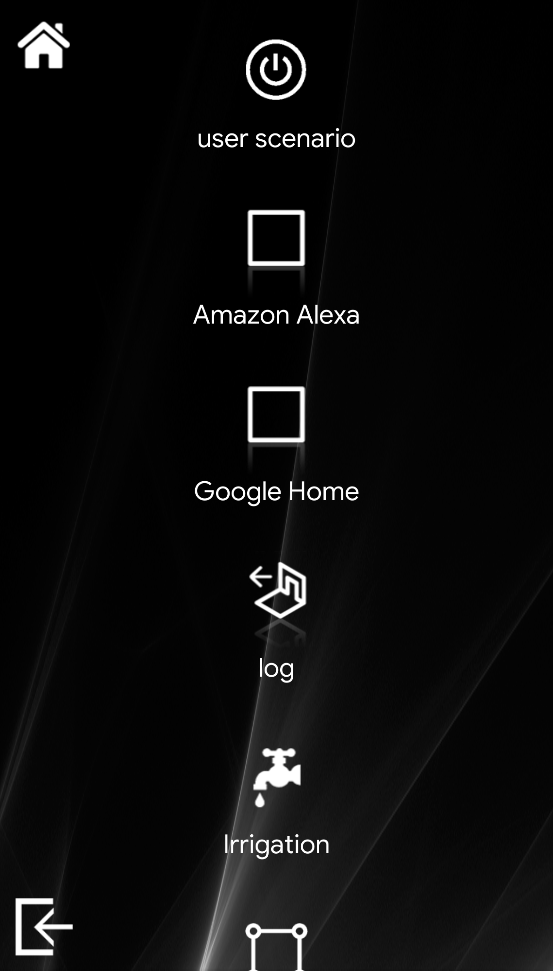
USER MANAGEMENT
USERS SETTINGS
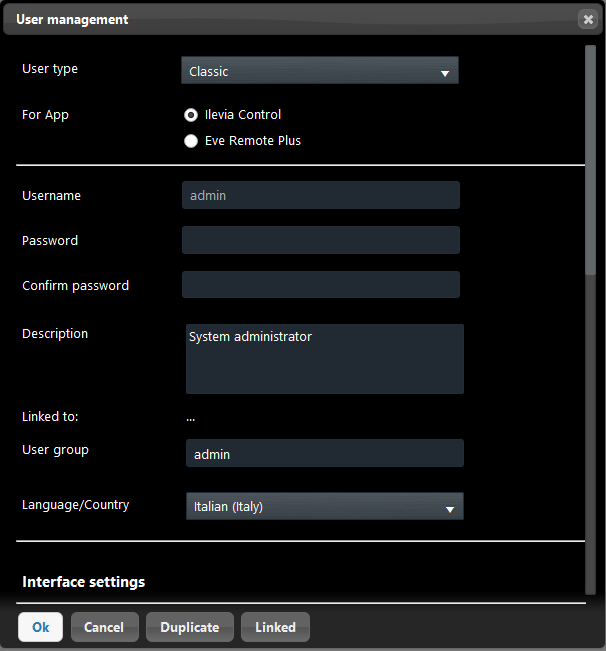
User type: Set the User interface type for the current user. You can choose between Classic or Map style.
For App: Here select which app will be used for this specific user, this selection will affect the execution of some components, such as: Charts, Irrigation, Load control.
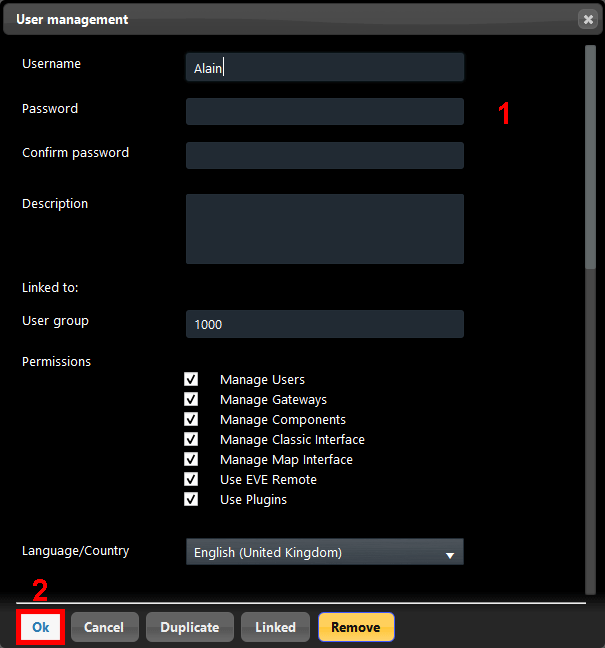
Name: this name stands for the user ID;
New password: when editing, you need to enter the new password;
Confirm password: when editing, you need to confirm the new password;
Description:here you specify info about the user entering a brief description;
User group: This text field allows you to decide a keyword that can be set within the User interface items. The keyword is specific to the user. For further information regarding the User group setting configuration we suggest to consult this guide.
Permissions: check out the dedicated project’s permissions page.
Language/Country: choose the user’s country to manage currency and data;
INTERFACE SETTINGS
Here Follows the User Interfaces primary customization based on the Interface style.
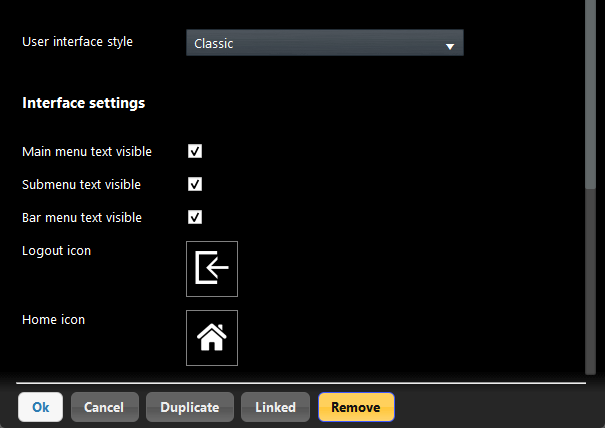
Classic User Interface
Main Menu text visible: This checkbox let you decide if the text of the primary menus will be displayed or not inside the App.
Submenu text visible: This checkbox let you decide if the text in the submenus items will be displayed or not inside the App.
Bar menu text visible: This checkbox let you decide if the text of the bar menu will be visible or not inside the App.
Log Out icon: This setting let you customize the log Icon with a different and customized one that will later be displayed in the User interface App EVE Remote Plus.
Home Icon: With this setting you can customize the Home icon with a different and customized one that later will be displayed in the User interface App EVE Remote Plus.
Map User Interface
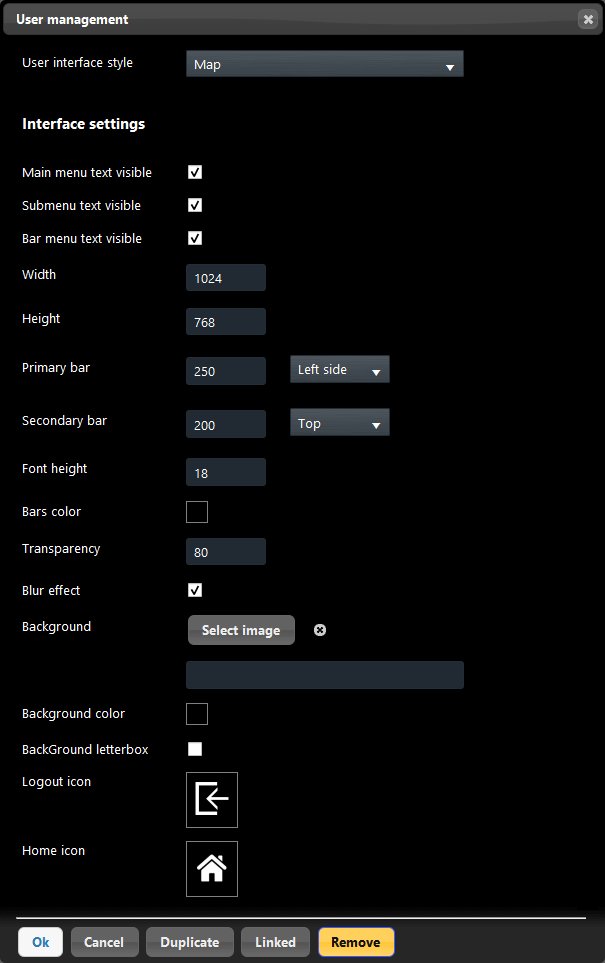
Main Menu text visible: This checkbox let you decide if the text of the primary menus will be disaplyed ot not inside the App.
Submenu text visible: This checkbox let you decide if the text in the submenus items will be displayed or not inside the App.
Bar menu text visible: This checkbox let you decide if the text of the bar menu will be visible or not inside the App.
Width: width display resolution (pixel) of device (smartphone, iPhone, iPad, tablet) that the user is going to use in order to visualize the customized interface;
Height: height display resolution (pixel) of device (smartphone, iPhone, iPad, tablet) that the user is going to use in order to visualize the customized interface;
Primary bar: Width resolution (pixel) of main menu of the user interface. Left / Right: it is possible to place main menu on left or on right side of the screen. This allows more freedom to the user and turns to be very helpful for lefties.
Secondary bar: Height resolution (pixel) of secondary menu of the user interface; Up / Bottom: it is possible to place secondary menu on the upper or lower side of the screen. This allows more freedom to the user.
Bars color: Color picker which allows you to customize the color of the main menu and the secondary menu;
Transparency: Percentage of transparency (from 0% to 100%) of the bars color (main menu and secondary menu);
Blur effect: When this check box is selected, the main menu and the secondary menu colors turns to be blurred;
Background image: Here you can choose to select a different image from the default one as background of the user interface. This image will be shown only when the Transparent checkbox is active in the User Interface Editor;
Log Out icon: This setting let you customize the log Icon with a different and customized one taht will later displayed in the User interface App EVE Remote Plus.
Home Icon: With this setting you can customize the Home icon with a different and customized one that later will be displayed in the User interface App EVE Remote Plus.
APP SETTINGS
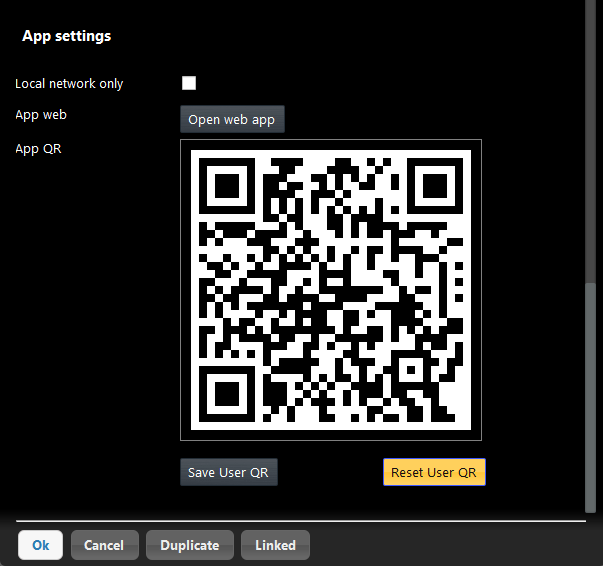
Here are listed the commands that regards the Ilevia Control app connection and access settings.
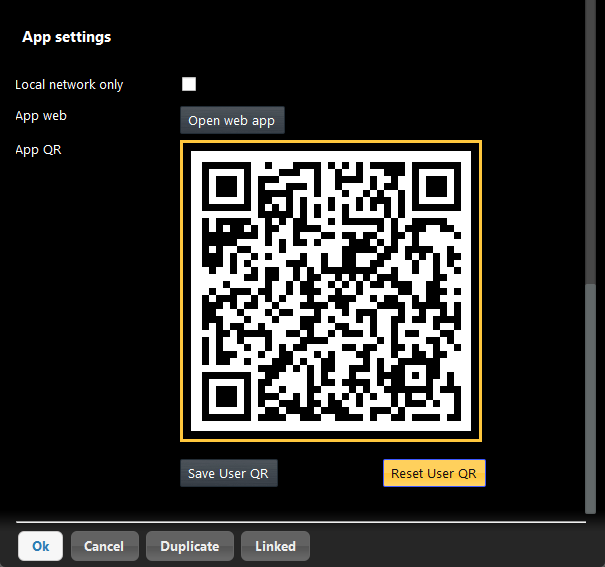
Local network only: This checkbox will make the QR code to work and only on the local network.
App web: If you click “Open web app“, this, will open a new tab within your default web browser and automatically open the Ilevia Control Web App and connect to the user interface of the selected user.
App QR: This is the QR code that you must use to connect to the user interface of the current user.
Save User QR: This button allows you to save the current User QR code within your server QR code.
Reset QR code: This button allows to reset the QR code of the current user.
Test mode
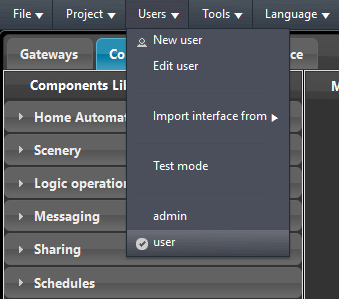
Enable Test mode from the User menu. This option allows to test the project creating temporary Qr code, this prevent the connection to the first device instead of the local one.
Test mode Disable
Test mode Enabled
Duplicate command
When do I need to duplicate a user?
User duplication turns to be very usefull when it is necessary to create several users with the identical user interface. It is also usefull in case you need to create several users and make just little changes between the interfaces or just credentials. This gives you the possibility to save time on the project setting and satisfy the customer with the best performance.
How do I duplicate an existing user?
Step 1:
In order to duplicate an existing user you need to access to the main menu bar Project –> User
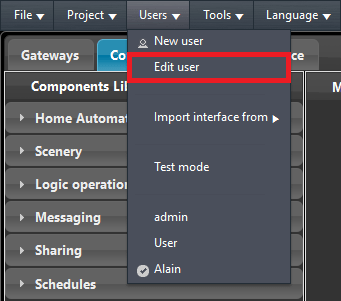
Select the user which you want to duplicate (current user) and then select “Edit” command.
Step 2:
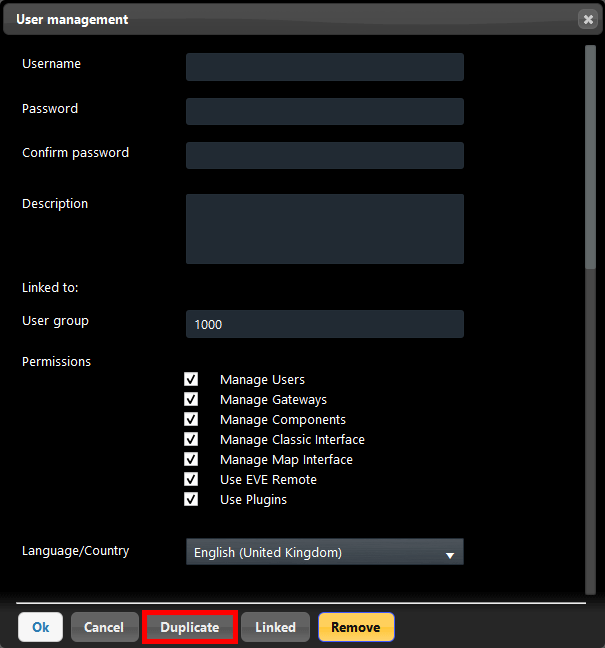
Once the “User management” panel appears, select “Duplicate” command on the bottom of the window.
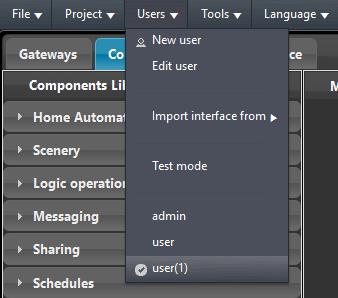
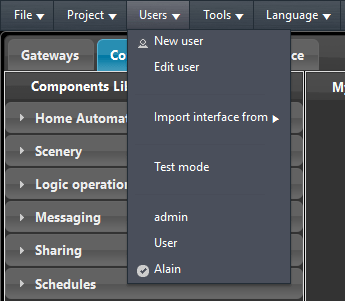
Check on the main menu bar Project –> User and you will find a new user – user (1) -.
Select the duplicated user which you want to edit and then select “Edit” command.
1.Make changes on credentials and / or interface settings, 2. then confirm the cusiomization by clicking OK.
By opening the main menu bar Project –> User you will find the duplicated user with its new name.
Admin duplication: ATTENTION!
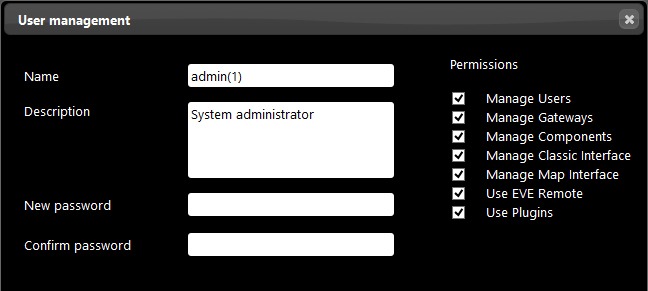
Admin duplication is possible. However you need to consider that when you duplicate the admin user, the duplicated user will inherit the same credentials and permissions. This is the reason why it is very important to immediately edit the duplicated user – admin(1) – and make the proper changes.
Linked command
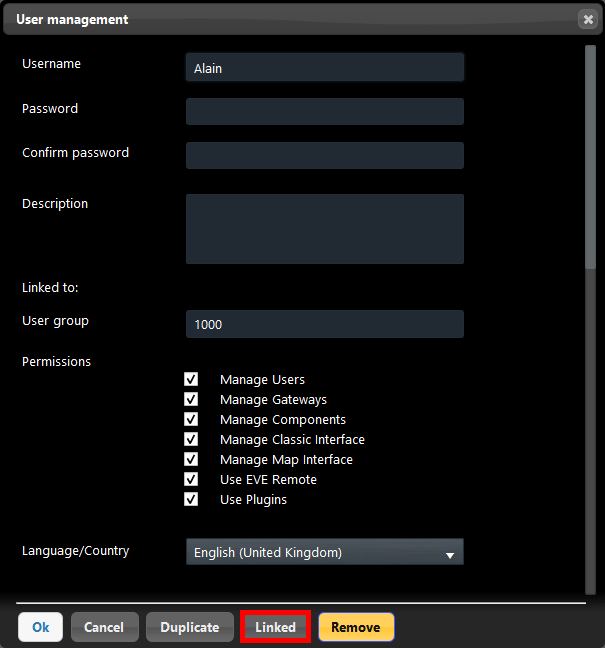
The Linked command let you create a new User, that won’t be able to do any customization to the User interface from the configuration software Ilevia Manager. Once you connect to the Linked user with the App EVE Remote Plus. The interface of the Linked User is shared with the Source User which the linked user has been created from.
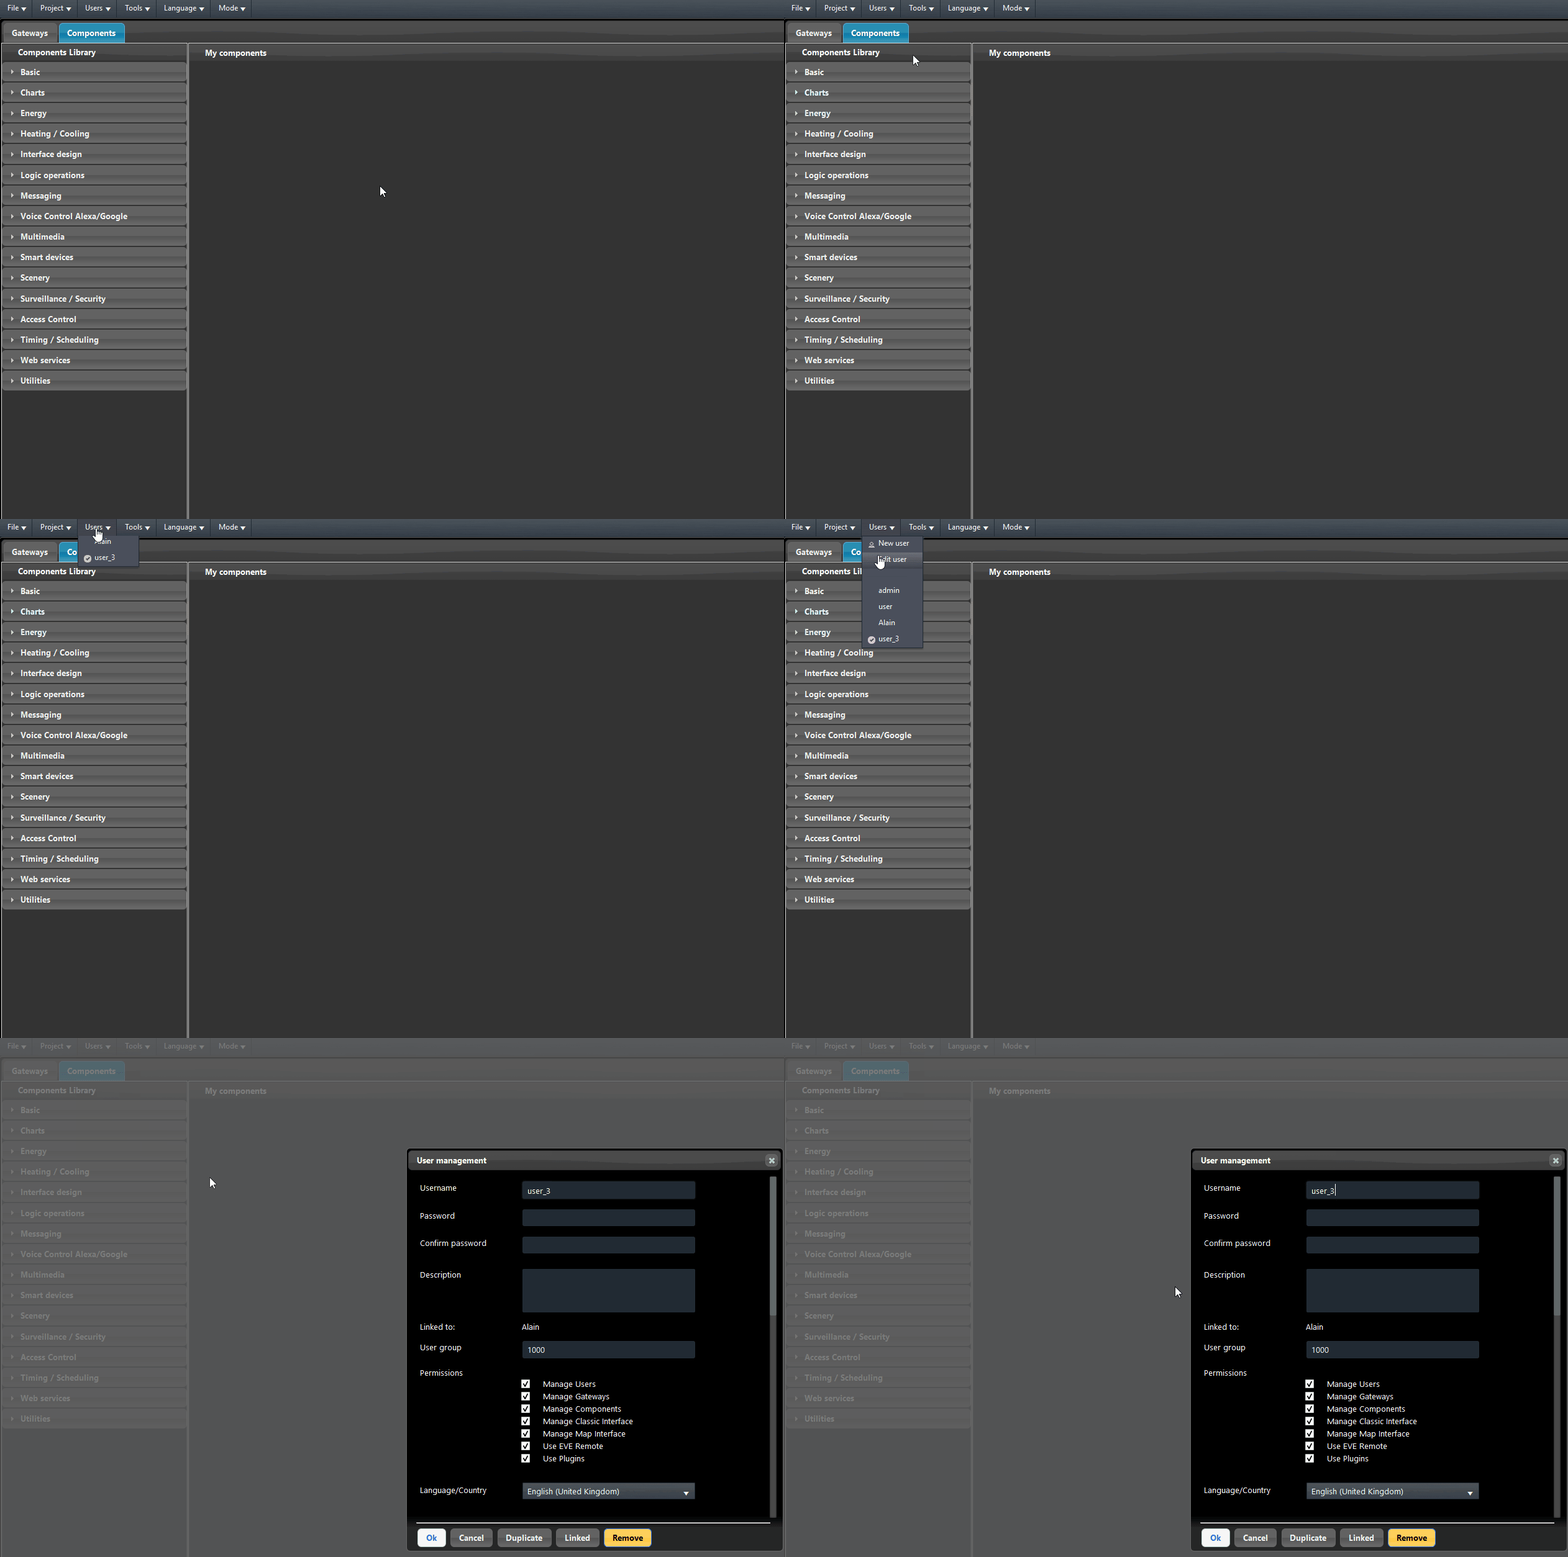
Select the user which needs to be linked from the User list placed within the User menu on the top of the screen.
Access the user’s settings by clicking the Edit user button within the User main menu.
Now click on Linked, this will close the user settings’ window. By opening the User menu once again, you will see that a new user has been created.
Once the user is created, it is possible to access it and change its credentials (Users -> Edit user).
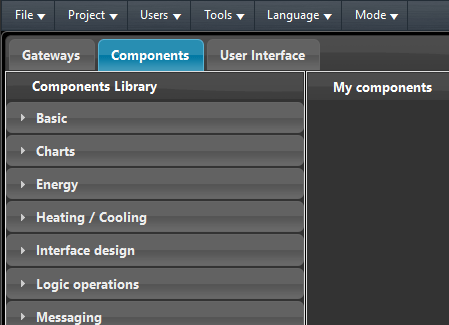
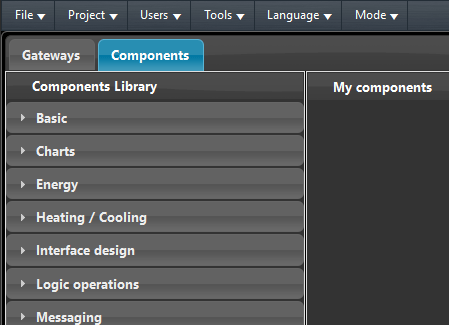
As you can see by selecting the new Linked user, the user interface editor tab is missing, this is because its shares the same interface of its source user Alain. In the images below is compared the look of user called Alain to the look of the new Linked user. As you can see, the user created with the Linked option is not allowed to customize the User interface.
By acccessing the App EVE Remote Plus you will be able to see that the user interface of the Linked user is the same one of the Alain user.

