 EVENTS CONTROLLER
INTRODUCTION
The events controller is a component that allows you to enable or disable all the events set on specific components on the system. The Events controller comes handy when having events that needs to be disabled based on the season. This components avoids the user to enter each component’s schedulation and disable it manually.
USE CASES
- The user wants to disable events scheduled to lights that he wants them to be enabled on christmas time.
- The user wants to disable all the schedulation set on setpoints on summer.
- The user wants to disable the scheduled events to the irrigation component before a garden party.
Component’s properties
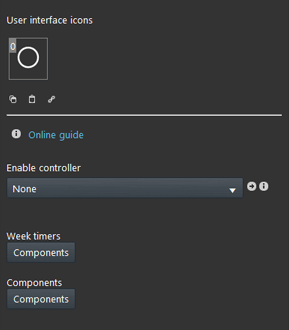
Enable controller: Link a Switch component that will enable and disable the Events controller feature.
Week Timers: This list contains all the Week timer which will be take in consideration when the Events controller is triggered.
Components: This list contains all the components that have schedulation done with the Week timers within the Week timer list above.
Component configuration
In this example a group of setpoint have been set to set the temperature to a specific value every day at 7 p.m. The Events controller will disable these schedulation for all the setpoints without going and disable the schedualtion one by one.
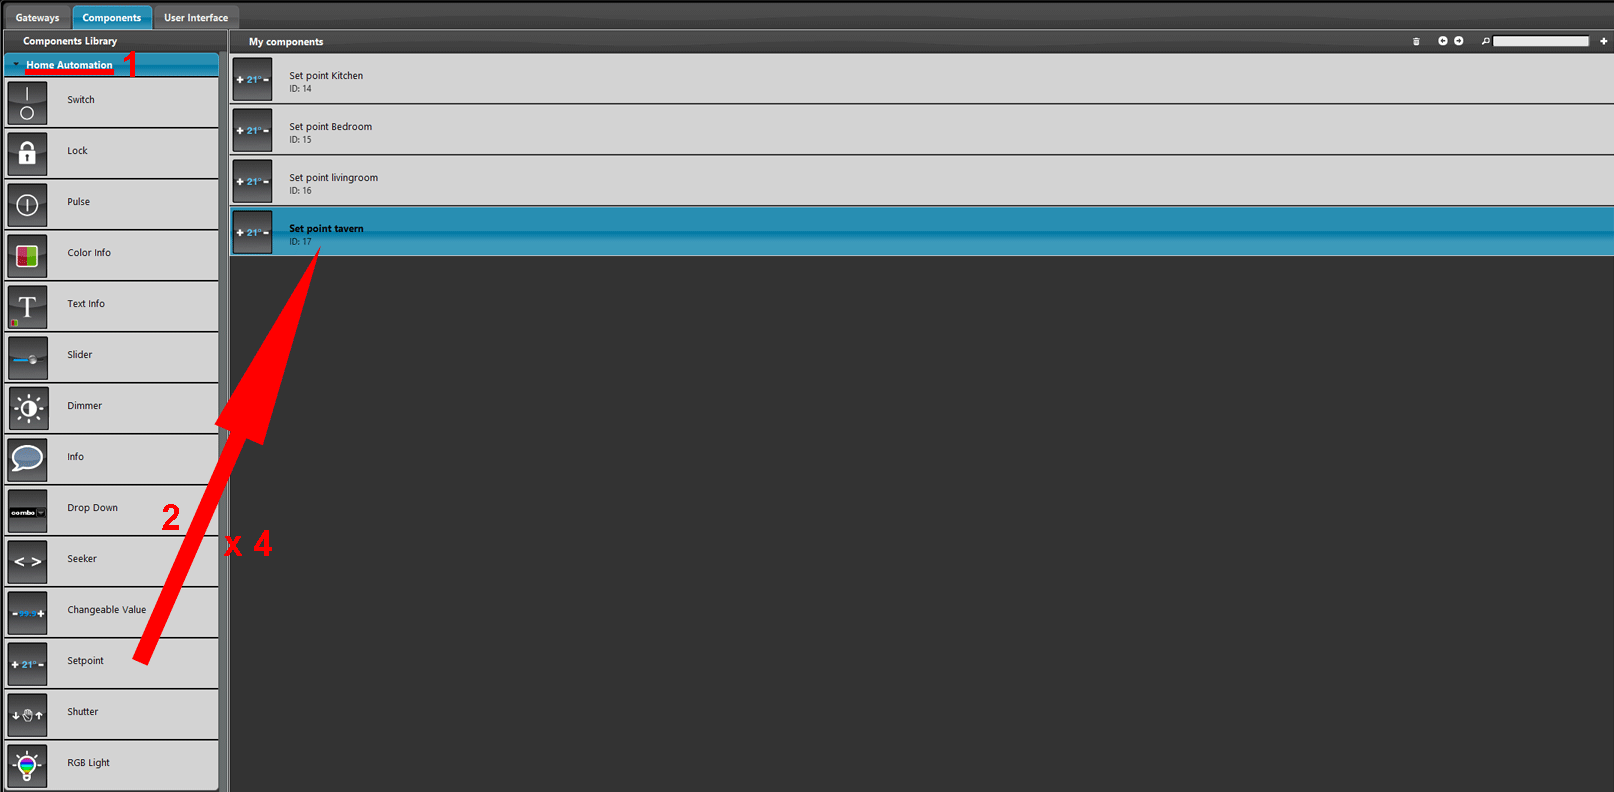
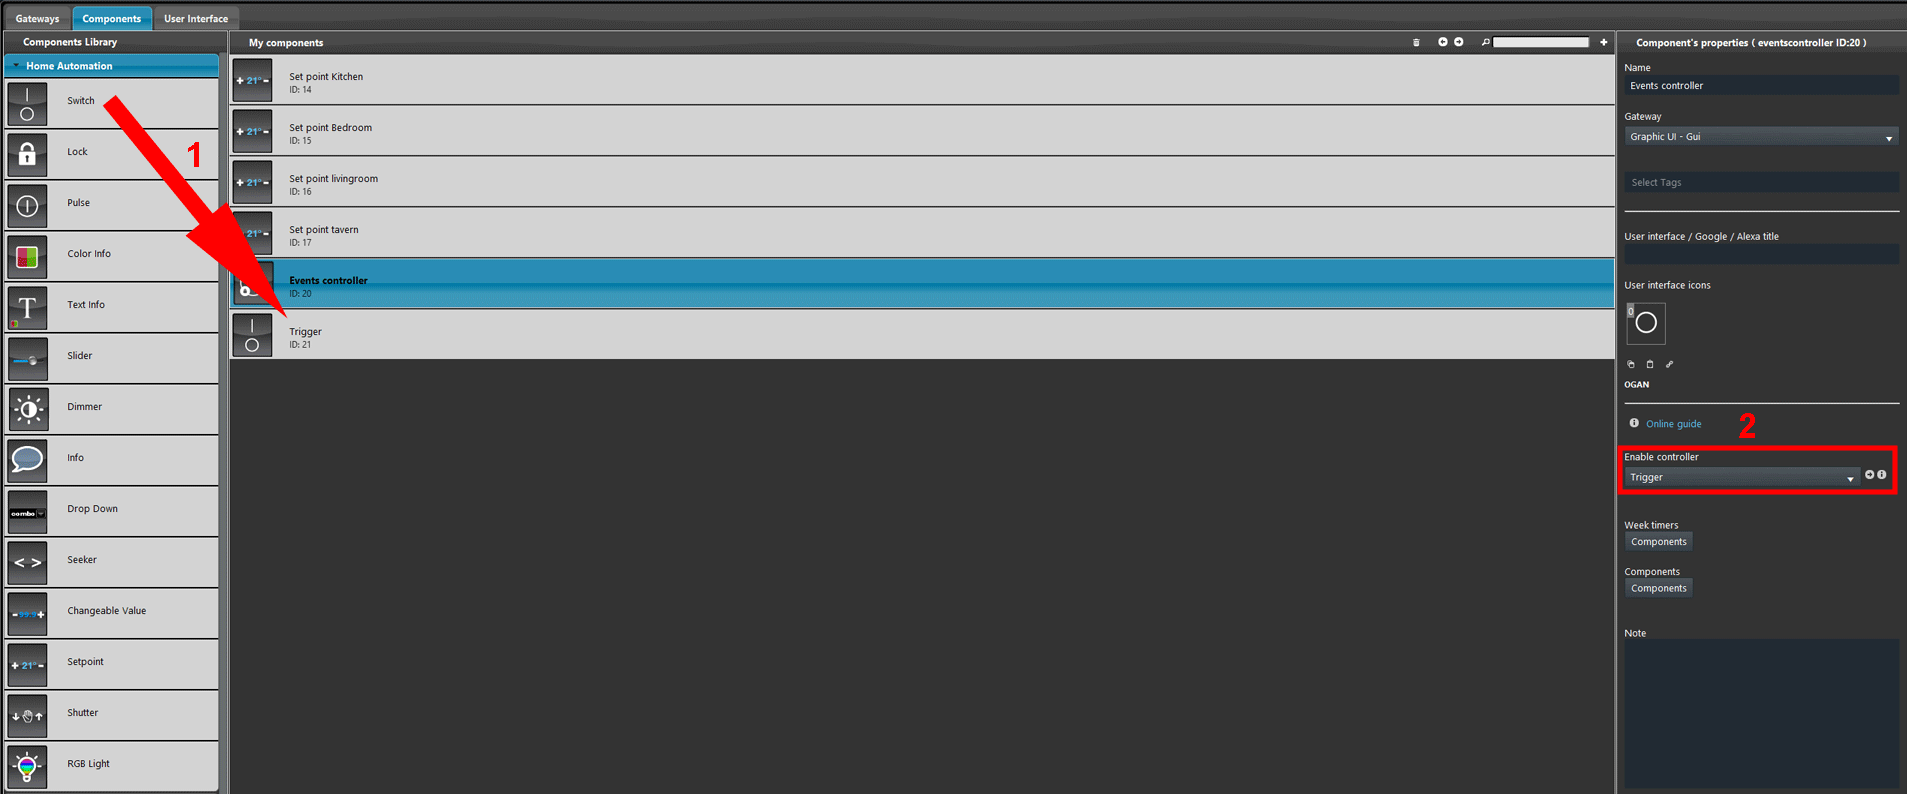
1. Open the Home automation menu within the Components library. 2. Add 4 Setpoint components within the project.
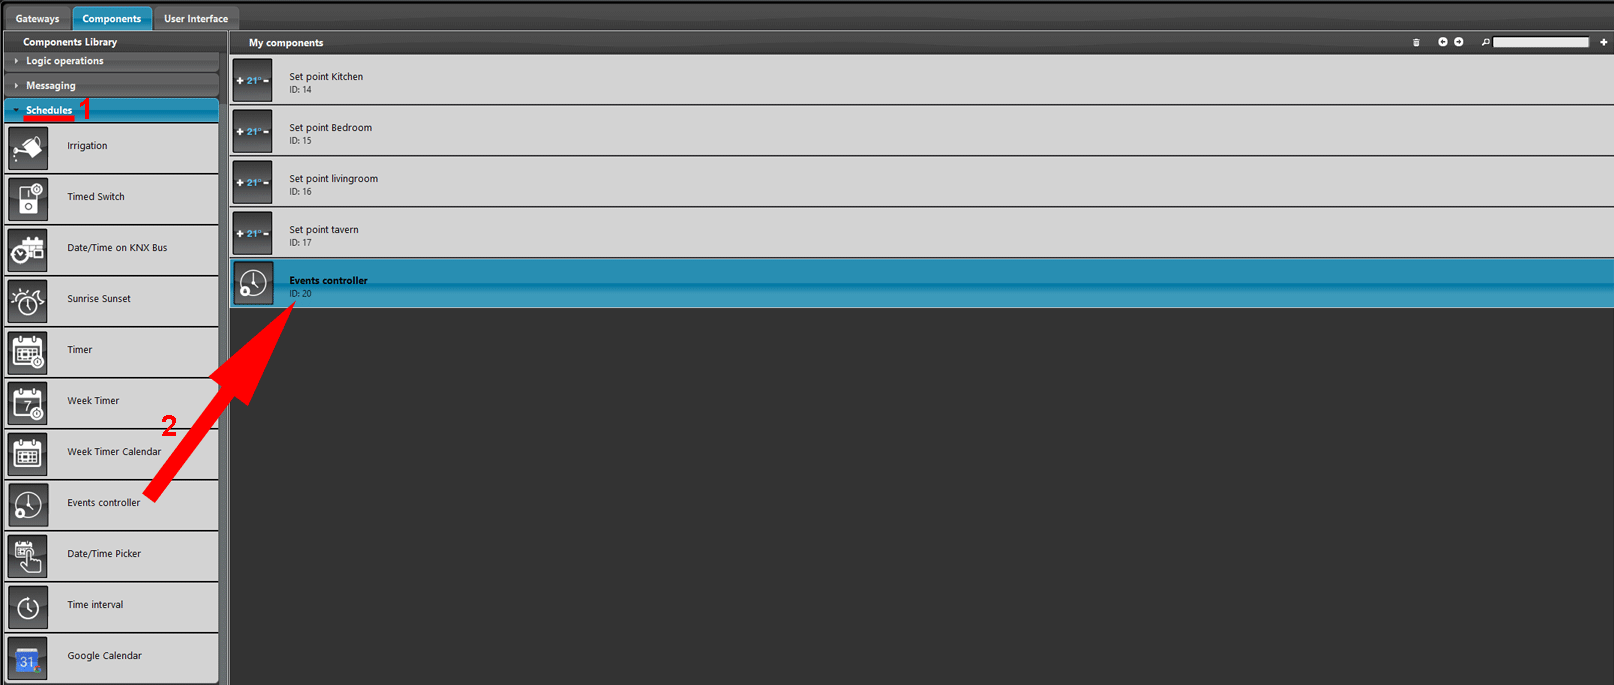
Now add the Events controller component from the Schedulation menu inside the My components section of the project.
1. Add a new Switch component within the project 2. and link it with to the trigger parameter within the Events controller component.
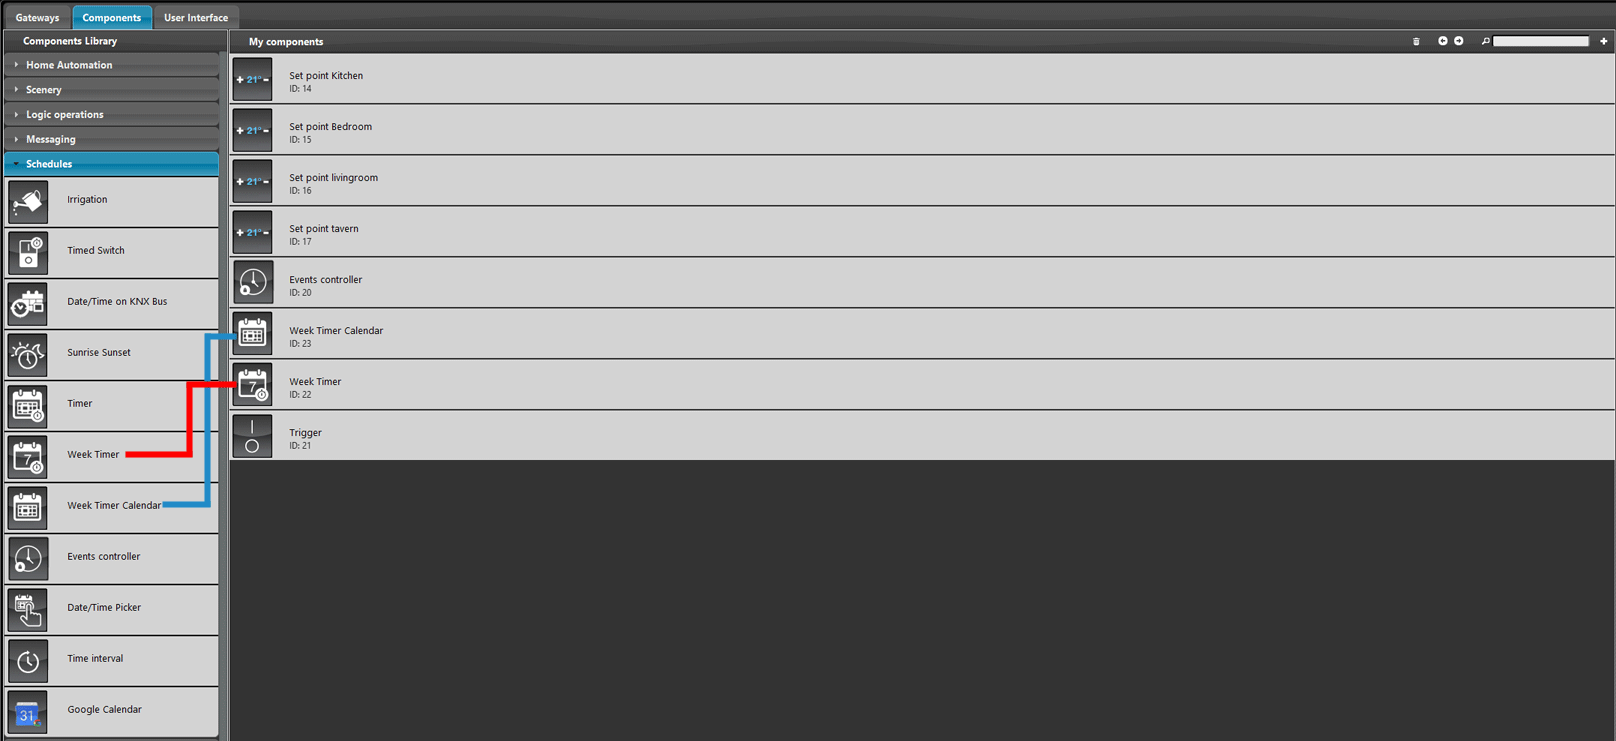
Add the Week timer and Week Timer Calendar into the project from the Schedulation section of the Components library.
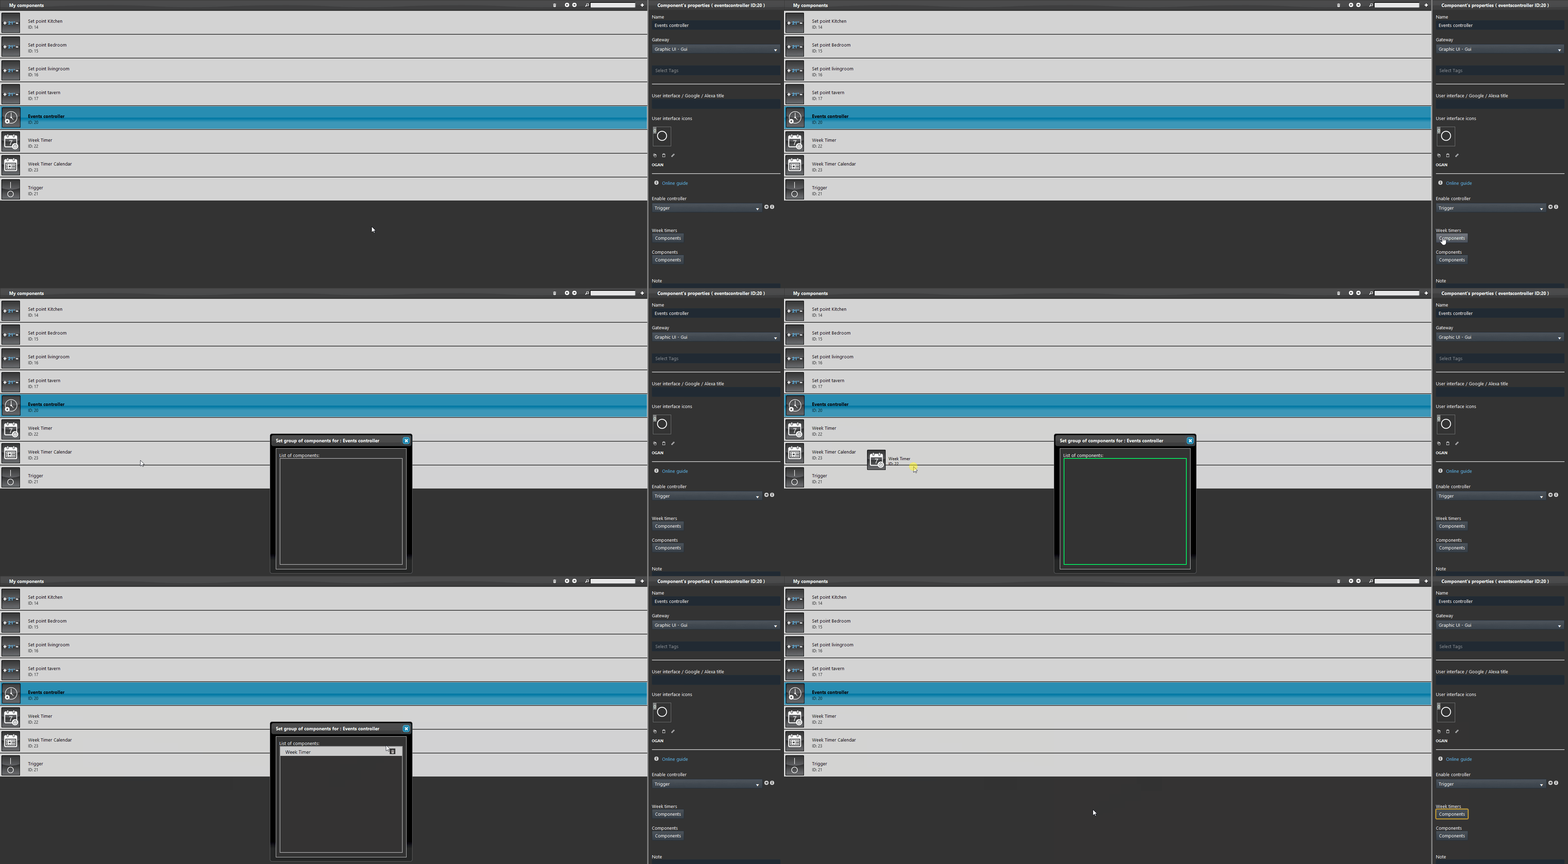
Add the Week timer component into the Week timer list of the Events controller.
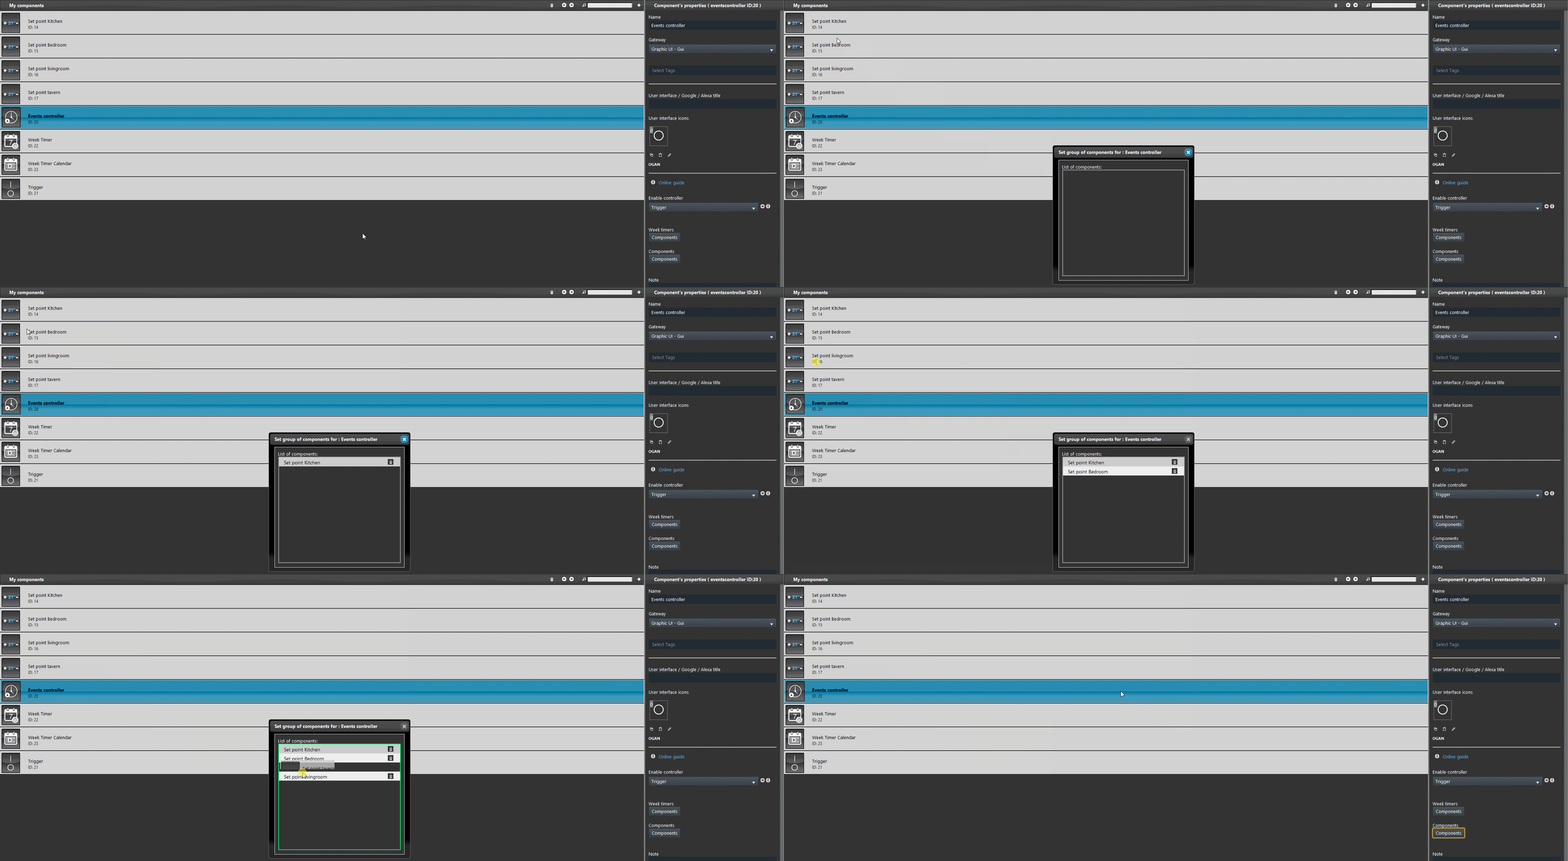
Add the Setpoint components within the Components list of the Events controller component.
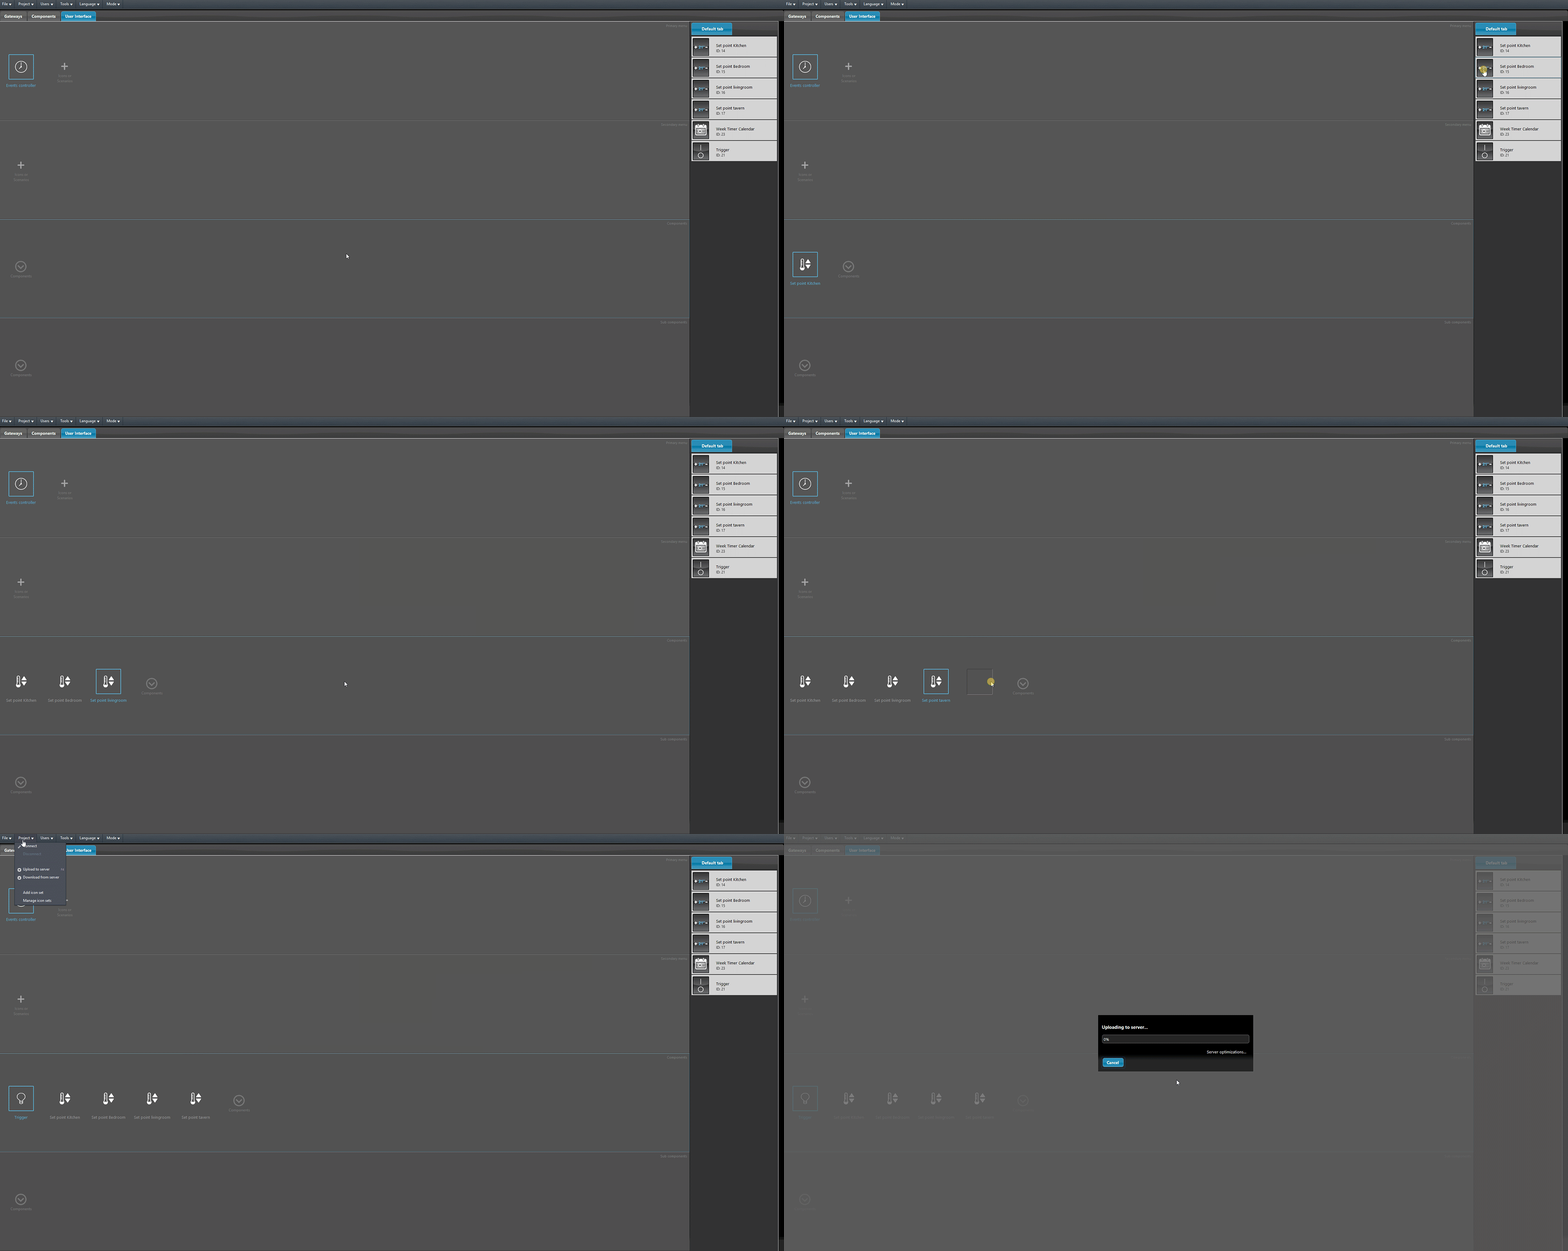
Add the components into the User interface. Head to the User interface tab. Finally add the components within the Interface and upload the project into the server.
Component test
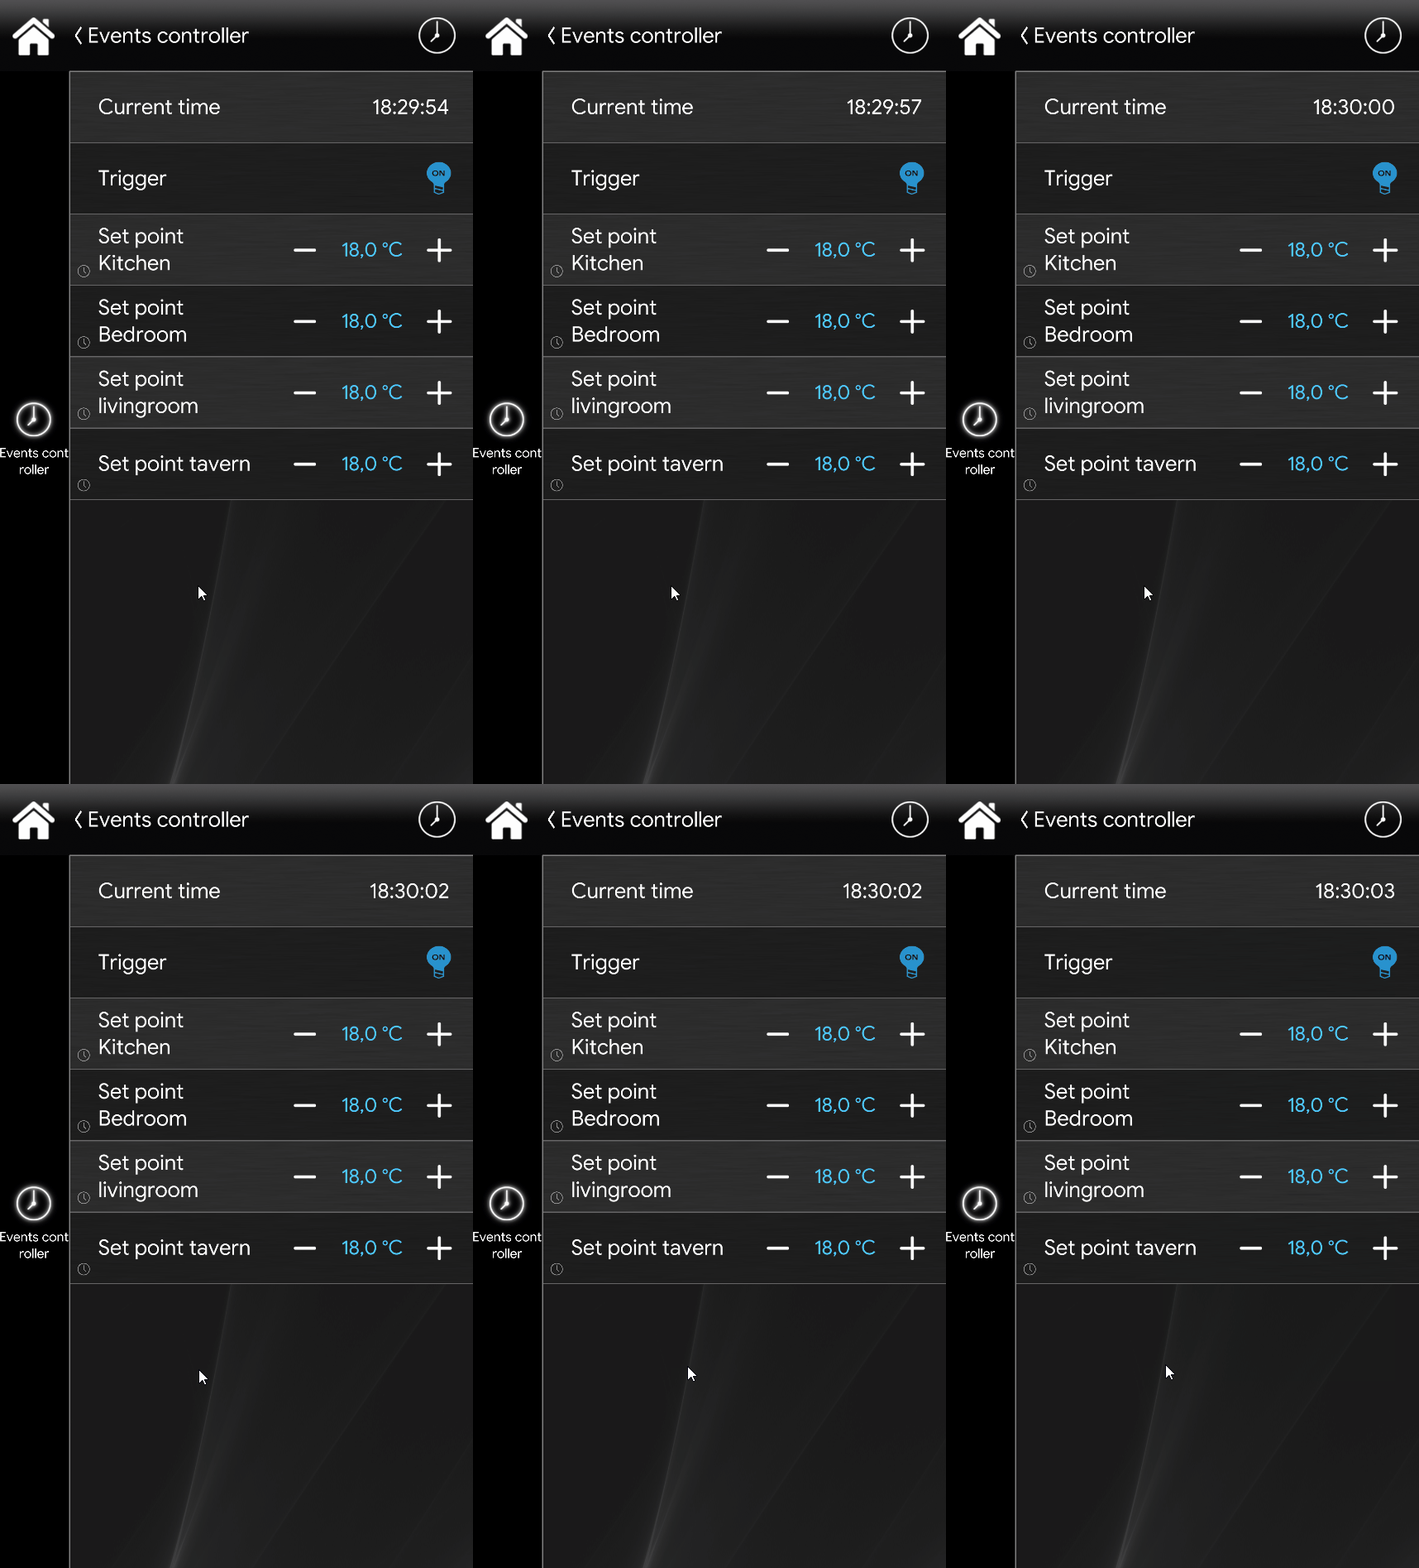
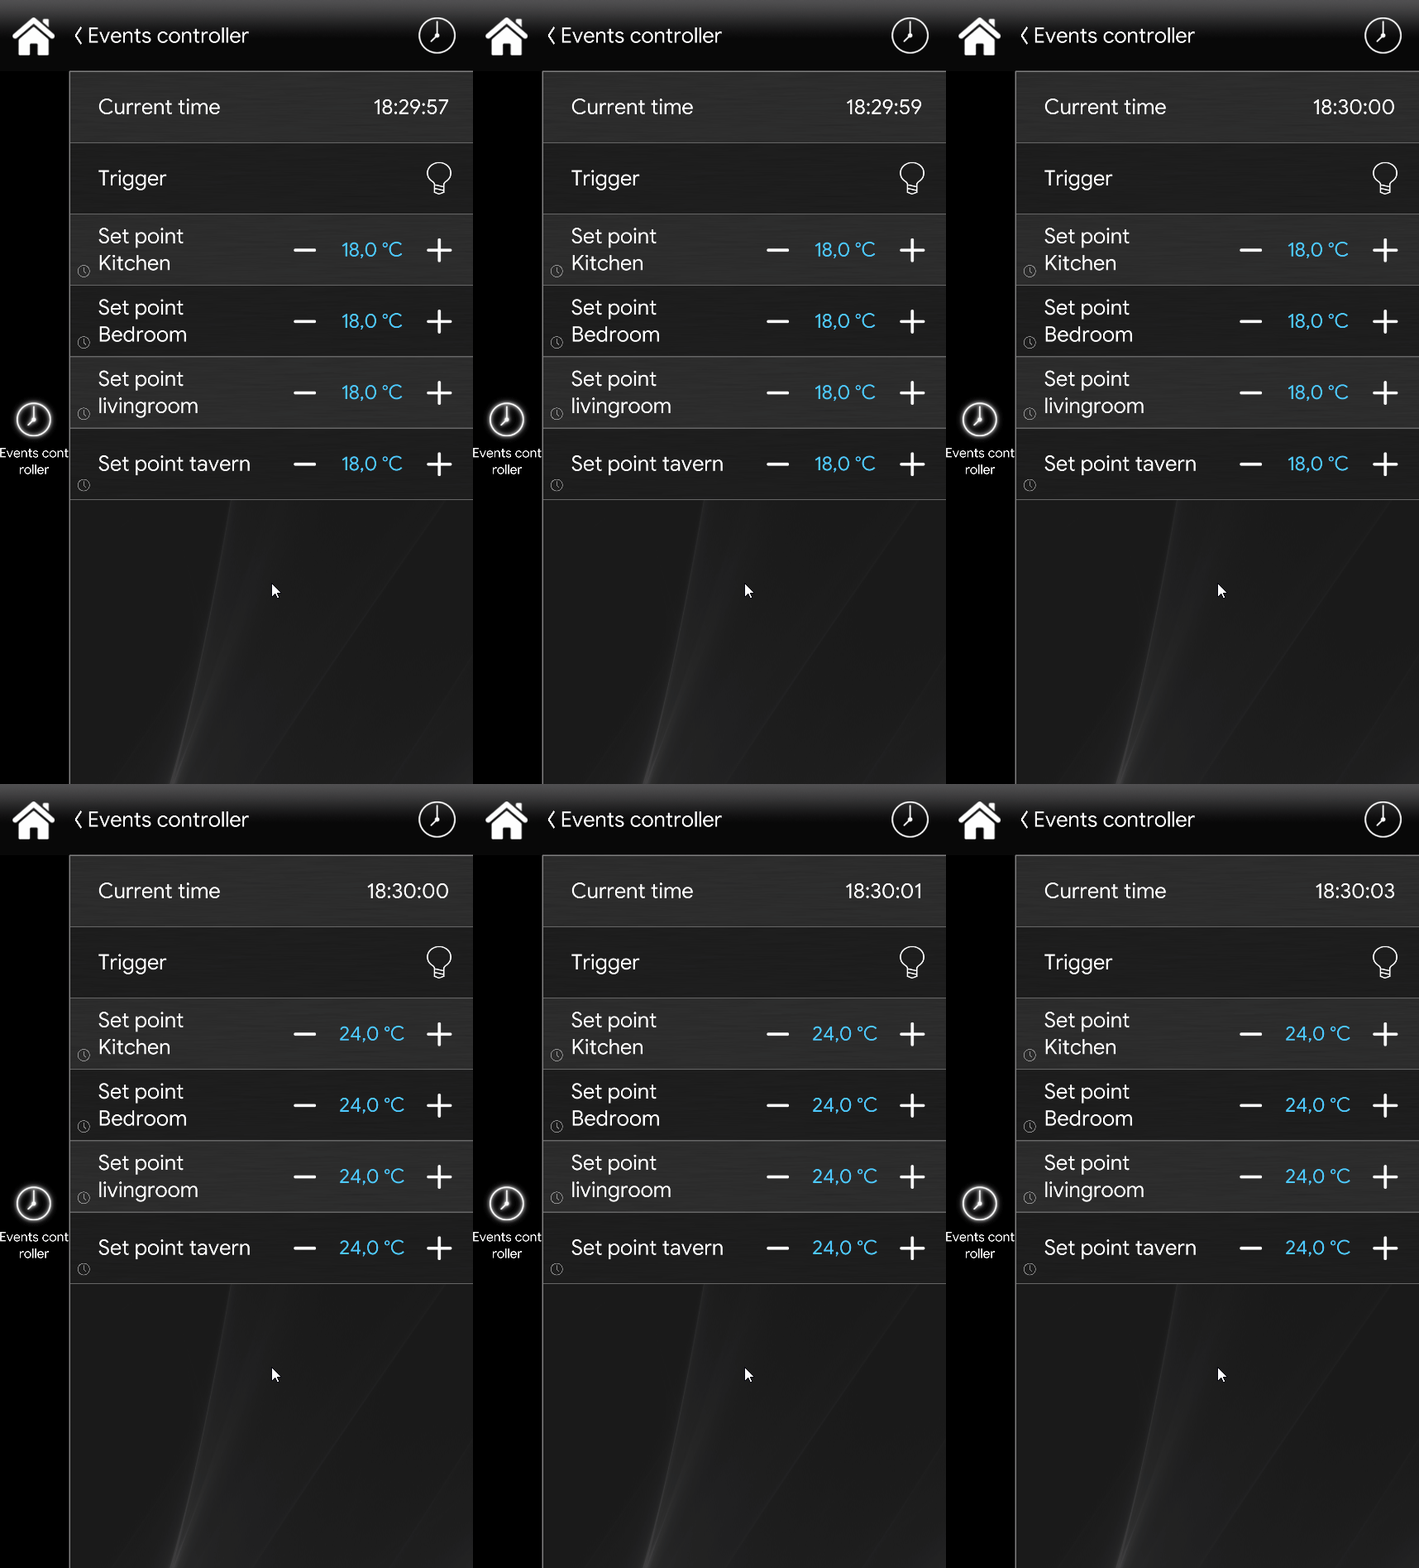
The setpoint have been set to set the temperature of a thermostat to 24 degrees every day at 18:30. Once the Events controller is triggerered, the setpoint wont follow the scheduled program and therefore they won’t change.
Click the link below to download the demo project and try it your self.

