 Telegram
INTRODUCTION
This component allows the user to receive telegram messages send by the Ilevia server based on a certain trigger component. The Telegram componnet can send up to 4 different information at once.
COMPONENET’S PROPERTIES
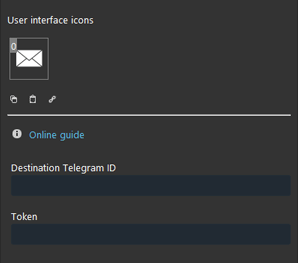
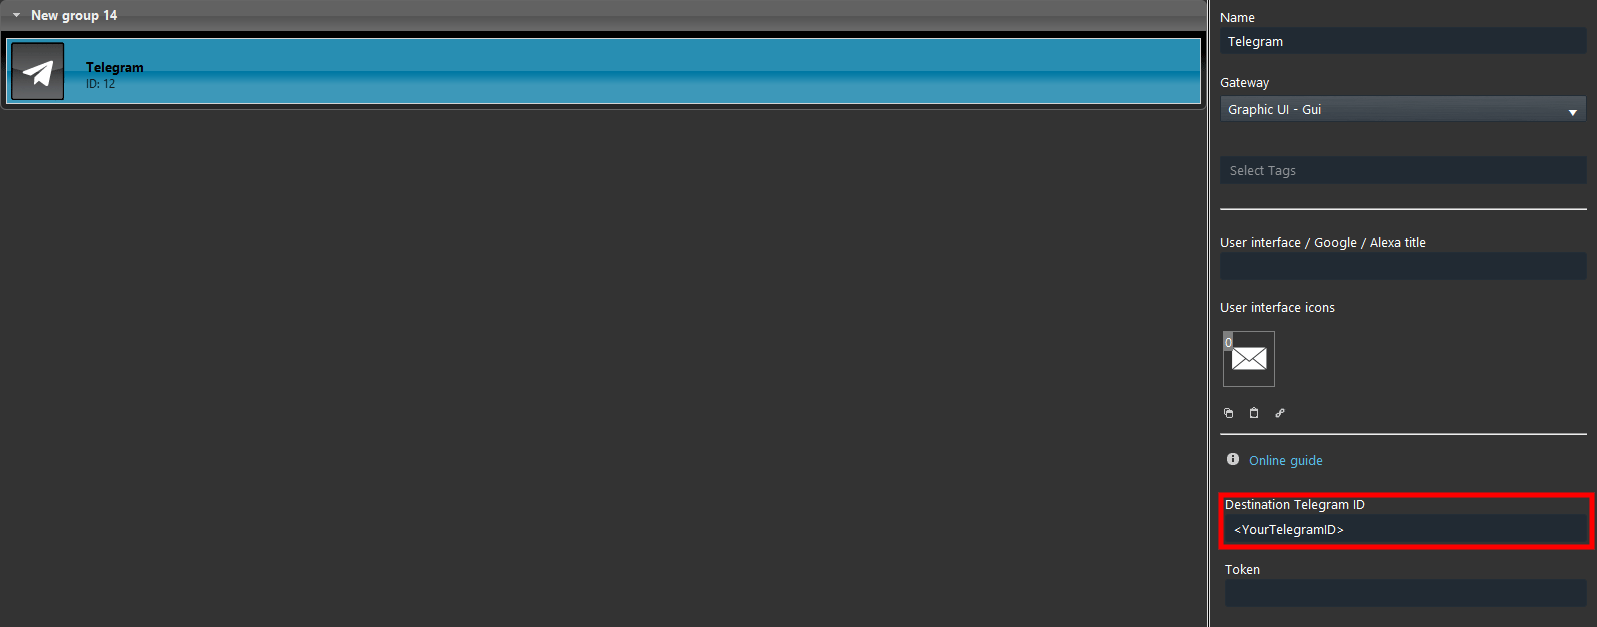
Destination Telegram ID: Fill this required text field with desired Telegram ID that will receive the messages once the Trigger component is exectuted.
How to get the Telegram ID
Each Telegram client has its own Telegram ID. This ID can be aquired with the following steps.
Step 1:
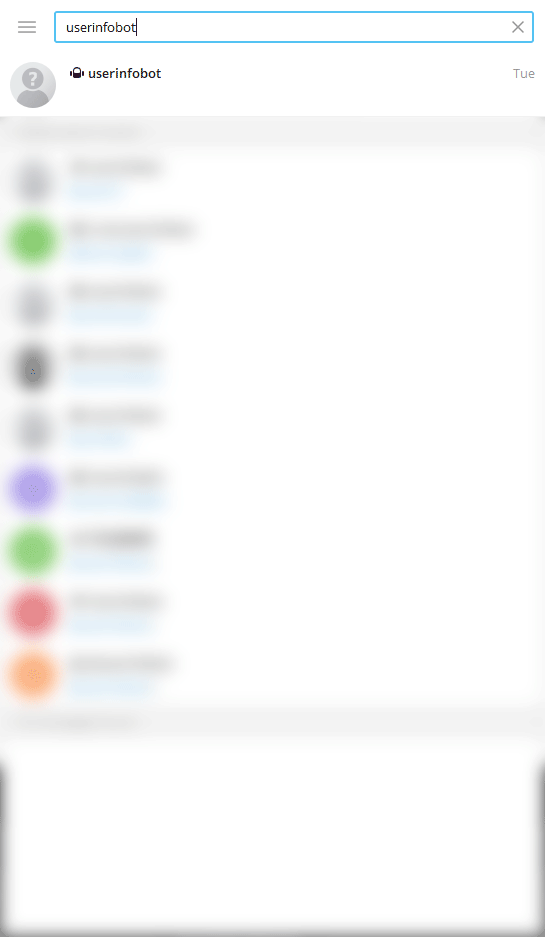
Open the Telegram App, tap on the search Icon located in the top right corner of the screen and type Userinfobot.
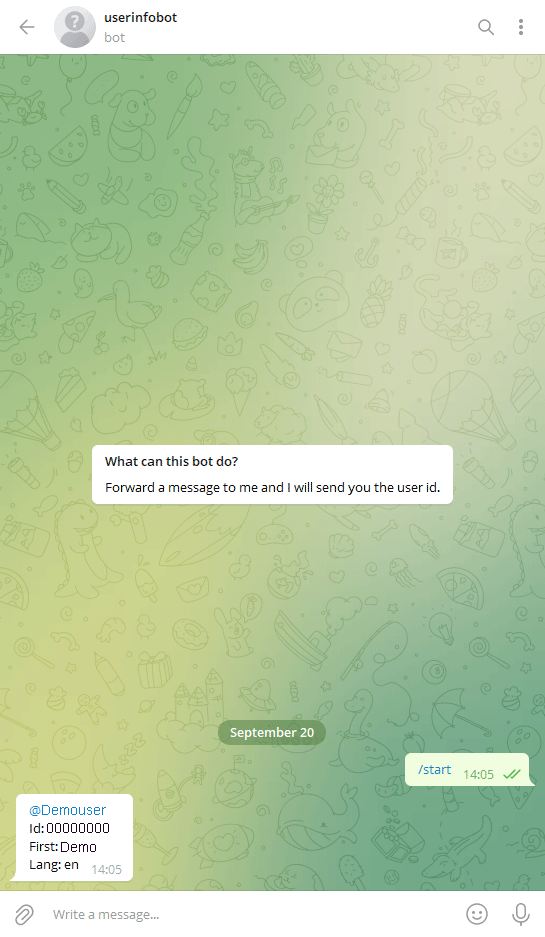
Now just click on the contact icon, this will open the contact chat. Now click “Start” to begin the conversation. This will trigger the Bot and you will receive a message from it containing your Telegram ID.
Enter your Telegram ID within the Telegram component created within the Ilevia Manager software early on.
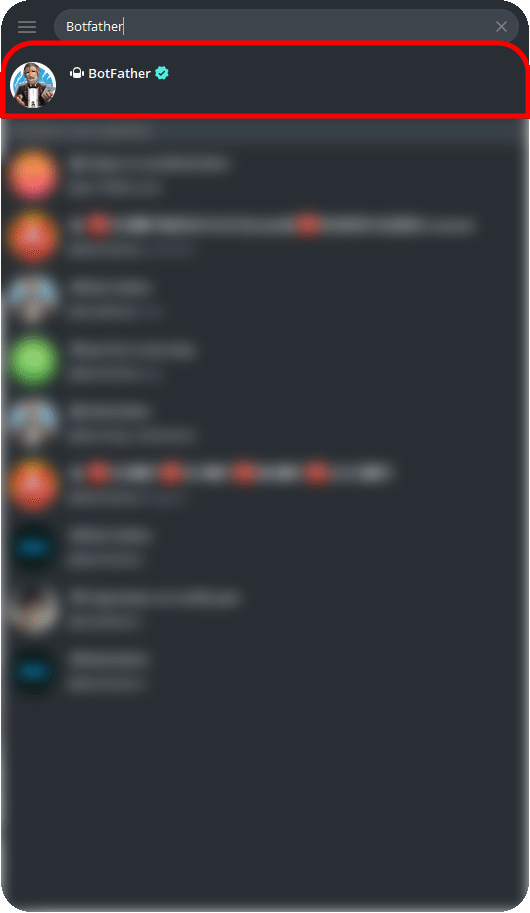
Open the Telegram’s App and search for the “BotFather“. Click on the first result.
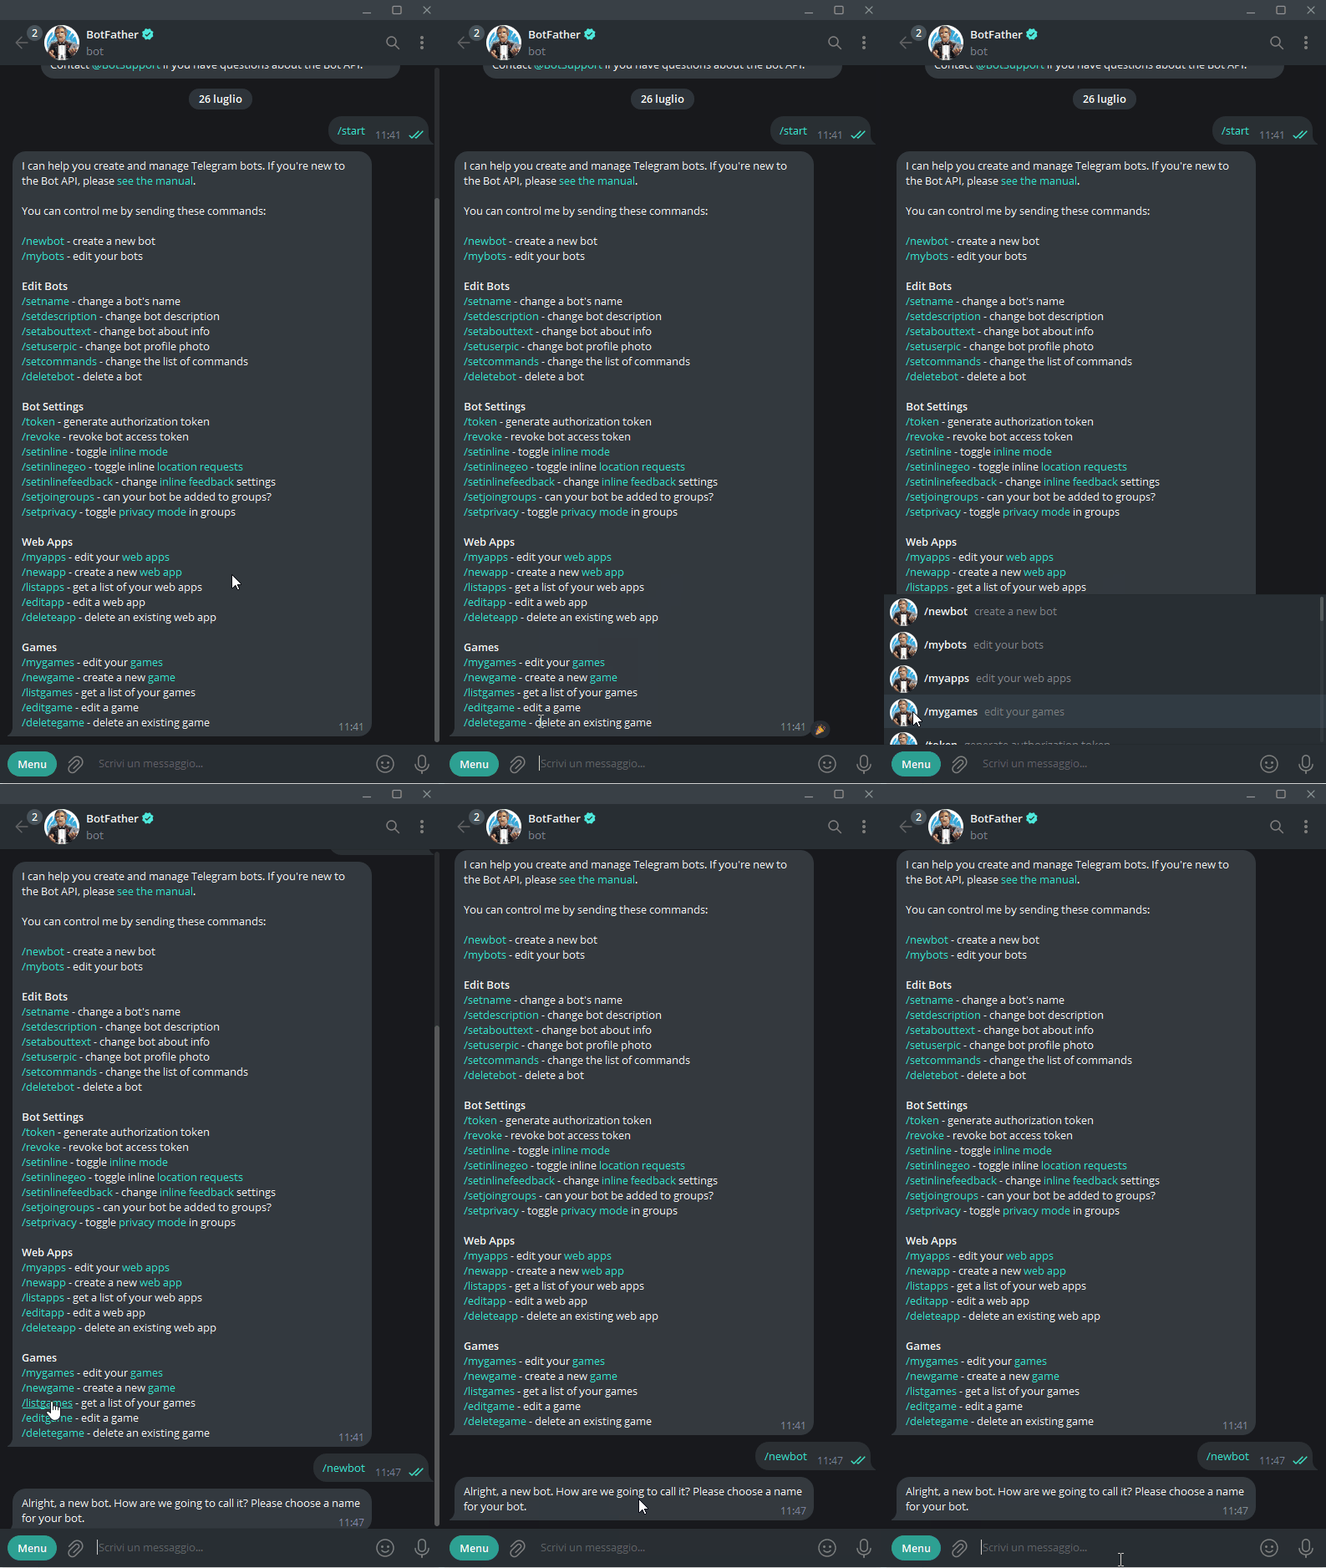
Start the conversation, then select the Menu button and finally select “New bot“.
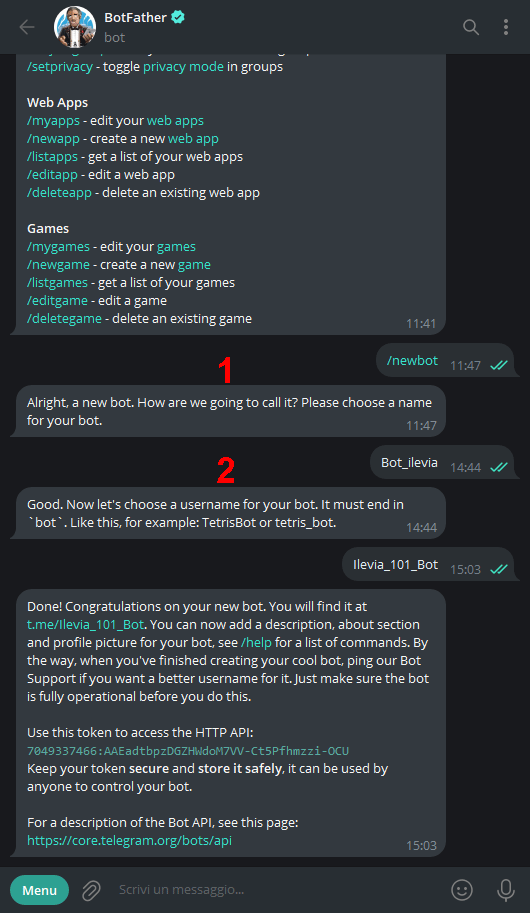
1. Choose a name for your bot, then a 2. User name for it.
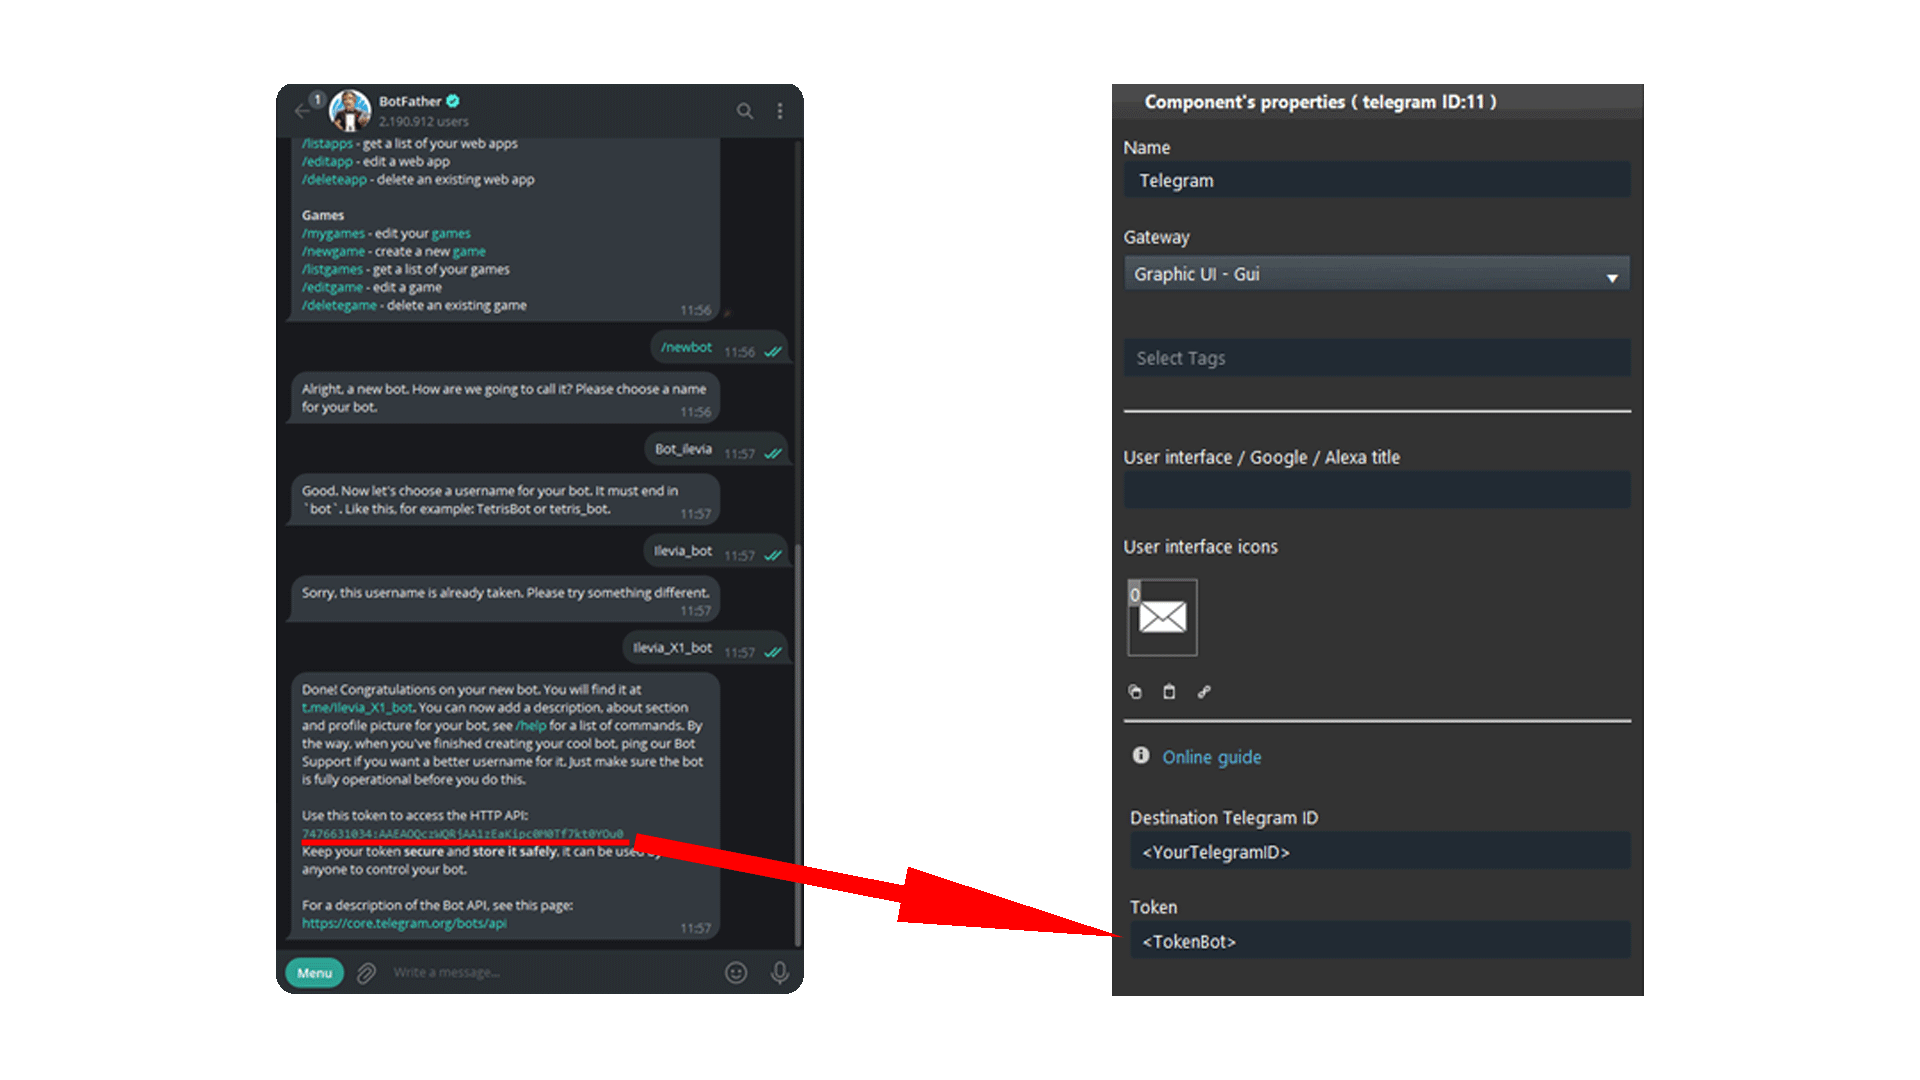
Copy the generated Token and paste it in the Token parameter present within the Telegram component in the Ilevia Manager configuration.
Finally click the link shown in the image below to start the chat with the new bot.
Messages sending configuration
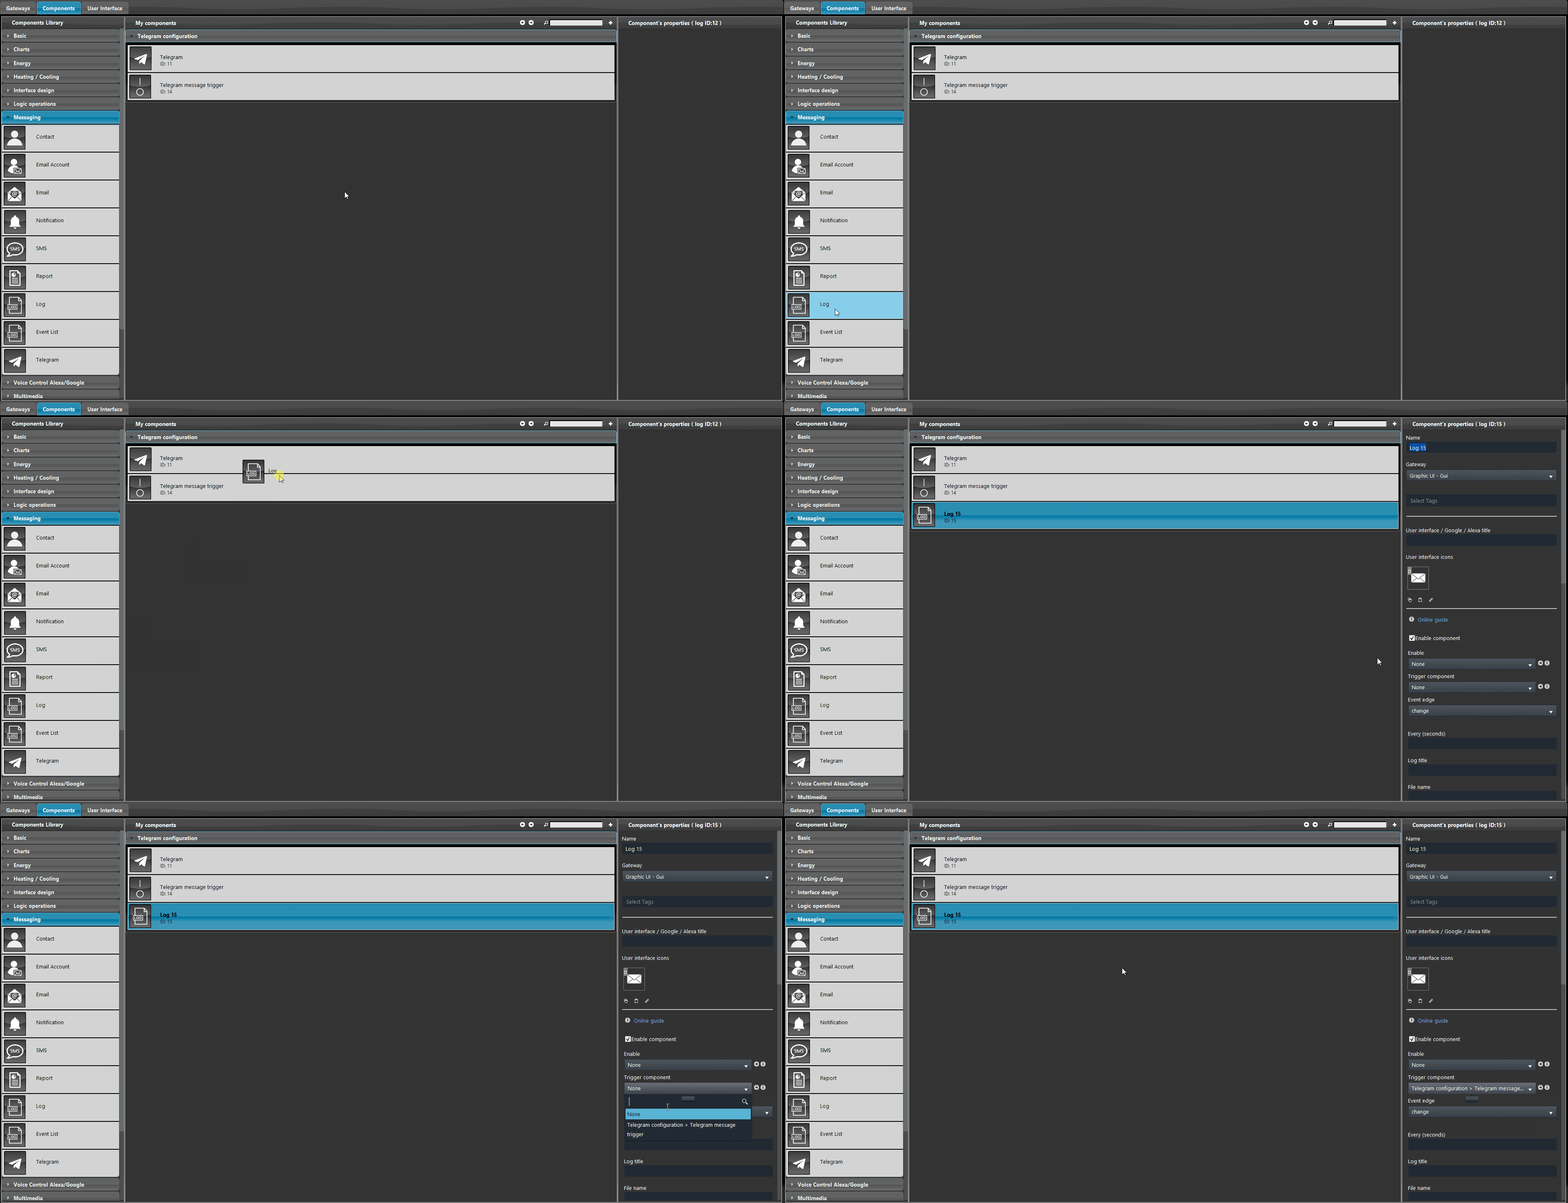
The Telegram component uses the Log component in order to set the information that will be included in the Telegram message
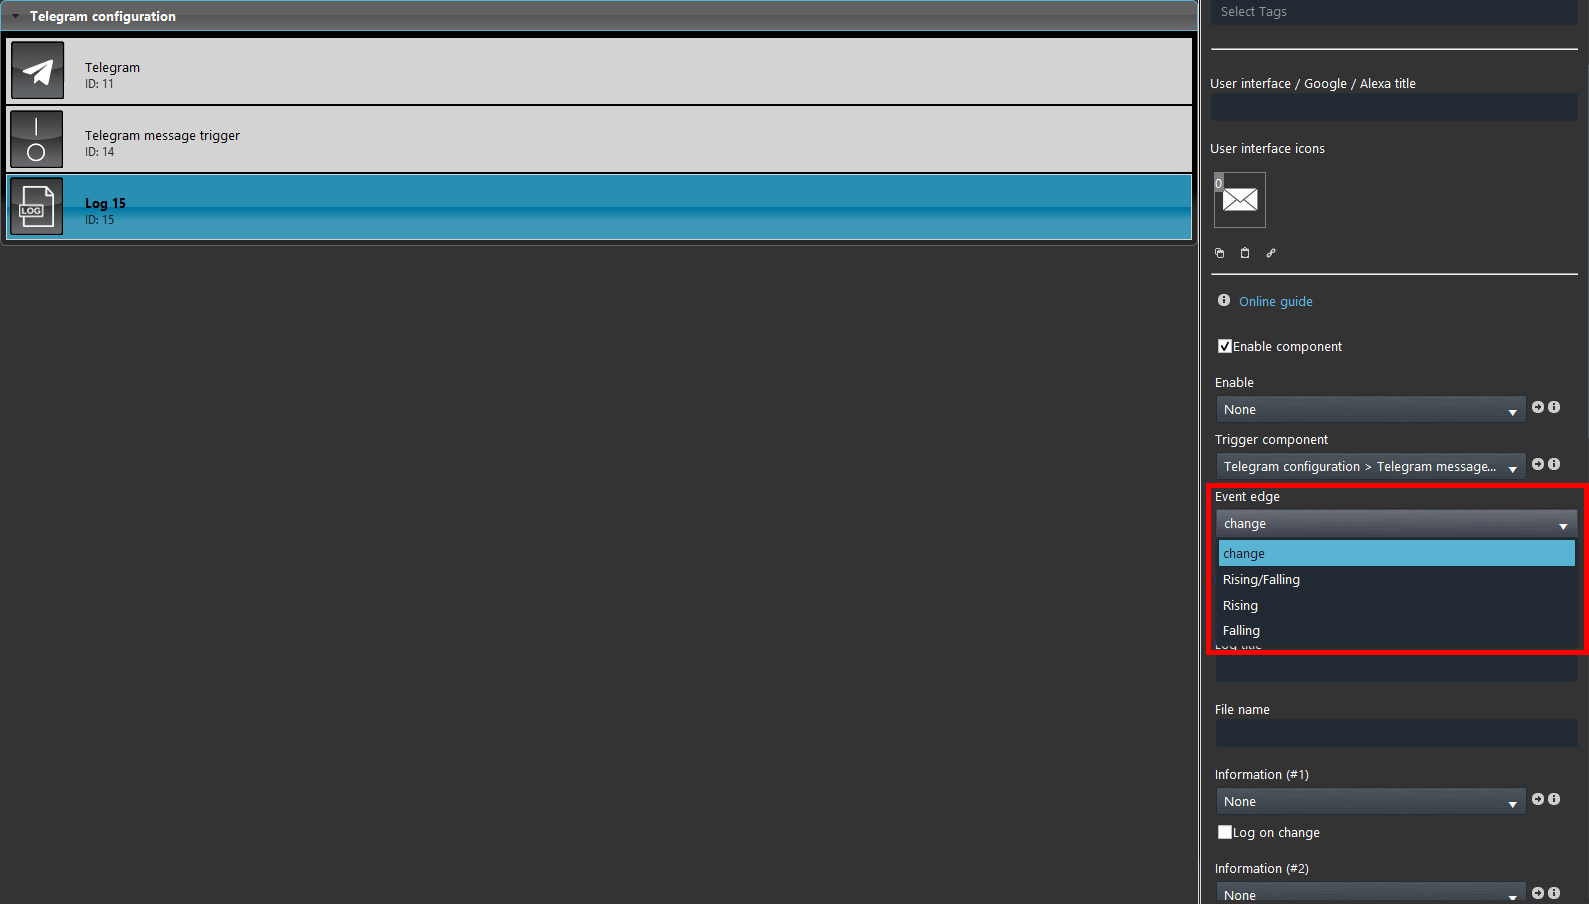
Now select the Event edge, this will specifie when the Telegram message will be sent based once the trigger component Event edge comes true, you can choose between: Change, Rising, Falling and Rising / Falling.
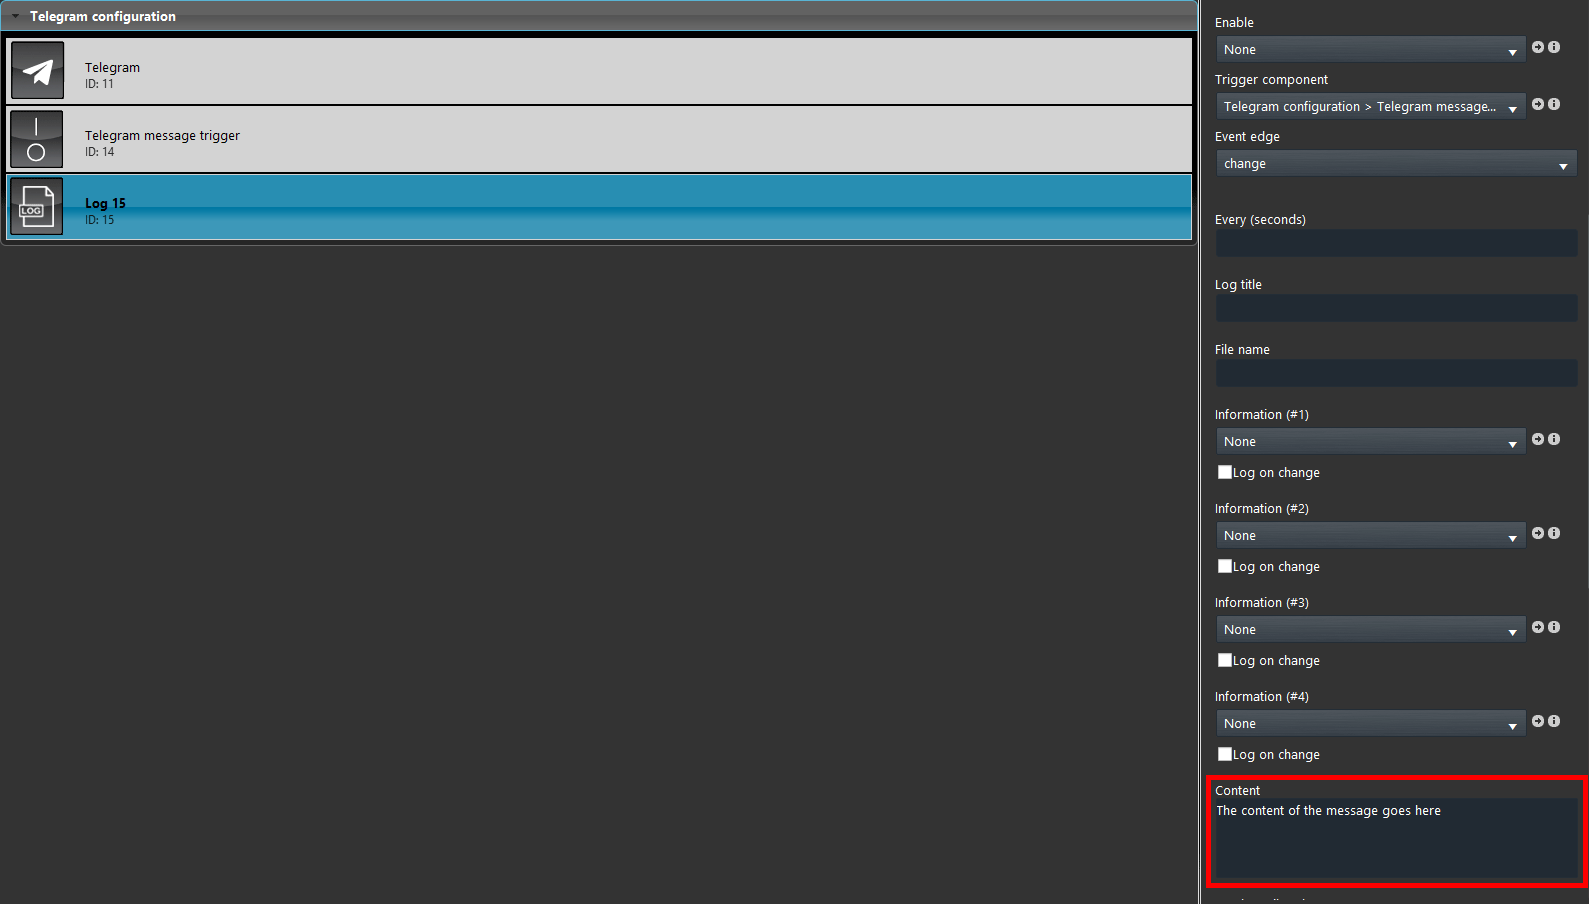
Now add the content in the Log component, the content is basically the body of the message that will be shown in the message once it arrives.
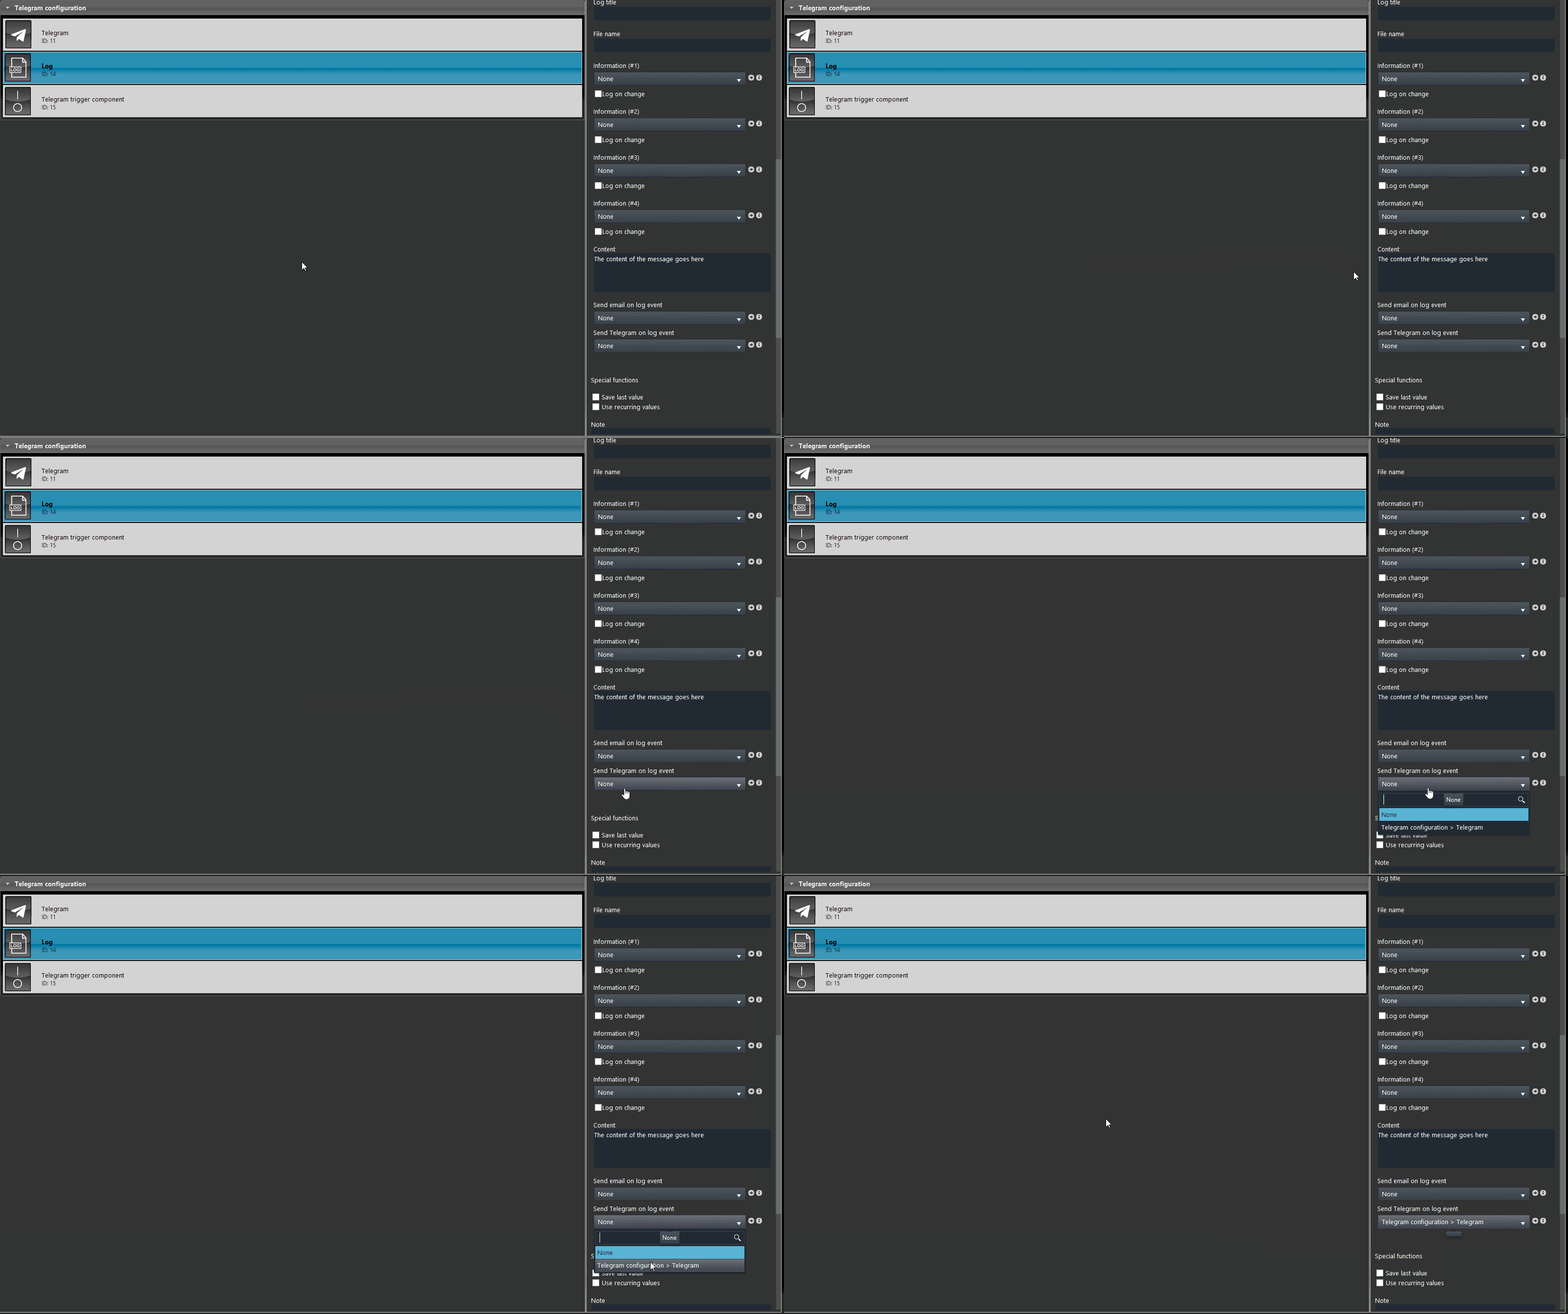
In order to link the Log component to the Telegram one, click on the Drop down menu called Sent telegram on log event, then select the Telegram component.
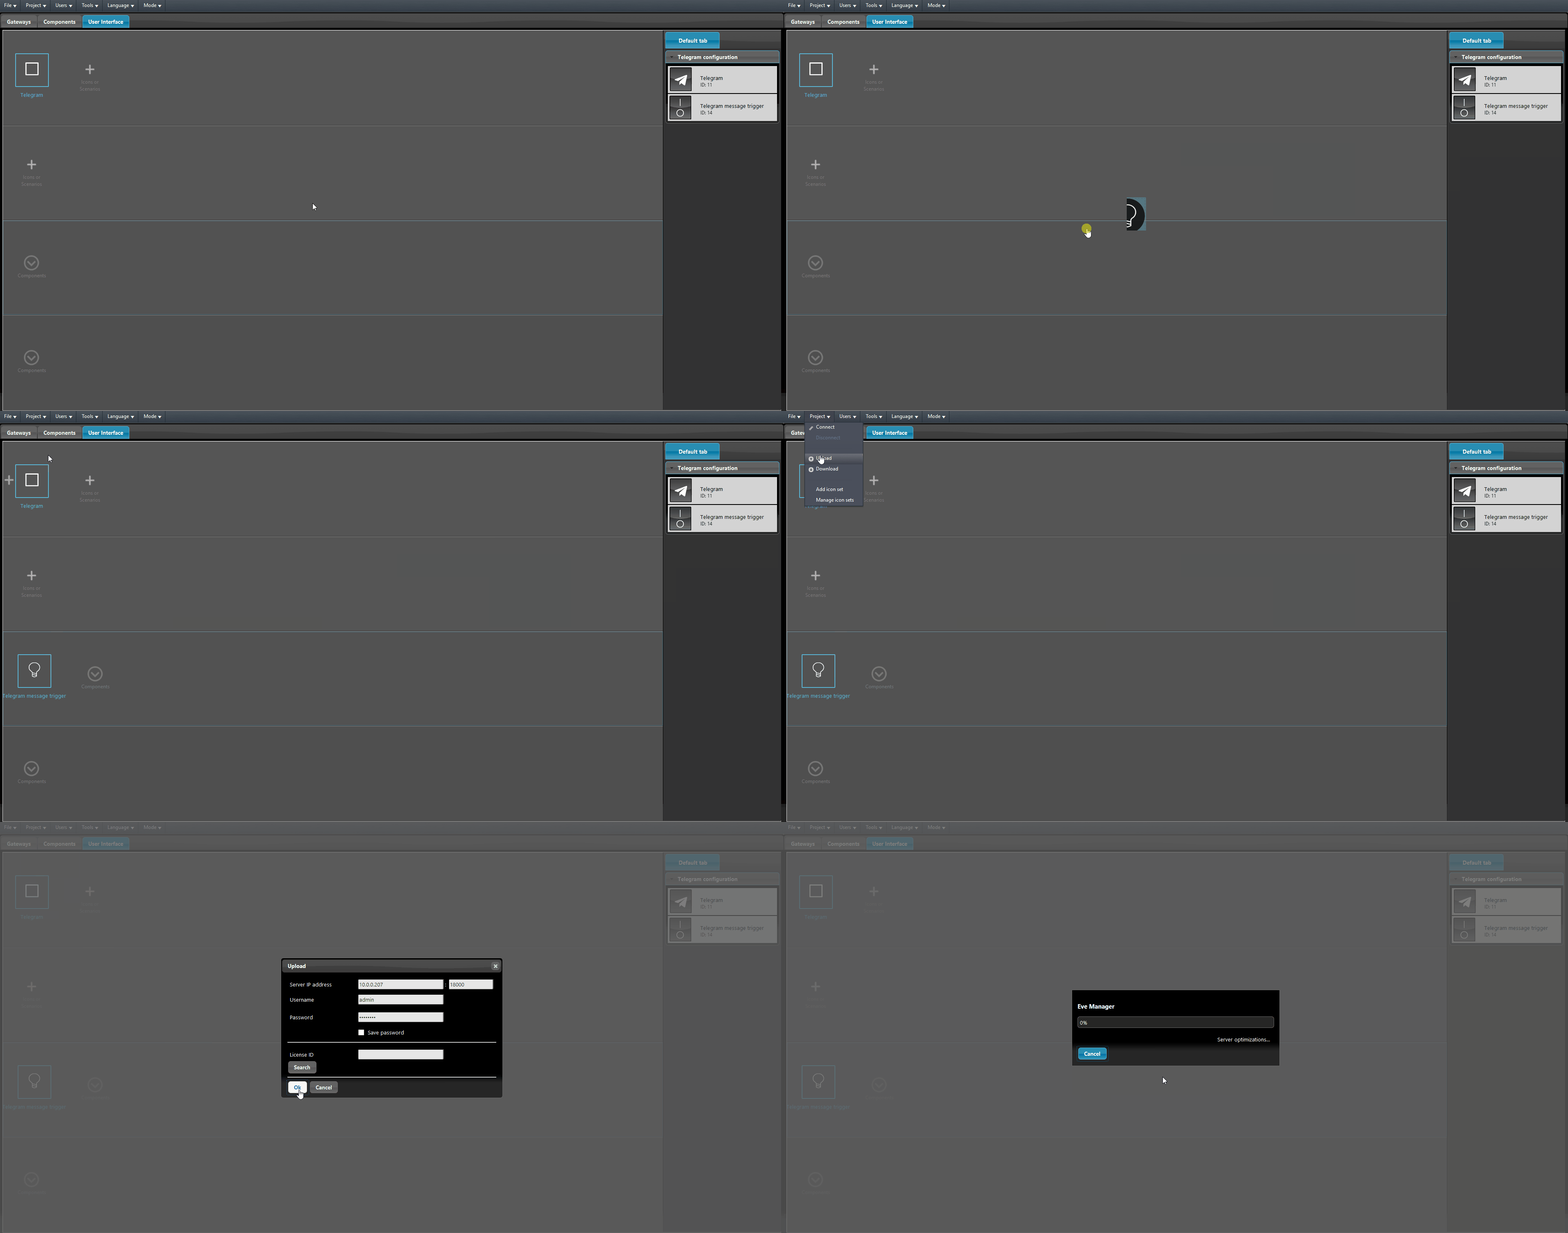
Now add the trigger component in the User interface and upload the project into the server.
Final result
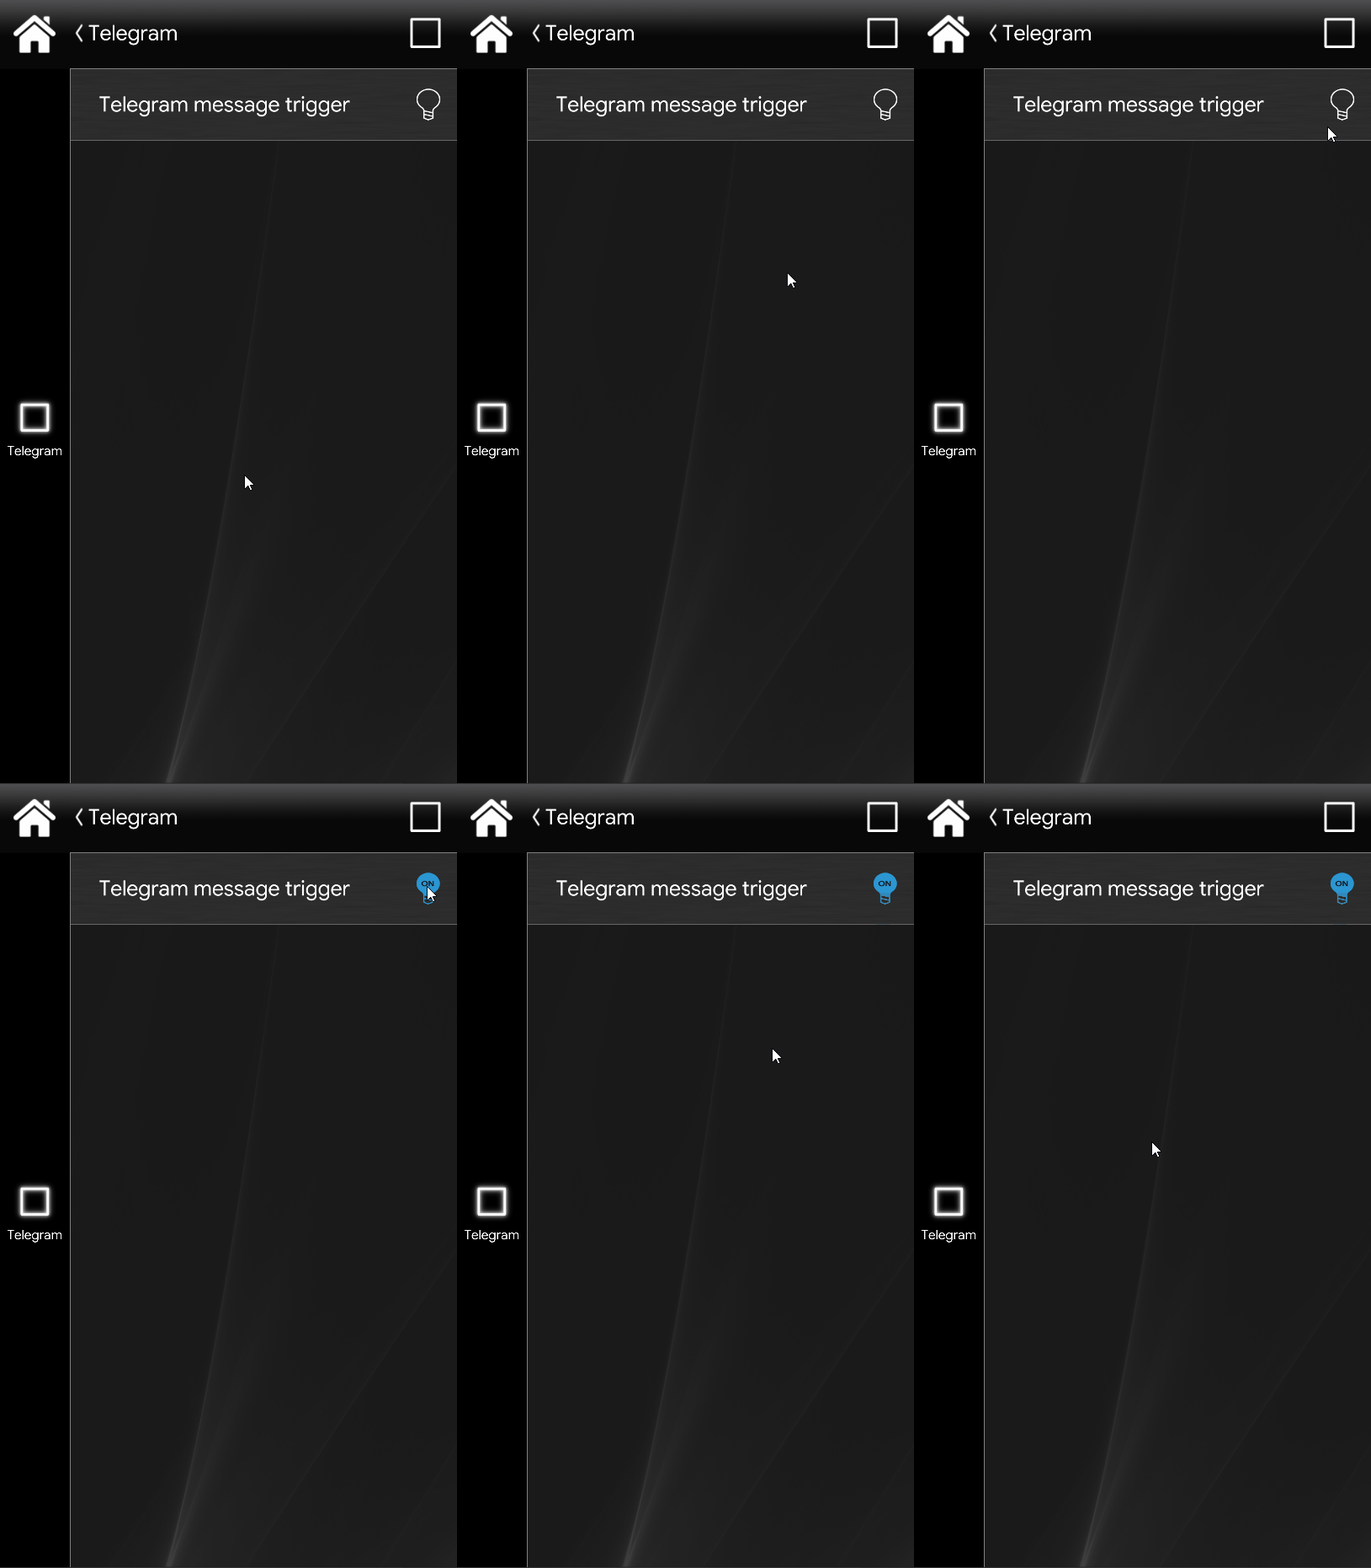
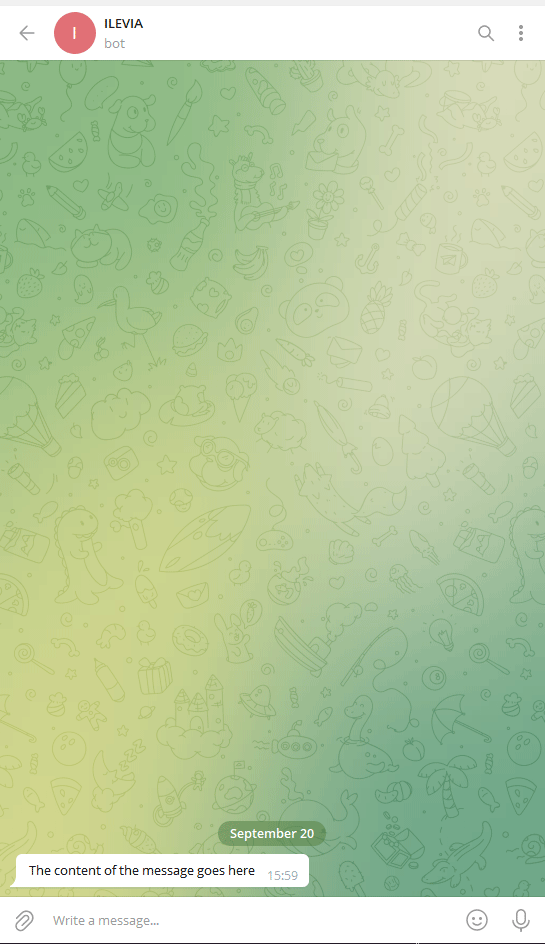
This is how the final configuration looks like. As you can see from the images below the Telegram message arrives with the content we add in the Log.

