How to integrate Shelly TRV with Ilevia
INTRODUCTION
The Shelly TRV device is a remote controllable thermostatic valve. In this guide is explained how to integrate this device through the use of the MQTT protocol in order to control it from the Ilevia server.
Web interface configurations
Step 1:
First turn on your Shelly Duo and connect into its wifi network, then type the default IP address (192.168.33.1) in order to connect into its user interface.
Step 2:
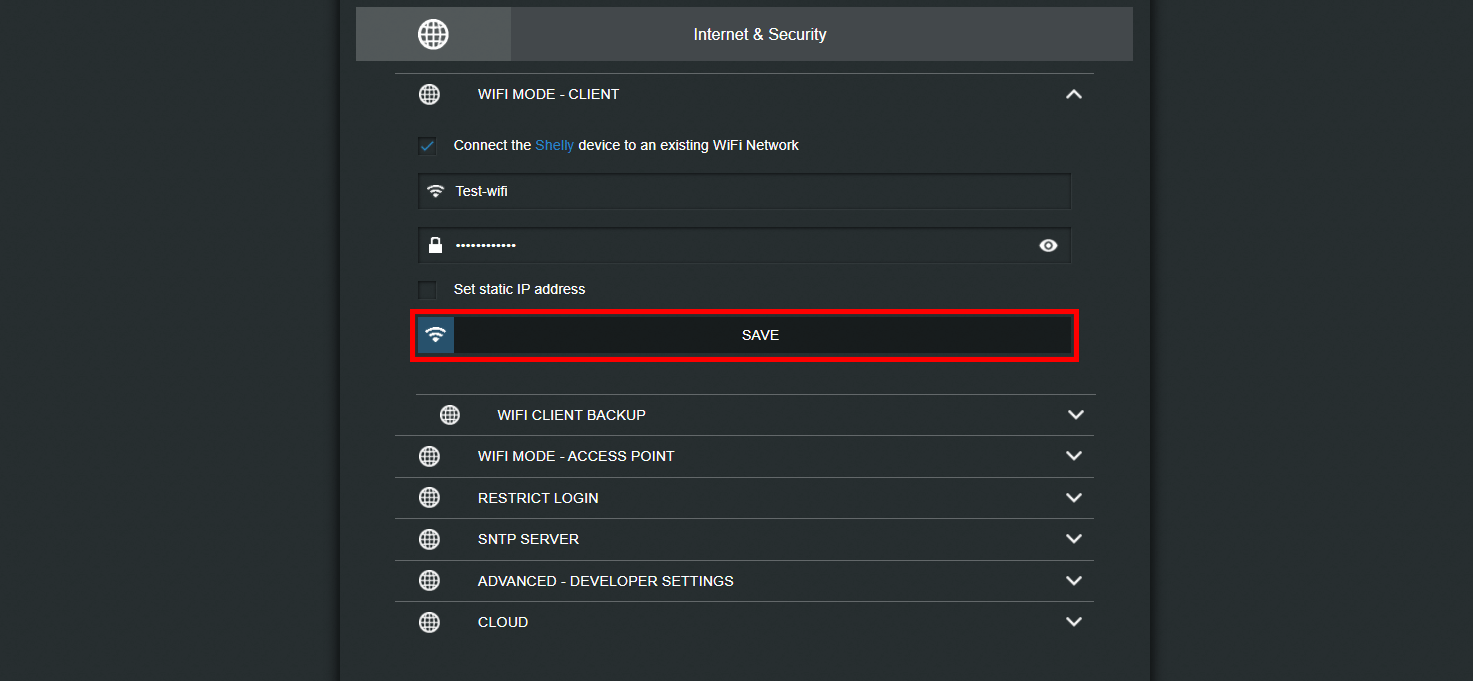
In order to connect the shelly device inside your local network, head to the “Internet security setting” menu and open the first tab called “Wifi mode client“.
Step 3:
Now insert your wifi’s credentials then hit Save. Once your did, the shelly device will try to connect into the network you have set in shelly web interface.
Step 4:
Reconnect into the shelly web interface once the shelly device is connected inside your local network, then enter the “Internet and security settings” menu and open the “Advanced developer setting” tab, finally check the box “Enable action execution via MQTT“.
Step 5:
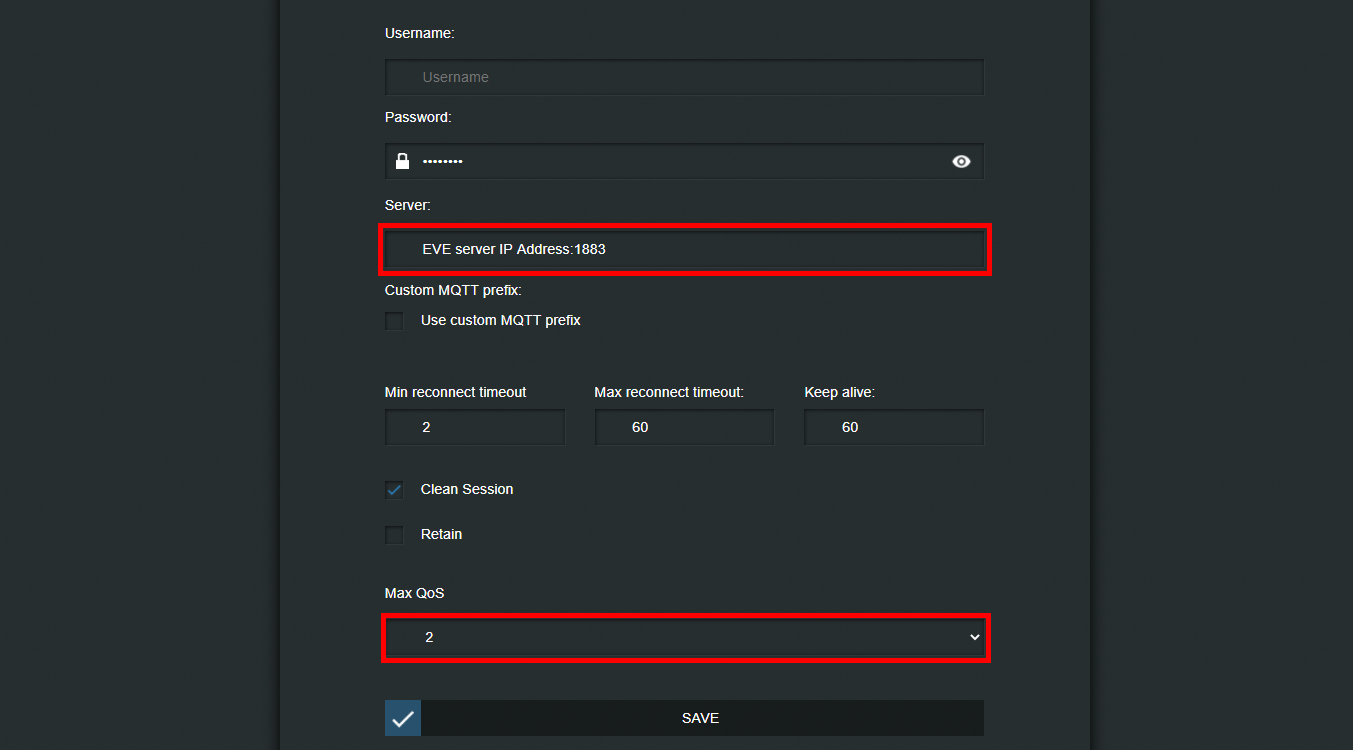
Now that we have enabled the “Advanced developer settings“, it is time to set the MQTT settings in order to allow the Shelly device to exchange data with the EVE server.
Set the server IP address by entering the EVE server’s IP, then set the QoS to 2 finally hit save.
Topic configuration
Step 6:
Open EVE Manager and create a new MQTT gateway inside the Gateway tab as explaned in this guide.
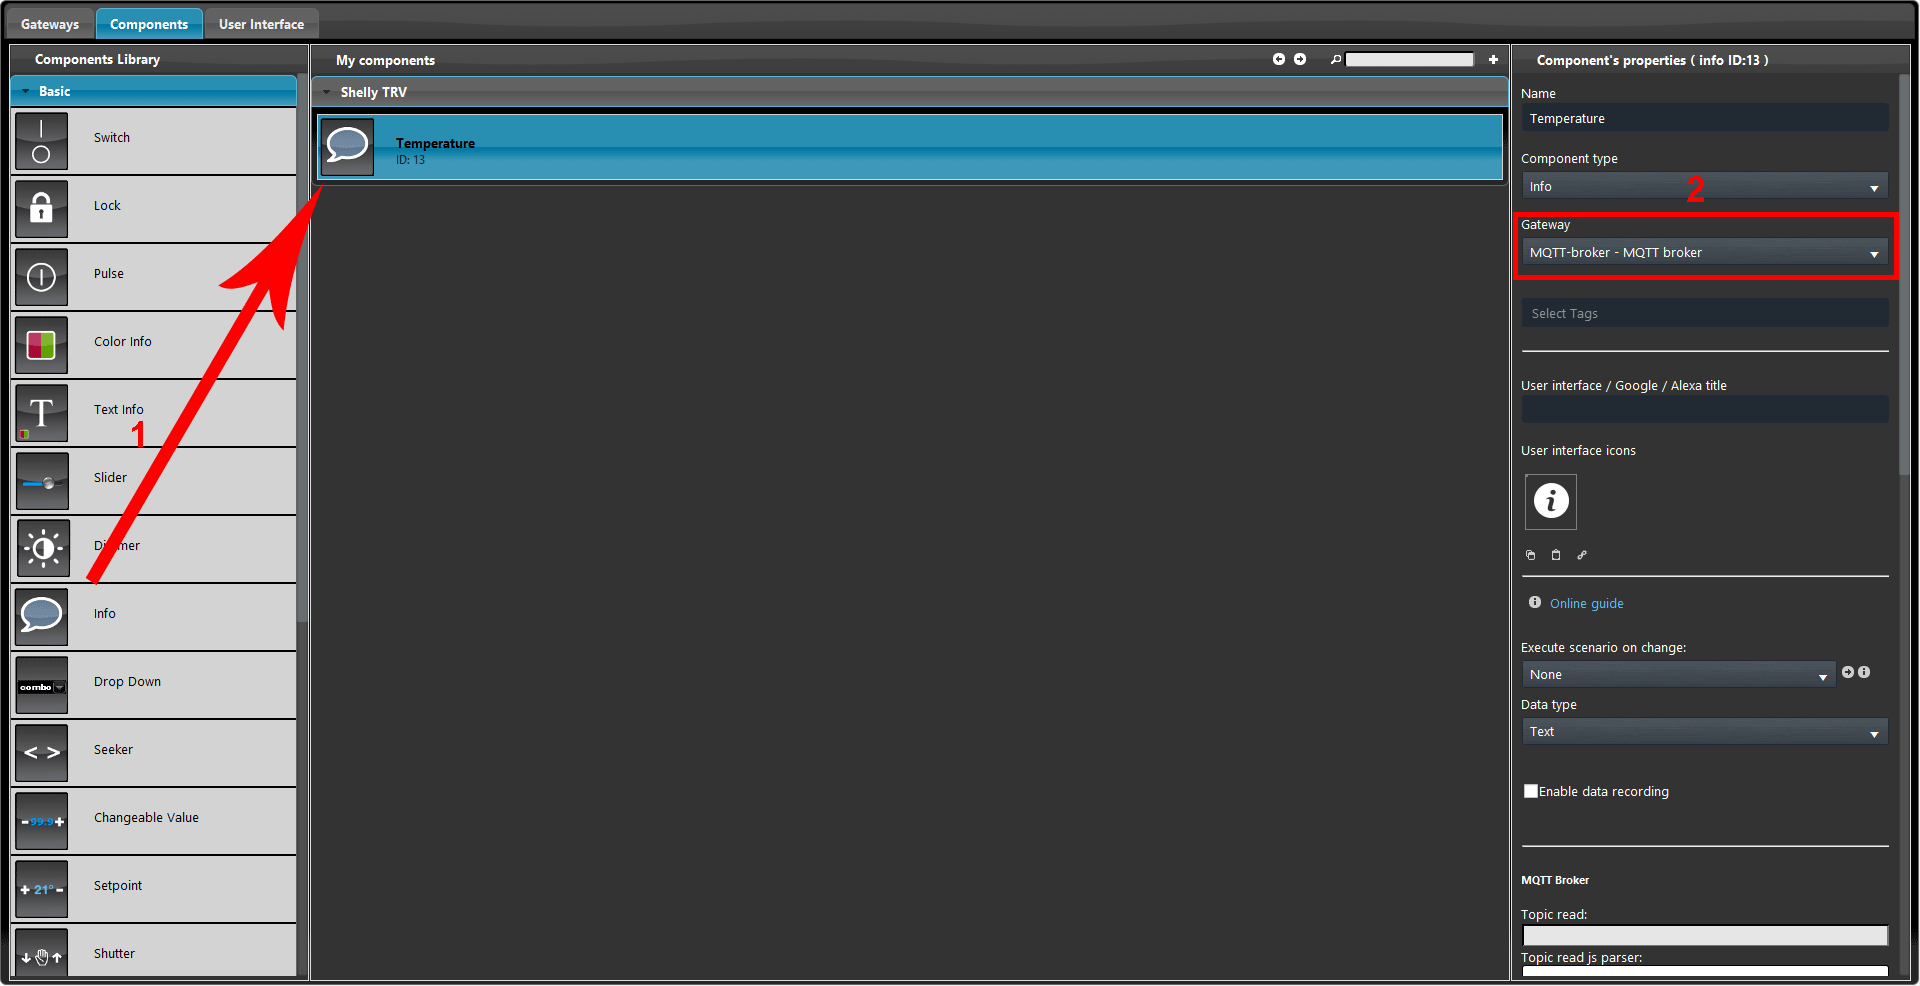
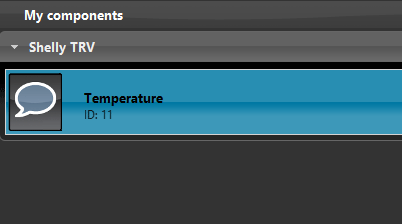
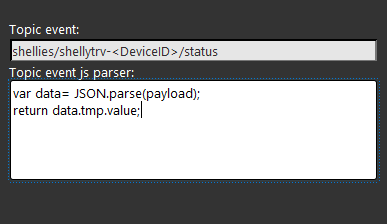
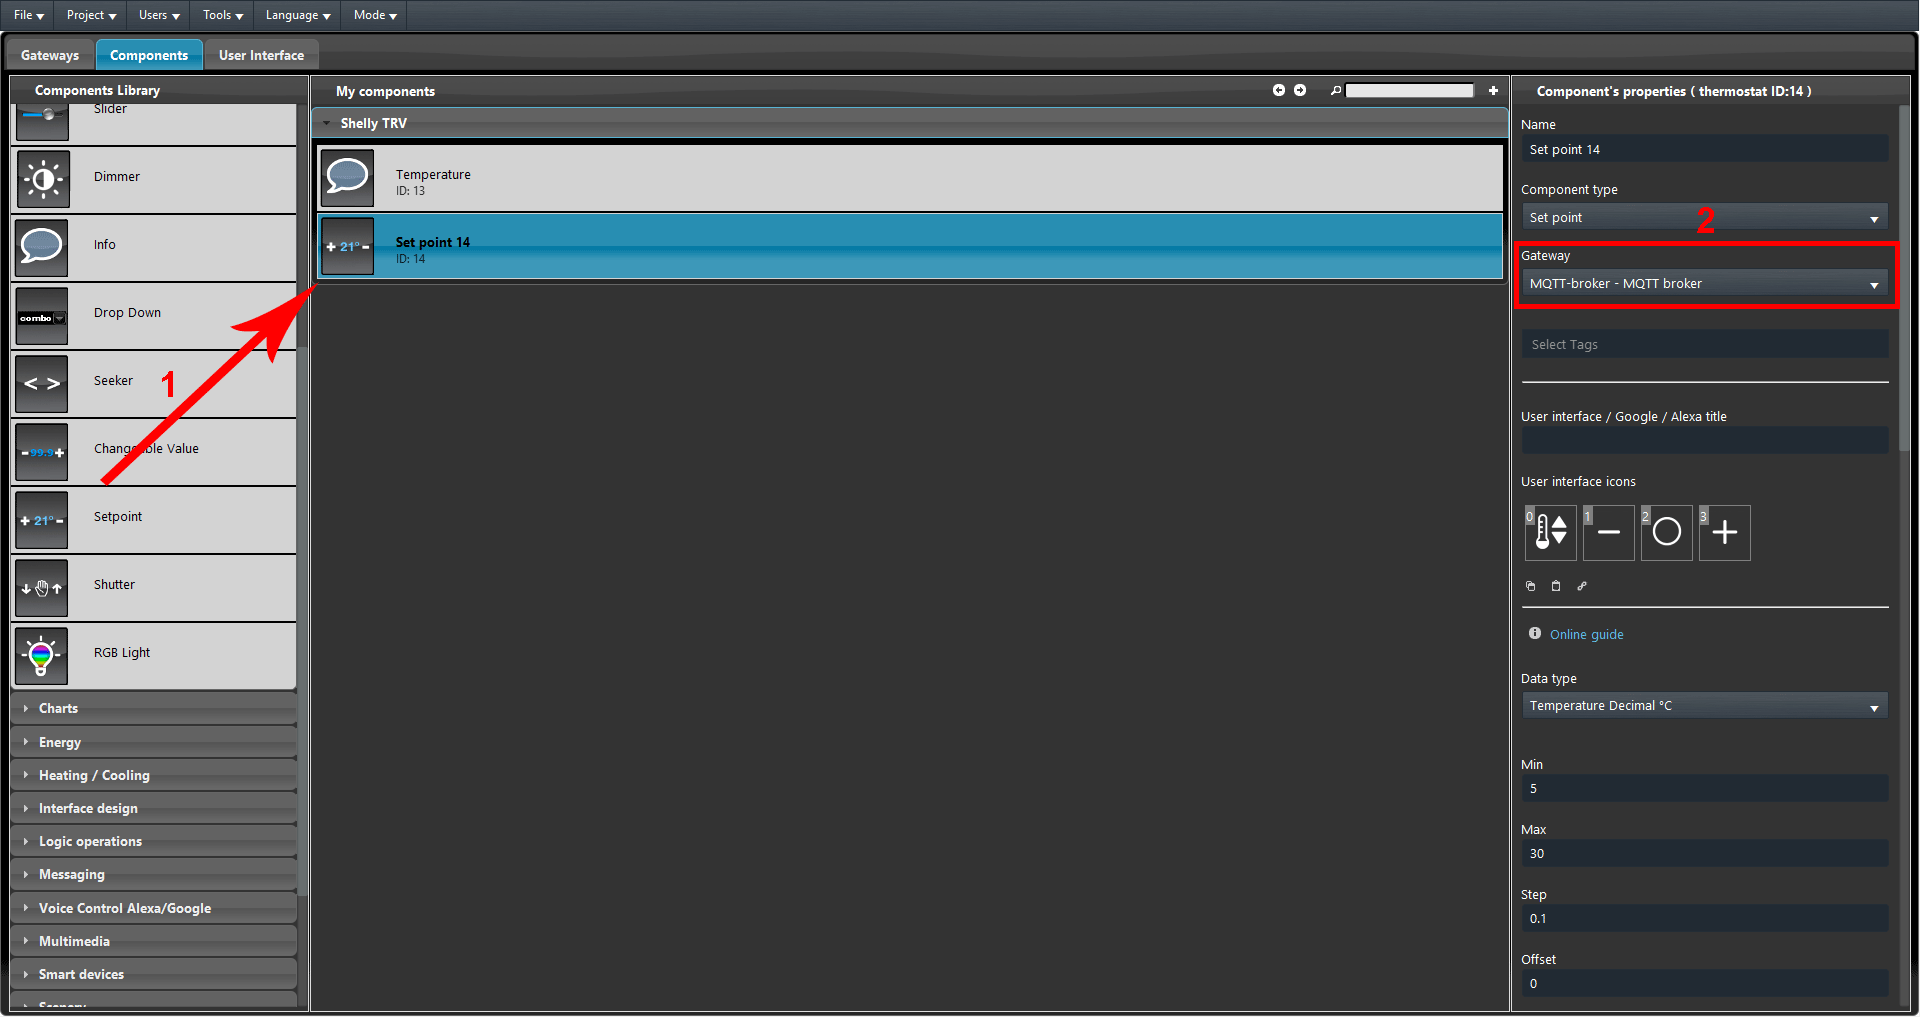
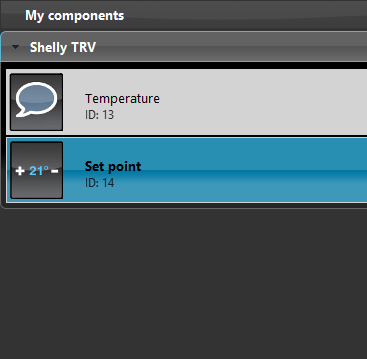
1. Now add a new Info component into the “My components” section. 2. Make sure the component’s Gateway is set with the one we just created (MQTT-broker).
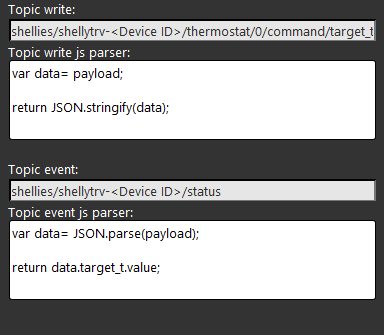
1. Add a new Setpoint component, 2. make sure it is set with the MQTT protocol (MQTT-broker).
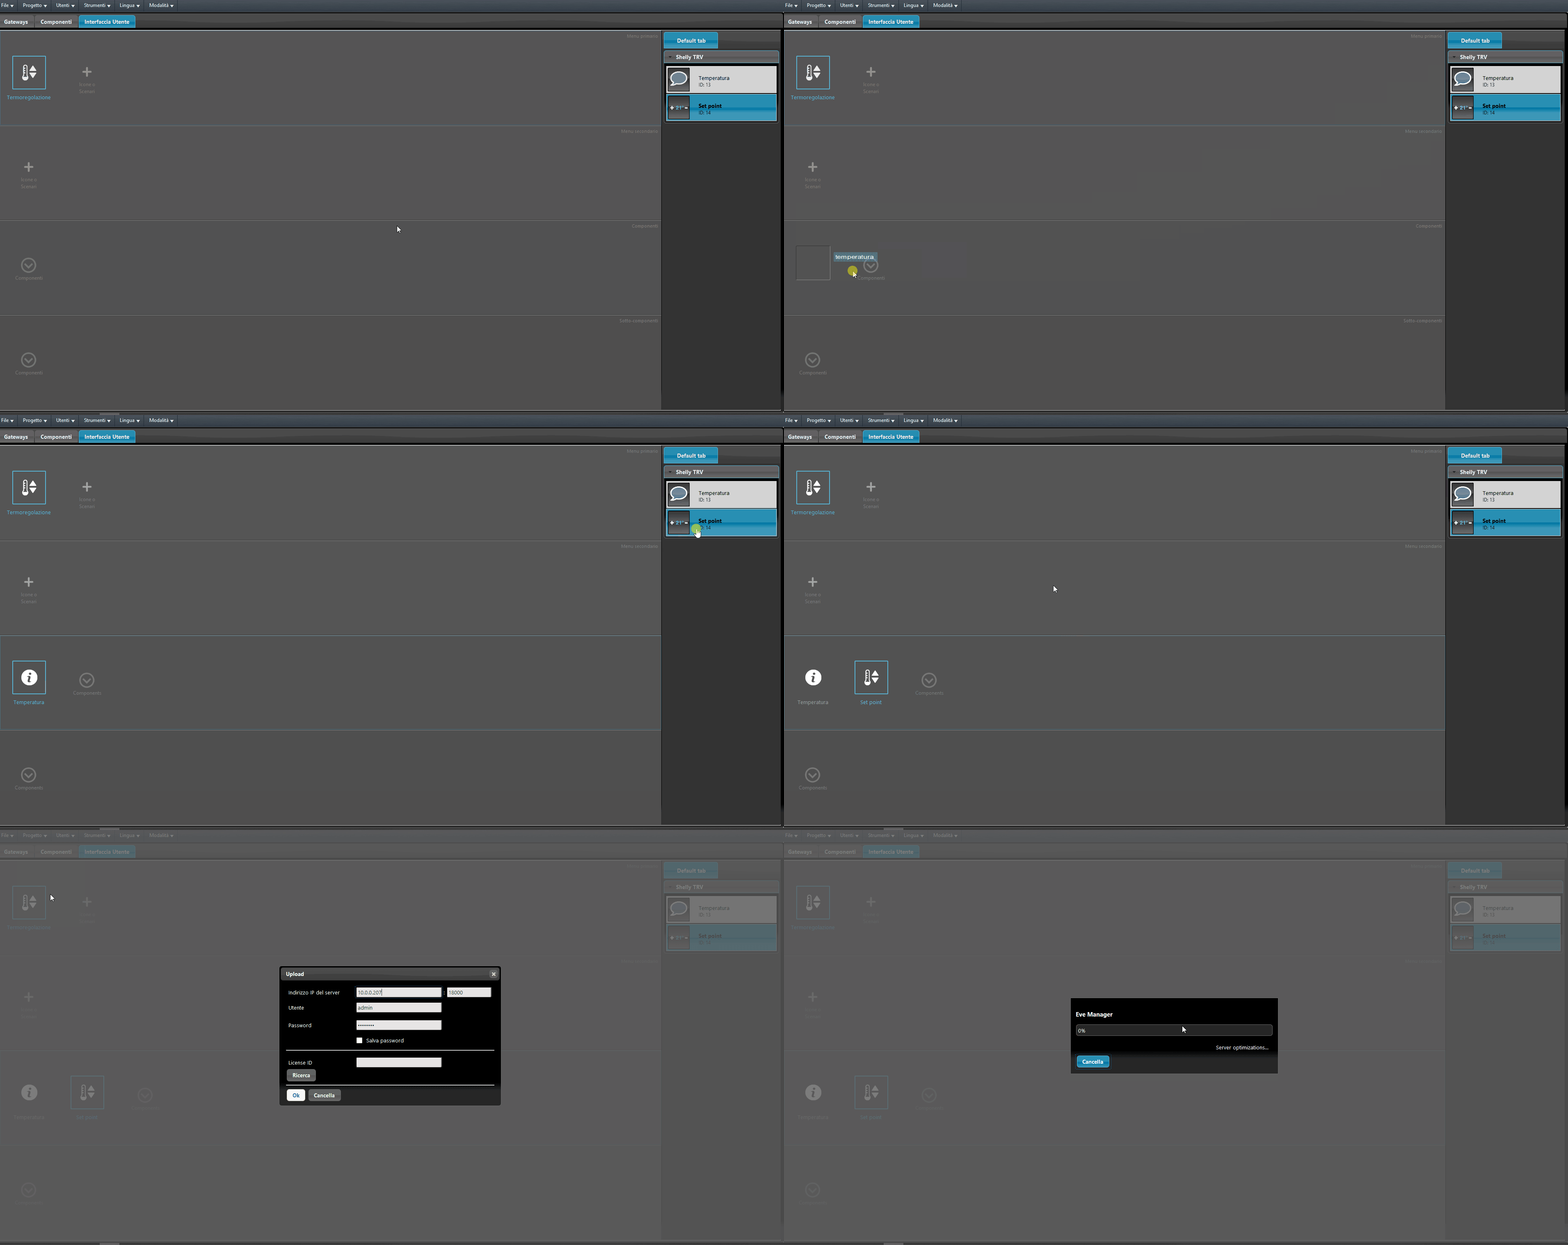
Now add the components into the User interface and Upload the project to the server.


