USER INTERFACE
INTRODUCTION
The end user can choose between two different user interfaces (Classic and Map). Ilevia Manager always provides the Classic arrangement as the default interface for each new user of the project. However, it is possible to easily edit this setting by getting access to the specific user management panel and changing the “User interface style”. Doing so, the arrangement of the user interface tab adapts itself depending on the selected user and its specific settings.
If the customer requires the creation of both interfaces, you will need to create two separate users and set a different style for each one of them. (Please refer to “Multiuser management” guide).
Interface creation
Now let’s see how to create the Classic user interface and a specific Map user interface:
– Classic interface, for a quick interface creation suitable for mobile devices;
– Map interface, where no choice is left to chance, 100% customization.
OVERVIEW
Once defined the user interface style that will be used by the end-user, proceed with the selection of the specific selected user. Both “Classic Interface” and “Map interface” tabs are arranged into two different areas:
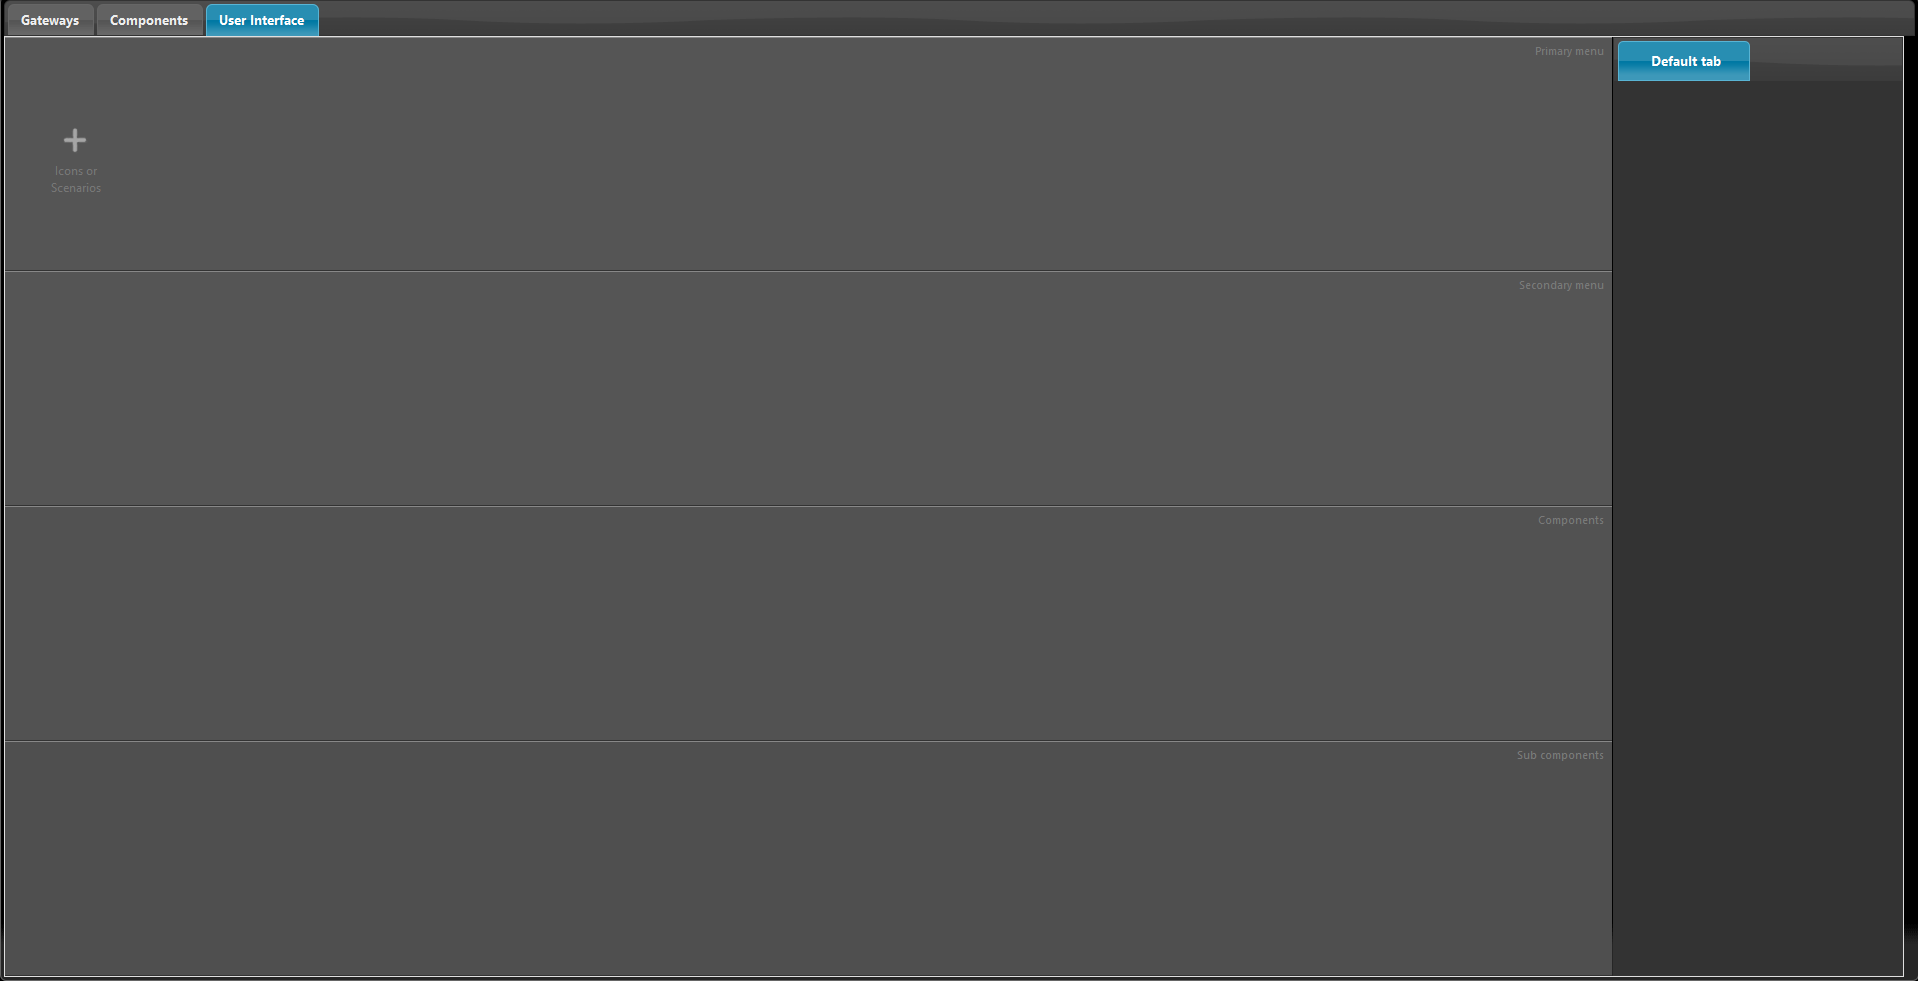
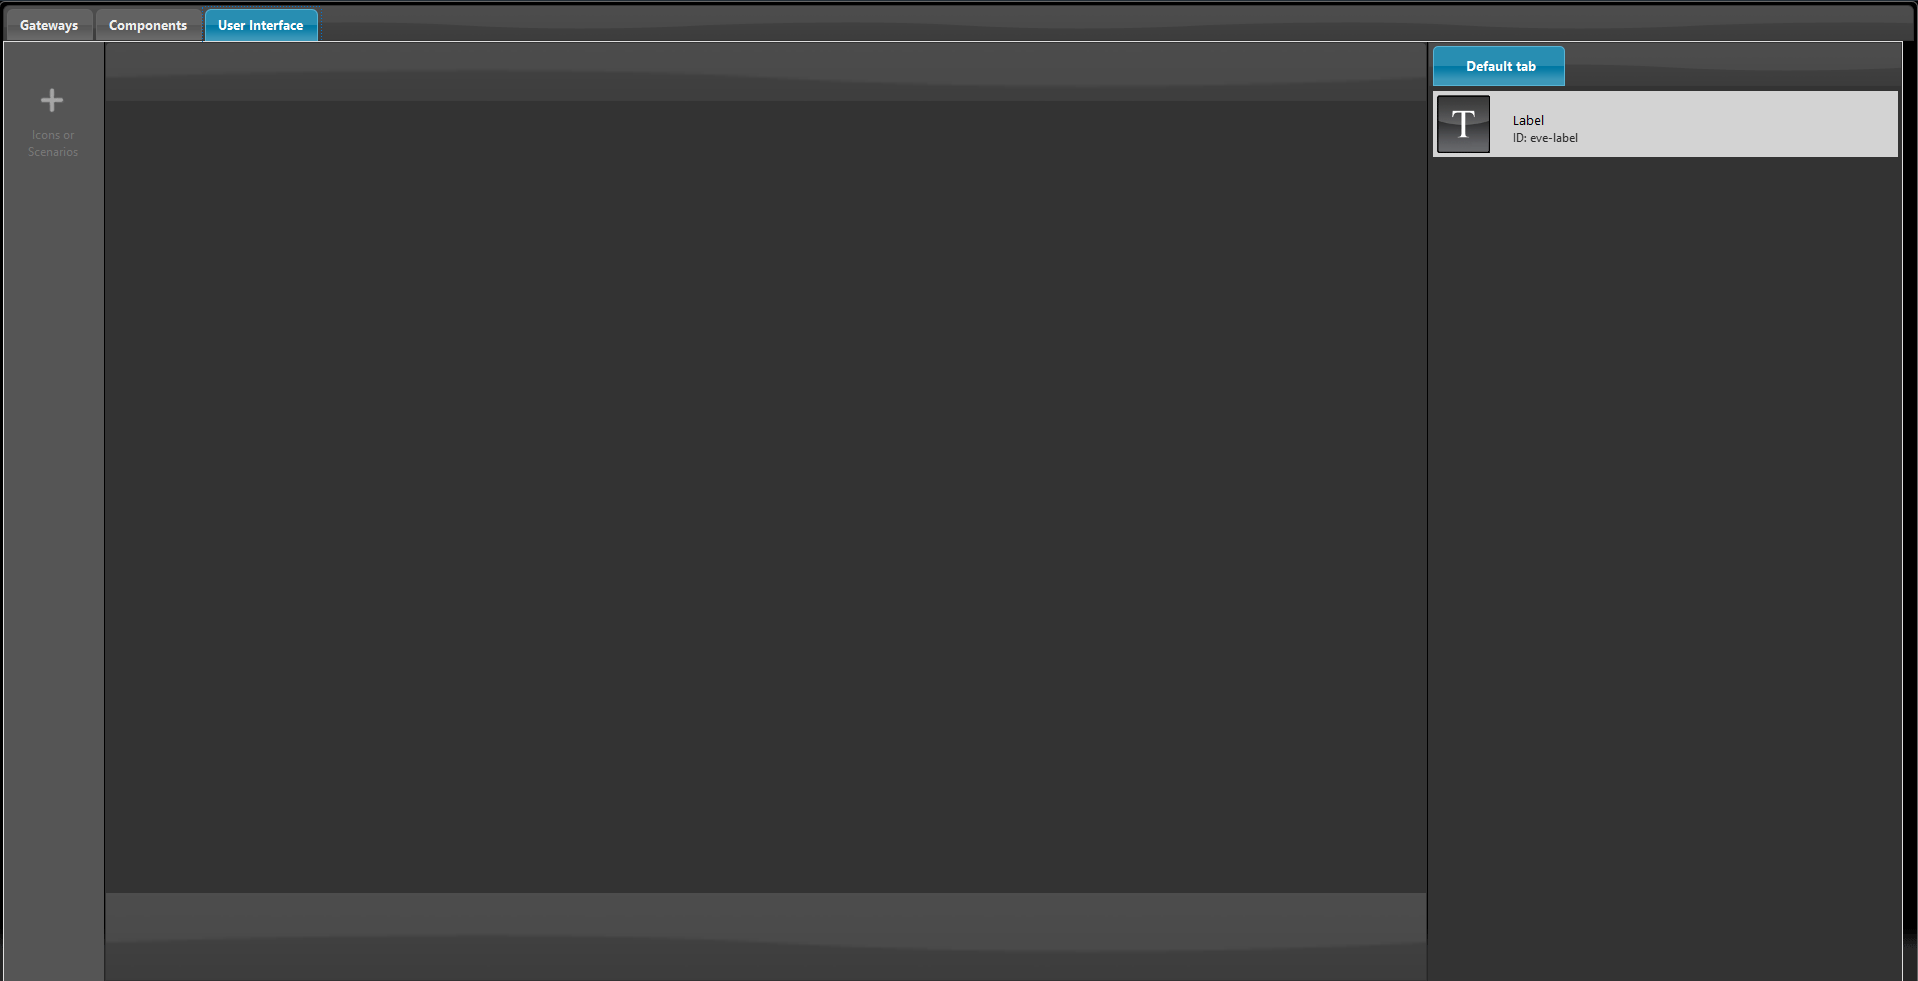
1. Icons / My components area (right area): this area is subdivided into 2 different tabs:
- Icons tab contains all EVE icons that are available to you for your interface customizations.
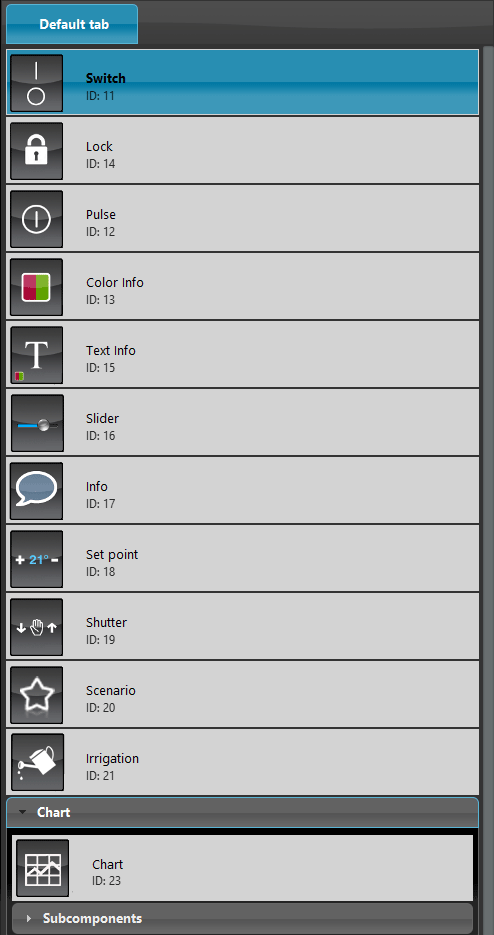
- My components tab contains all the components of your project (please refer to “Components library” guide).
2. Interface area (left area): this area on left is where you will arrange the user interface.
It changes depending on the style you have chosen.
Classic User Interface Editor
Map User Interface Editor
NEW ILEVIA MANAGER USER INTERFACES
INTRODUCTION
From Ilevia Manager 5.9.7.0 there has been a huge update user interface-wise, that allows much more customization on the programming level. This new User interface creation style makes components’ placing and customizing faster.
Icon selection for menus
Unlike the previous User interface menu icons picking method, where you were asked to drag and drop the icon/component from the Icon menu on the right side of the editor, in the new user interface editor the icon picking can be carried out directly from the user interface menu area it self by double clicking on top of the object you want ot add.
Classic User Interface Editor
Map User Interface Editor
Components’ interface placement
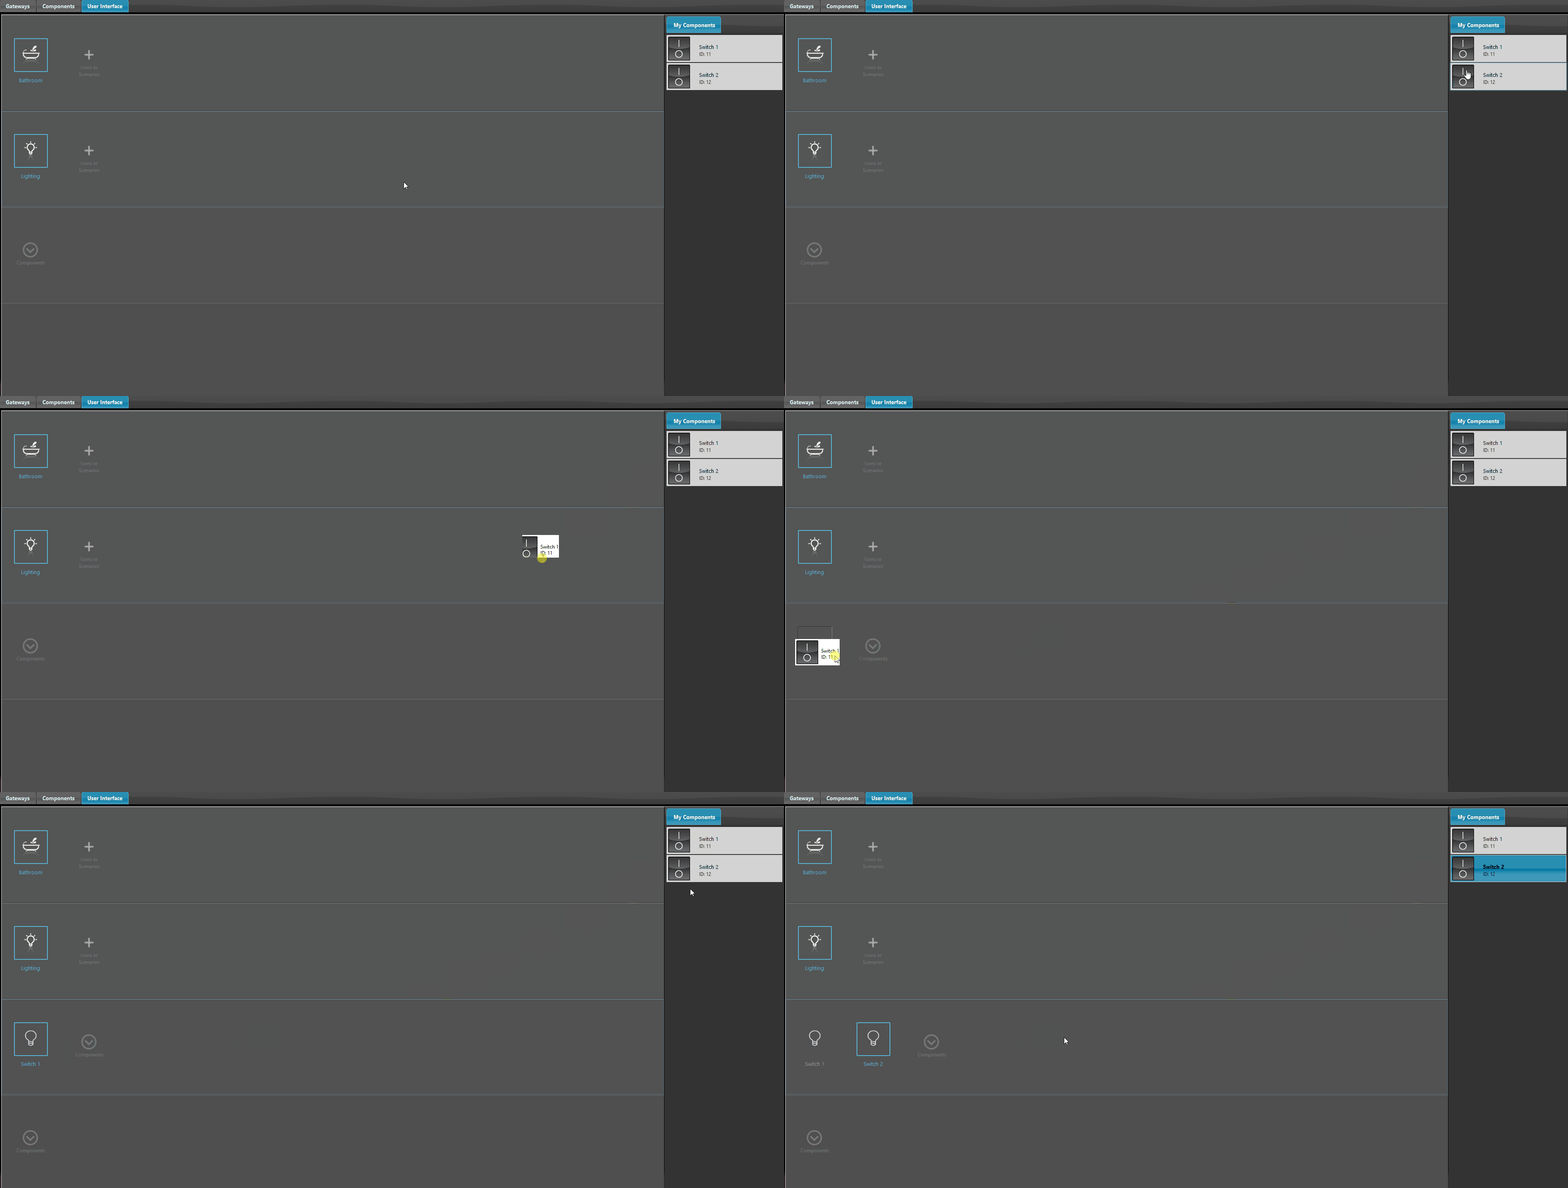
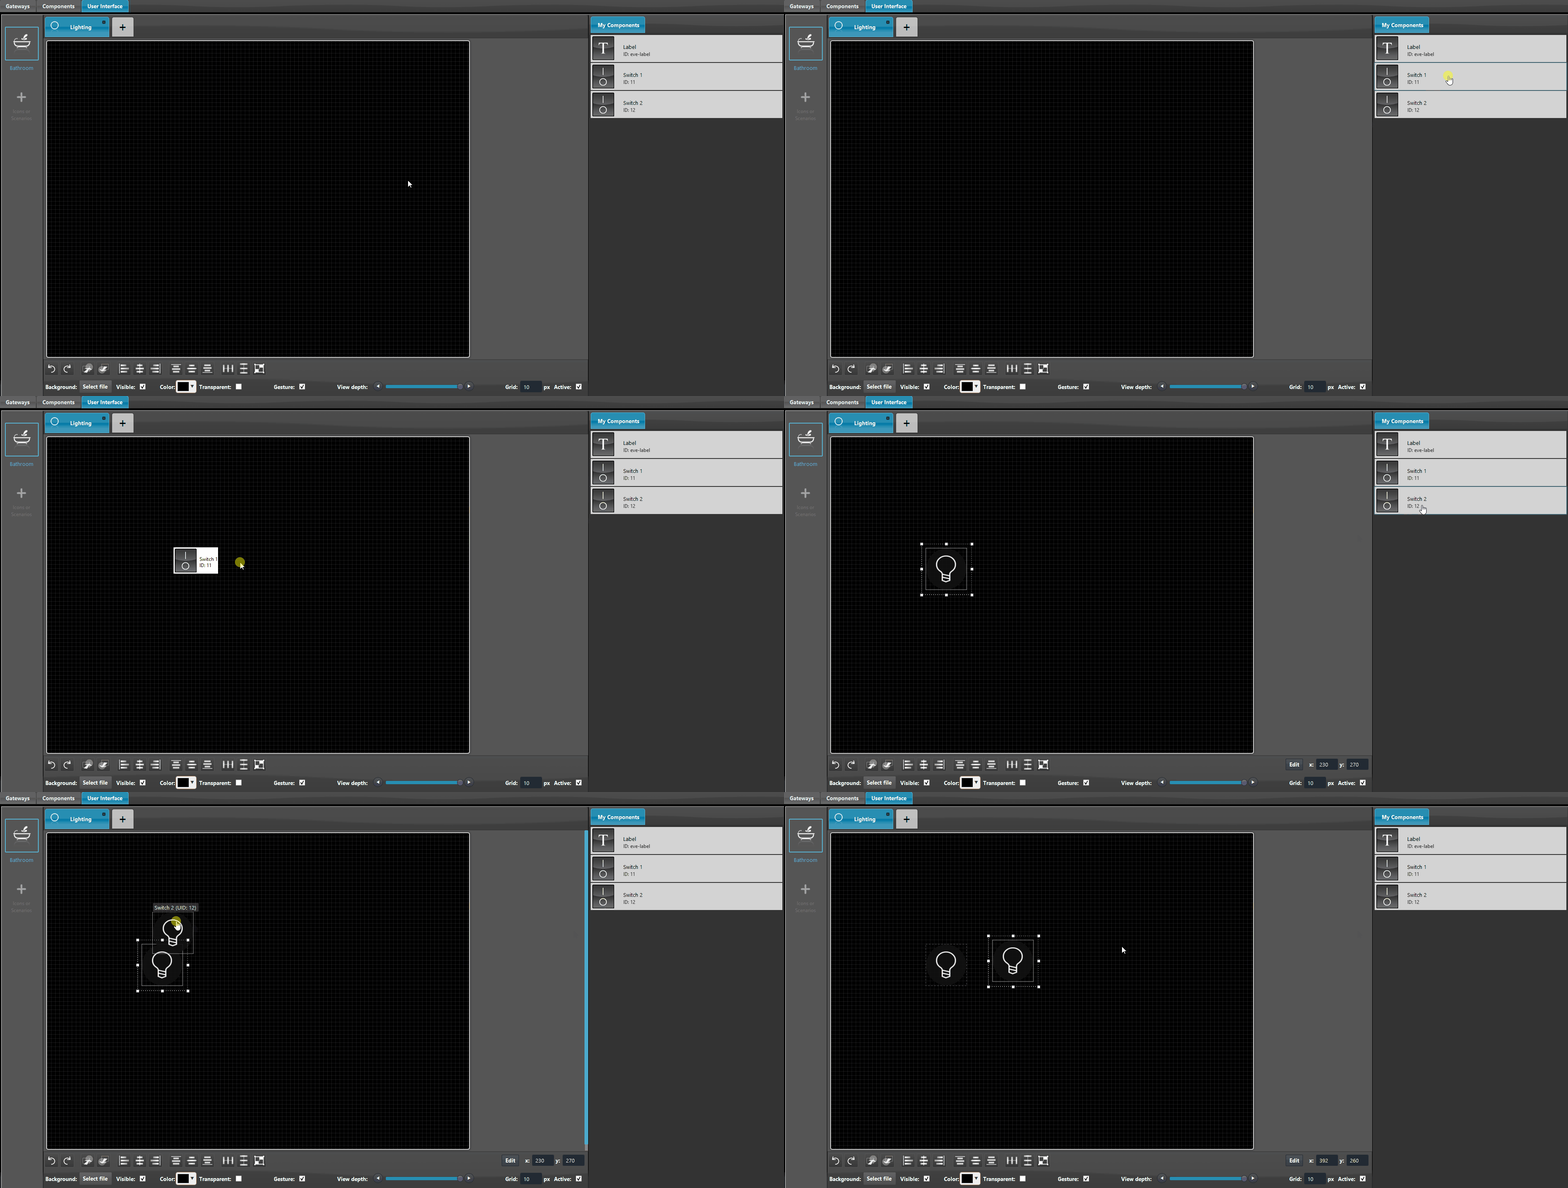
In order to place the components in the User interface area, you can now just double click on the desired component to place it inside the user interface area without drag and dropping it from “My components” on the right side of the screen.
Note: The component placement needs at least one main menu placed inside the user interface editor.
Classic User Interface Editor
Map User Interface Editor
Keys shortcuts
The Key shortcuts make the user interface editing faster and easier to user. Below is shown the list of possible Key shortcuts.
| Key combination | Command |
| CTRL + C | This key combo after selecting a component from the editor you will be able to copy it. |
| CTRL + V | This key combo the last component you copied or cut will be pasted inside the editor. |
| CTRL + X | This key you will cut the current selected component from the User interface editor. |
| CTRL + Z | This key combo you will be able to undo the past actions you made within the User interface Editor. |
| CTRL + Y | This key combo you will be able to Redo the last action you made within the User interface editor. |
| CTRL + E | This key combo you will be able to access the selected component’s editor. |

