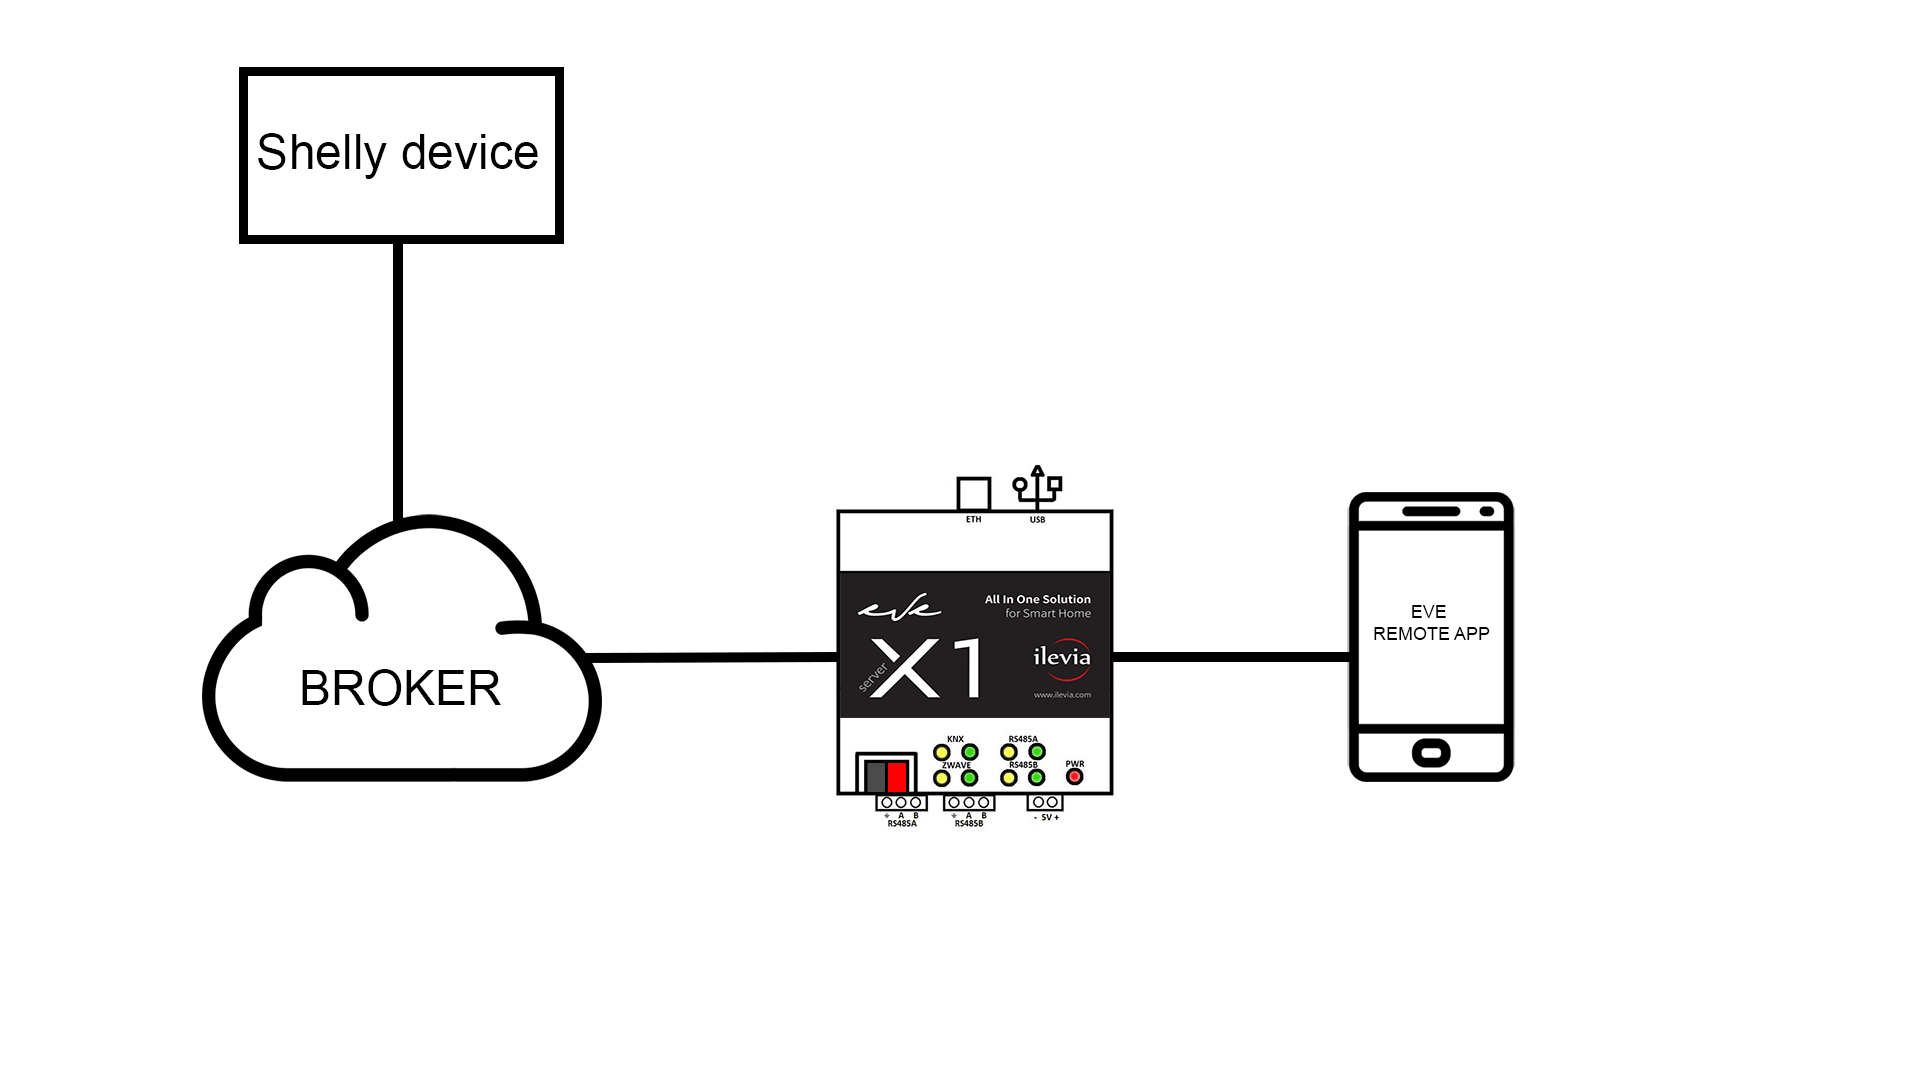
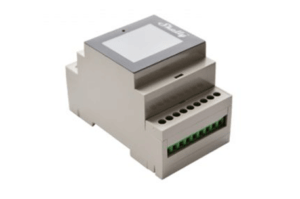
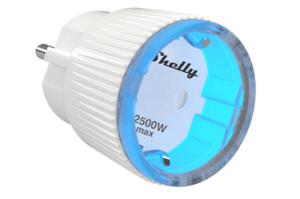
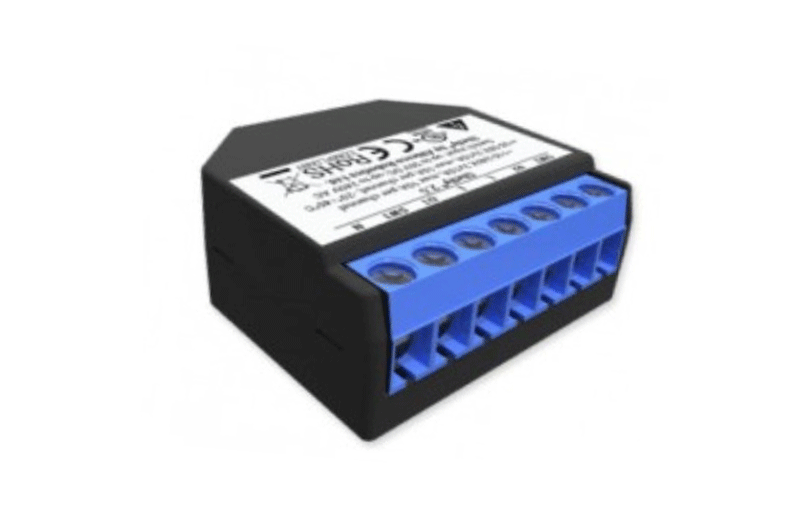
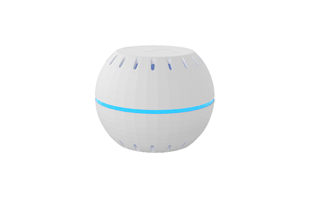
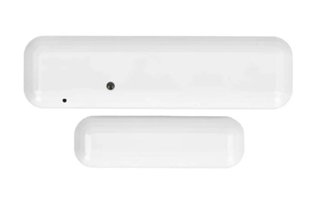
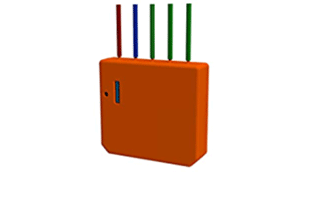
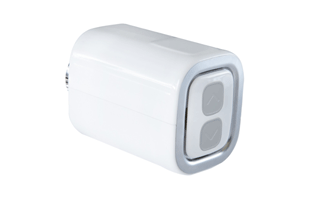
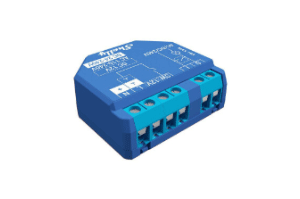
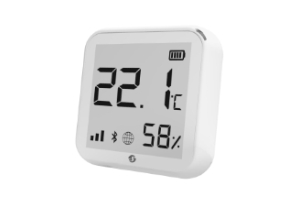
HOW EVE AUTOMATION SOFTWARE WORKS WITH SHELLY
MQTT is a low weight publish-subscribe protocol.
This protocol is made by two parts:
- The client (someone connecting to a broker).
- The broker (the one who has the credentials of all the users and allow you to connect and trade information with components that can work with MQTT protocol).
You can find more information about the MQTT protocol here.
All our systems, X1 server, virtual machine and raspberry pi are able to work as brokers and servers.
Before starting verify these parameter to be correctly set:
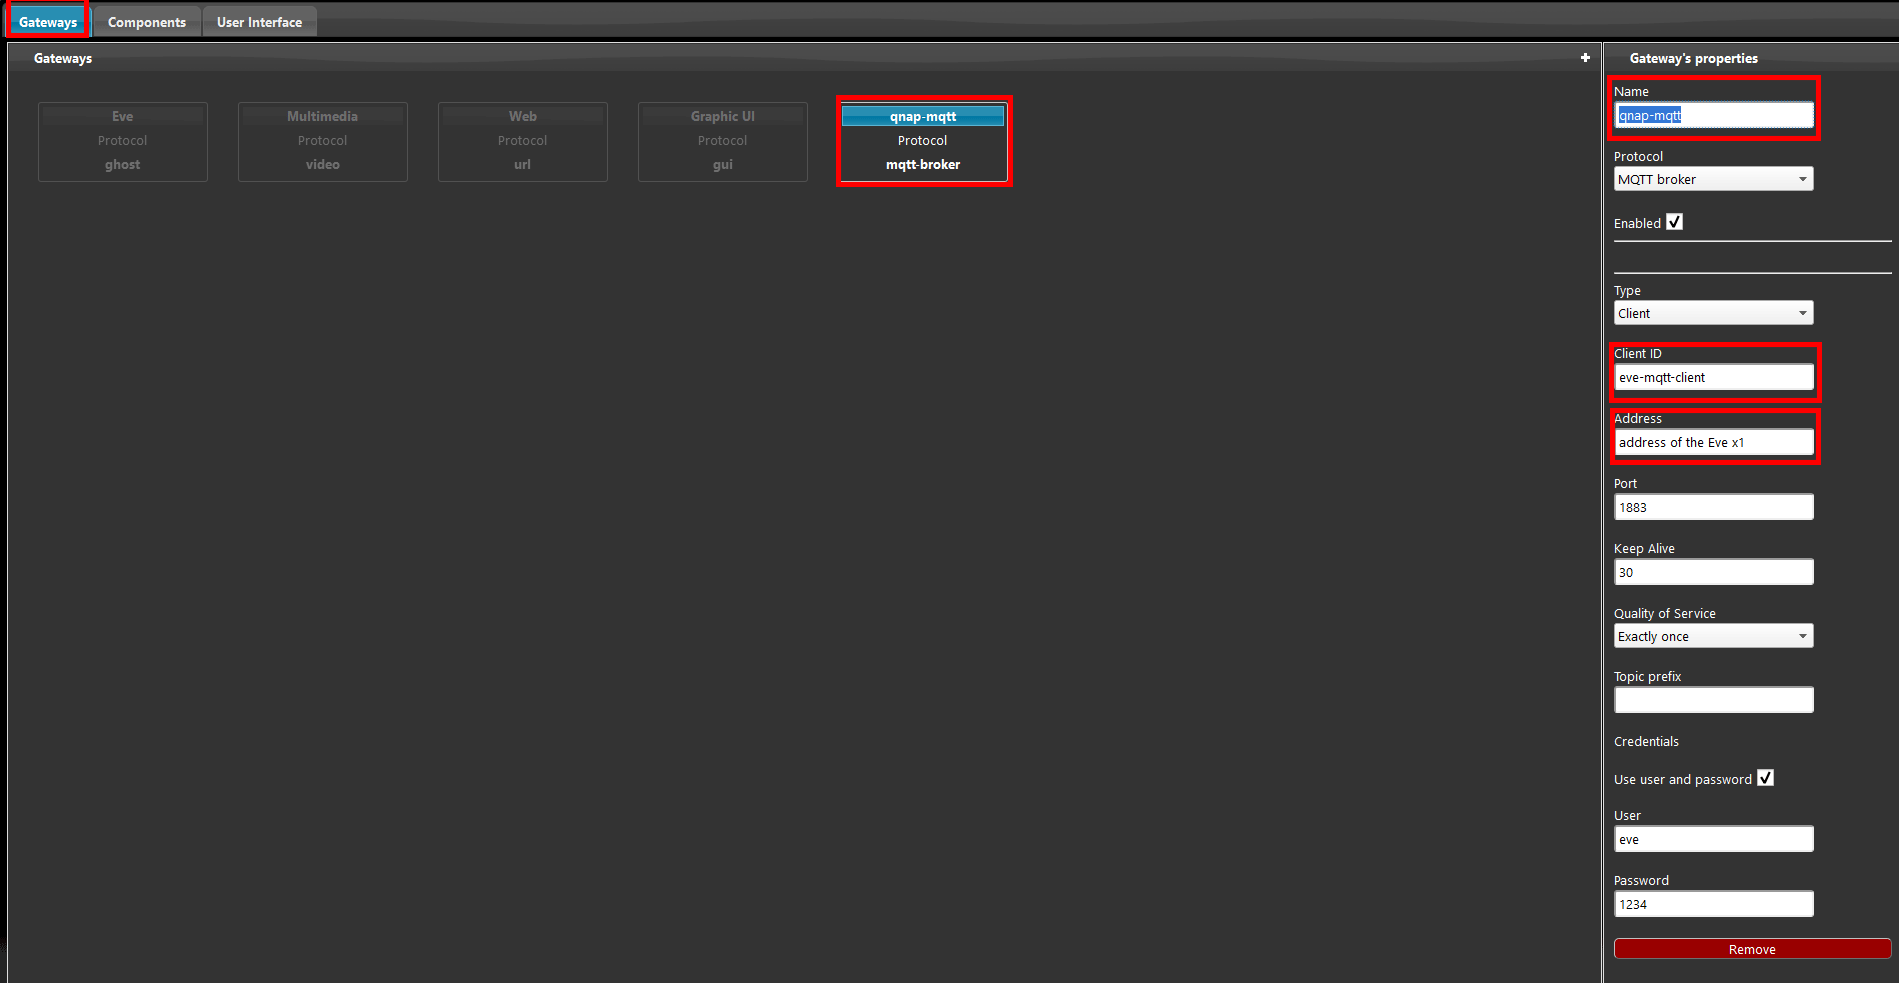
- Create a new gateway and set it in MQTT broker.
- The default client id should be set to: “eve-mqtt-client“.
Anyway you can call it as you like, if you need to create more then one client make sure you choose a different name from the default one.
- The default open port in the server should be: “1883“.
- The default parameter used to maintain the istance open should be: “Keep alive” (even if you are not sending any command).
- Set Quality of Service (QoS) to: “exactly once” (This option guarantees that each message is received only once by the intended recipients).
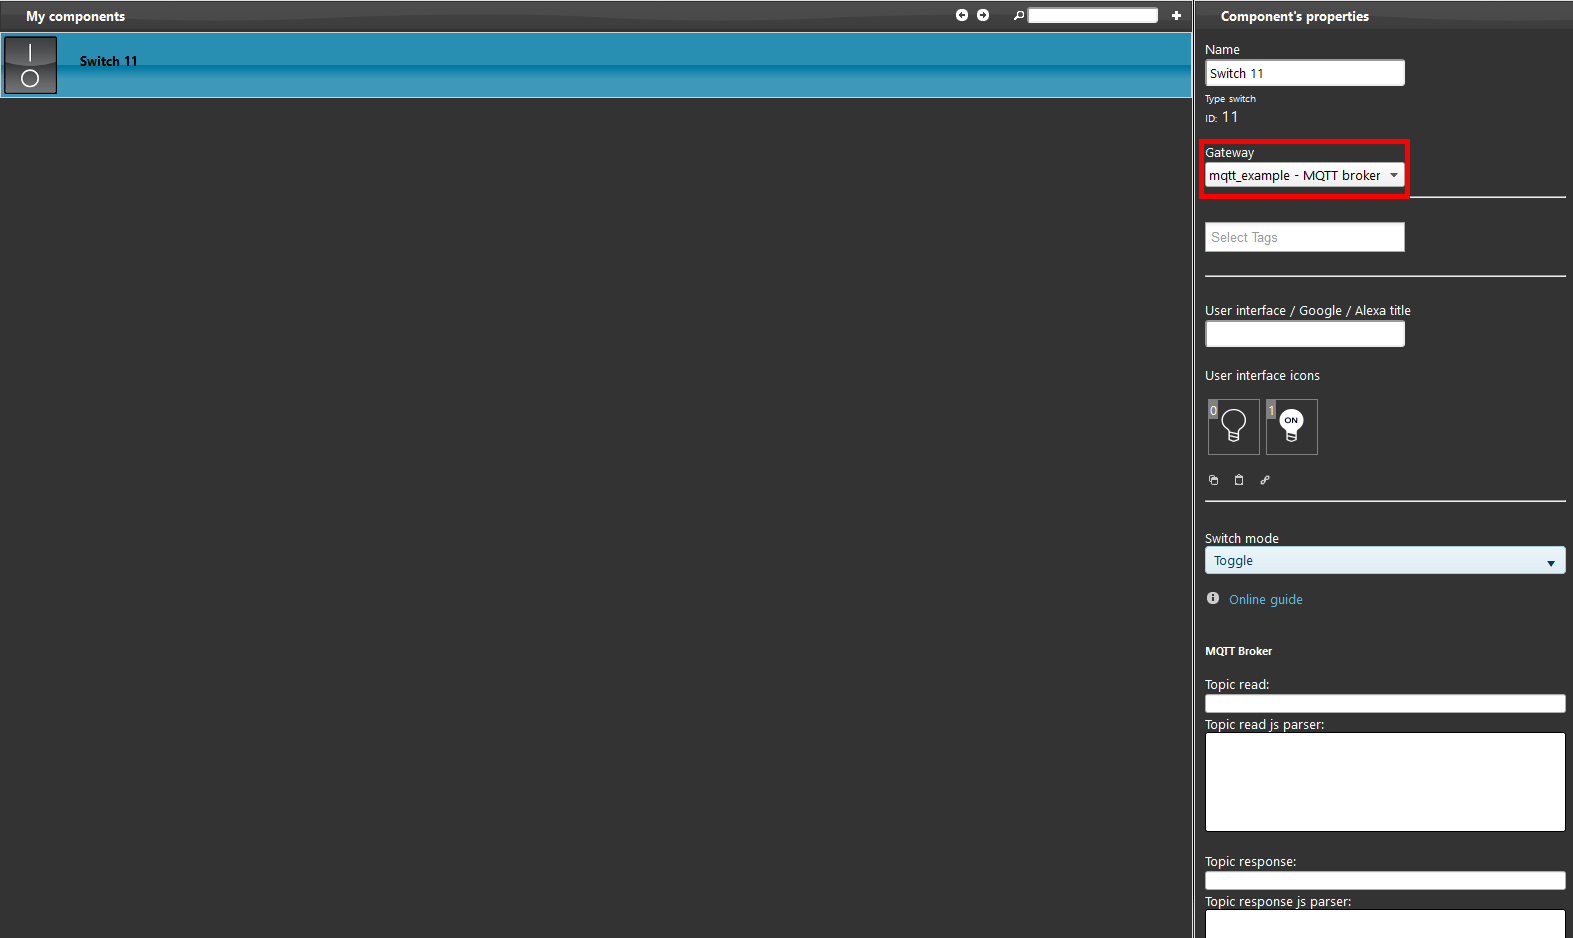
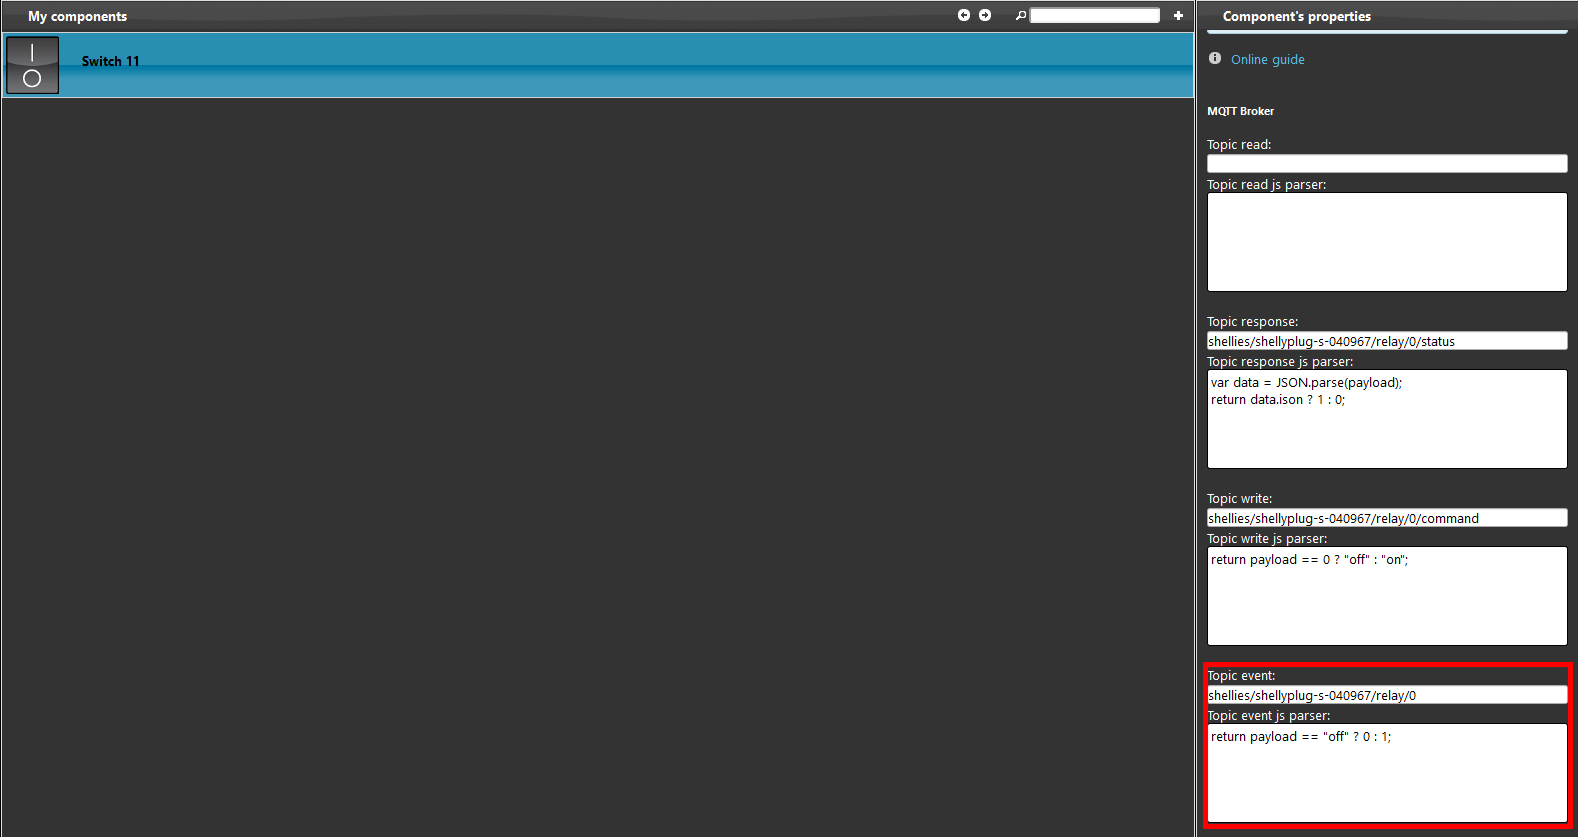
Add a component within my components area, make sure it has the MQTT protocol selected as shown in the picture below.
TOPICS
The topics are: read, event, wirte and response.
Each topic has a different type of message that the MQTT broker uses to filter messages for each connected client, the topics are composed in levels divided by slash
Example: home/livingroom/light
Topic read: Is used to retreve the status of the devices.
Topic response: Is the device reply to the automation server read request.
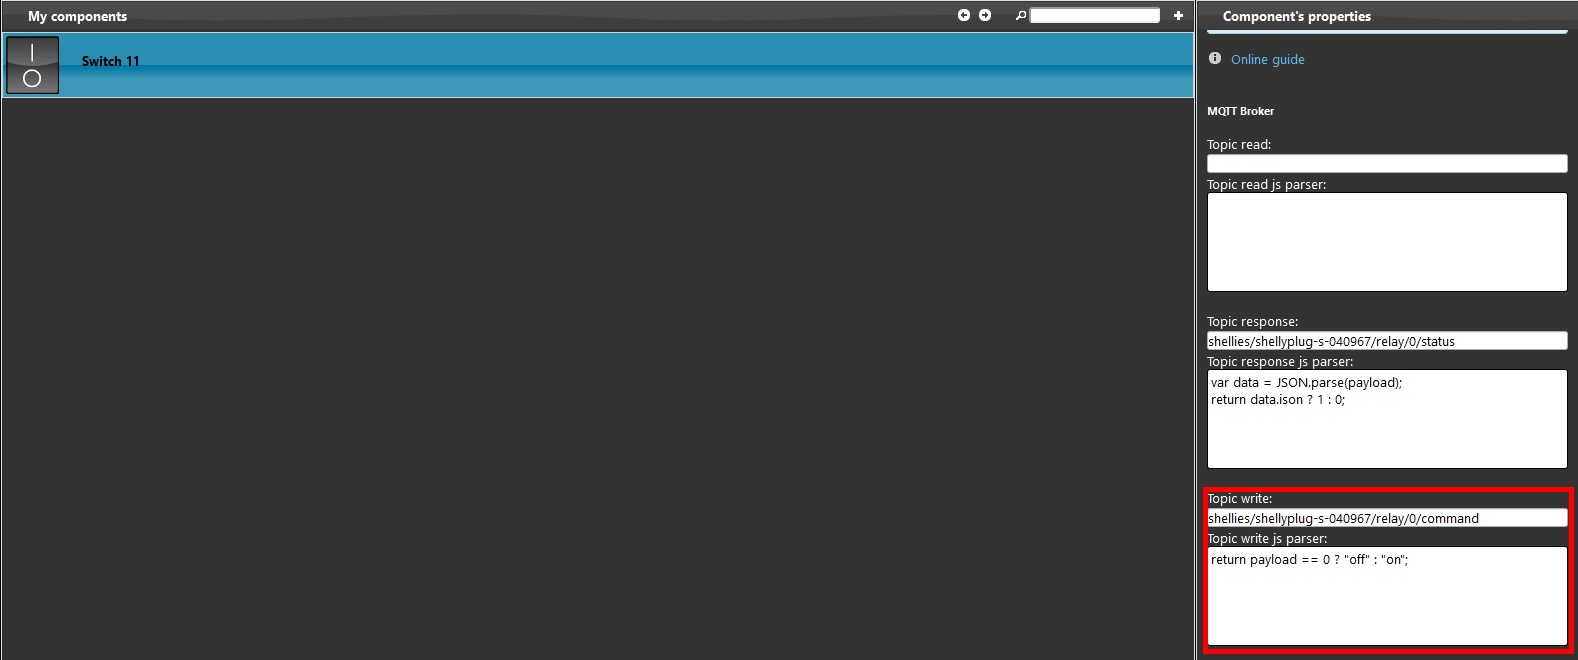
Topic write: This topic is used to set the value of a device parameter.
Topic event: This topic display the status of the device in case it changes.
A payload is a piece of code that contains a javascript function.
For each topic is executed a javascript function to process the topic payload.
var data = JSON.parse(payload);var color = {“mode”:”color”,”red”:data.r,”green”:data.g,”blue”:data.b}; return JSON.stringify(color);
“Topic responce“: In here you have to write the correct topic base on the device you want to control (you can find all shelly topics from this page).
“Topic write“: In here you have to write the correct topic base on the device you want to control (you can find all shelly topics from this page).
“Topic event“: In here you have to write the correct topic base on the device you want to control (you can find all shelly topics from this page).
To verify if the device is working properly download the open source software MQTT-fx,
this will allow you to check the information that the broker is receiving from the device.
Install the software in your computer.
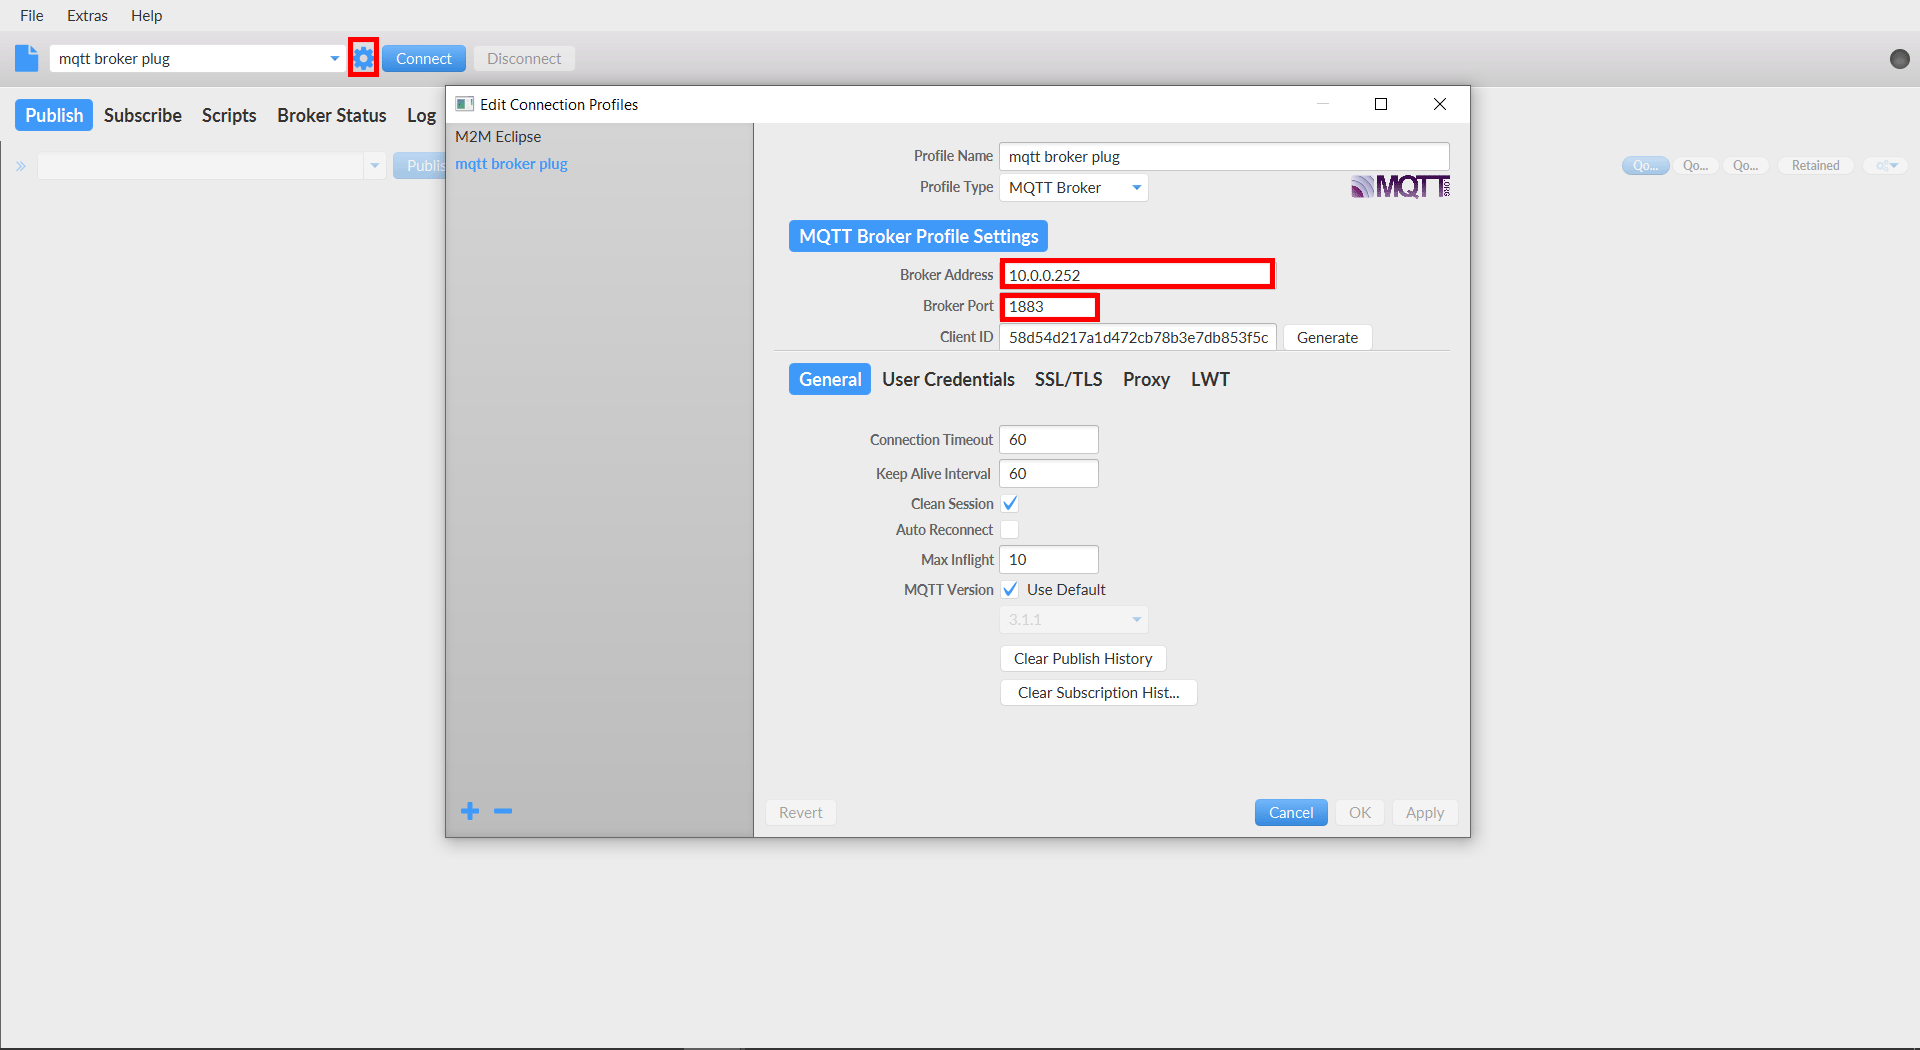
The next step will be setting the broker inside the software settings, click on the gear icon near the first text box, then put your EVE X1 IP address and the port 1883.
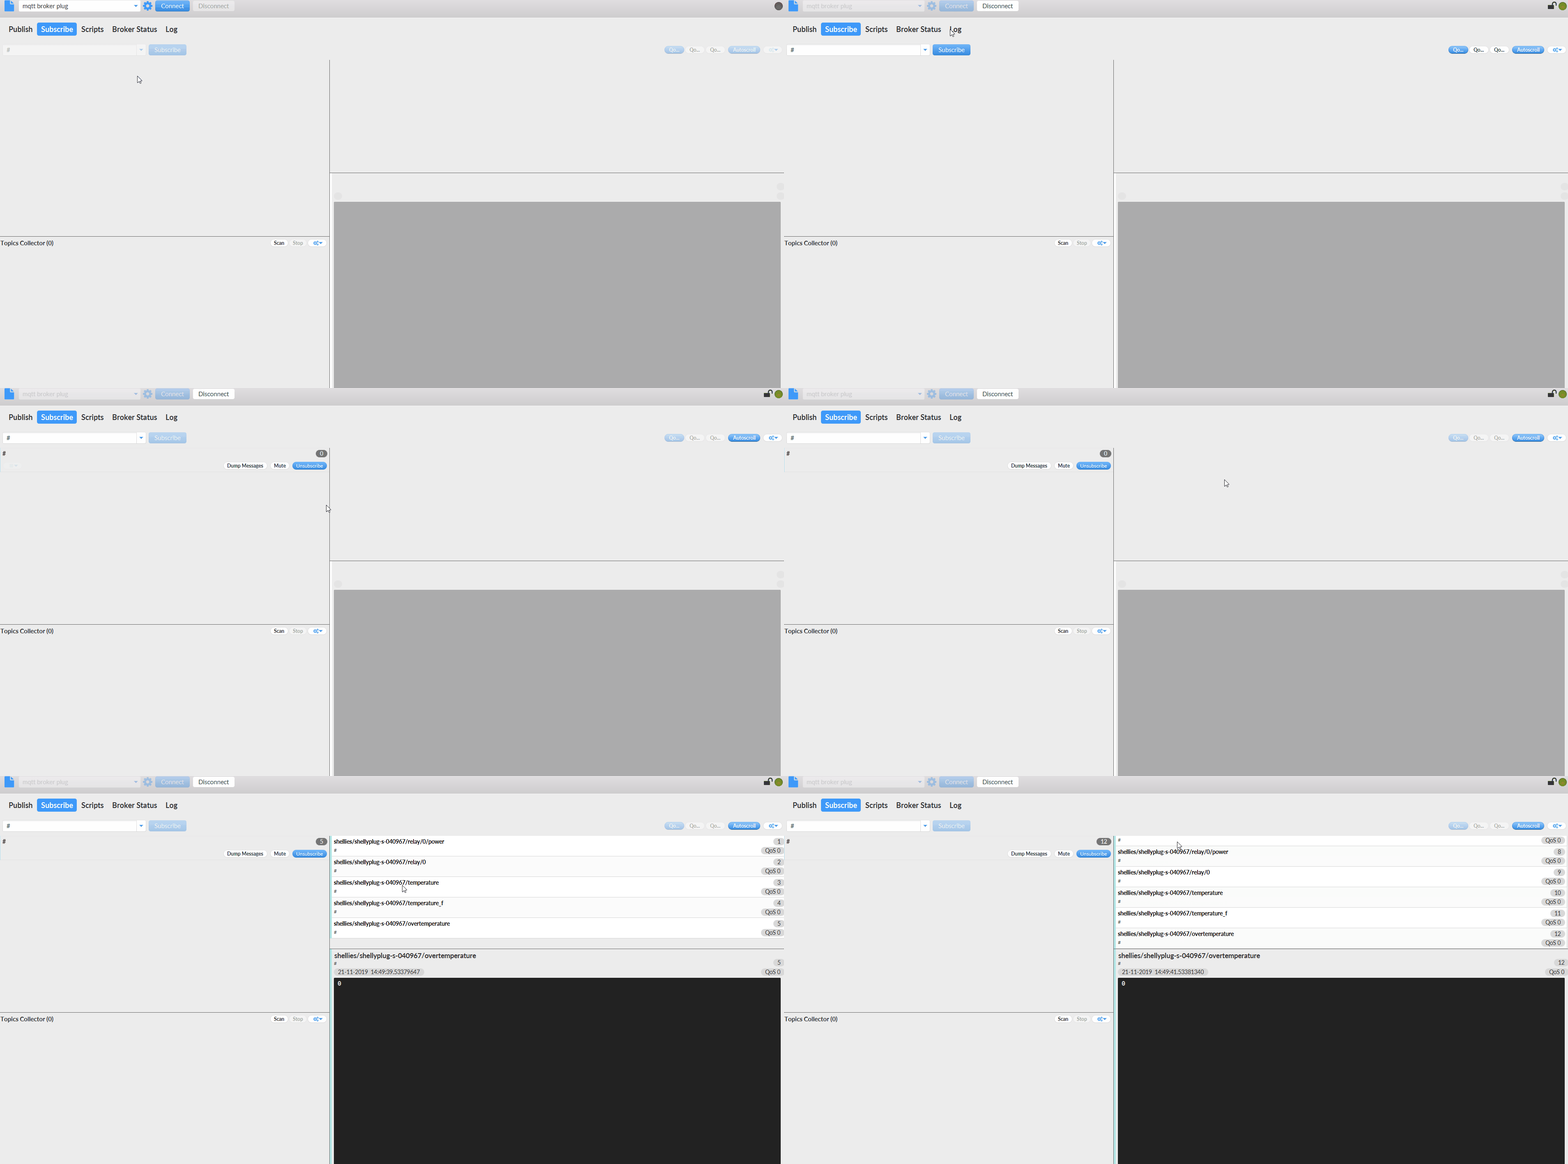
To subscribe to all the topics write the symbol # (ash)
Click on the button subscribe and if a connection has been established, you should be able to see a series of messages; those messages are the sign that your shelly device has established a sucesfull connection with broker.
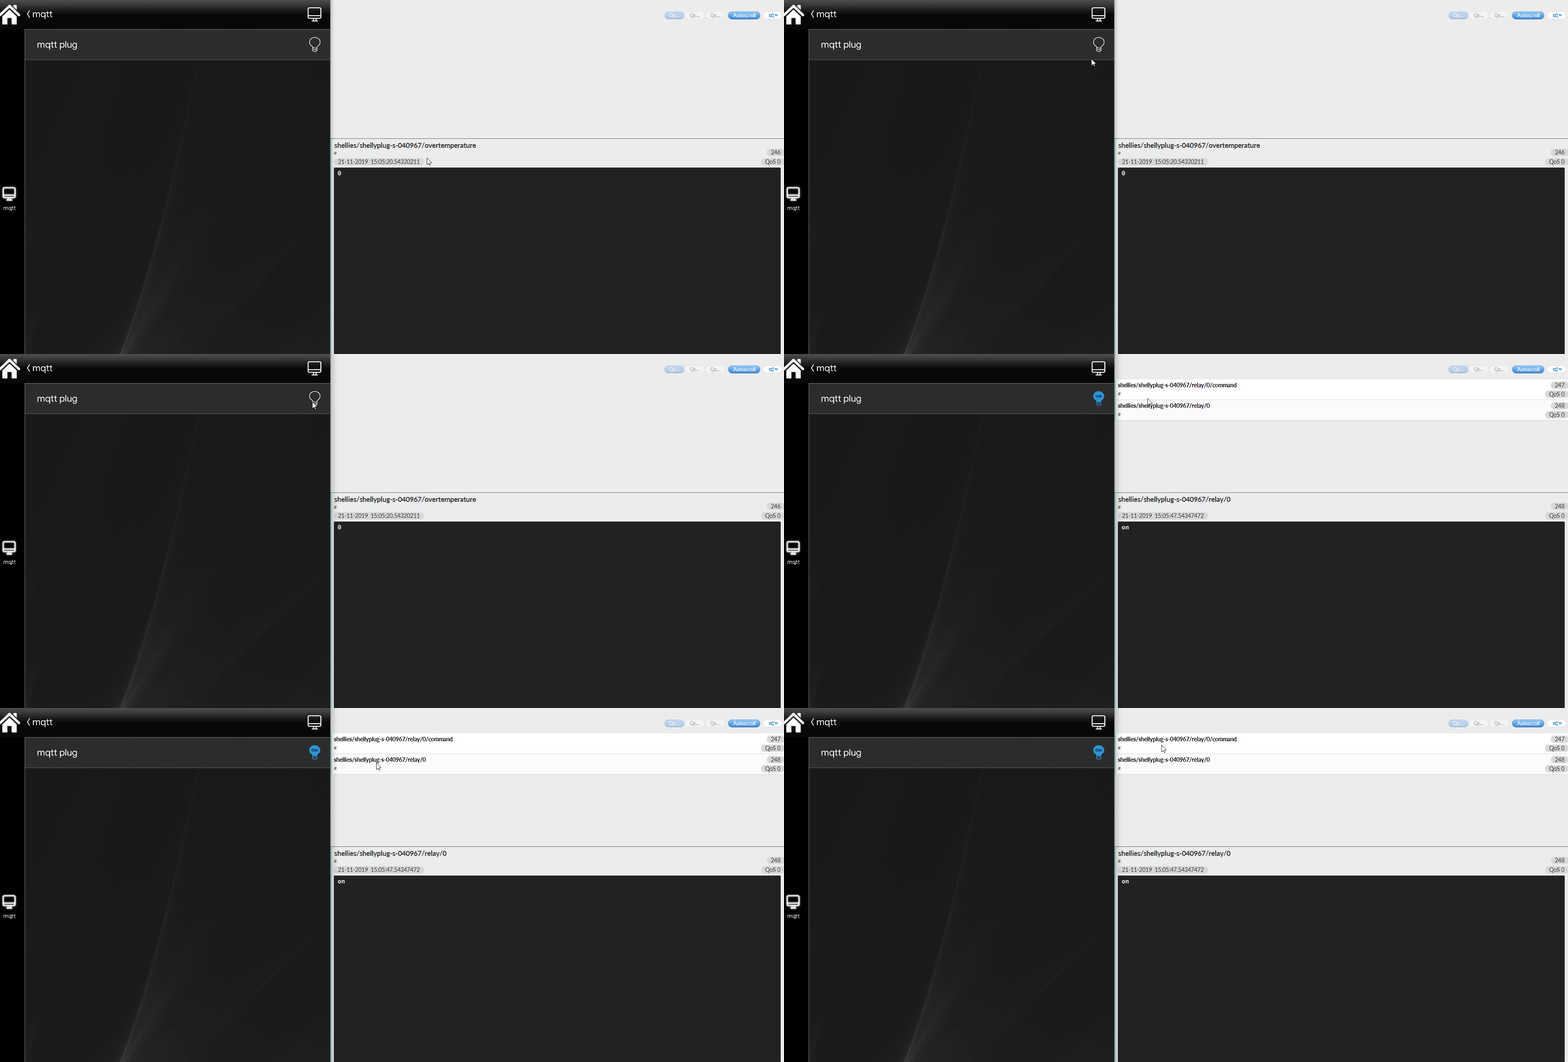
Check if the component works in Eve automation app.
Upload the project we have created earlier and execute it
Note: Every shelly component has a different ID and a different way to program via json therefore, we suggest to consult the shelly web page and make sure to use the right IDs and commands.

