ILEVIA SERVER CLOUD CONNECTION SETUP
INTRODUCTION
In this guide is explained how to activate, and use the Ilevia Cloud connection with the Ilevia server. The Ilevia cloud allows the remote and local connection without applying any port forwarding to the router which the server is connected to.
SETUP PROCEDURE
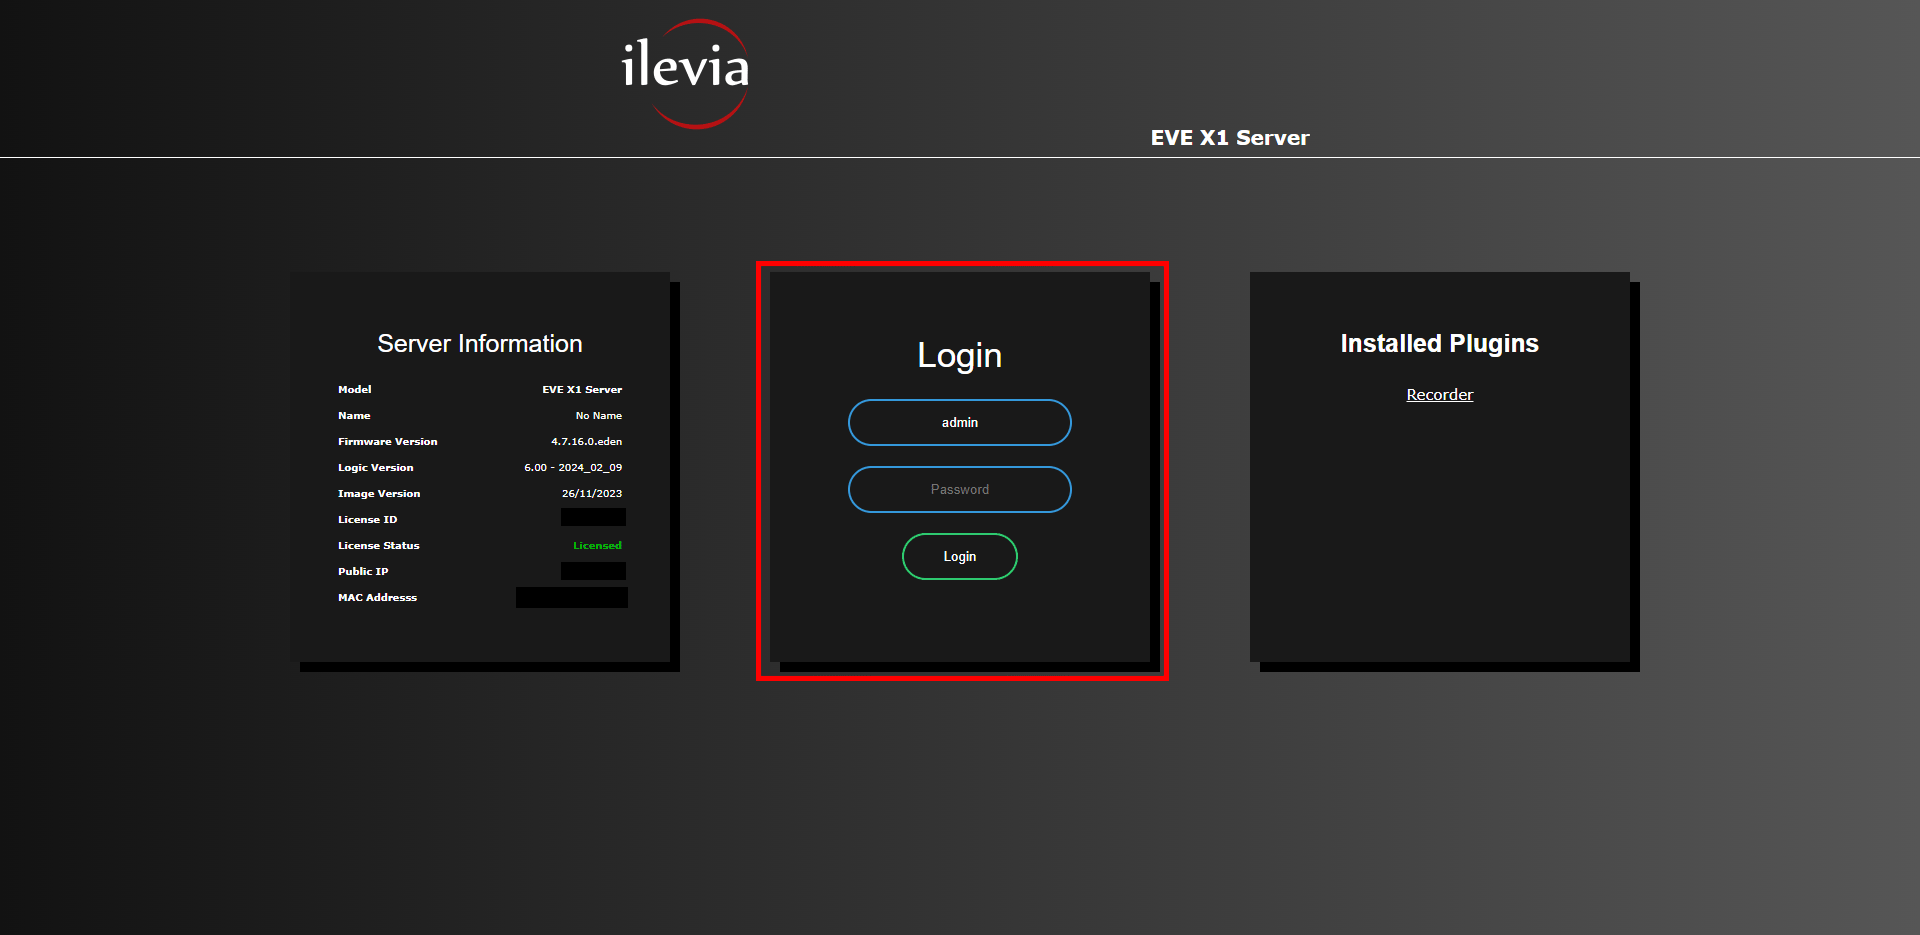
Open your browser and type the local IP address of your server Ilevia.
Login inside the web interface of the Ilevia server.
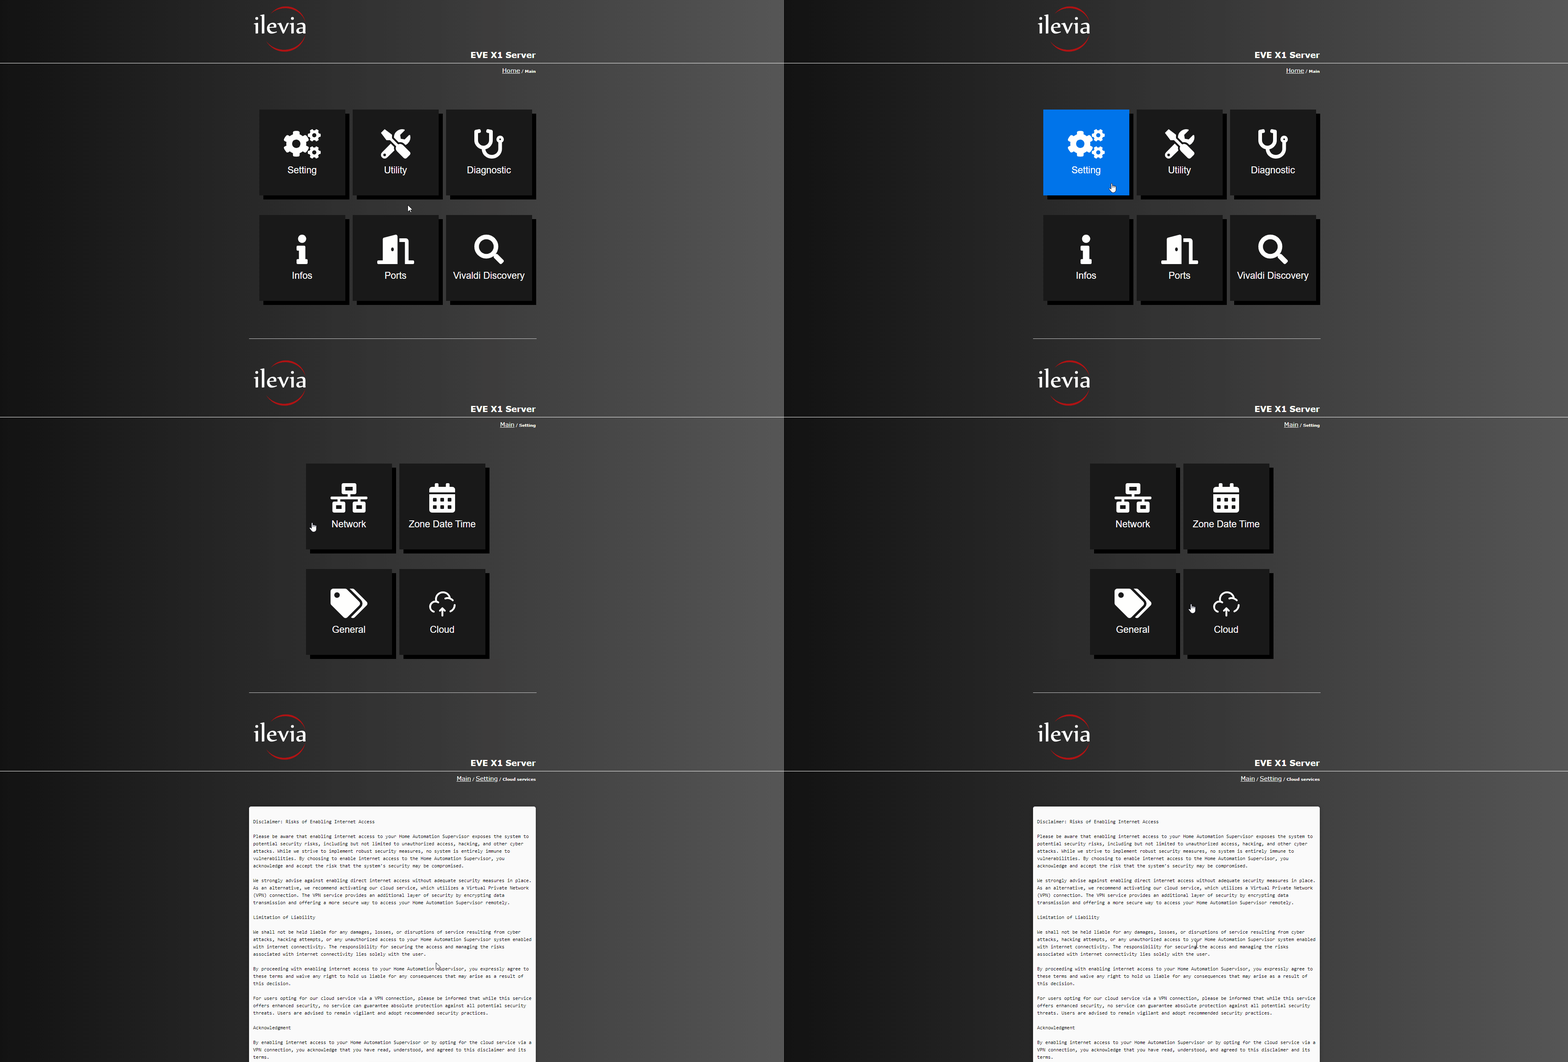
Access the Settings menu, then access the Cloud menu.
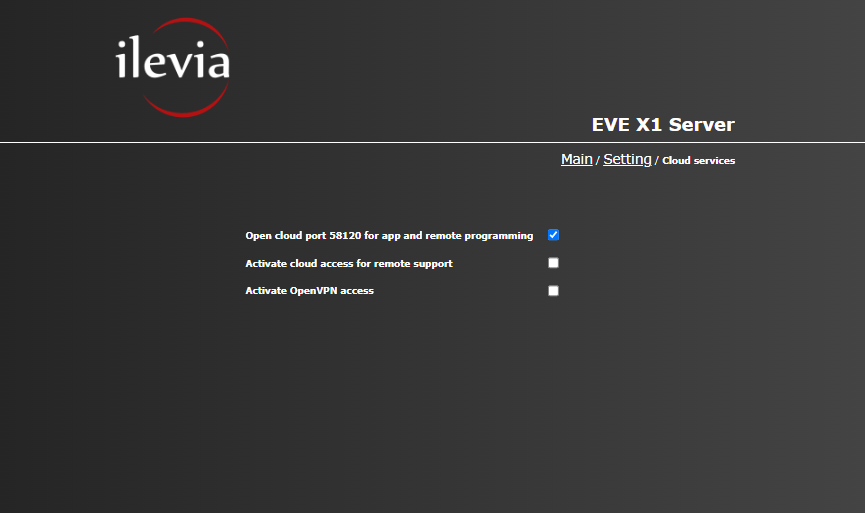
In order to be able to use the cloud feature it will be necessary to aknowledge the Disclamer shown once entered in the Cloud menu. Within the Cloud menu there are 3 Checkboxes that are disabled as default. The first checkbox, if active, will it will enable the Ilevia Cloud connection service in the server. The second checkbox, if active, it will enable the Ilevia Cloud port in case of technical support. The third checkbox determines whether the VPN connection is enabled or not.
CONCLUSION
It is necessary to know that once the Ilevia Cloud connection checkbox is enabled in the Ilevia server, the port, needs to be enabled by contacting the Ilevia’s technical support to its dedicated hotline (+39 0424 1660208) or by writing an email with the cloud port specified in the message at the following email address: supporto@ilevia.com.
HOW TO CONNECT TO THE SERVER THROUGH ILEVIA CLOUD
The Ilevia’s Cloud service allows you to connection to the server both through the Ilevia’s configuration software EVE Manager and with the user interface App EVE Remote Plus.
Cloud connection with EVE Remote Plus
Step 1.1:
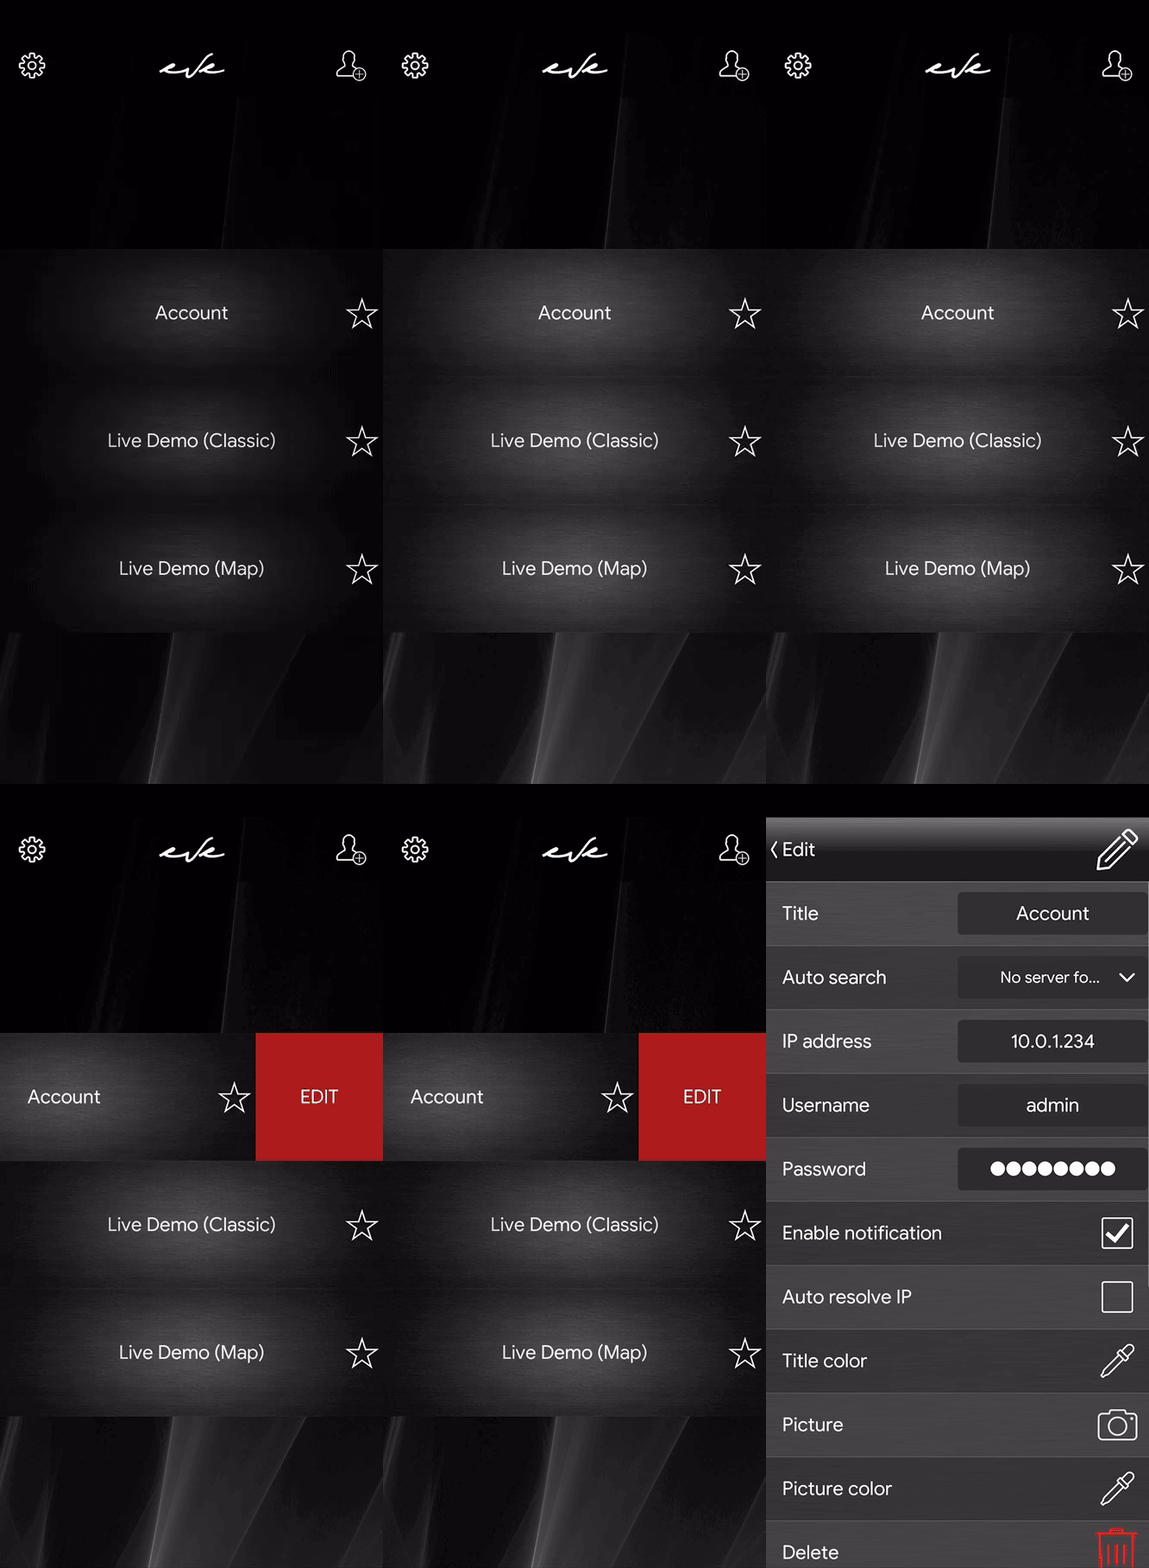
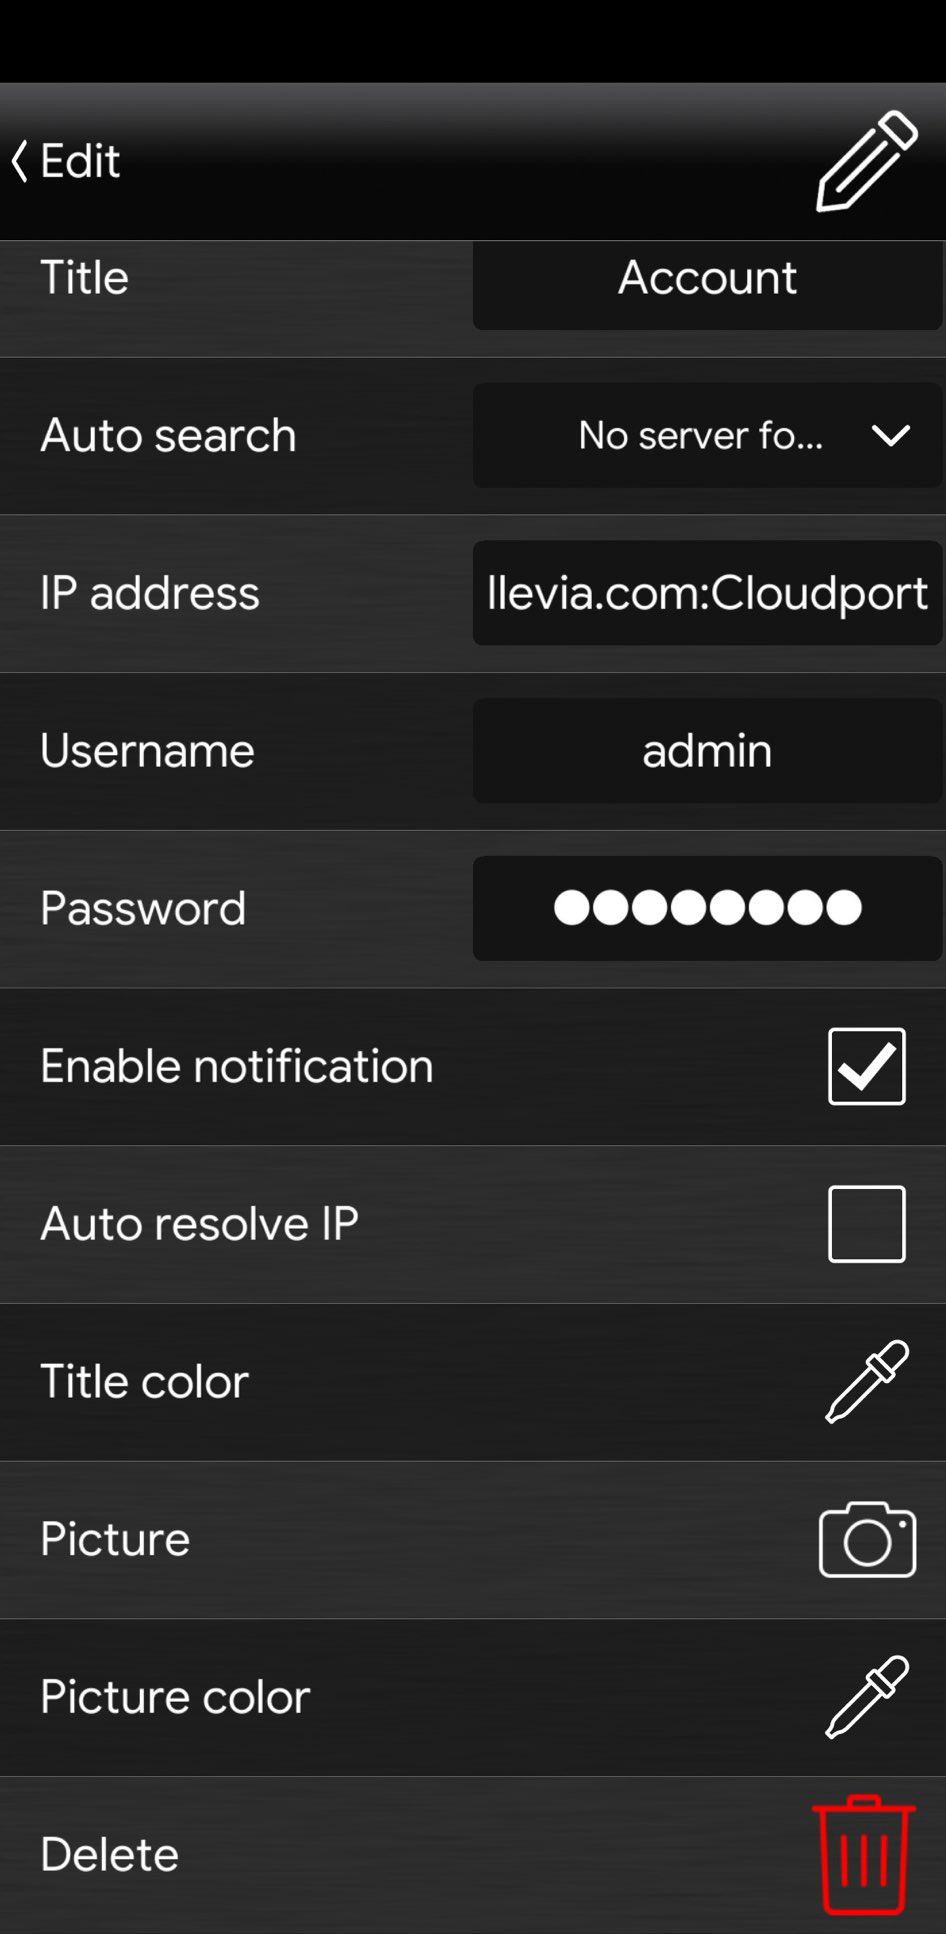
Open EVE Remote Plus in your device. Create a new account by following this guide or use the one that you already have, then enter its configuration by swiping the finger from the right to the left on top of the account name in the app.
Finally insert the following address within the IP address text field: ilevia.com:<Cloud port>, The text Cloud port must be replaced with the port shown within the Cloud menu mentioned in the Step 4 of this guide.
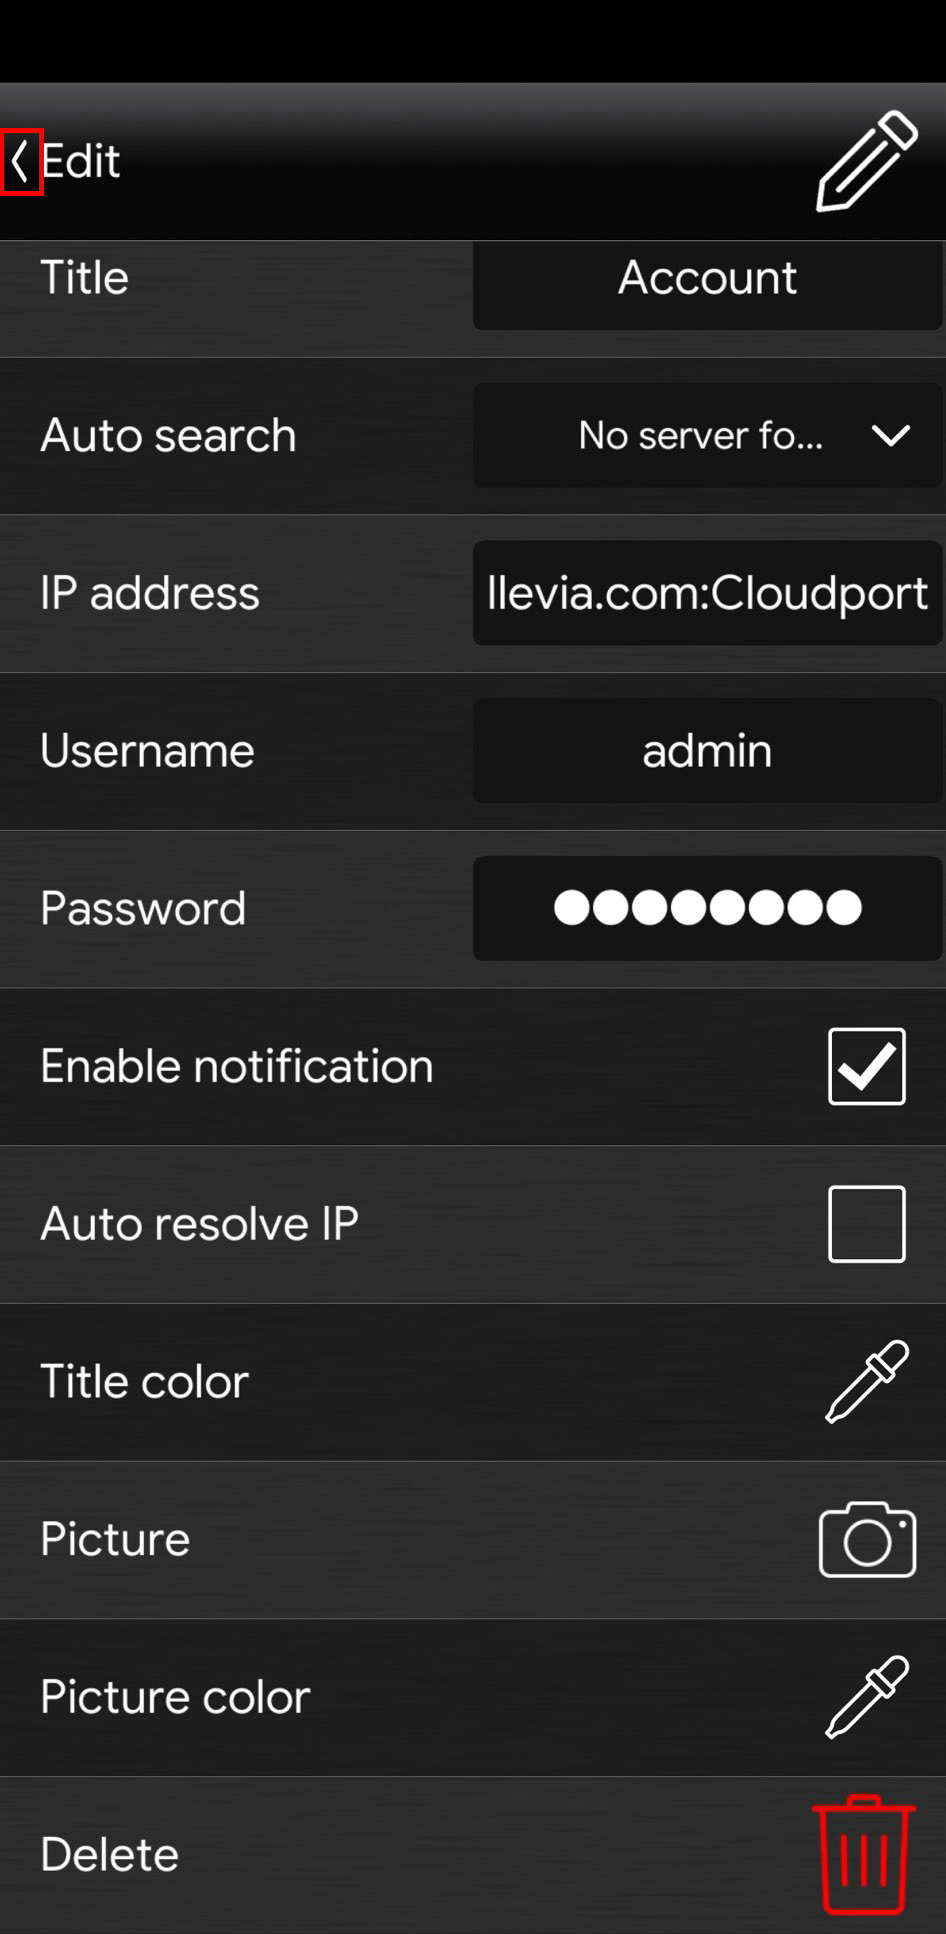
Once the address configuration has been completed, get back to the main menu of the app EVE Remote Plus by clicking the arrow icon on the top left of the screen ![]() .
.
CONCLUSION
In order to connect to the server, click on the account. If the configuration has been carried out correctly, you will be able to see a loading bar on the bottom of the screen in Cyan color with the following overview message written: “Optimizing your experience“.
Cloud connection with Ilevia Manager
Step 1.2:
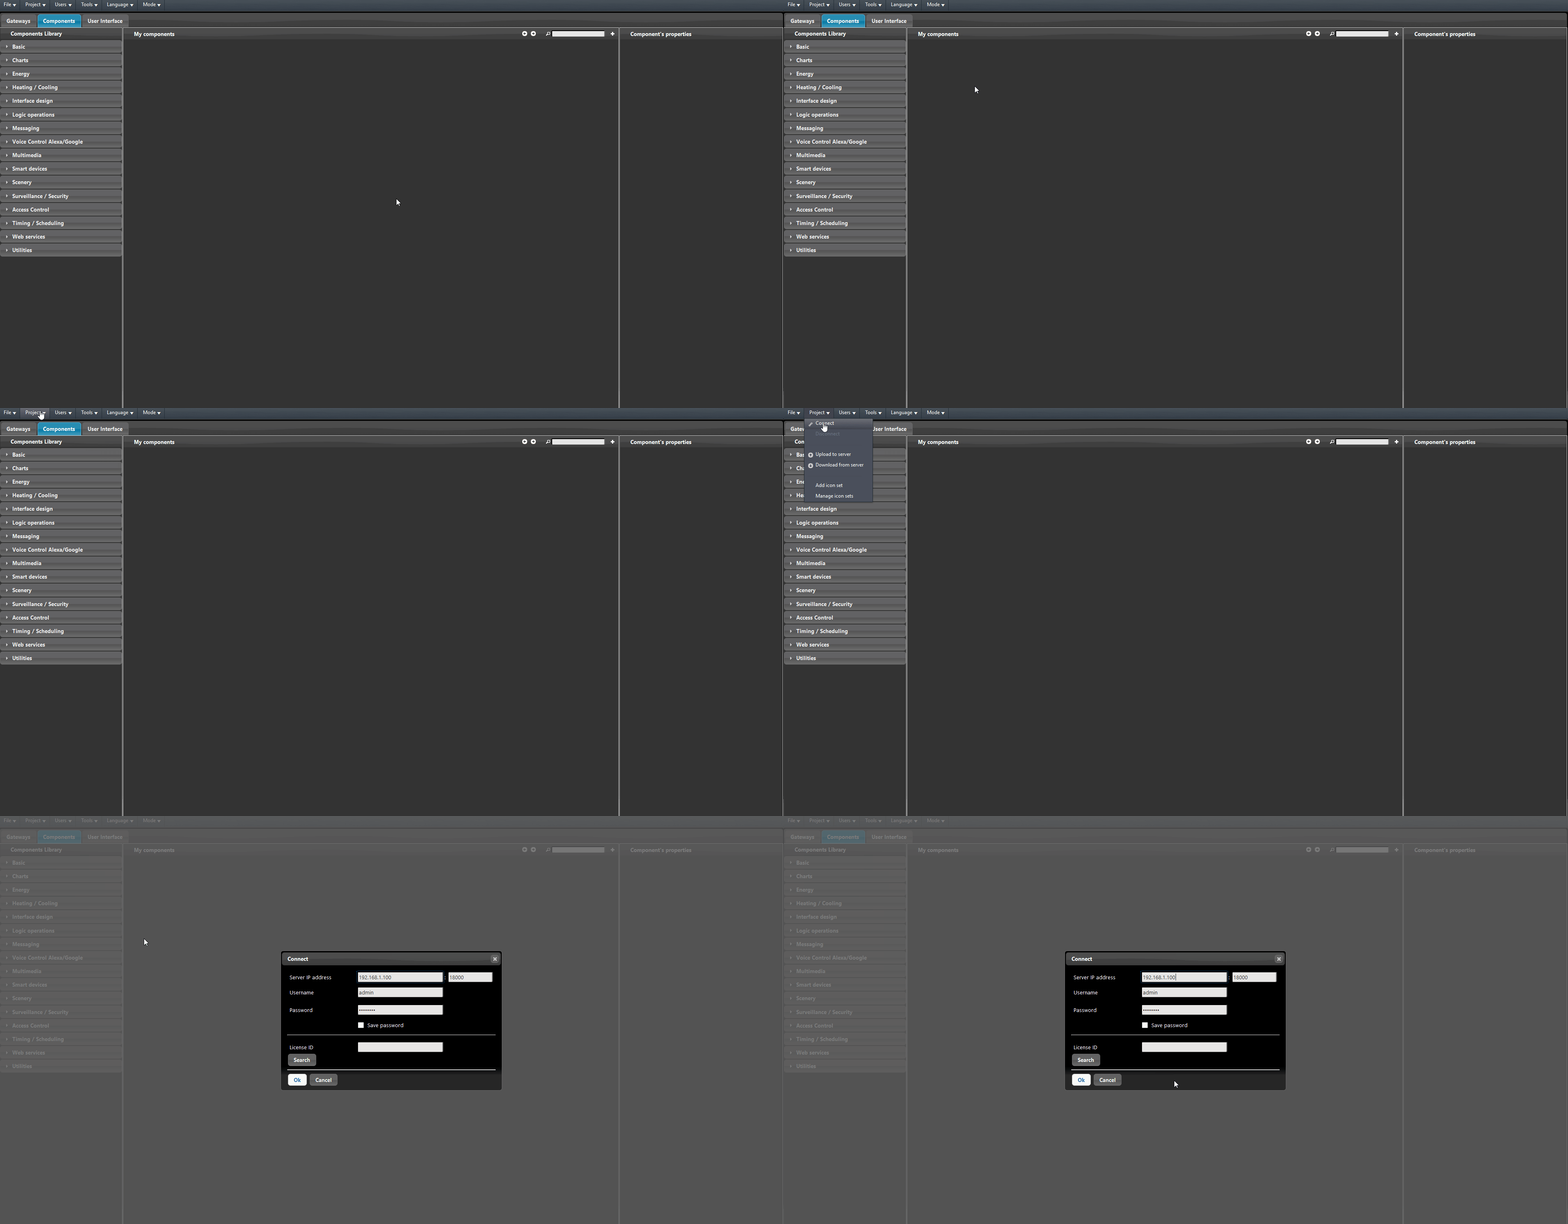
Open Ilevia Manager. Access the Project menu and click Connect.
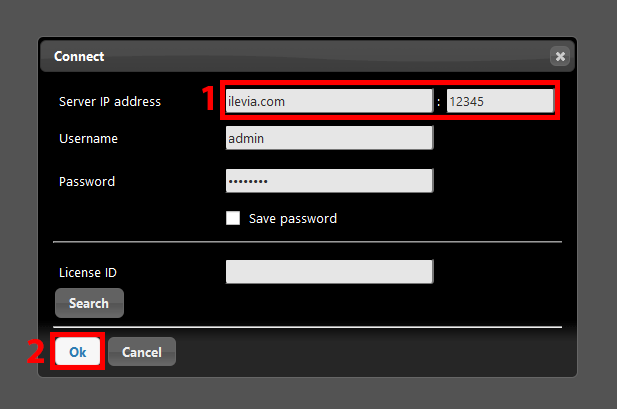
1. Switch the current server’s IP address with the following text: ilevia.com, on the Port text field insert the Cloud port. 2. Finally click OK.
CONCLUSION
By connecting to the server via cloud with Ilevia Manager you will be able to customize, upload and download the project remotely.


