DAHUA IVS WIZARD
!Note before continuing: Please consult the following guide before continuing the reading. The guide linked below explains how to integrate your Dahua IVS into the Ilevia configuration software:
Dahua IVS integration guide: Dahua IVS Integration
INTRODUCTION
This guide explains how the Dahua IVS wizard works and how to set up rules between the Dahua IP camera IVS events and other devices integrated with Ilevia.
Component parameters
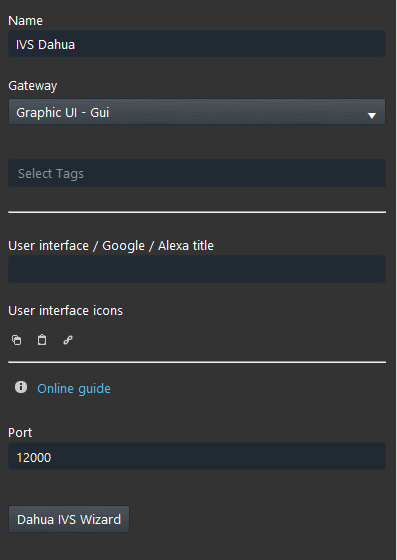
Port: Parameter is customizable and represents the port used by the X1 server to receive the IVS commands from the IP camera.
Dahua IVS Wizard: This wizard allows to create logic between the devices between the Ilevia’s project.
Wizard configuration
As told before, the Dahua IVS wizard allows to create logics between the Dahua IVS events and the components presents in the Ilevia’s project.
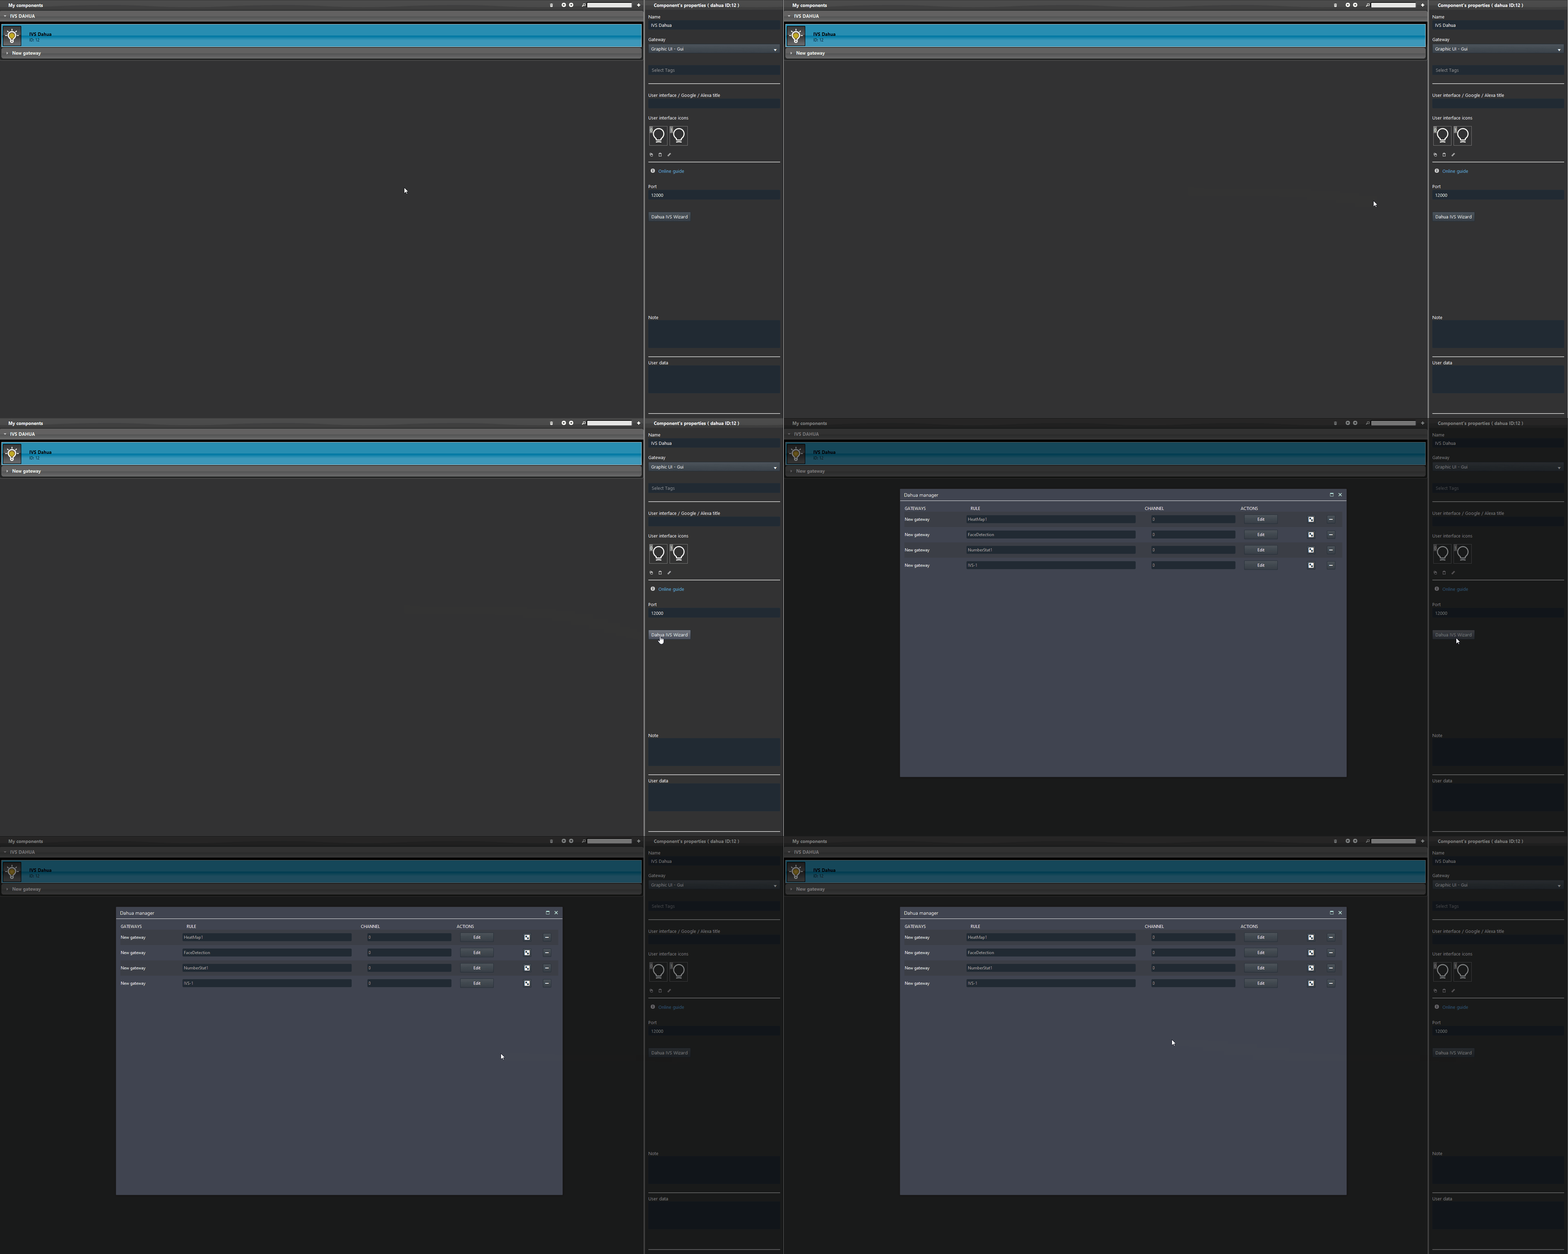
Access the wizard interface by clicking the “Dahua IVS Wzard“.
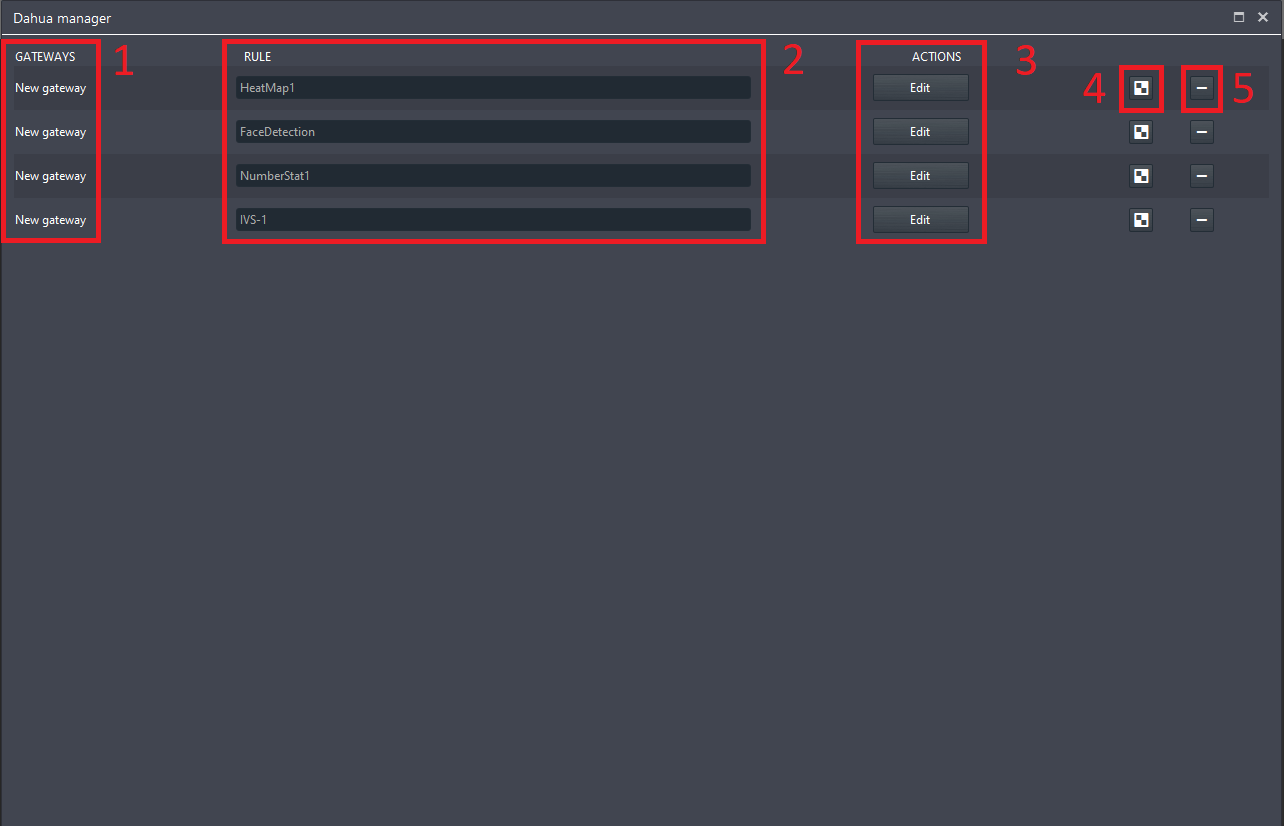
Here are listed all the IVS events set up within the Dahua IP camera web interface.
- Gateway: Here is listed the name of the gateway which the rules are linked with.
- Rule: This is the list of IVS events.
- Actions: If you click Edit a new screen will pop up. In this screen you will be able to create interaction between components within the Ilevia progect.
- Copy: This button will copy and add a new record into the Dahua IVS wizard list.
- Delete: This button will delete the IVS Rule and all the setting linked with it.
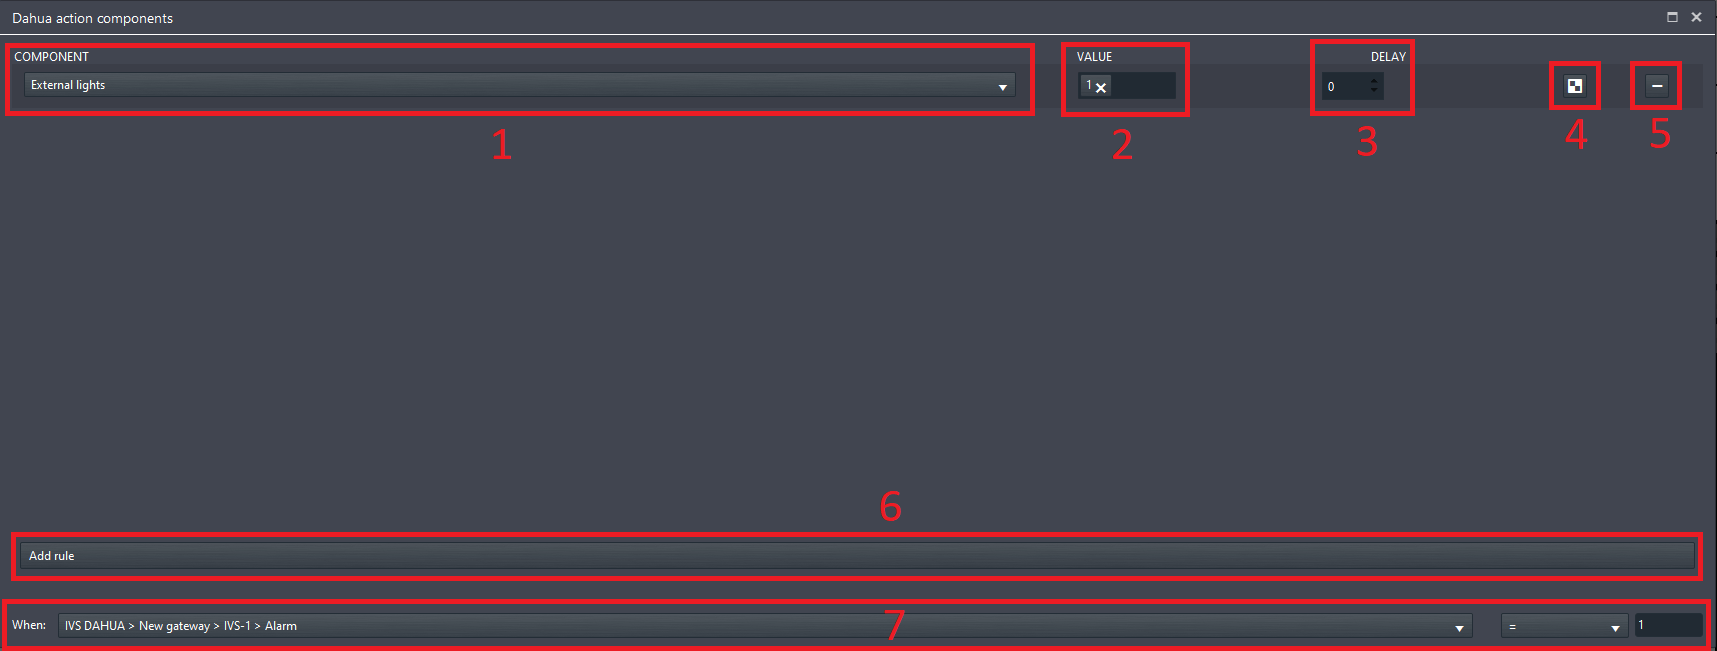
If you click “Edit” a new window will open. Here you will be able to add component that will be triggered once the IVS event triggers.
- Component: Here add the component that will be triggered once the IVS is triggered.
- Value: Set here the value that will be set to the component chosen in the previous parameters.
- Delay: This parameter allows to apply a delay to between the actions within the list.
- Copy: This button allows you copy the row.
- Delete: This button allows you to delete the row.
- Add rule: This button will add a new row in the list above.
- When: Link here the component that will trigger the action added in the list, then specify the condition which the selected component will trigger the list action.
Visual result
Here below is shown how the logic made within the Dahua Wizard inside the Ilevia’s configuration software.


