 SMART SCENARIO
INTRODUCTION
In today’s interconnected world, smart scenarios play a crucial role in automating and optimizing various processes. One such scenario involves using logic operations to verify the presence of specific actions within an operation pane. IN this guide it will be explained how to set it up within the Ilevia’s configuration software Ilevia Manager.
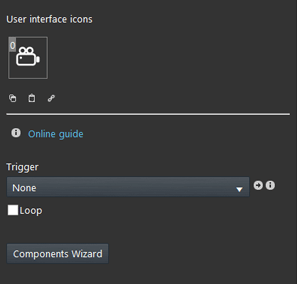
Component properties
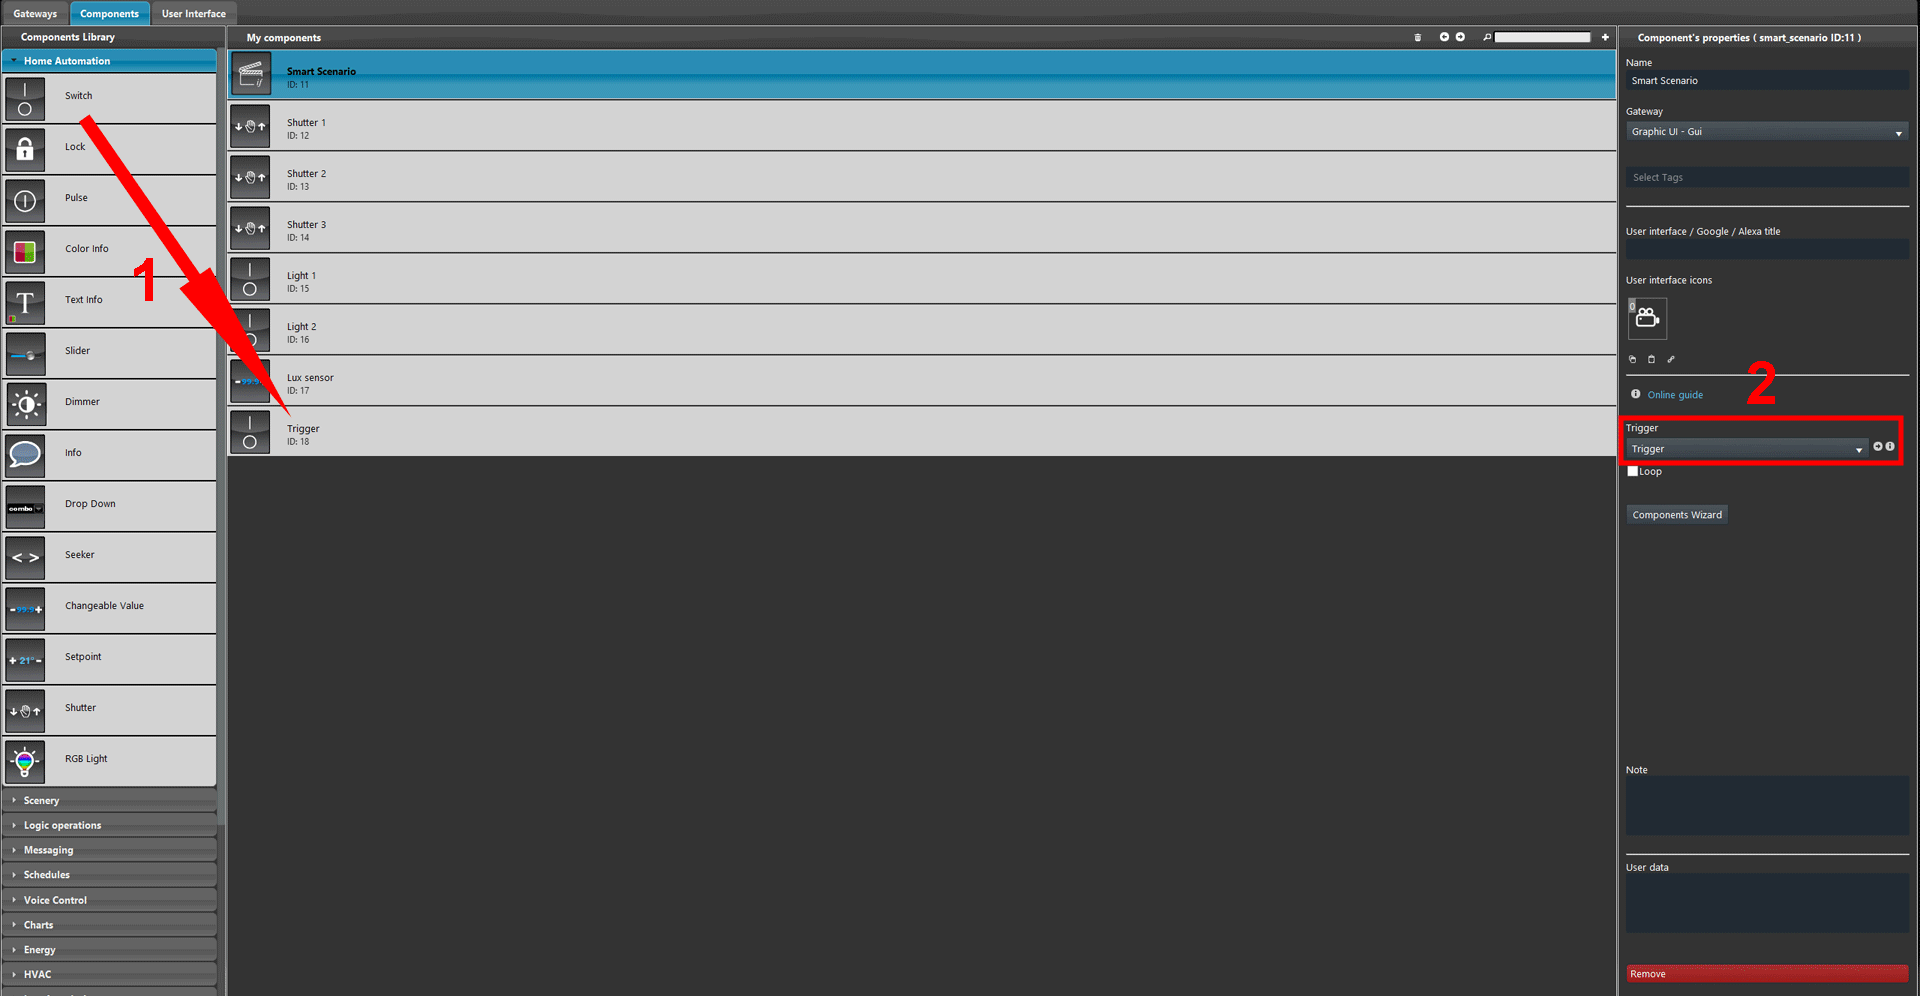
Trigger: Link a Switch, Lock, Info color or a Text info to trigger the Smart scenario.
Loop: This checkbox, if activated, allows to trigger the Smart scenario in loop mode.
Components wizard: Within the wizard it is contained the configuration of the component that will be triggered once the Smart scenario is triggered.
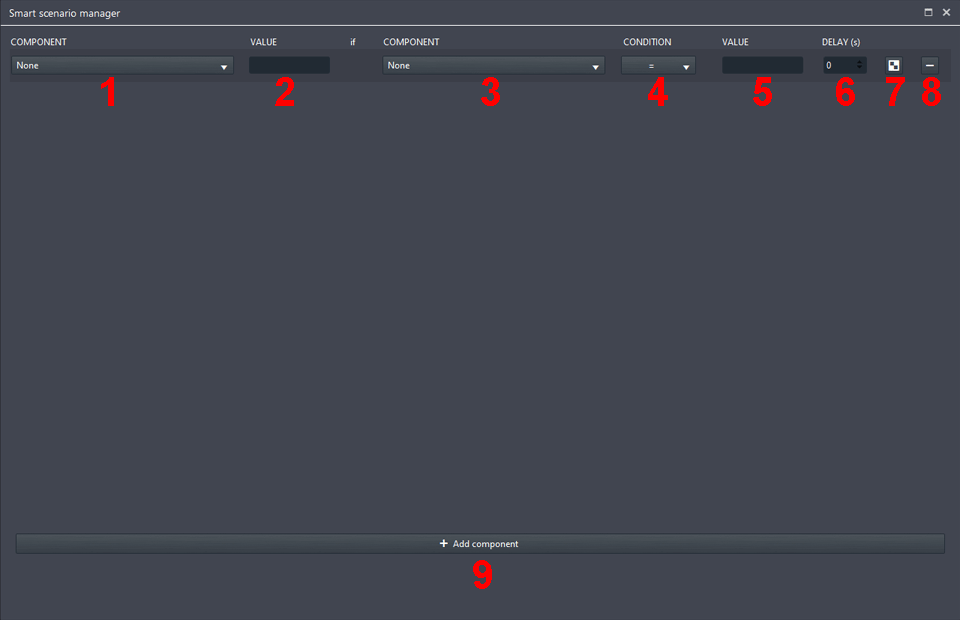
Wizard properties
- Component: Select the component that will be triggered once the Smart scenario starts;
- Value: Select the exact value that the component will be set with once the Smart scenario starts;
- Component: Select the condition component that will checked by the Smart scenario once it is triggered;
- Condition: Choose between <, >, >=, <= or =. This is the condition parameter that the condition component must have in order to trigger the component select in the parameter 1;
- Value: This is the value that the condition component must have in order for the Component 1 to trigger once the Smart scenario Starts;
- Delay (s): Set a delay between operation of the Smart scenario;
- Copy row: If clicked this button will duplicate the current row;
- Delete row: This button will delete the selected row;
- Add component This button will add a new row within the wizard.
Component configuration
In this example, the Smart scenario, will open the shutters then turn on some lights only if the lux detected from a sensor are above a certain value.
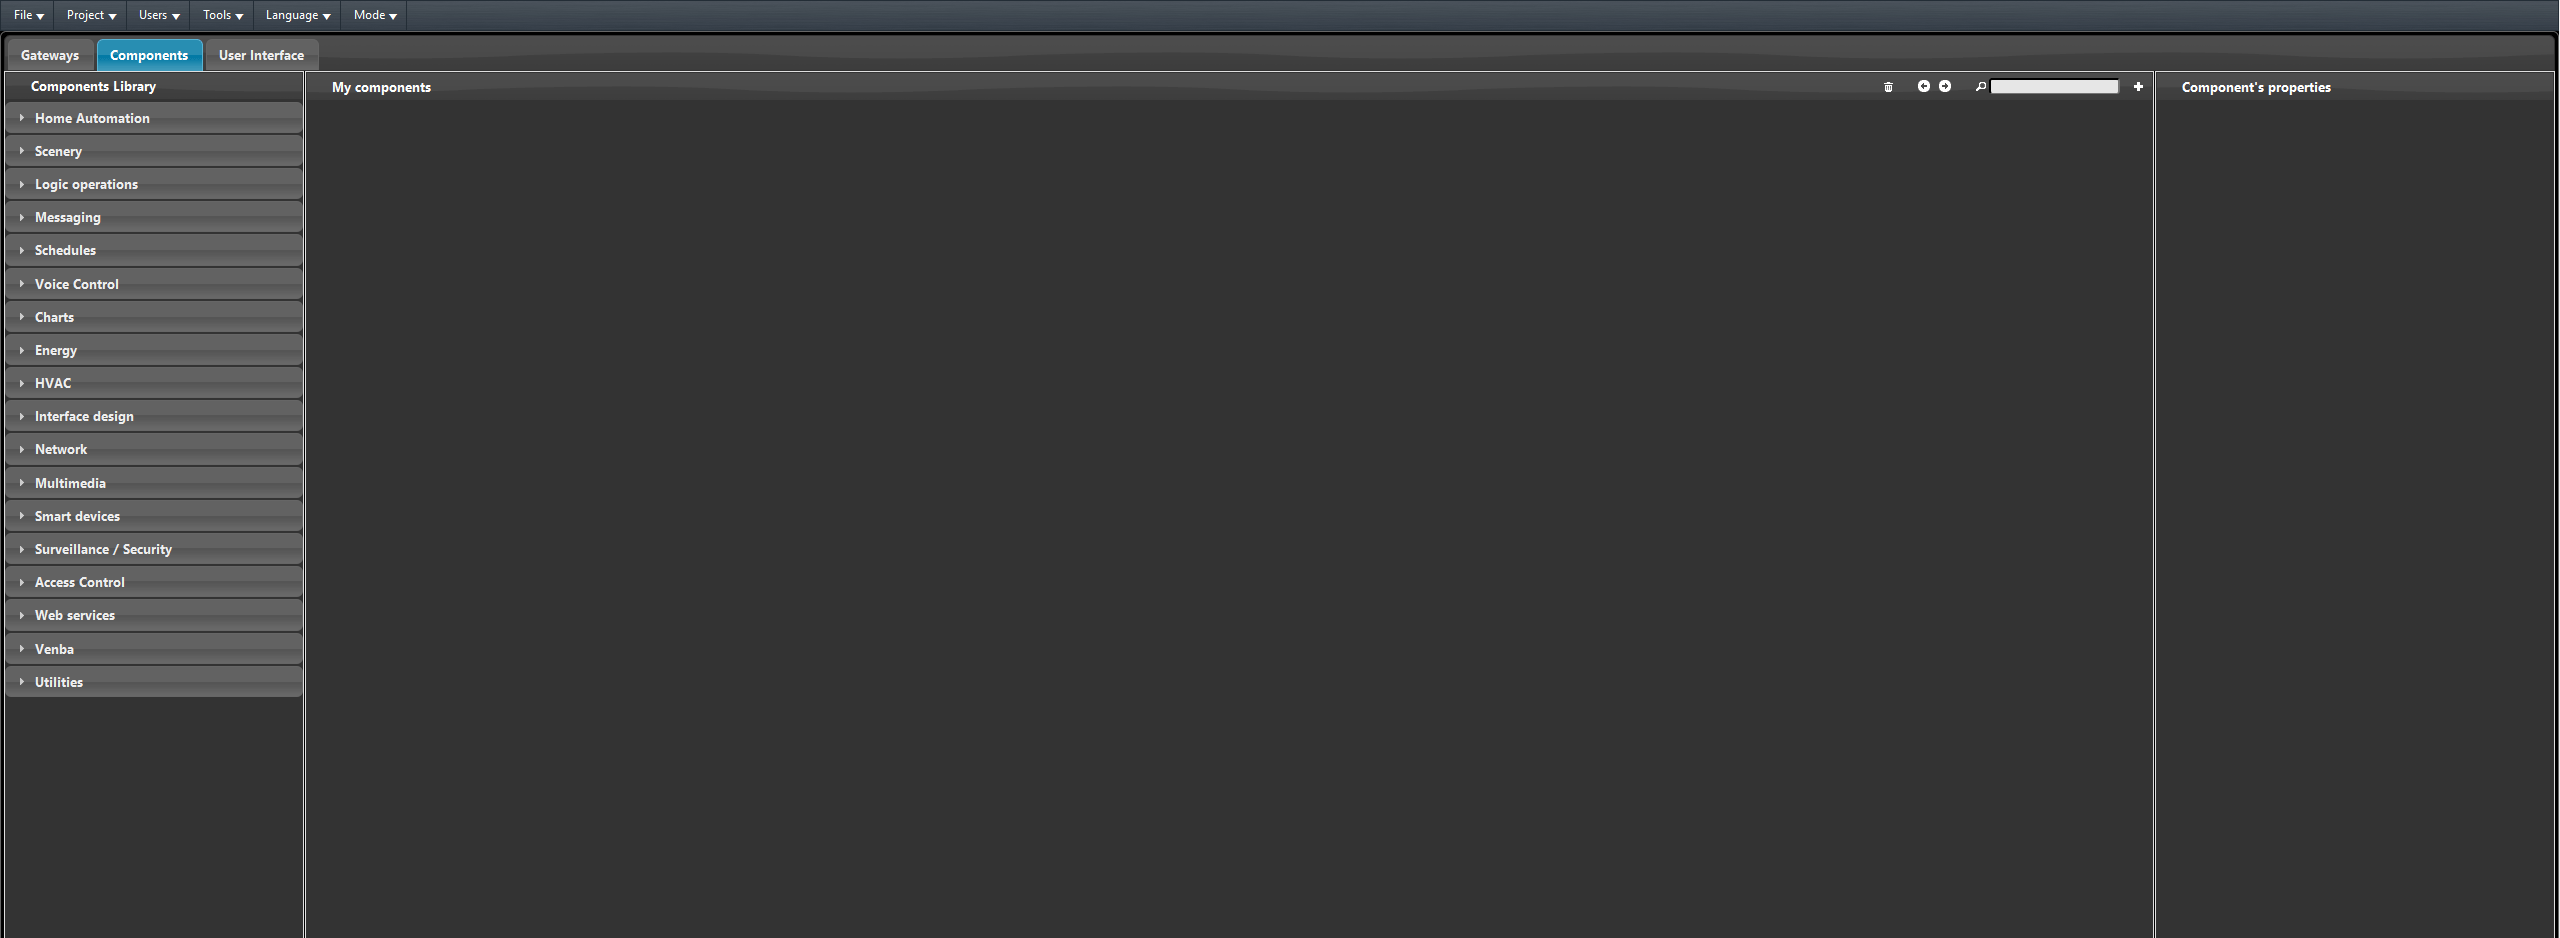
Open the Ilevia Manager software. Enter the Components.
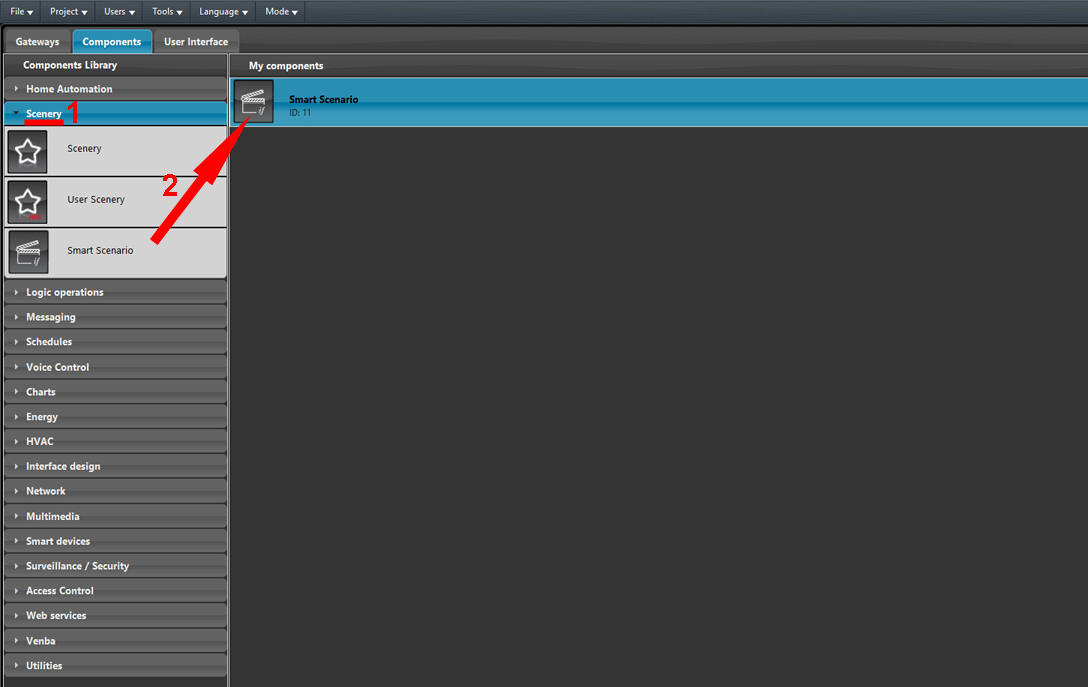
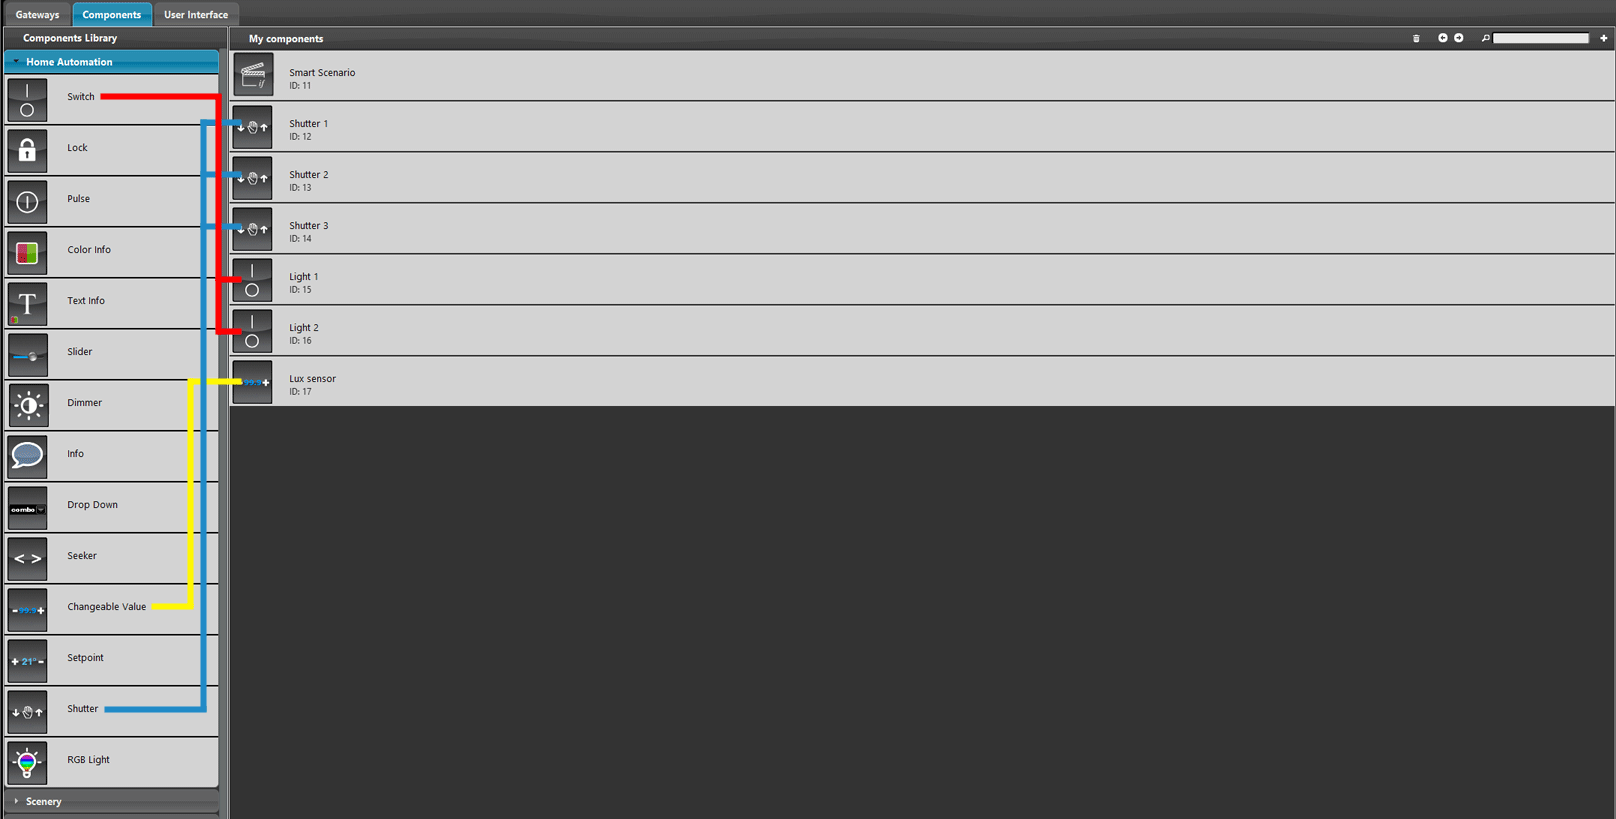
1. Open the “Scenery” section that you can find within the Components library section of the Ilevia Manager software, 2. Add the Smart scenario component within the project.
Add the 3 Shutters components and 2 switch components, finally add 1 Changeable value component within the project.
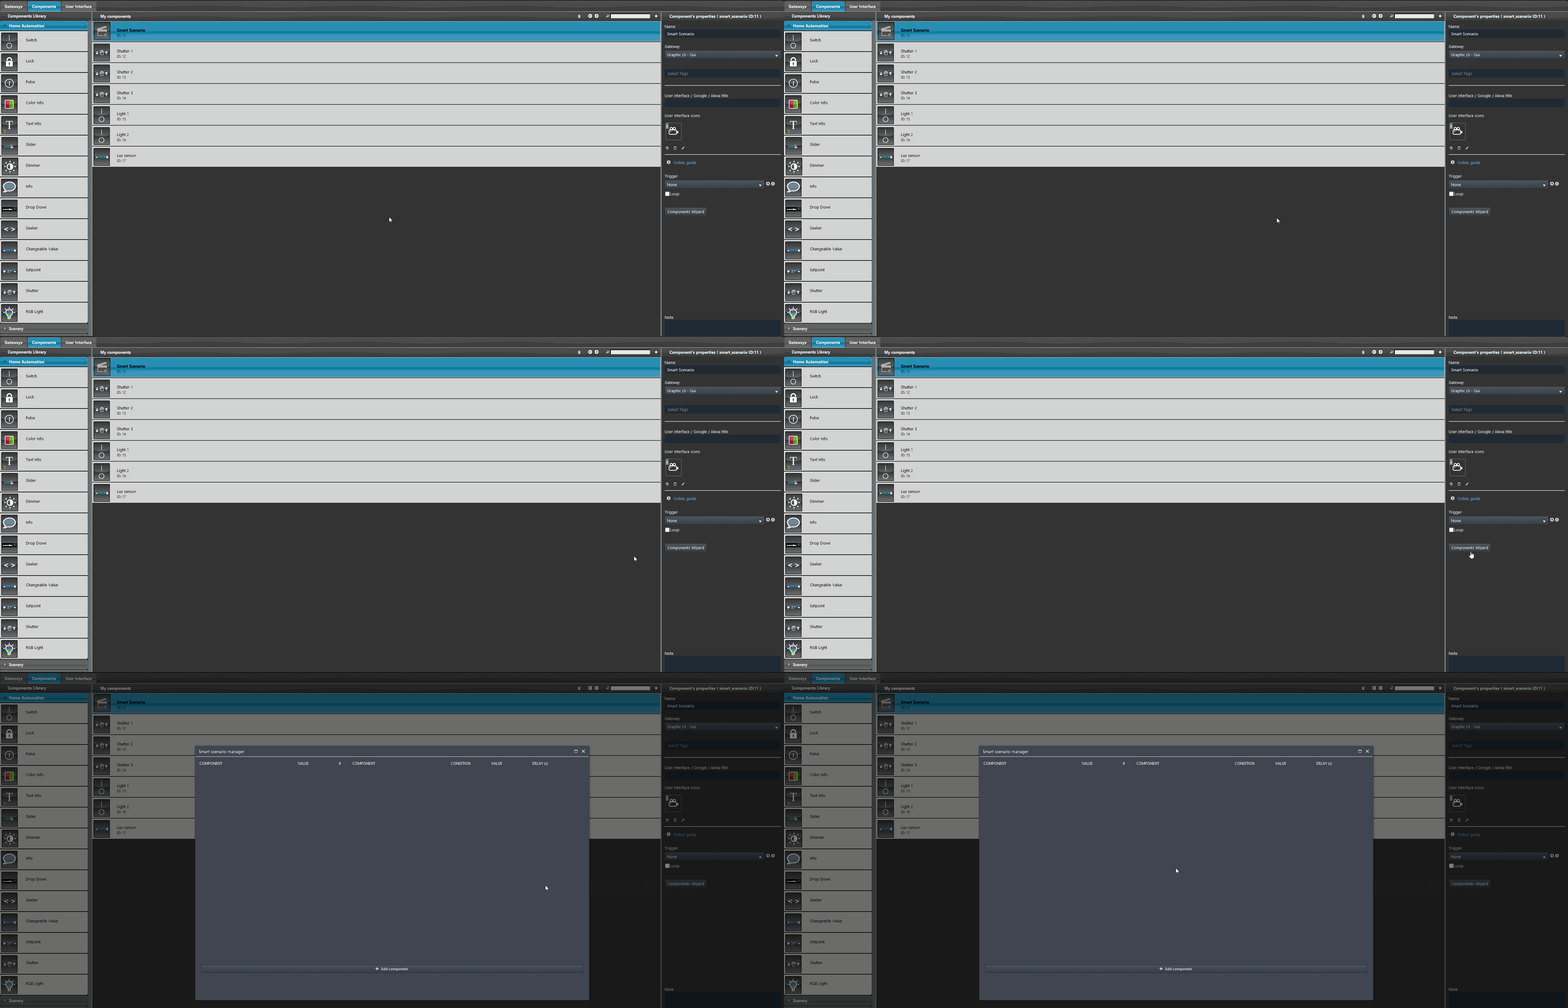
Open the Smart scenario wizard by clicking the button “Components Wizard” within the Smart scenario component properties.
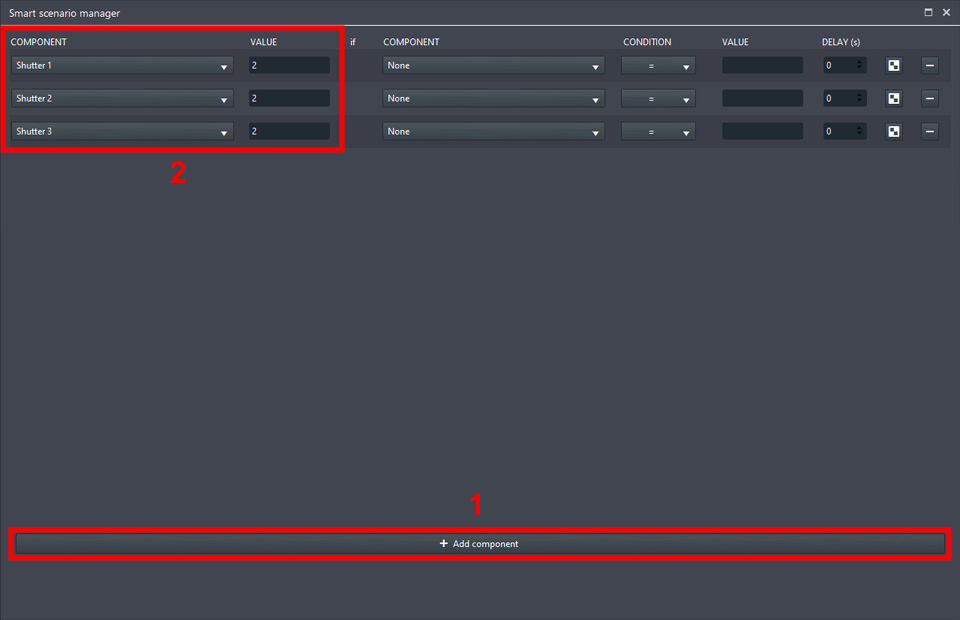
1. Click Add components to create a new row, 2. select the Shutter component that will be triggered by Smart scenario once it starts and select the value it will be set to. Repeat the procedure for the rest of the shutter components.
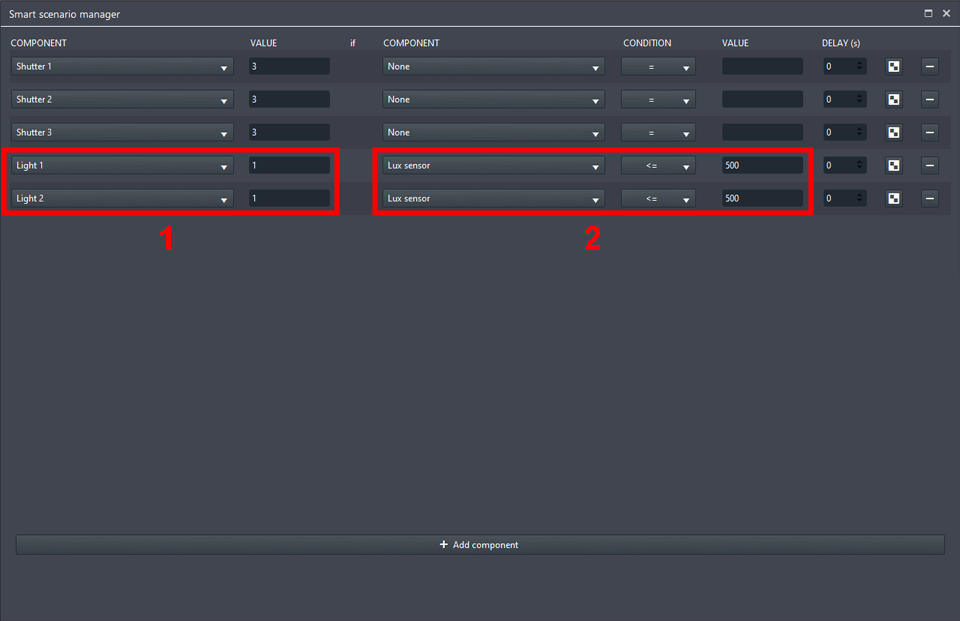
1. Add tow new rows and select the first Switch component of the list from the drop down menu called Components, then set 1 as value within the “Value” parameter, 2. add the Changeable value component this will act as the Lux value coming from a sensor. 3. Set the condition type, in our case it will be less then equal (<=) , finally set the value (in this case 500 lux) that the Condition component must have for the condition to come True. Finally, do the same for the other Switch component.
1. Add a new Switch component within the project and select it as trigger component of the Smart Scenario.
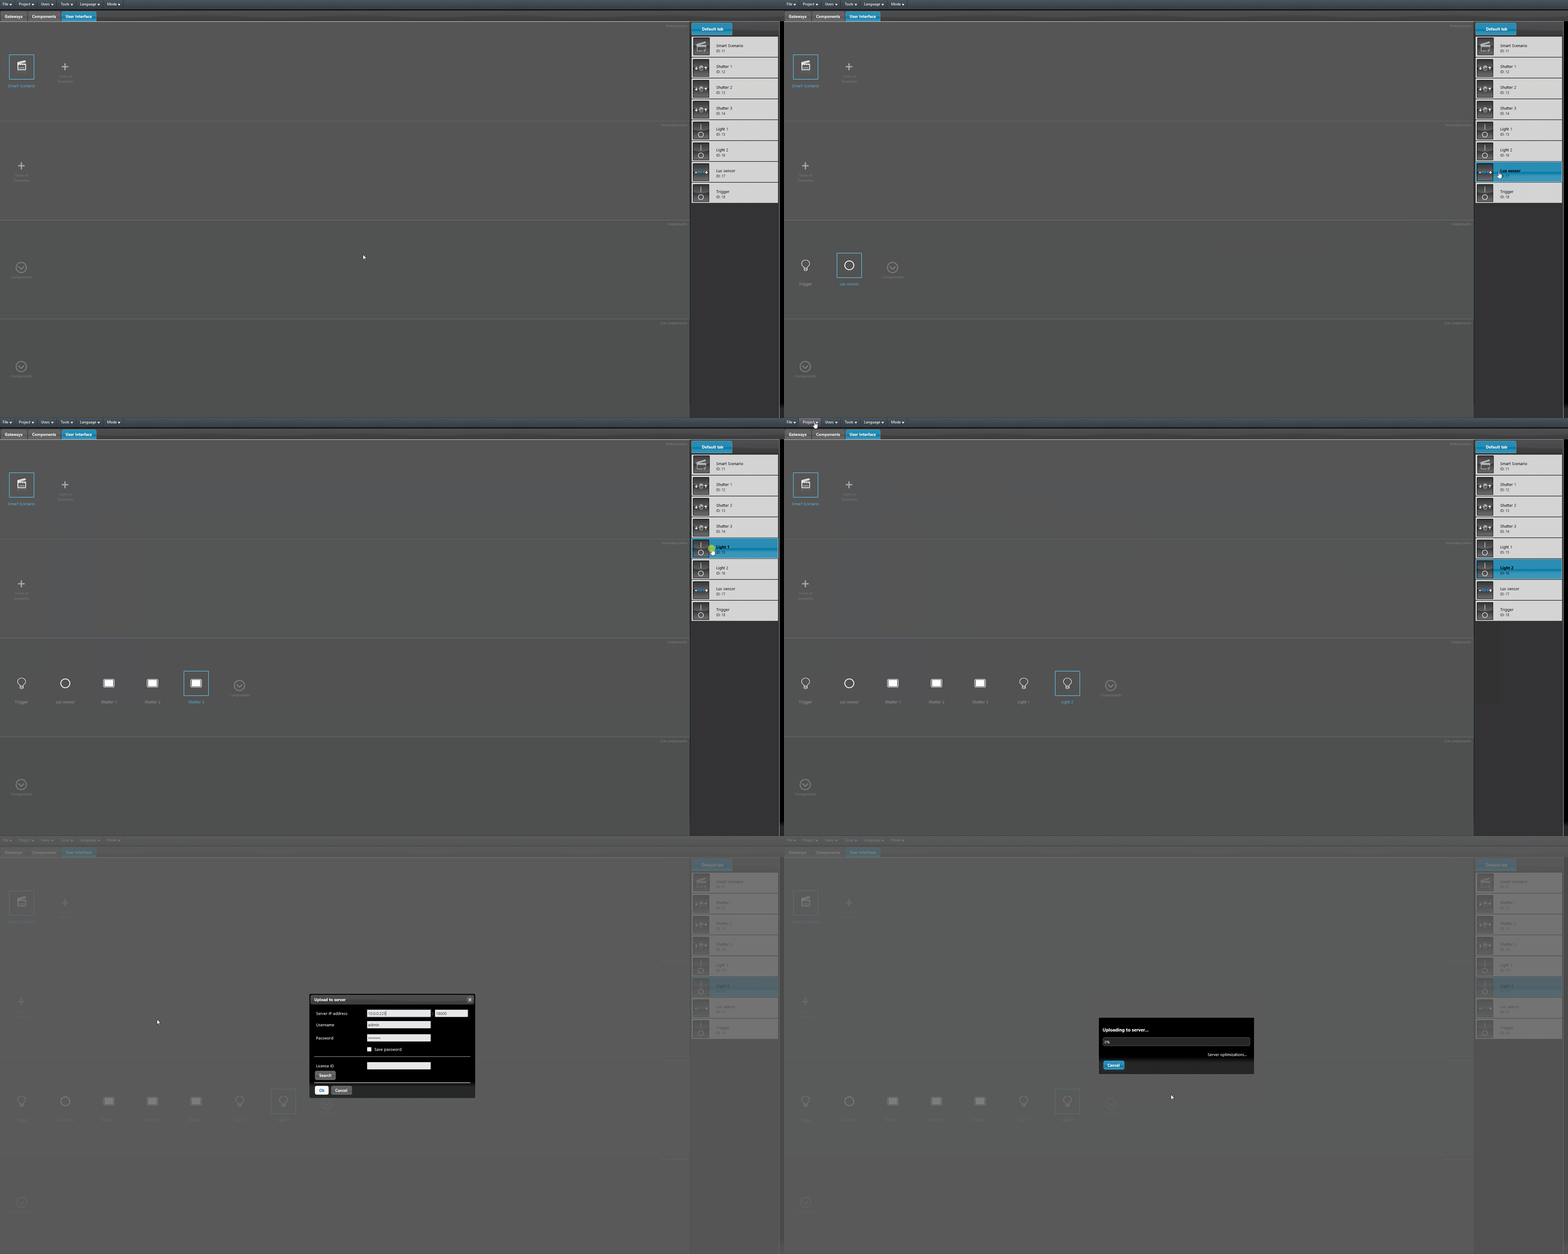
Head to the User interface editor, add the components within the interface. finally upload the project into the server.
Visual result
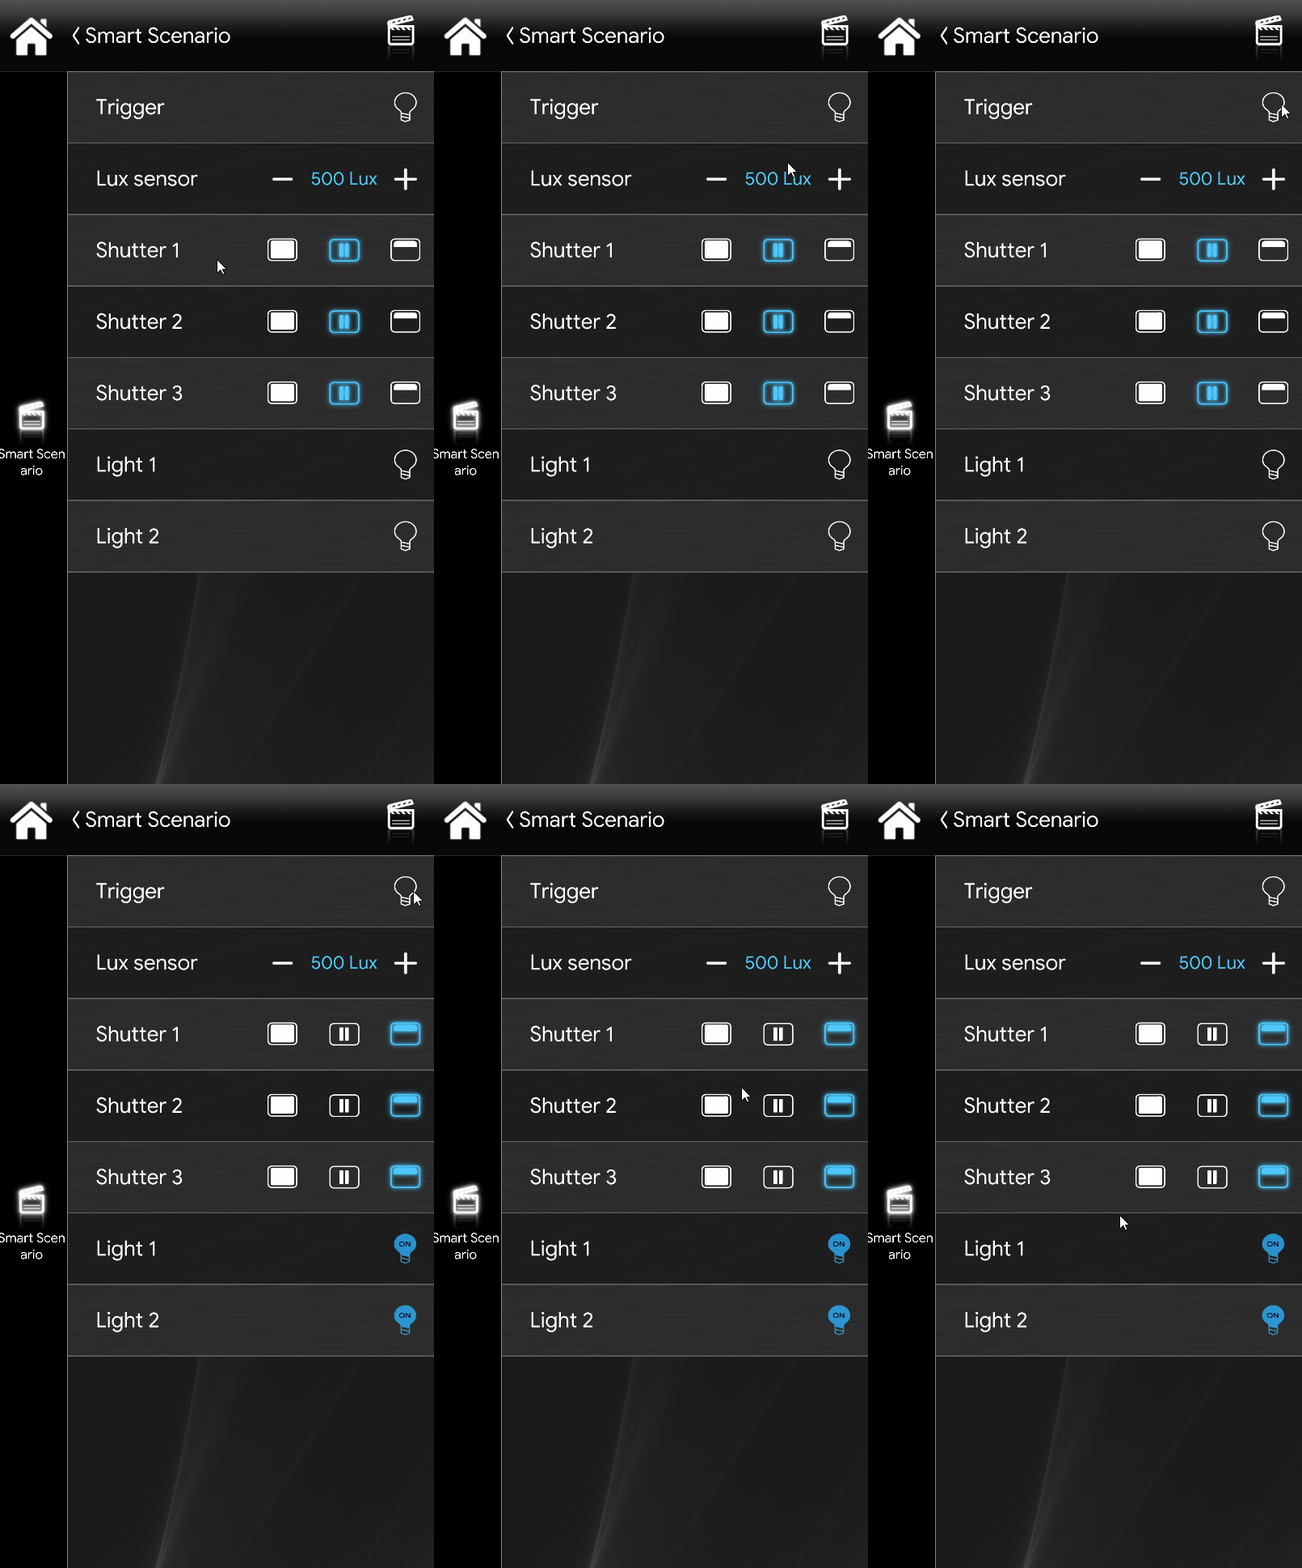
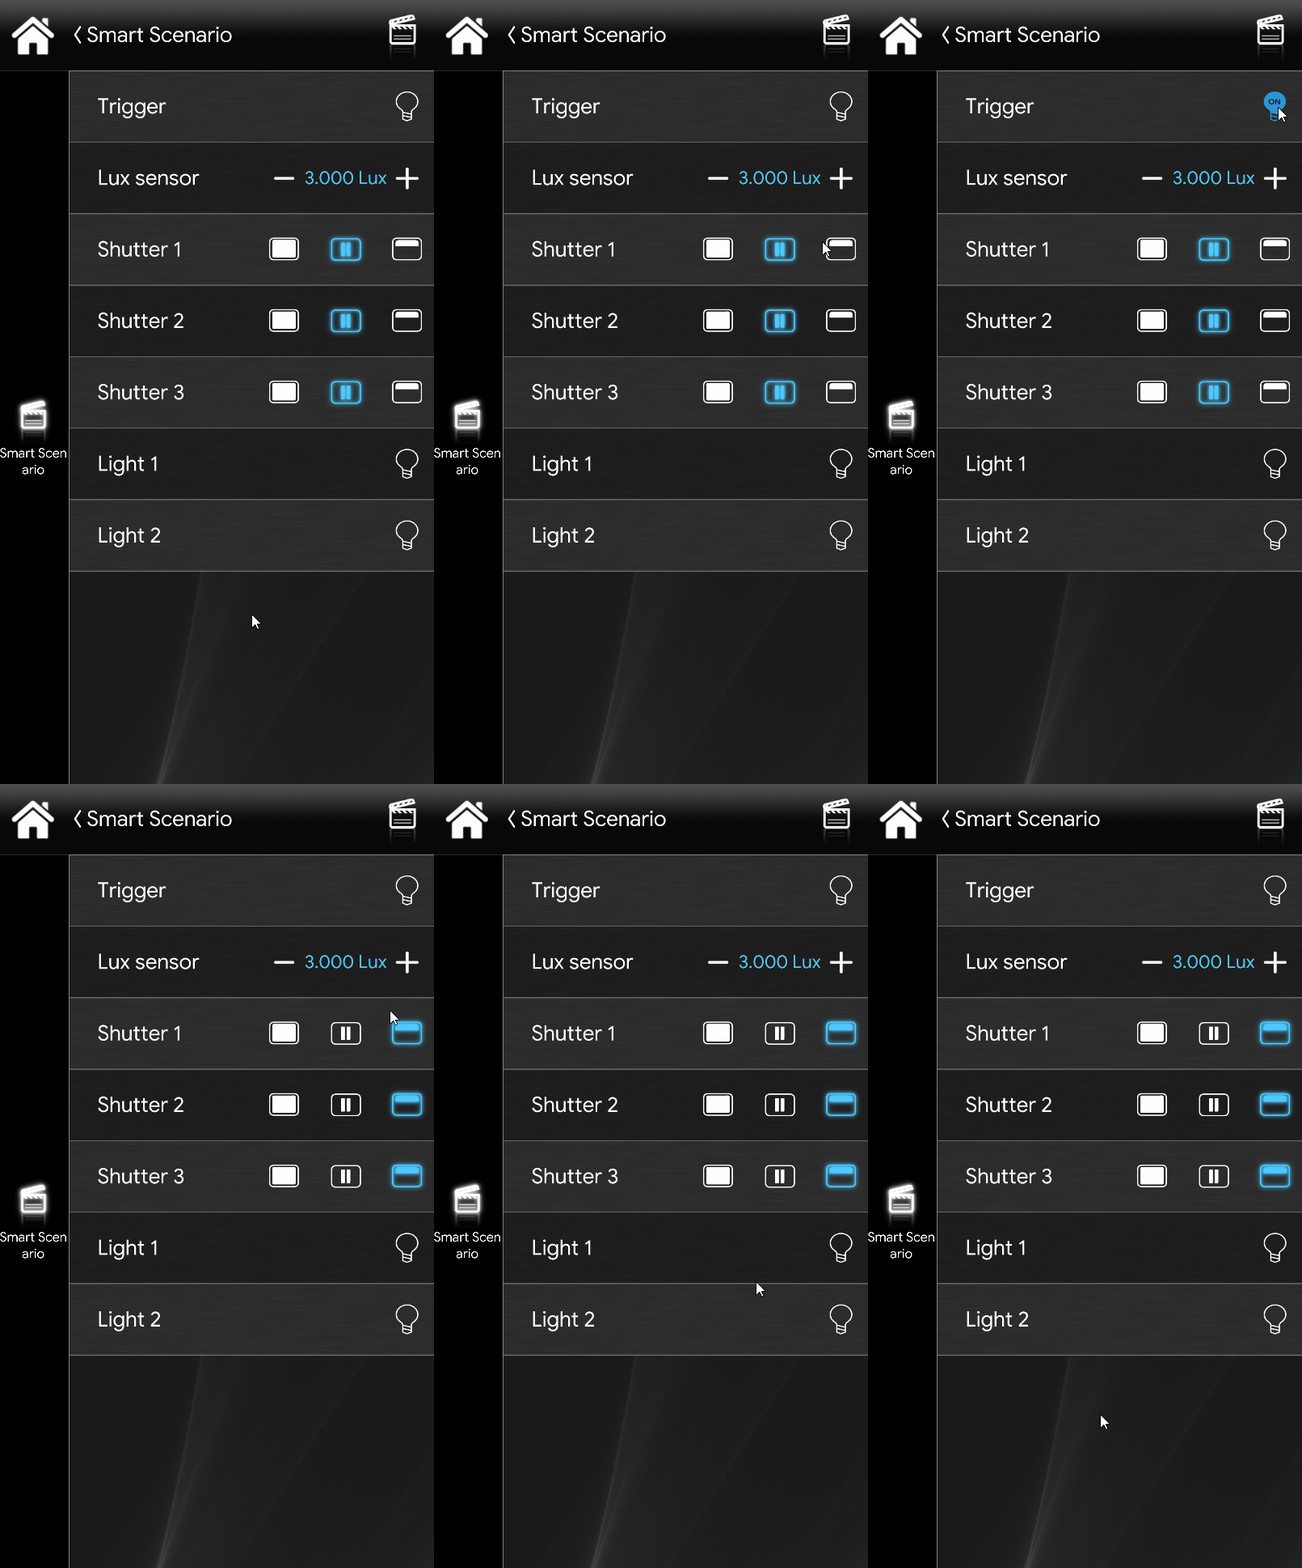
This is the visual result of the Smart scenario component within the Ilevia’s App EVE Remote Plus (Classic style).
As you can see from the pictures above, the first example represent’s the components trigging once the Scenario component is executed. In the first Picture on the left (Pic. 1) once the Smart scenario is executed, all the components are triggered, that’s because the lux value is in value range set. Instead in the other picture (Pic. 2), the Lights 1 and 2 haven’t been triggered because the value of the Lux sensor wasn’t between the range set.
Click the link below to download the demo project and try it your self.

