X1 WEB CONFIGURATION PANEL
Connection and configuration
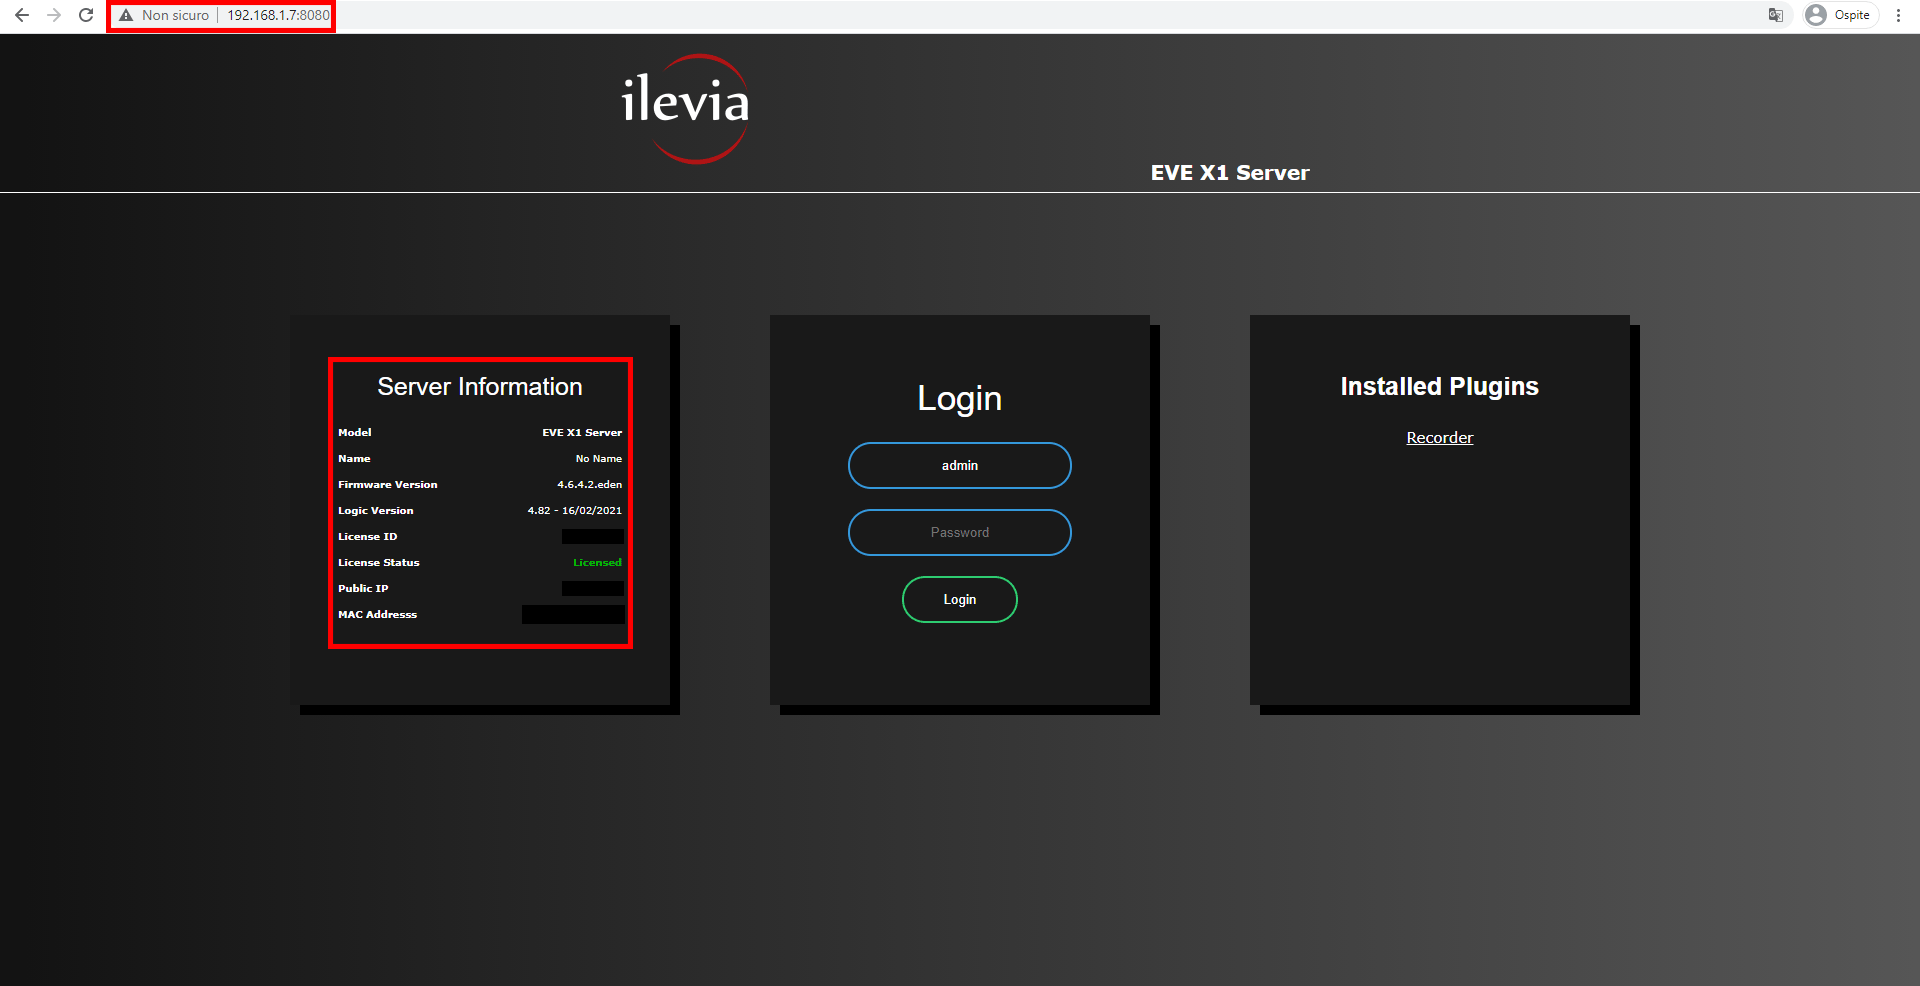
Open your web browser and type the IP of your server in the URL bar on top, if you don’t know what’s your server’s IP please click this link to find it out. Once you clicked the link, you will land to the web configuration panel. As you can see, in the first info panel on the left, there are listed all the infos about the network and license condition.
Troubleshooting:
– If the browser doesn’t display this page we suggest to check if the ethernet plug is in the right place and if the X1 server device is connected to the same network.
– If you brought your X1 device outside your network you can check the ip by using a open source ip scanner that you can find free online. If you can’t find it using IP address scanning software, try restarting the device by unplugging the power and plugging it back in. If that doesn’t solve the problem either, formatting the SD card will be necessary so check out our giude.
Step 2: LOGIN
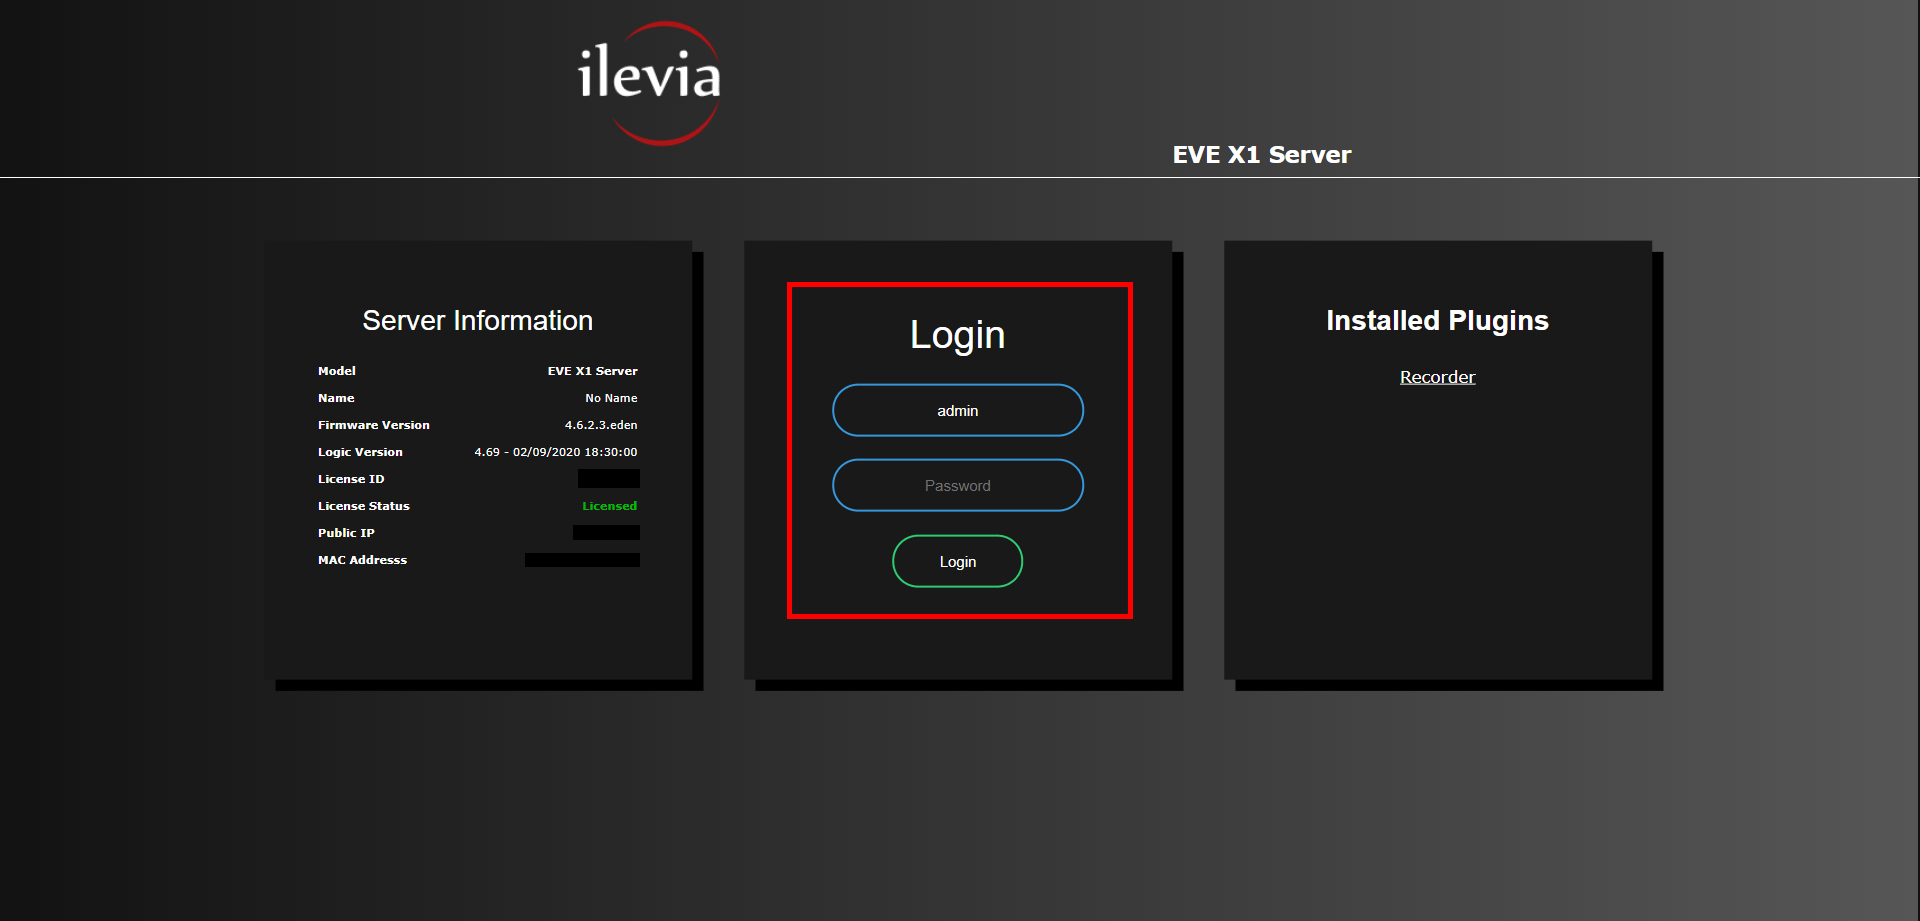
Once connected to the X1 server web page, we can proceed to put the username and the password in it’s own login section.
The default password is “password” however we suggest to edit it once the project will be defined (please refer to “Multiuser management” guide).
Step 3: MAIN MENU
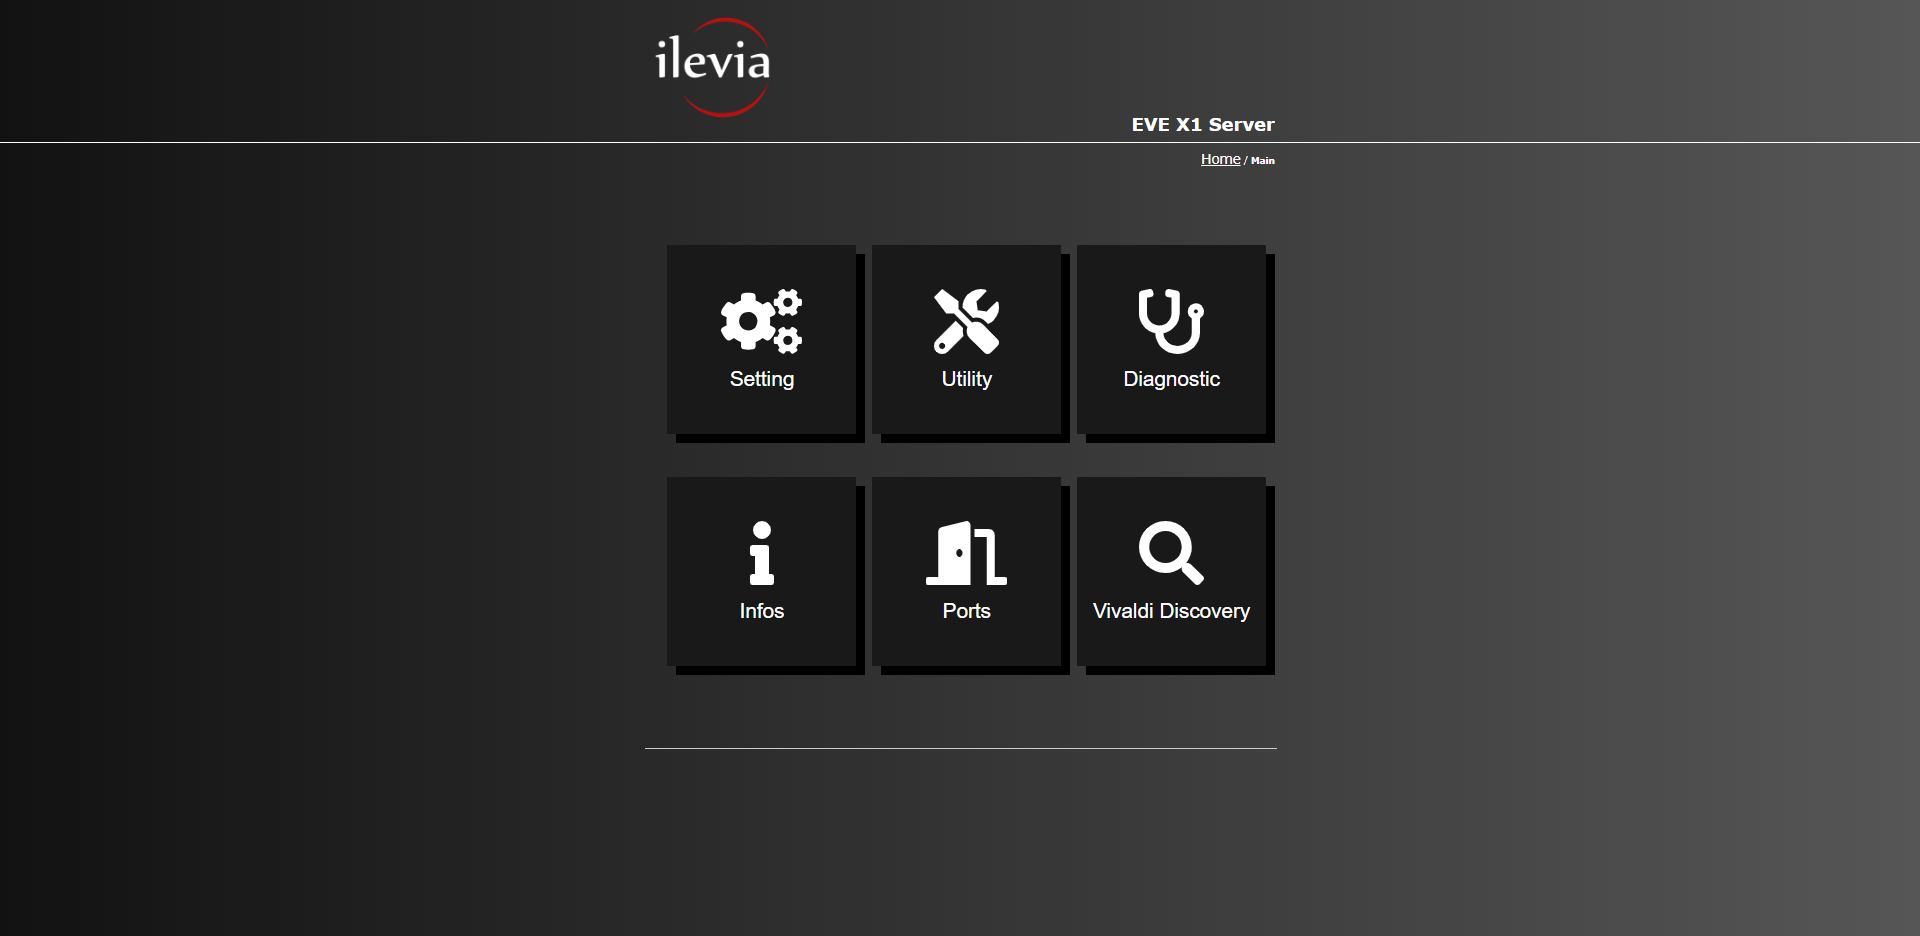
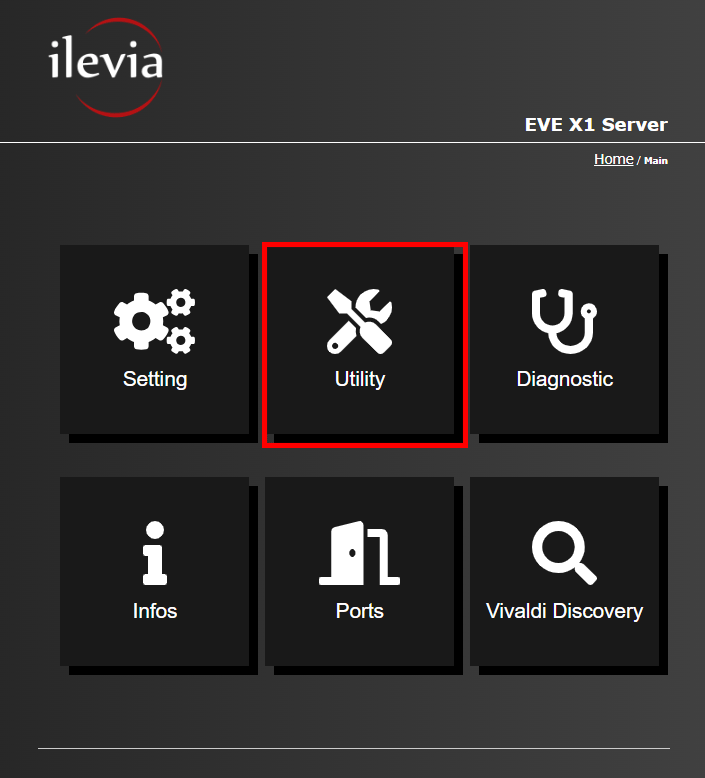
Once succesfully logged in, the web configuration panel menu will be displayed like this, here you can find the access of all the configuration settings e diagnostic.
Step 4: DIAGNOSTIC MENU
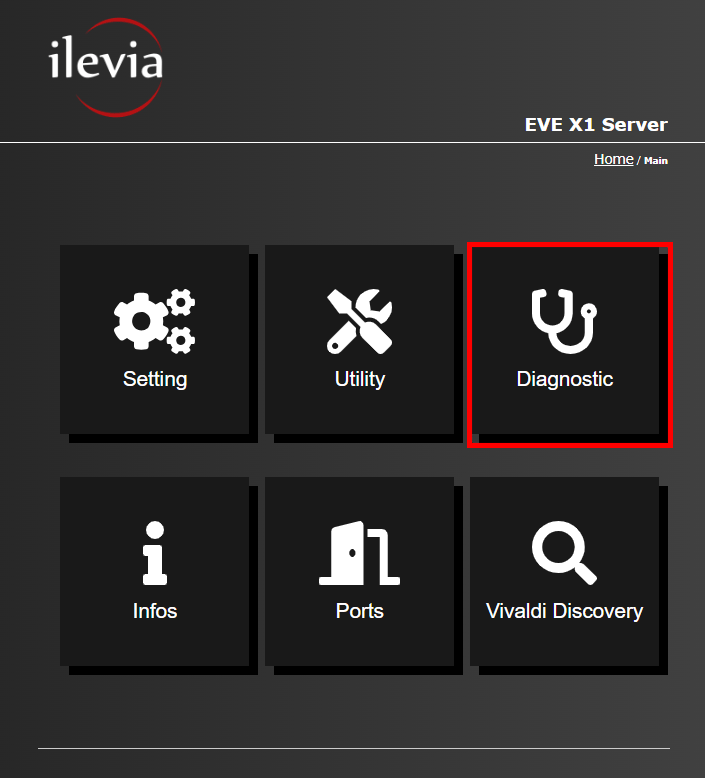
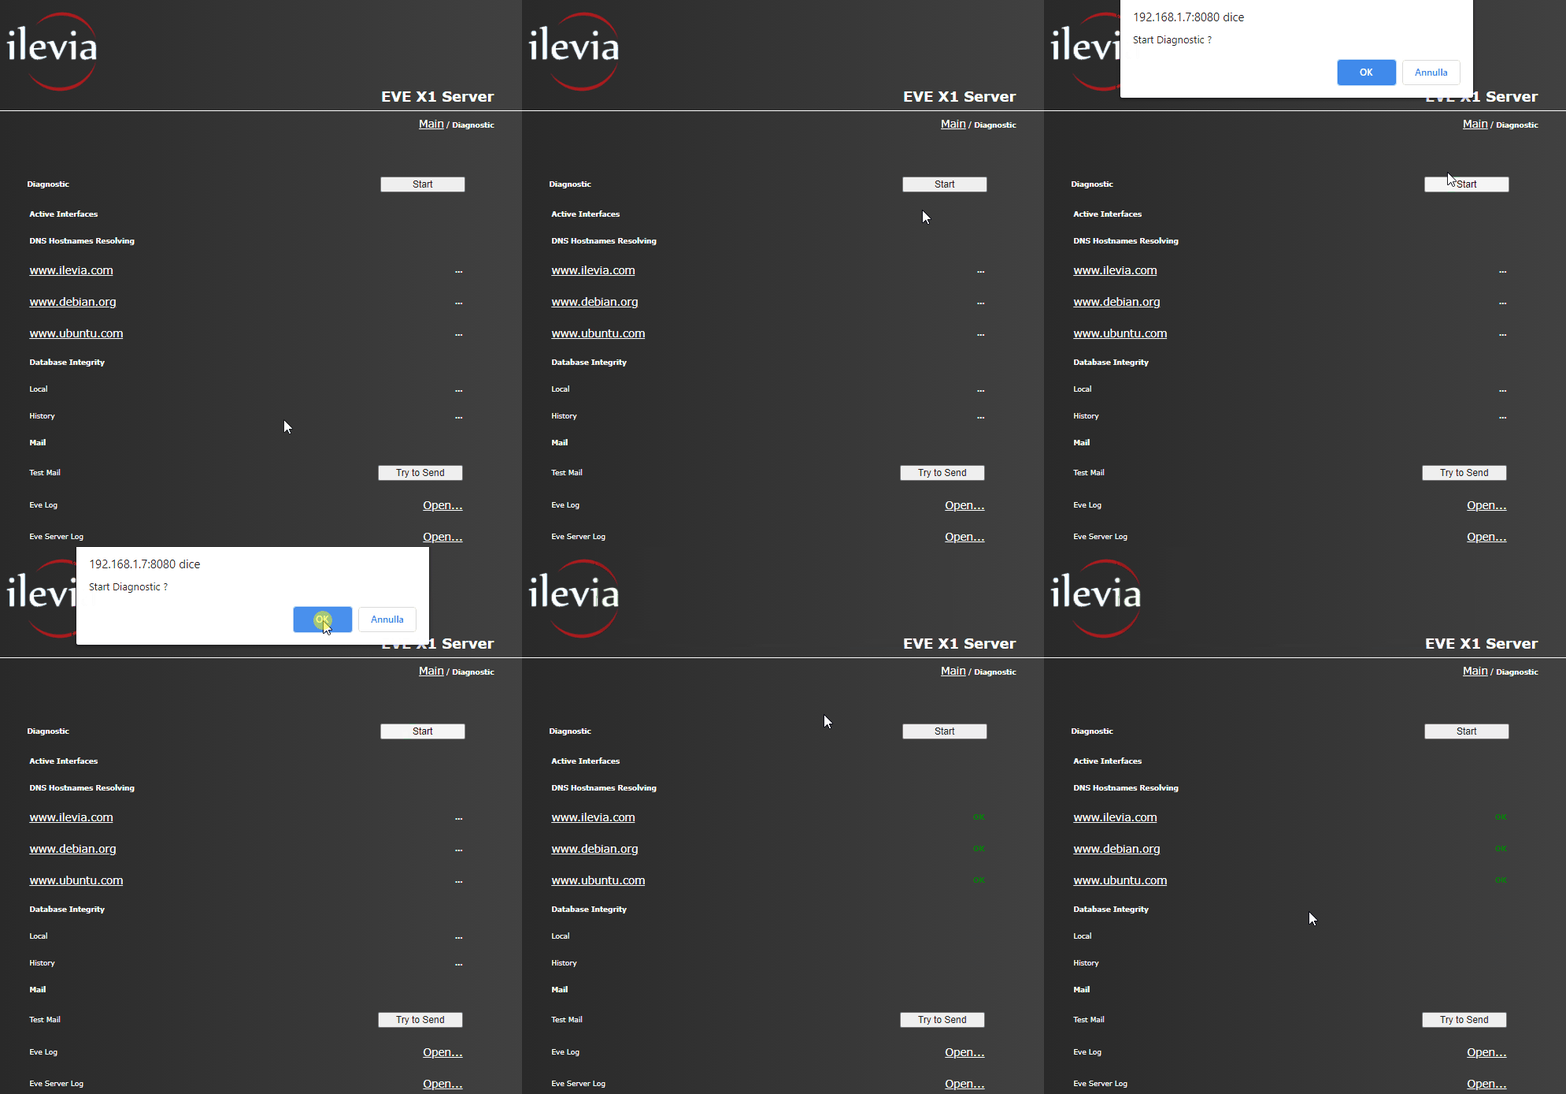
Once entered the Diagnostic menu, by clicking the start button this will trigger a diagnostic process.
Step 5: UTILITY MENU
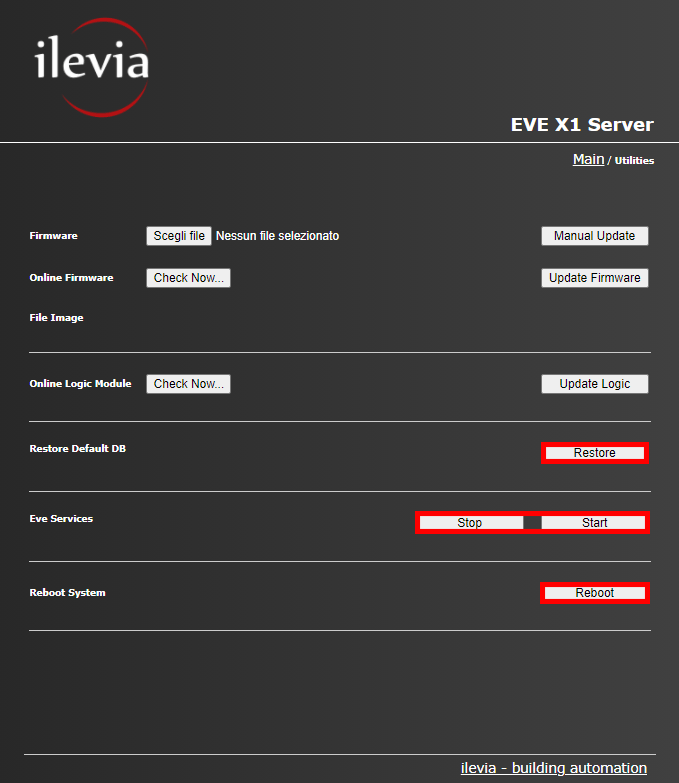
The utility menu allow you to check and, if updates are avilable for the Firmware or logic module, download this updates and install them to your EVE server. Also, in this menu you will allow to restore your EVE server’s database, start and stop the EVE services and reboot the device.
Step 6: SETTING MENU
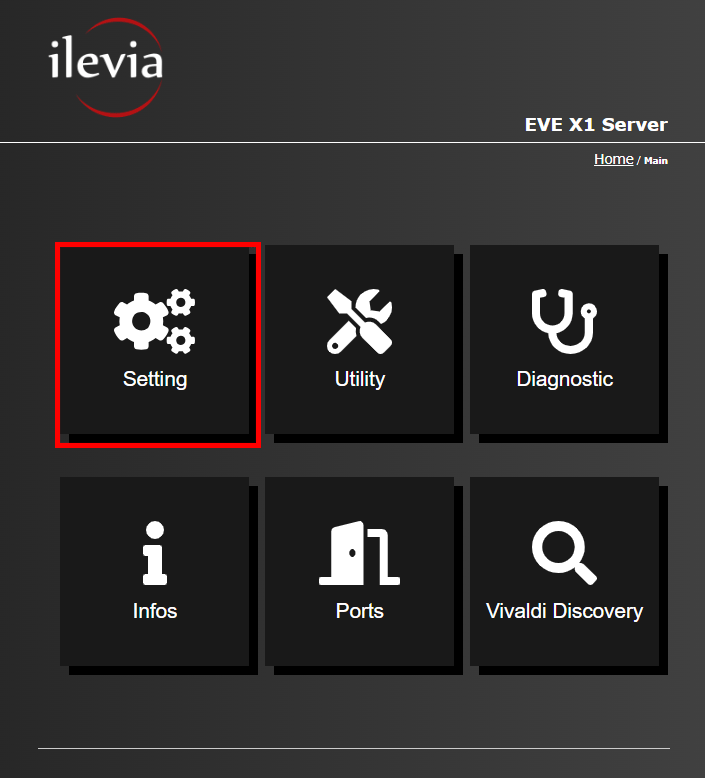
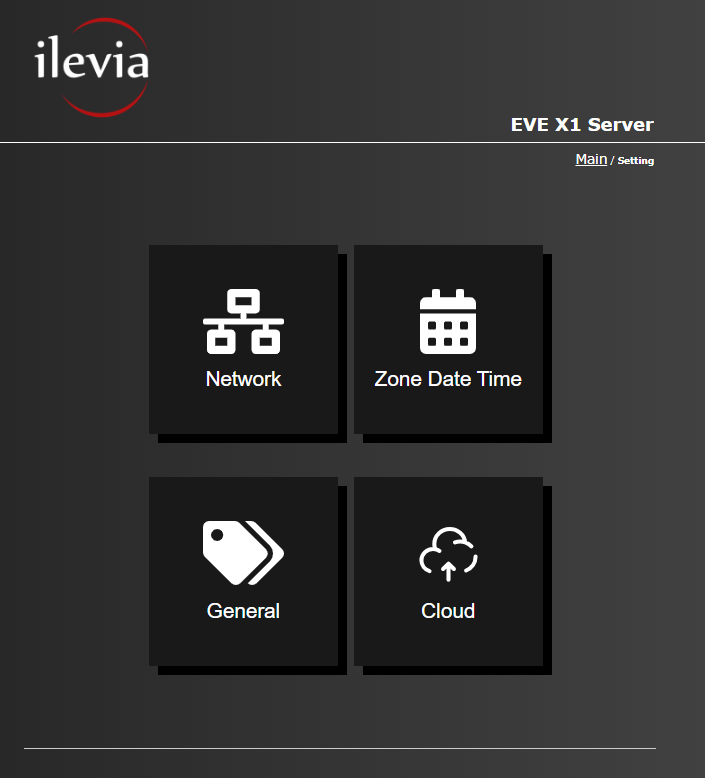
Inside the Settings menu you will be able to: Change the administrator password, set the network configurations, the date and time and customize the name of the EVE server.
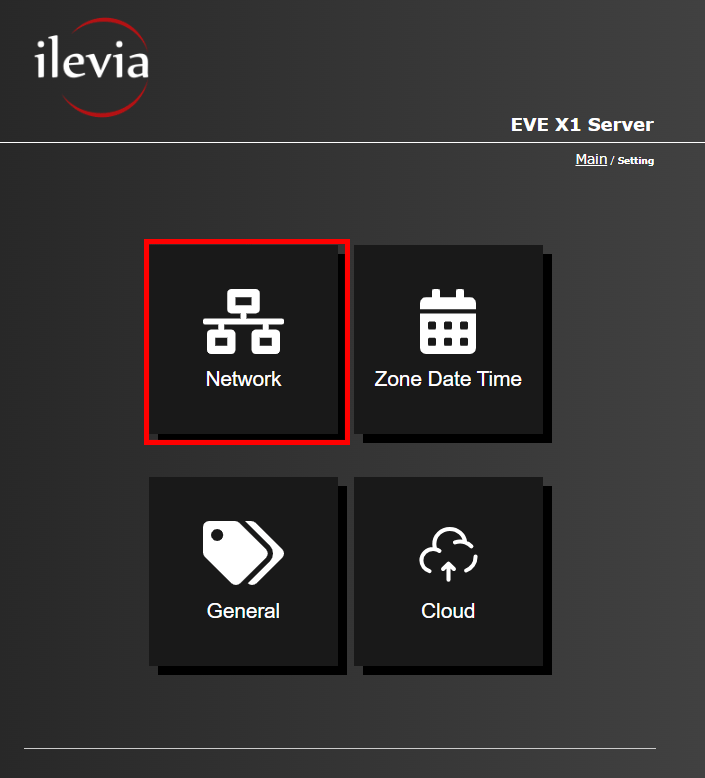
Step 7: NETWORK CONFIGURATION
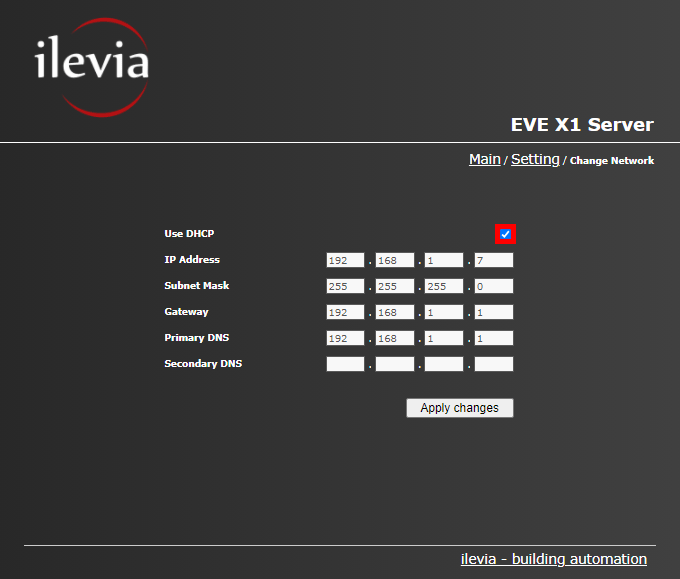
So click the “Network” menu. This is the user panel allow you to check the server network configuration and set a Static IP to your EVE server. In order to set a static IP to the EVE server, uncheck the “Use DHCP” check box, then set a new IP or leave the one the server has taken and click “Apply changes“, the server will perform a reboot. After the reboot you will find the EVE server at the IP you have set in its configurations.
N.B.: If you are setting a static IP make sure the IP address you are setting is available or if it has been taken already from another device within the local network where the X1 is connected to.
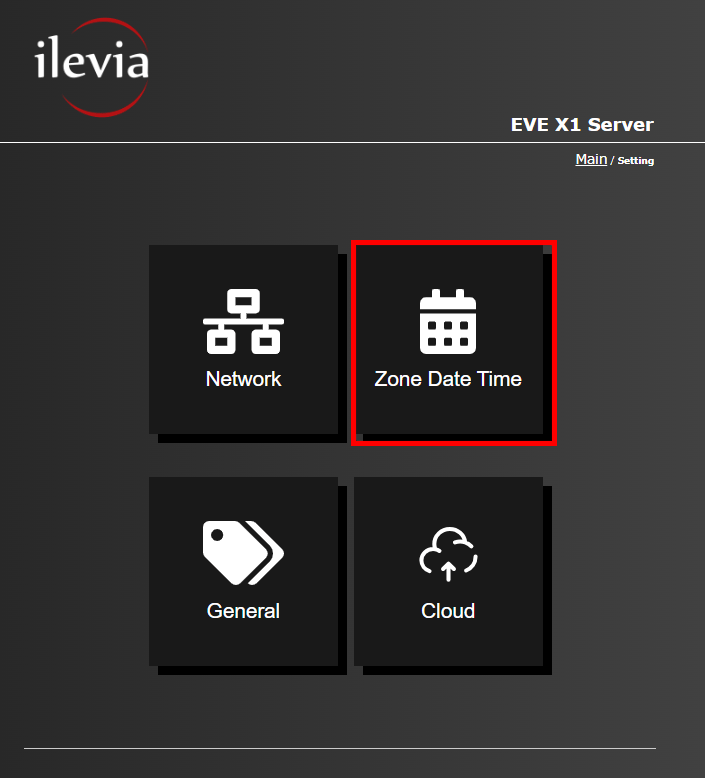
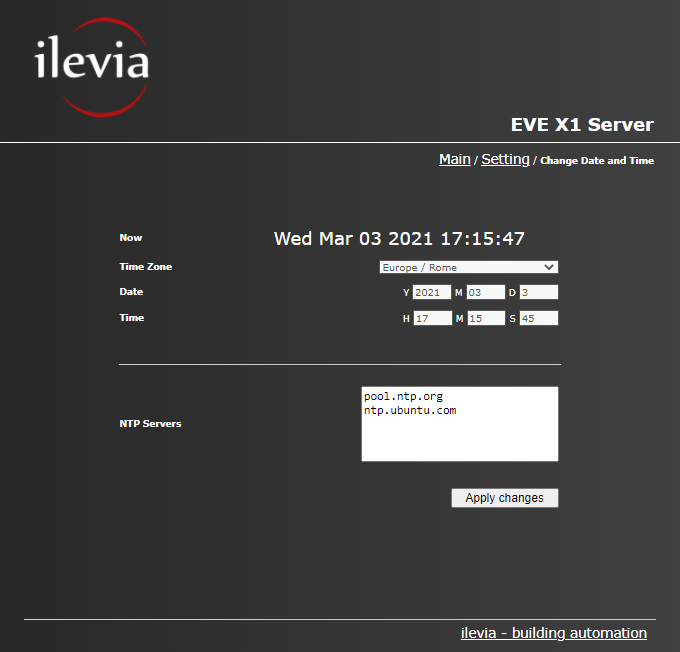
Step 8: ZONE AND DATE
This is the date time setting panel. It is very important to set time and date due to the role that this will play. In fact this setting is the one that EVE will consider when timers will be concerned on specific scene execution. Set time zone, date and time.
This below is a list of NTP servers set by default where connect to update the time. You are free to make changes. Remeber to select the button below “Apply changes”, this will reboot the system to save the settings that you’ve changed.
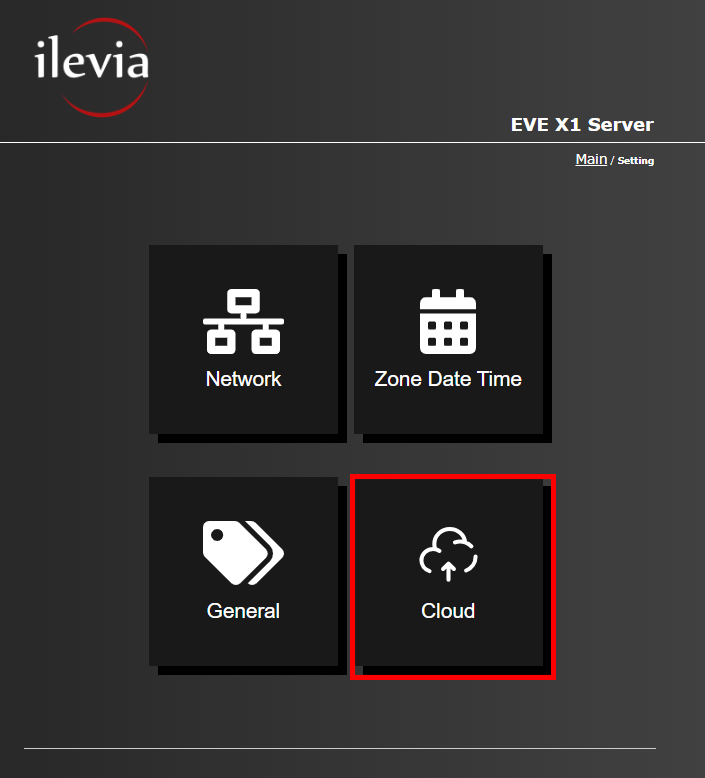
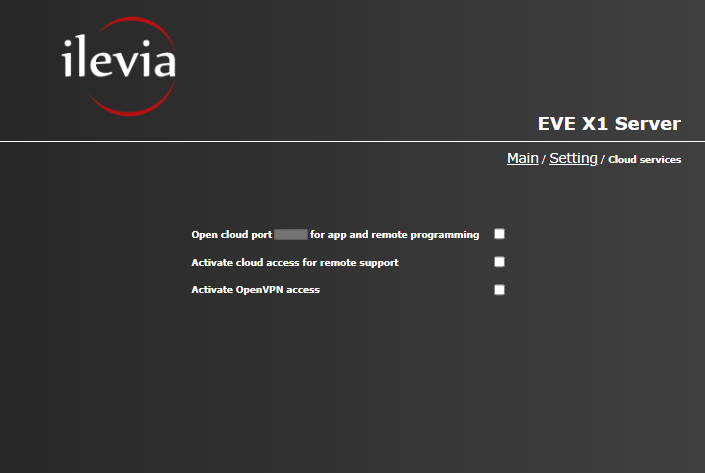
Step 9: CLOUD CONNECTION MENU
This menu allows to enable the cloud connection to the Ilevia server. The Ilevia’s server cloud connection avoids you to apply port forwarding to your router. For further information about the Ilevia’s cloud connection please consult this guide.
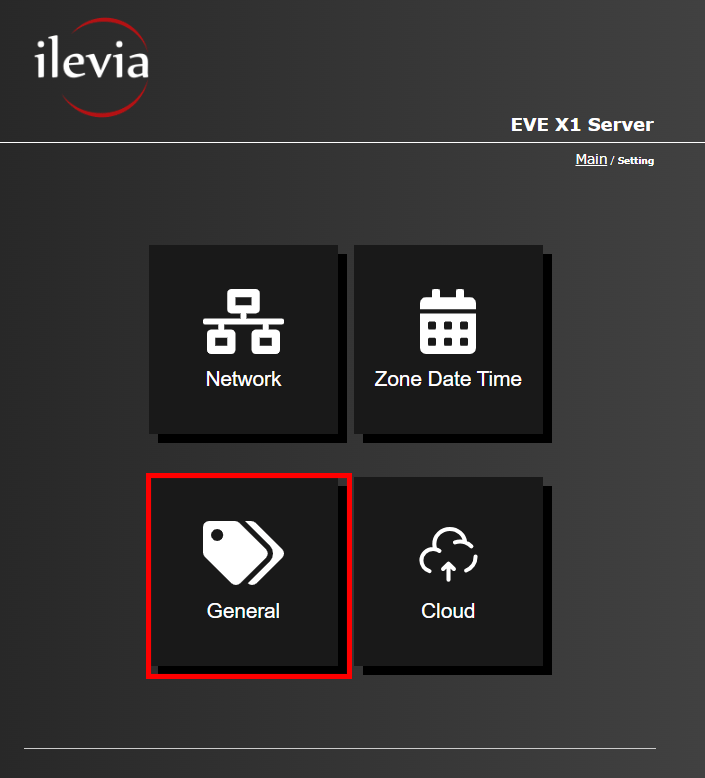
Step 10: CHANGING THE NAME OF THE EVE SERVER
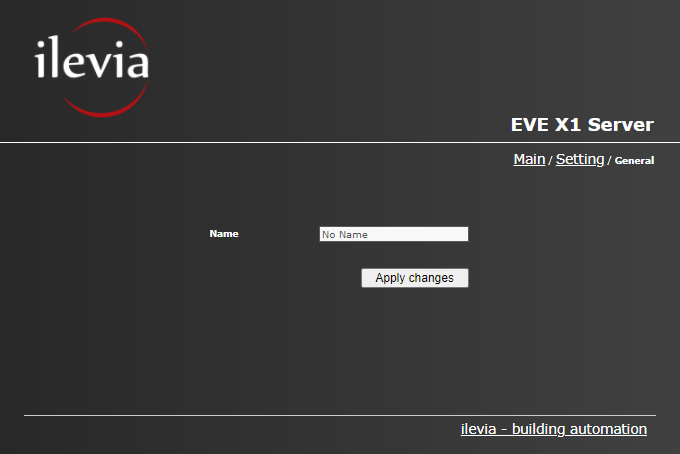
Enter the “General” menu, there you will find a text field which allows you to enter a new name to set ot your EVE server. This name will identify your server in the system. Once customized, the server will require a reboot to apply the settings.

