DAHUA INTERCOM INTEGRATION WITH ILEVIA
INTRODUCTION
Intercom systems are communication devices designed for instant, two-way audio exchange within specific areas. They typically consist of a master station and multiple sub-stations, allowing direct communication without the need for external networks. This guide show how to integrate a Dahua Intercom (Model: DHI-VT03311Q-WP FW ver.: 2024-12-20 V4.800.0000000.1.R) with the Ilevia server. The following steps should work also for the other Dahua intercom systems.
Intercom configuration
Step 1:
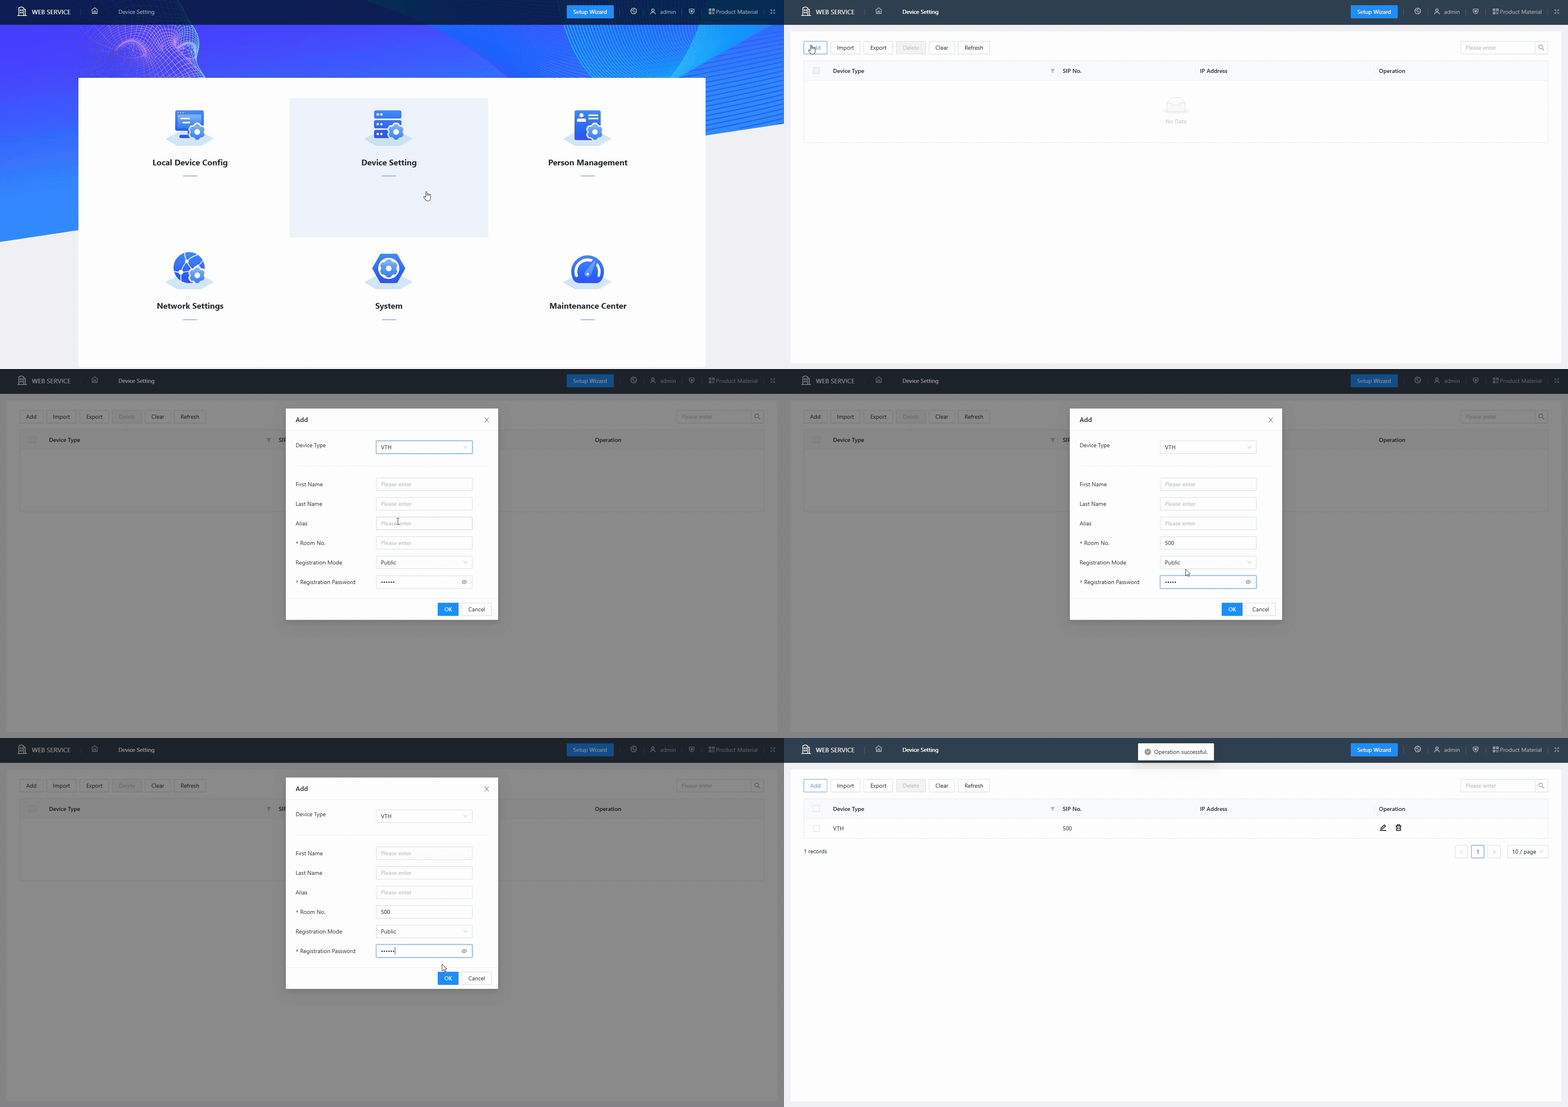
Access the web interface for configuring your Dahua intercom and enter the Device Settings menu, click Add and select VTH on Device Type and add a Room No. (e.g. 500) of your choice and a Registration Password of your choice. Finally click OK to apply the settings. This configuration represents the “virtual” intercom (with its ID or username) that will use the Ilevia Control application to receive the call.
Step 2:
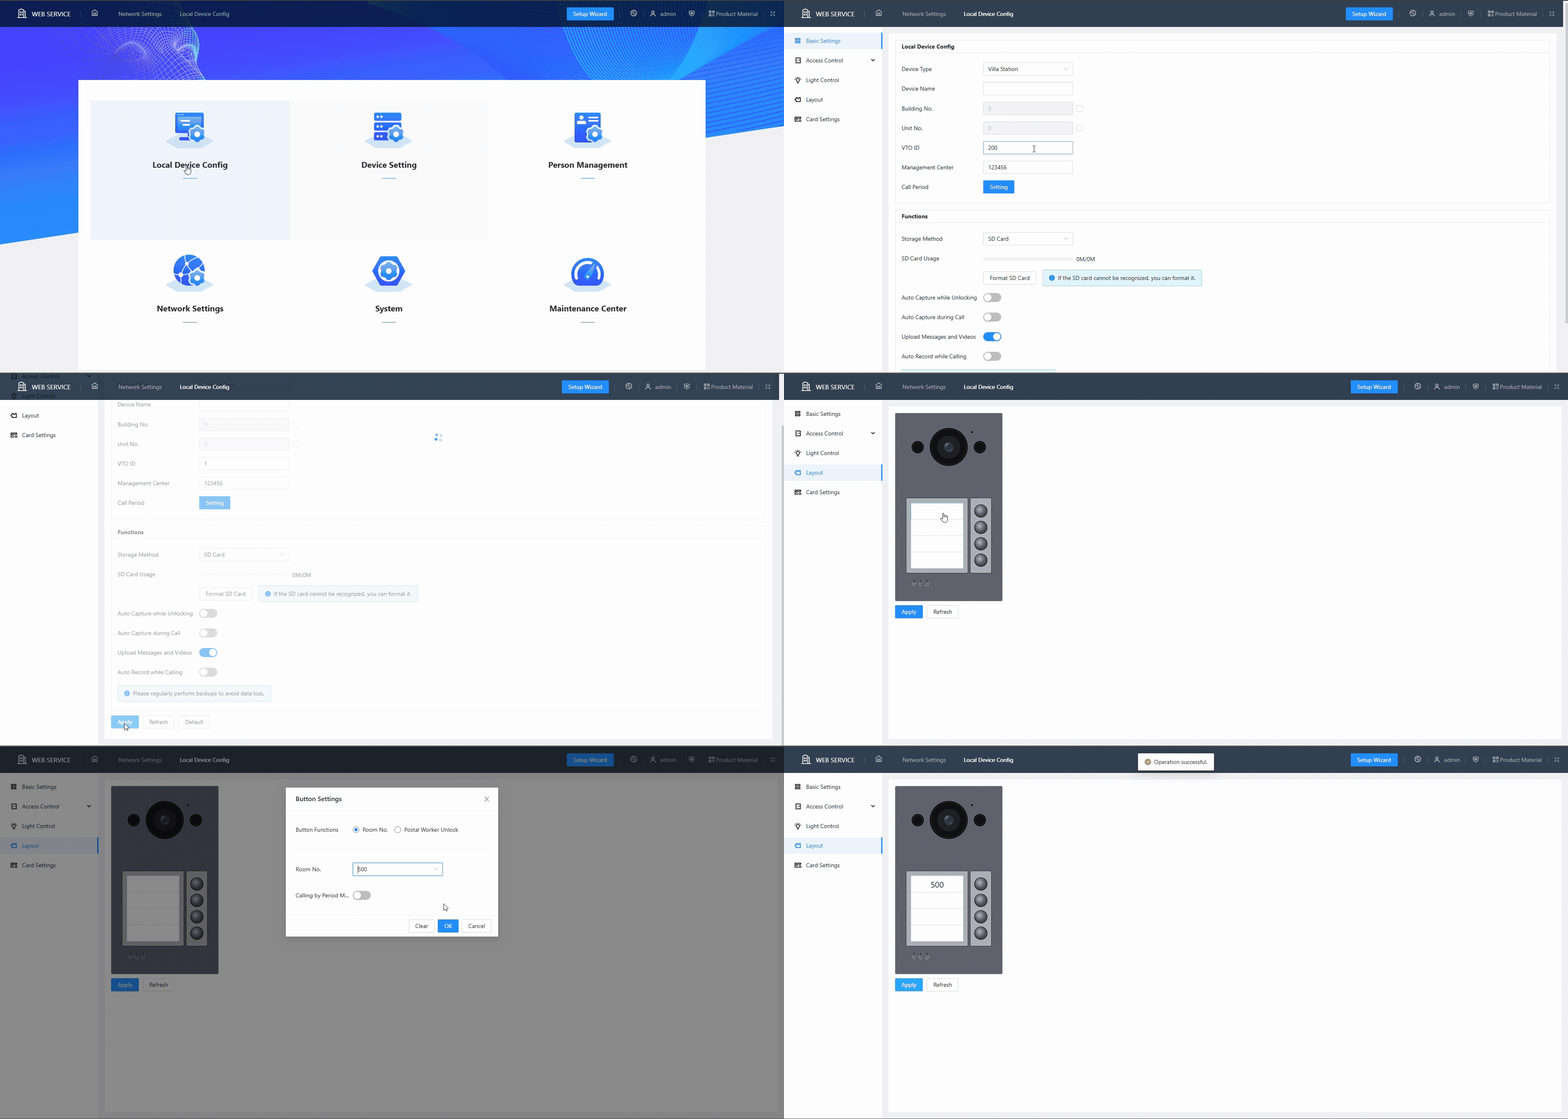
Return to the homepage and enter the menu “Local Device Config”, select the item “Basic Settings” from the side menu and set a VTO ID of your choice (e.g. 1) to VTO ID (this represents the ID or username of your physical Dahua intercom you are configuring) and click Apply at the bottom of the page (. Next select the item “Layout” from the side menu and click on the pane corresponding to the button that will be used to send the call. From the Room No drop-down menu, select the Room No set in the previous step and click OK, then click Apply to apply the changes.
Step 3:
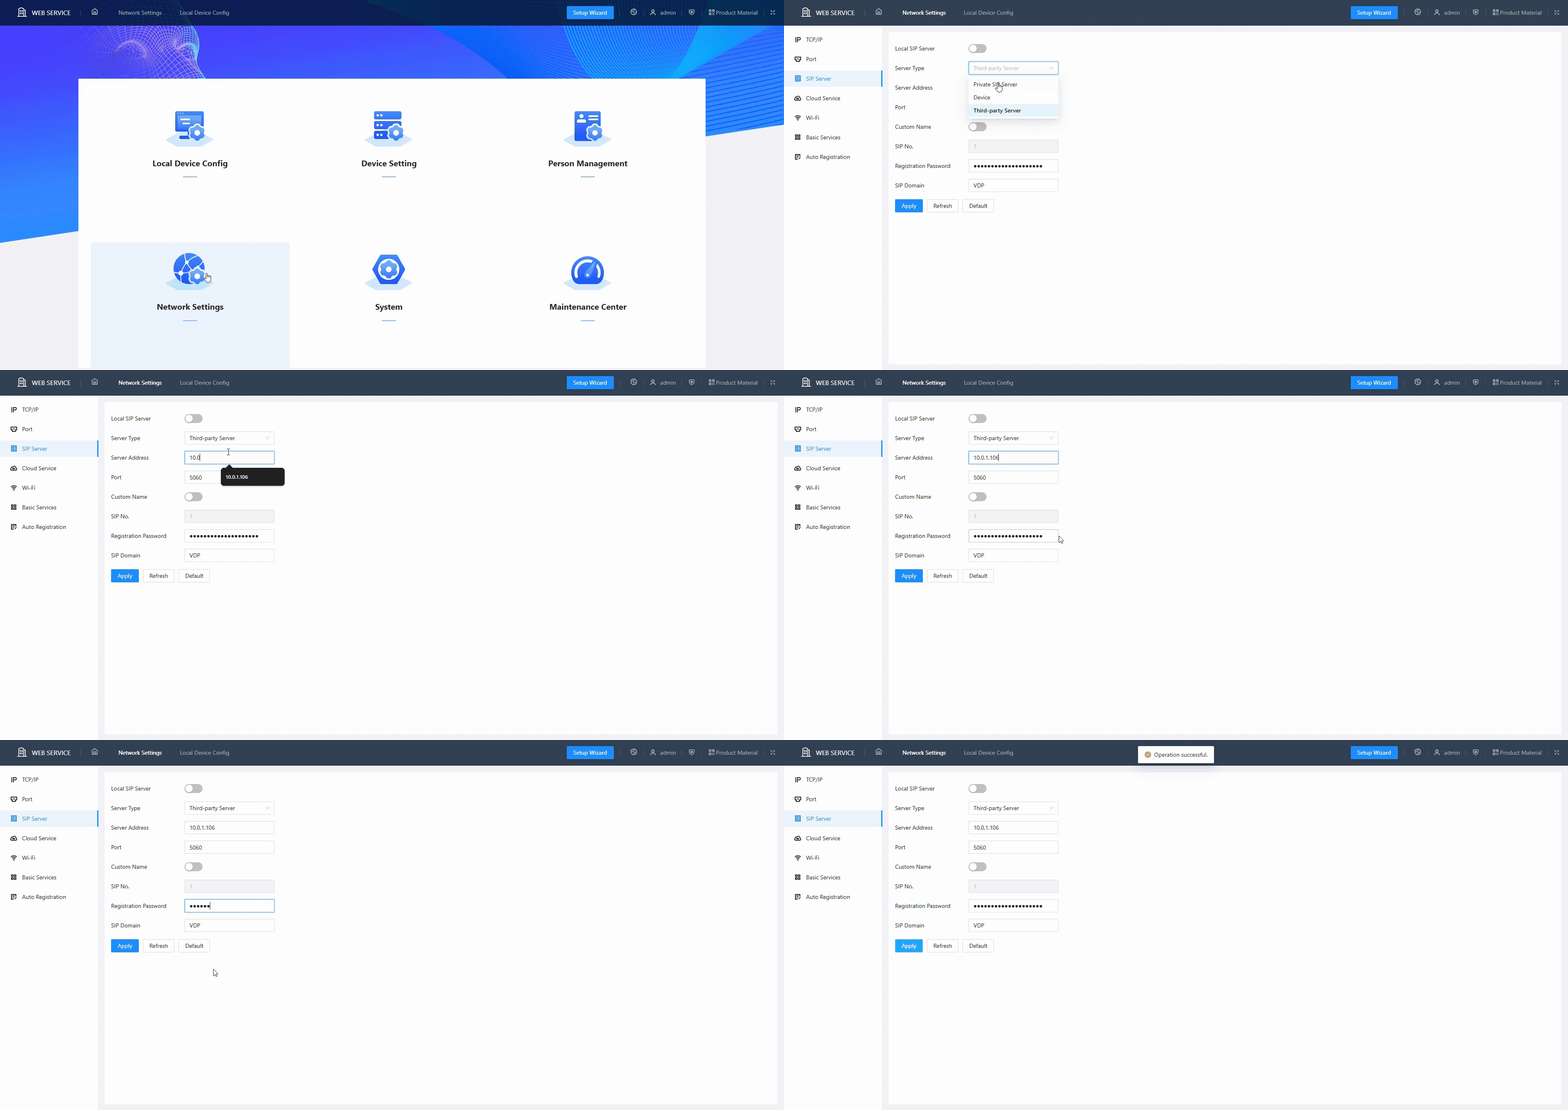
Return to the homepage and enter the menu “Network Settings”, inside “SIP Server” click on the drop-down menu of “Server Type”, select “Third-party Server” and enter the IP address of your X1 server in “Server Address”. Finally enter a password of your choice in Registration Password and click Apply to apply the changes.
Ilevia Manager configuration
Step 1:
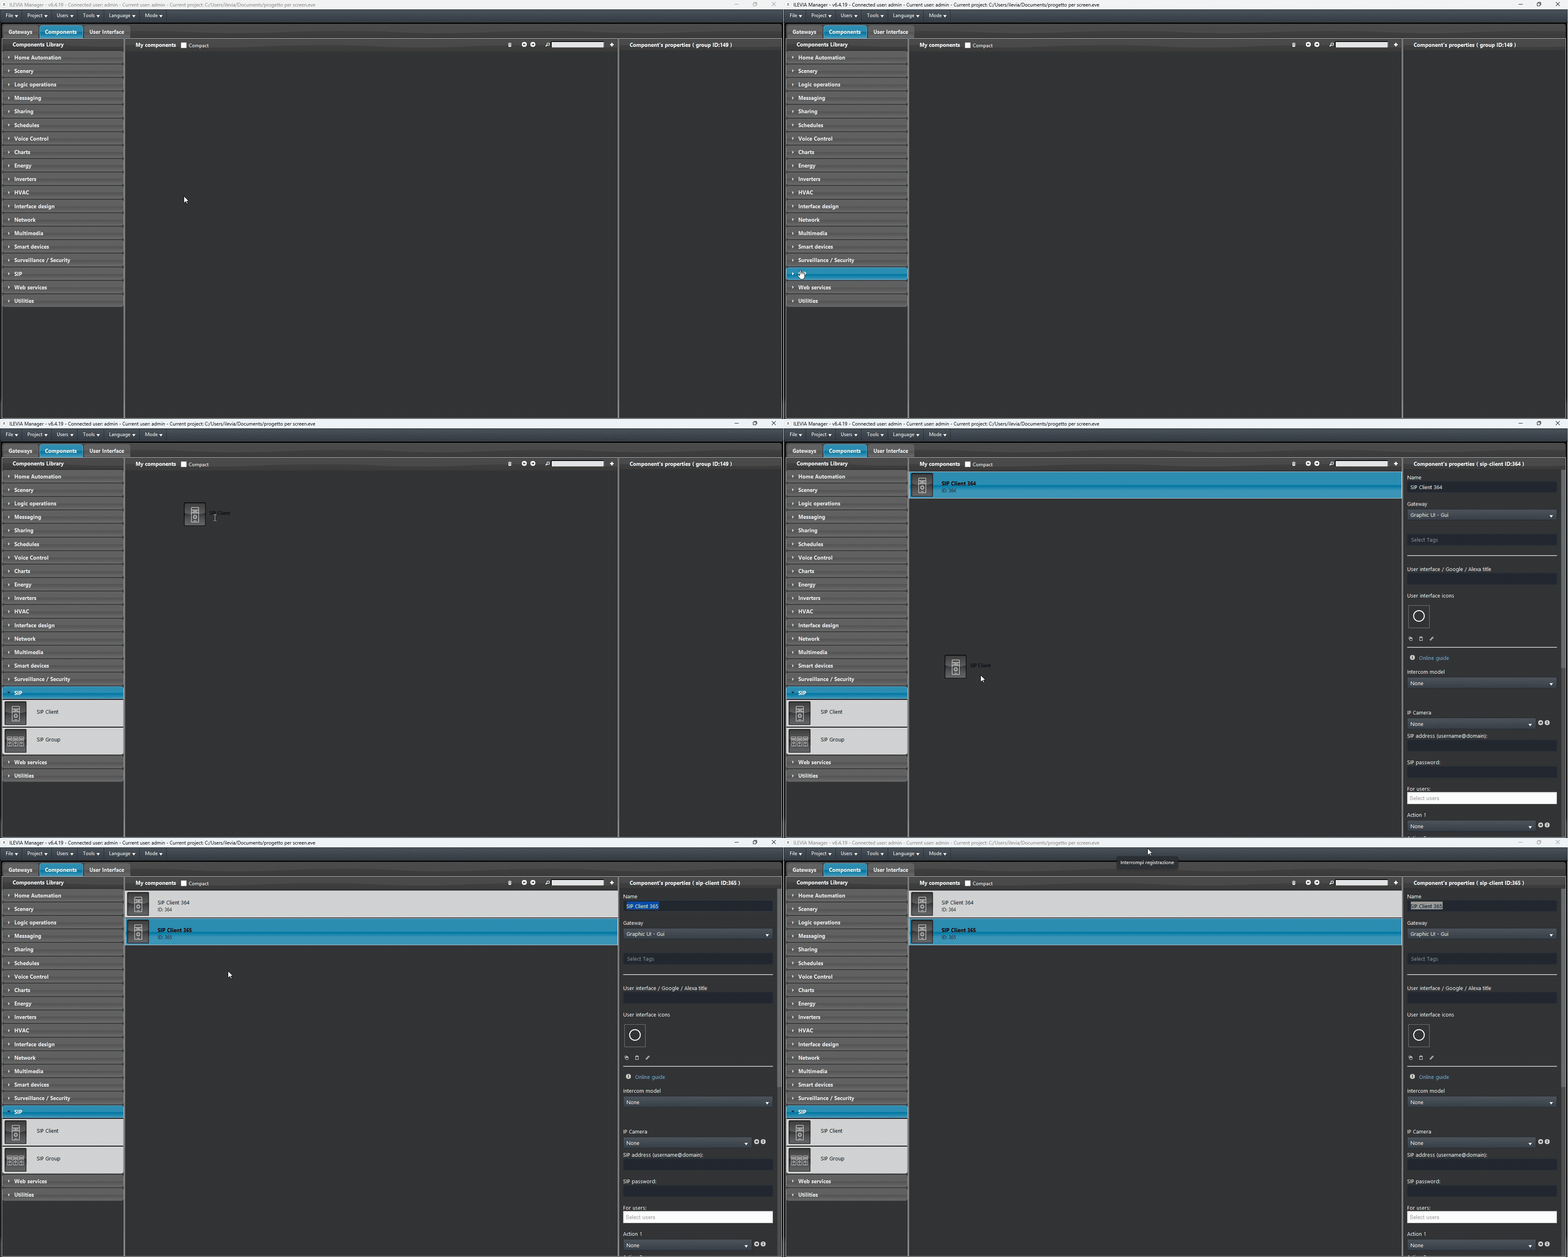
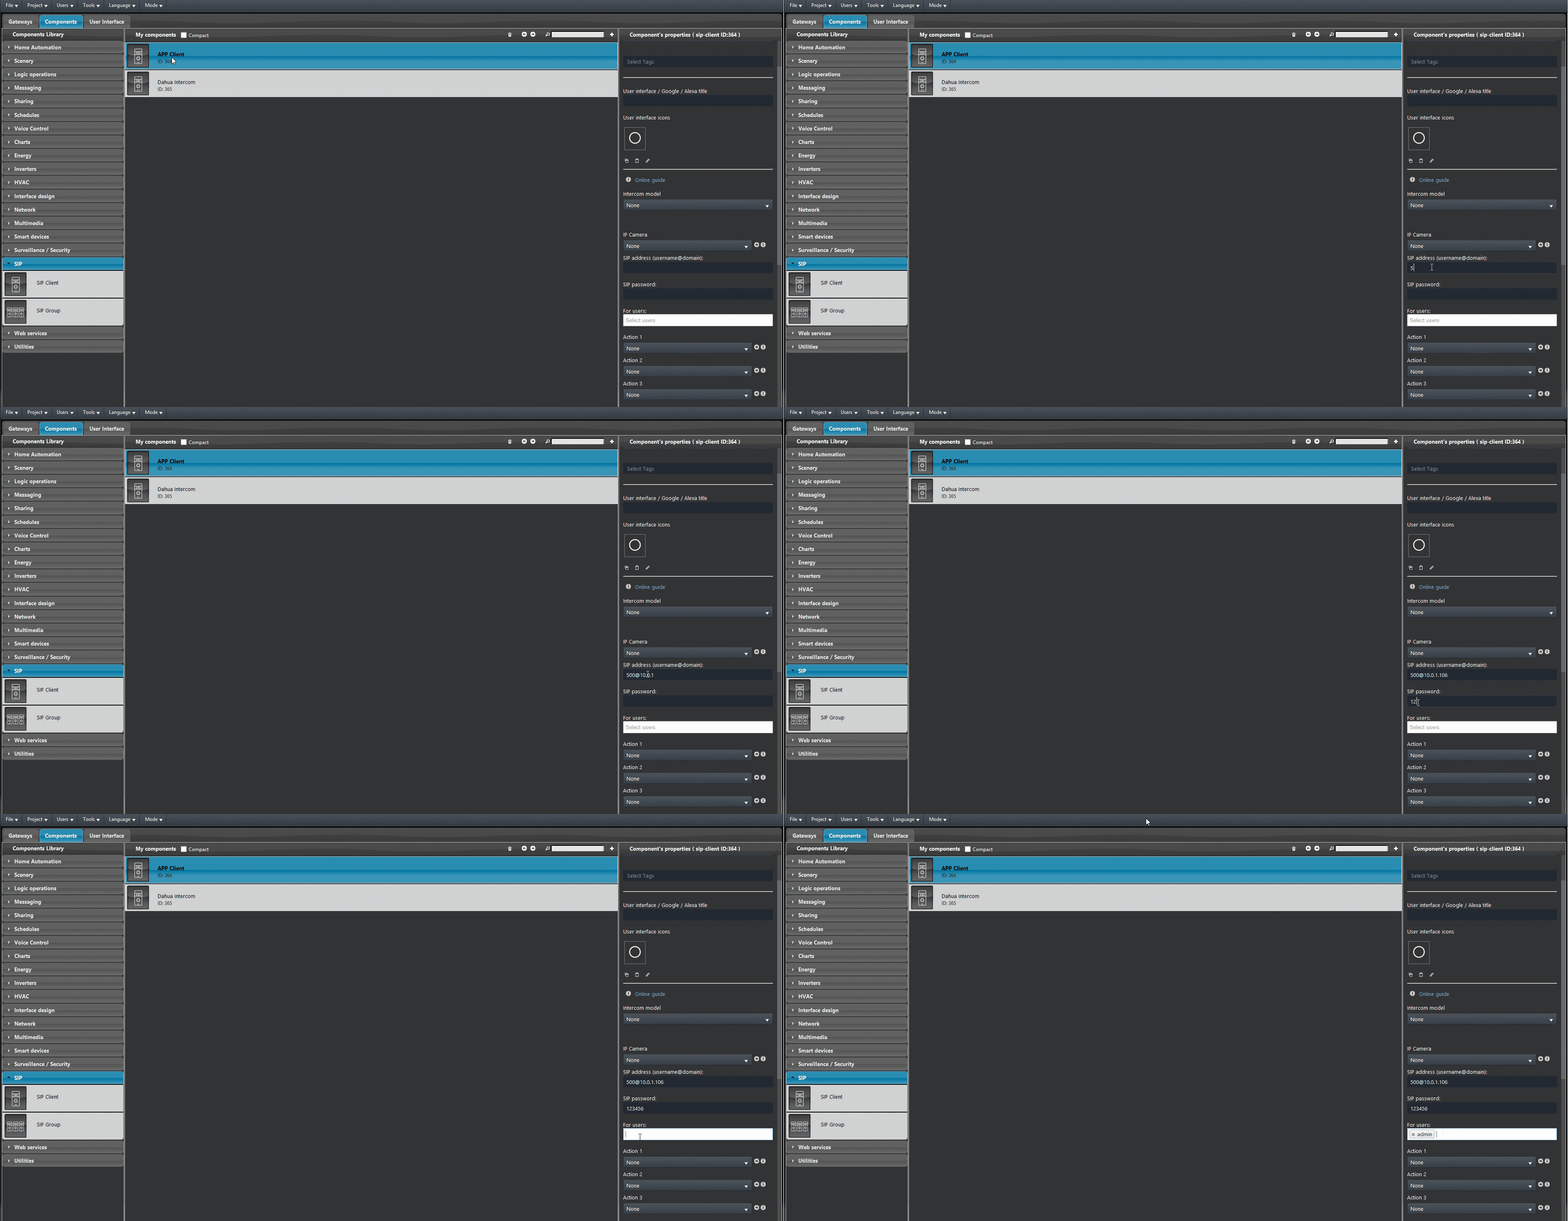
Open the Ilevia Manager configuration software, open the SIP section from within the component library, and add 2 SIP Client components.
Step 2:
Select one of the 2 SIP clients and in the right menu enter the following in the SIP address:
<SIP Address>@<Ilevia Server IP Address>.
Replace <SIP-Address> with the address (Room No.) you entered in step 1 of your web configuration and replace <Ilevia-server-IP-address> with your X1 server’s IP address. Finally, enter the password set in step 1 of the web configuration in SIP Password and select the user who will be able to receive calls in the “For Users” field.
Step 3:
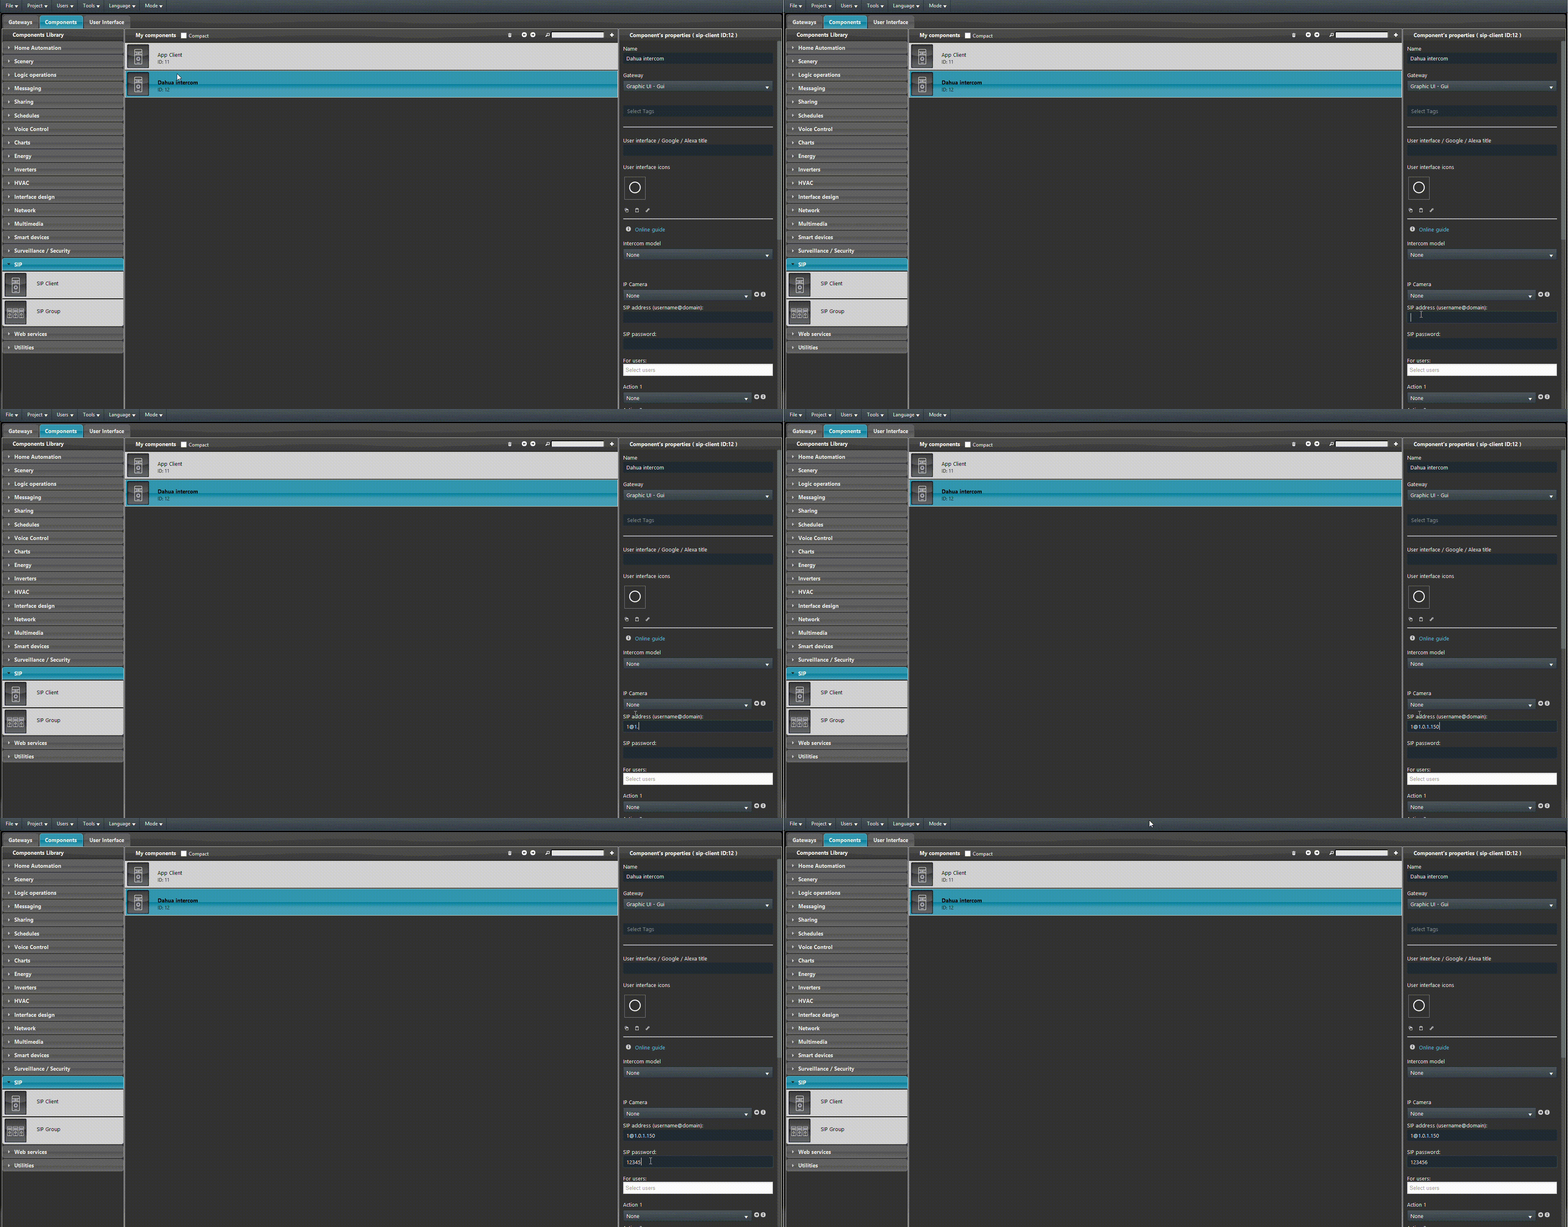
Select the second SIP Client and in the right menu enter the following in SIP address:
<SIP-Address>@<Ilevia-server-IP-address>.
Replace <SIP-Address> with the address (VTO ID) you entered in step 2 of your web configuration and replace <dahua-intercom-IP-address> with the IP address of your Dahua intercom. Finally enter in SIP Password the password set in step 3 of the web configuration.
Step 4:
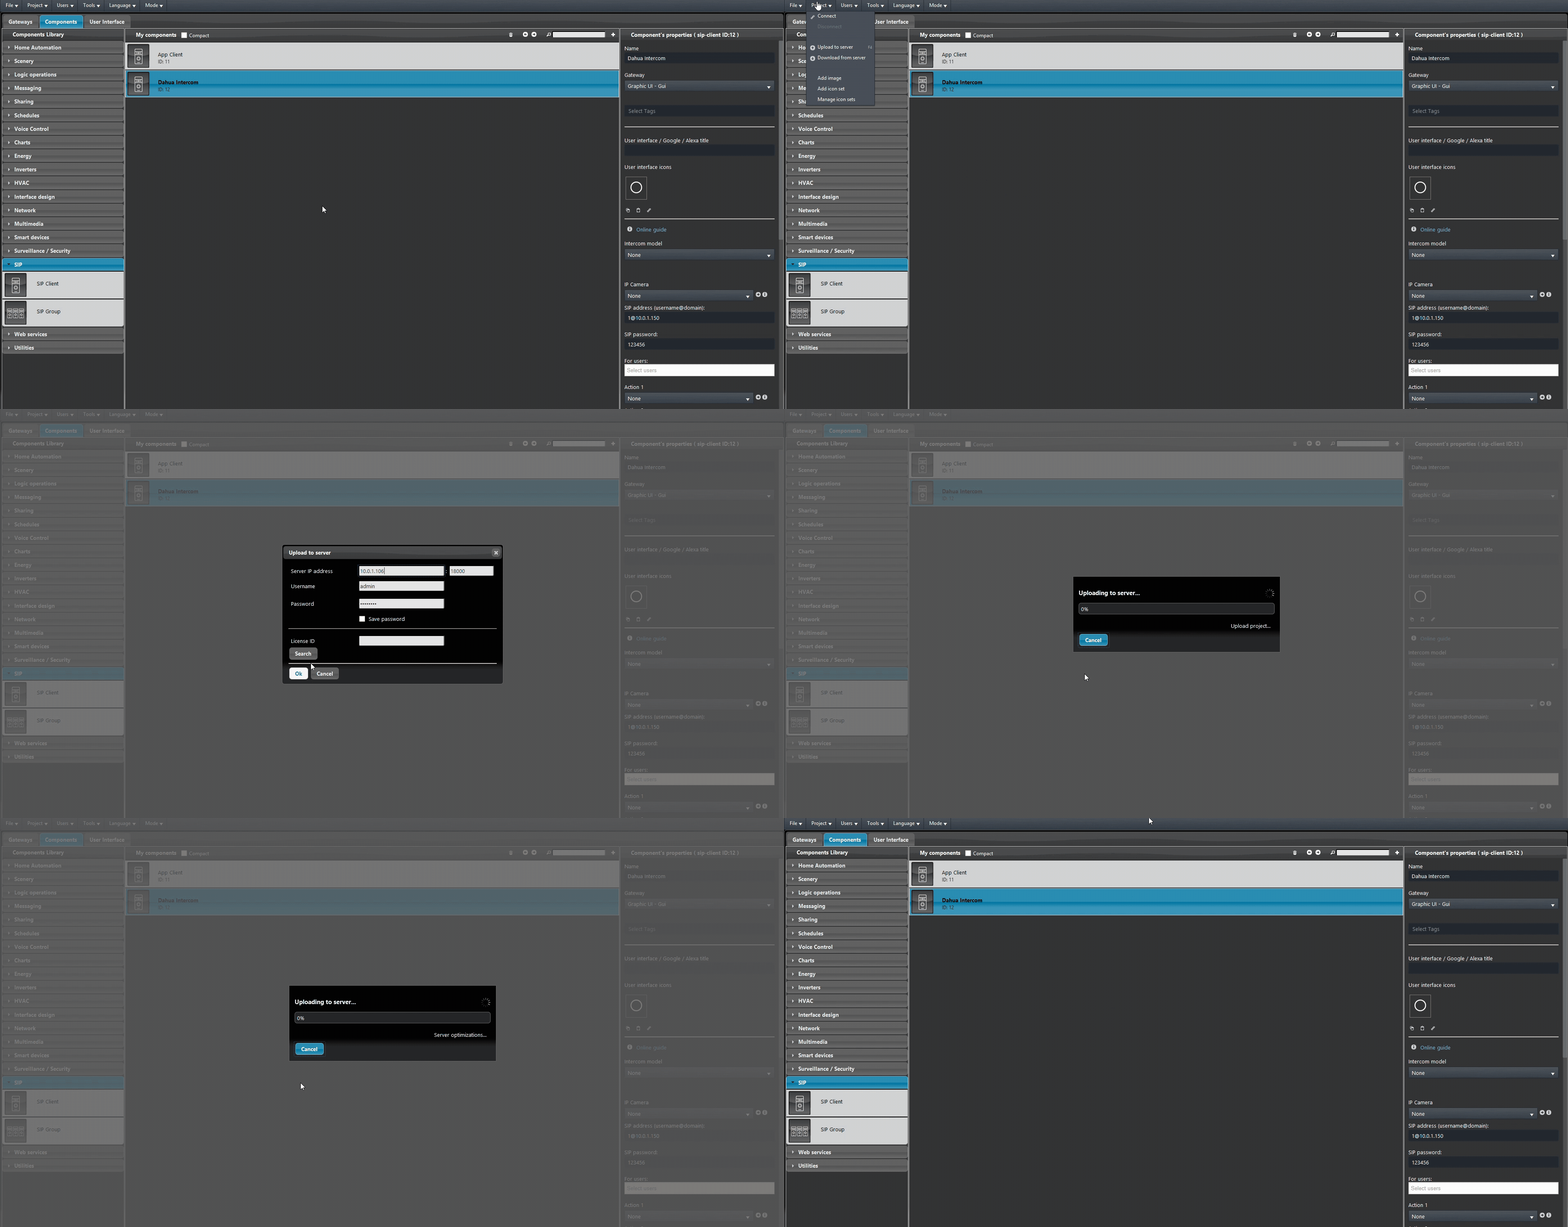
Finally Upload the project to the server.
Webcam Integration (optional)
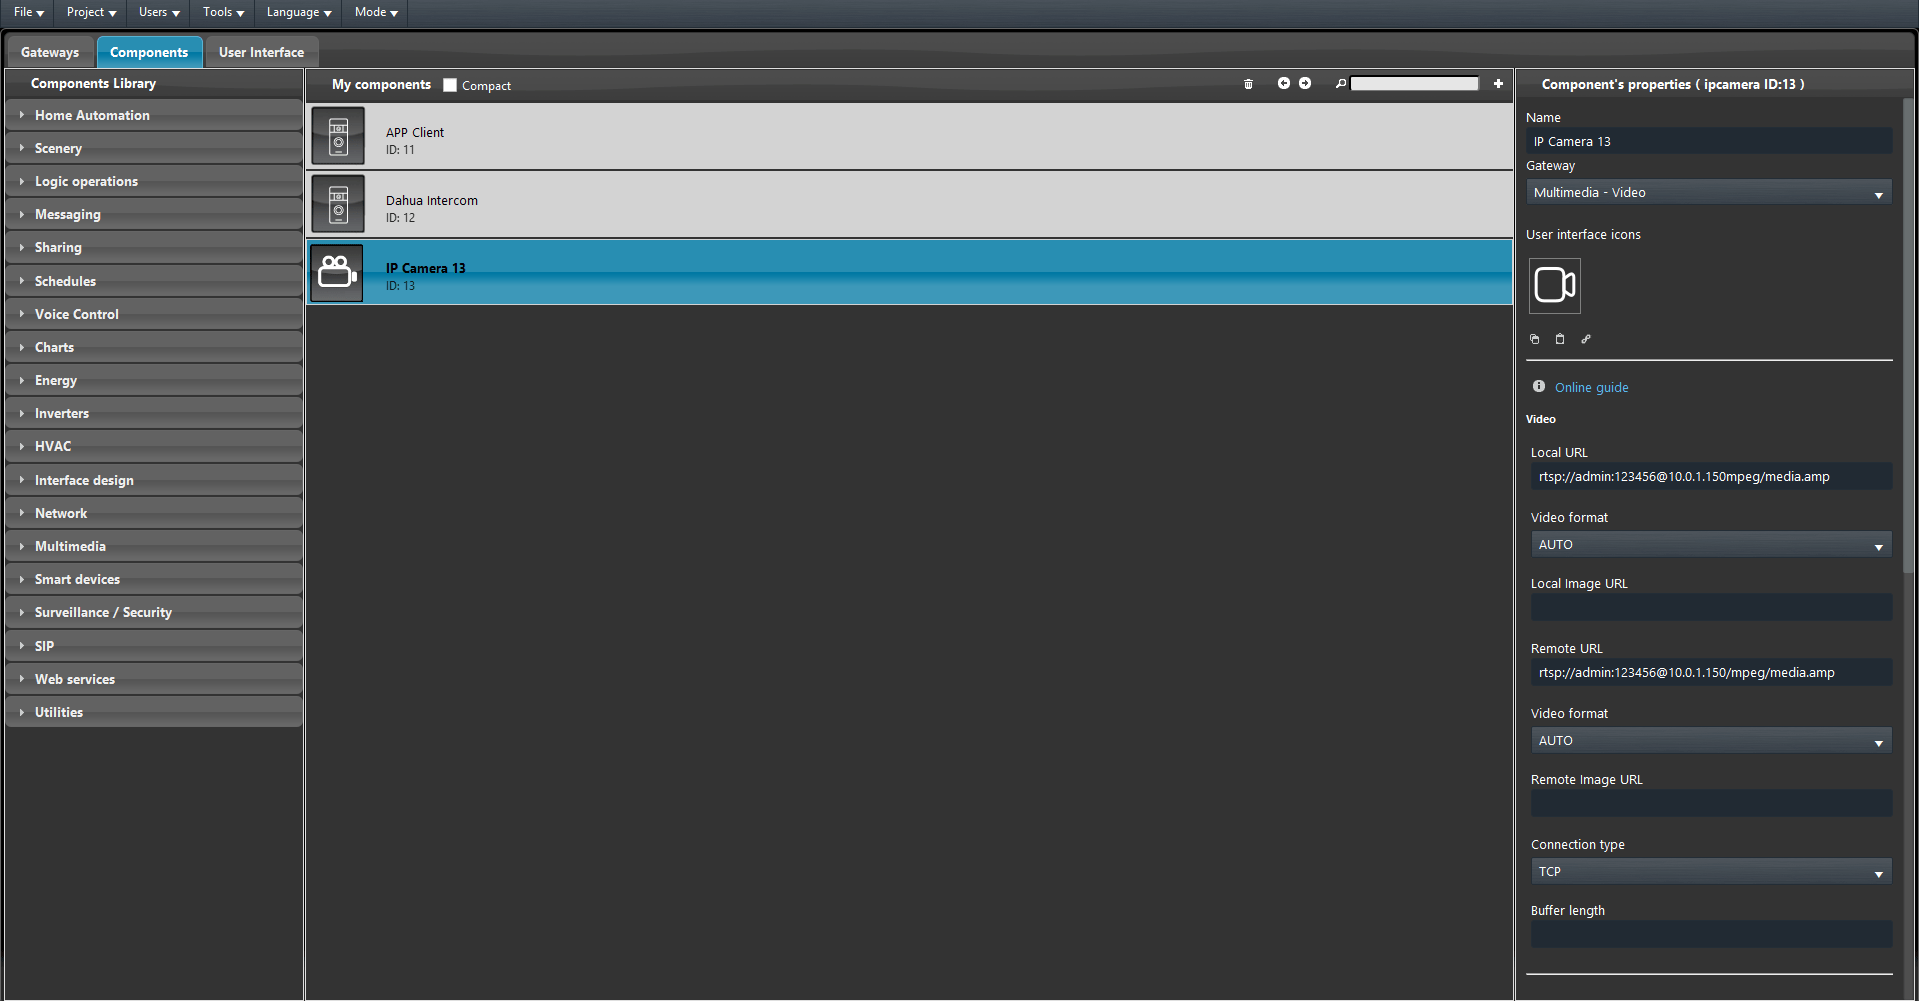
Add a new IP camera component to your project. After that it applies the RTSP URL in the component parameters as follows.
rtsp://<User1>:<User1 password>@<Intercom IP address>/mpeg/media.amp
Where <User1> must be replaced with the user’s username present within the intercom web interface (e.g. admin). <User1 password> must be replaced with the user’s real password (the one entered in step 3 of the web configuration) present within the web interface, finally replace <Intercom IP address> with the current IP address of your intercom within the local network.
Remember to connect the ip camera to your intercom by selecting the ip camera components in your intercom component settings (IP Camera => Your IP Camera)
Step 5:
Connect to the account in the Ilevia Control App. Please consult this guide to know how to Setup the new App.
Ilevia Control configuration
Step 6:
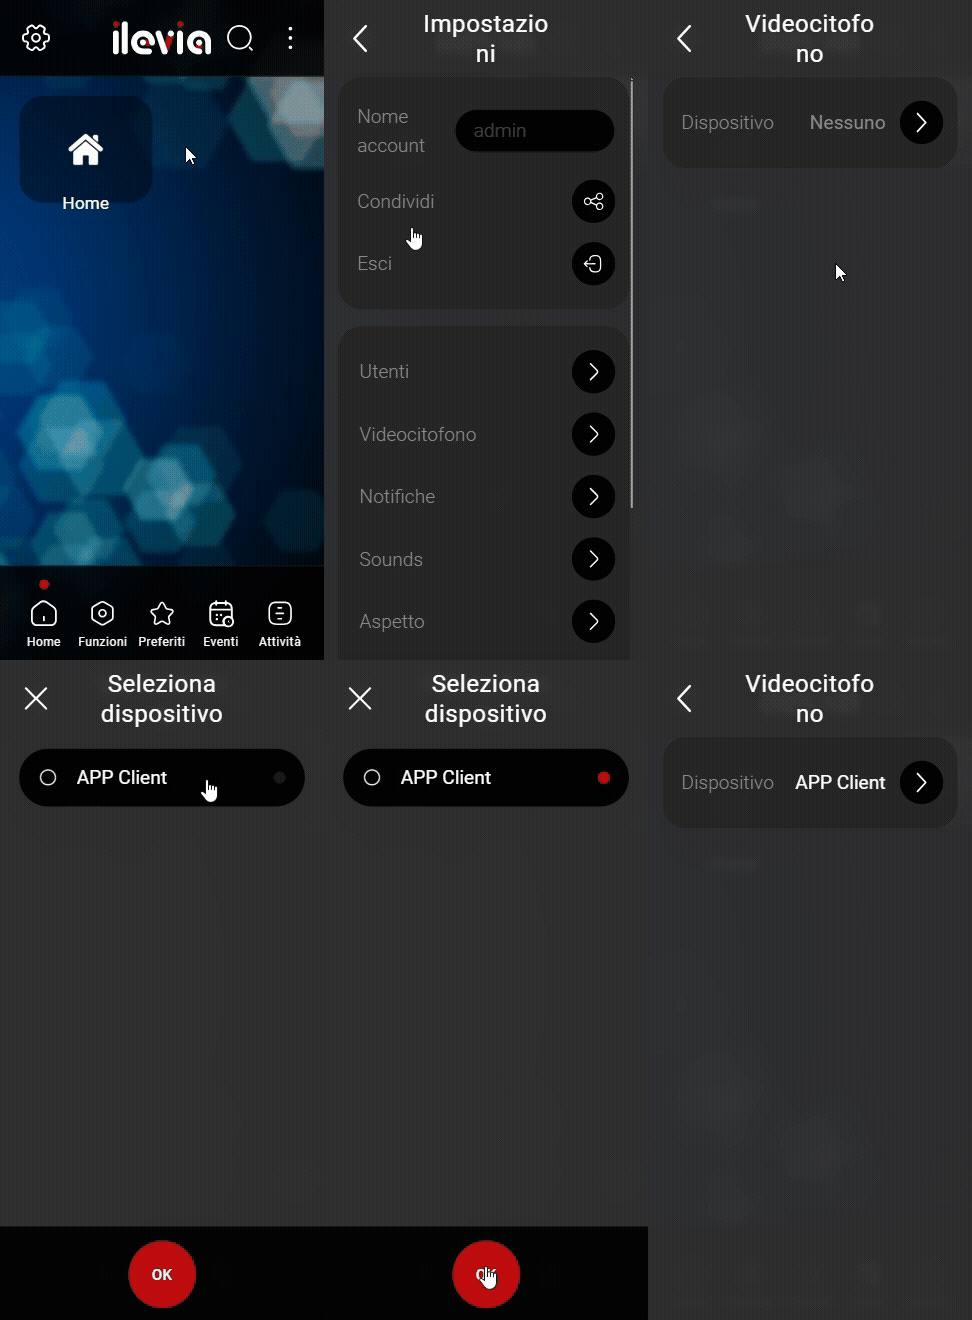
Open the Ilevia Control application and enter the settings, select Intercom and then enter Device. In this window, select your intercom by clicking on it and then press OK.
Interface visualization
Step 7:
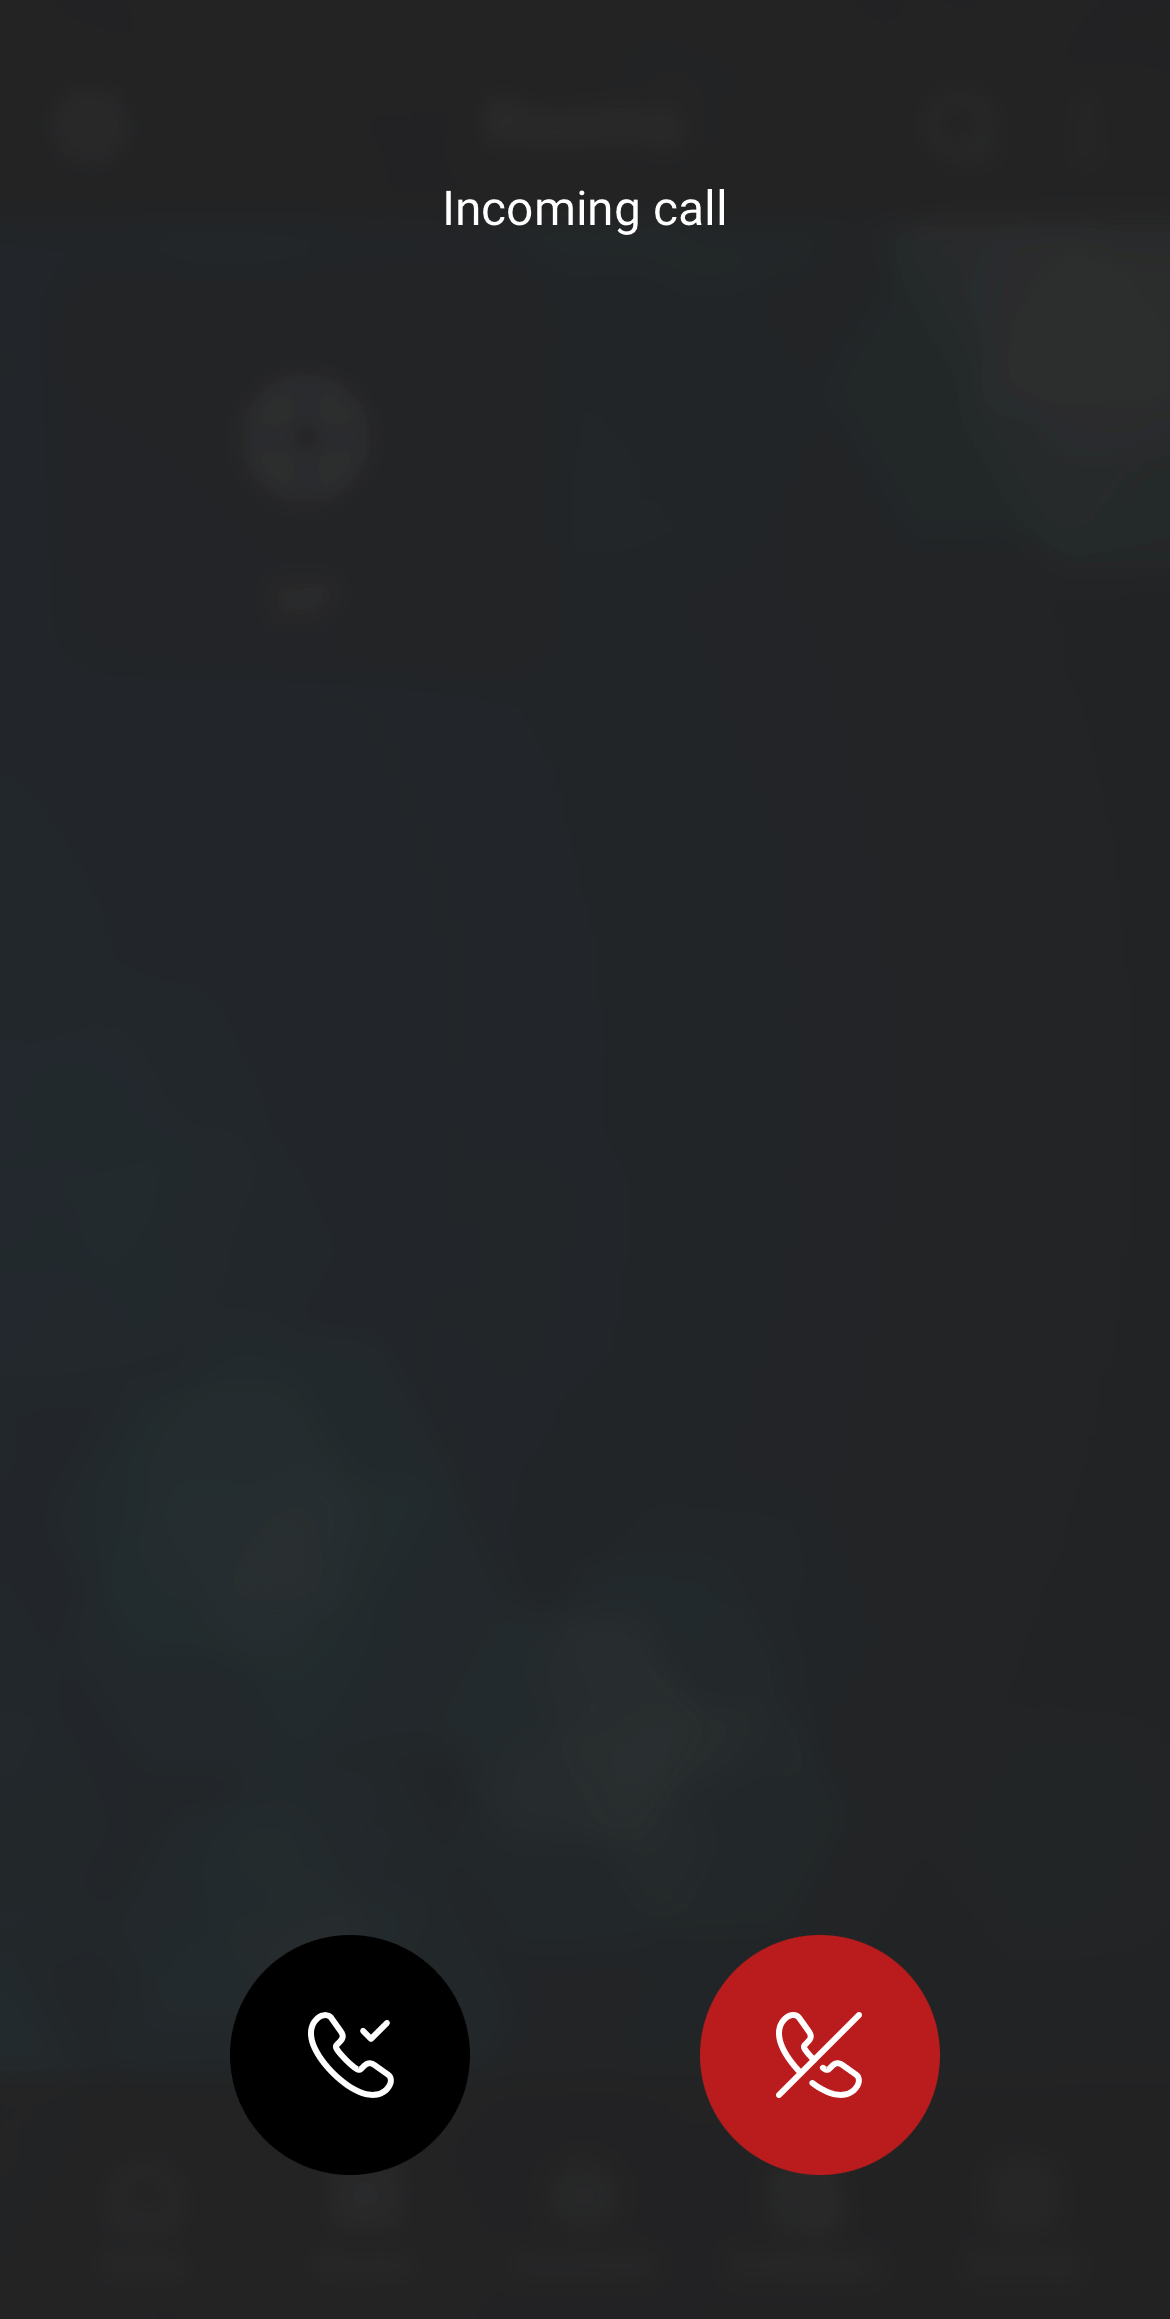
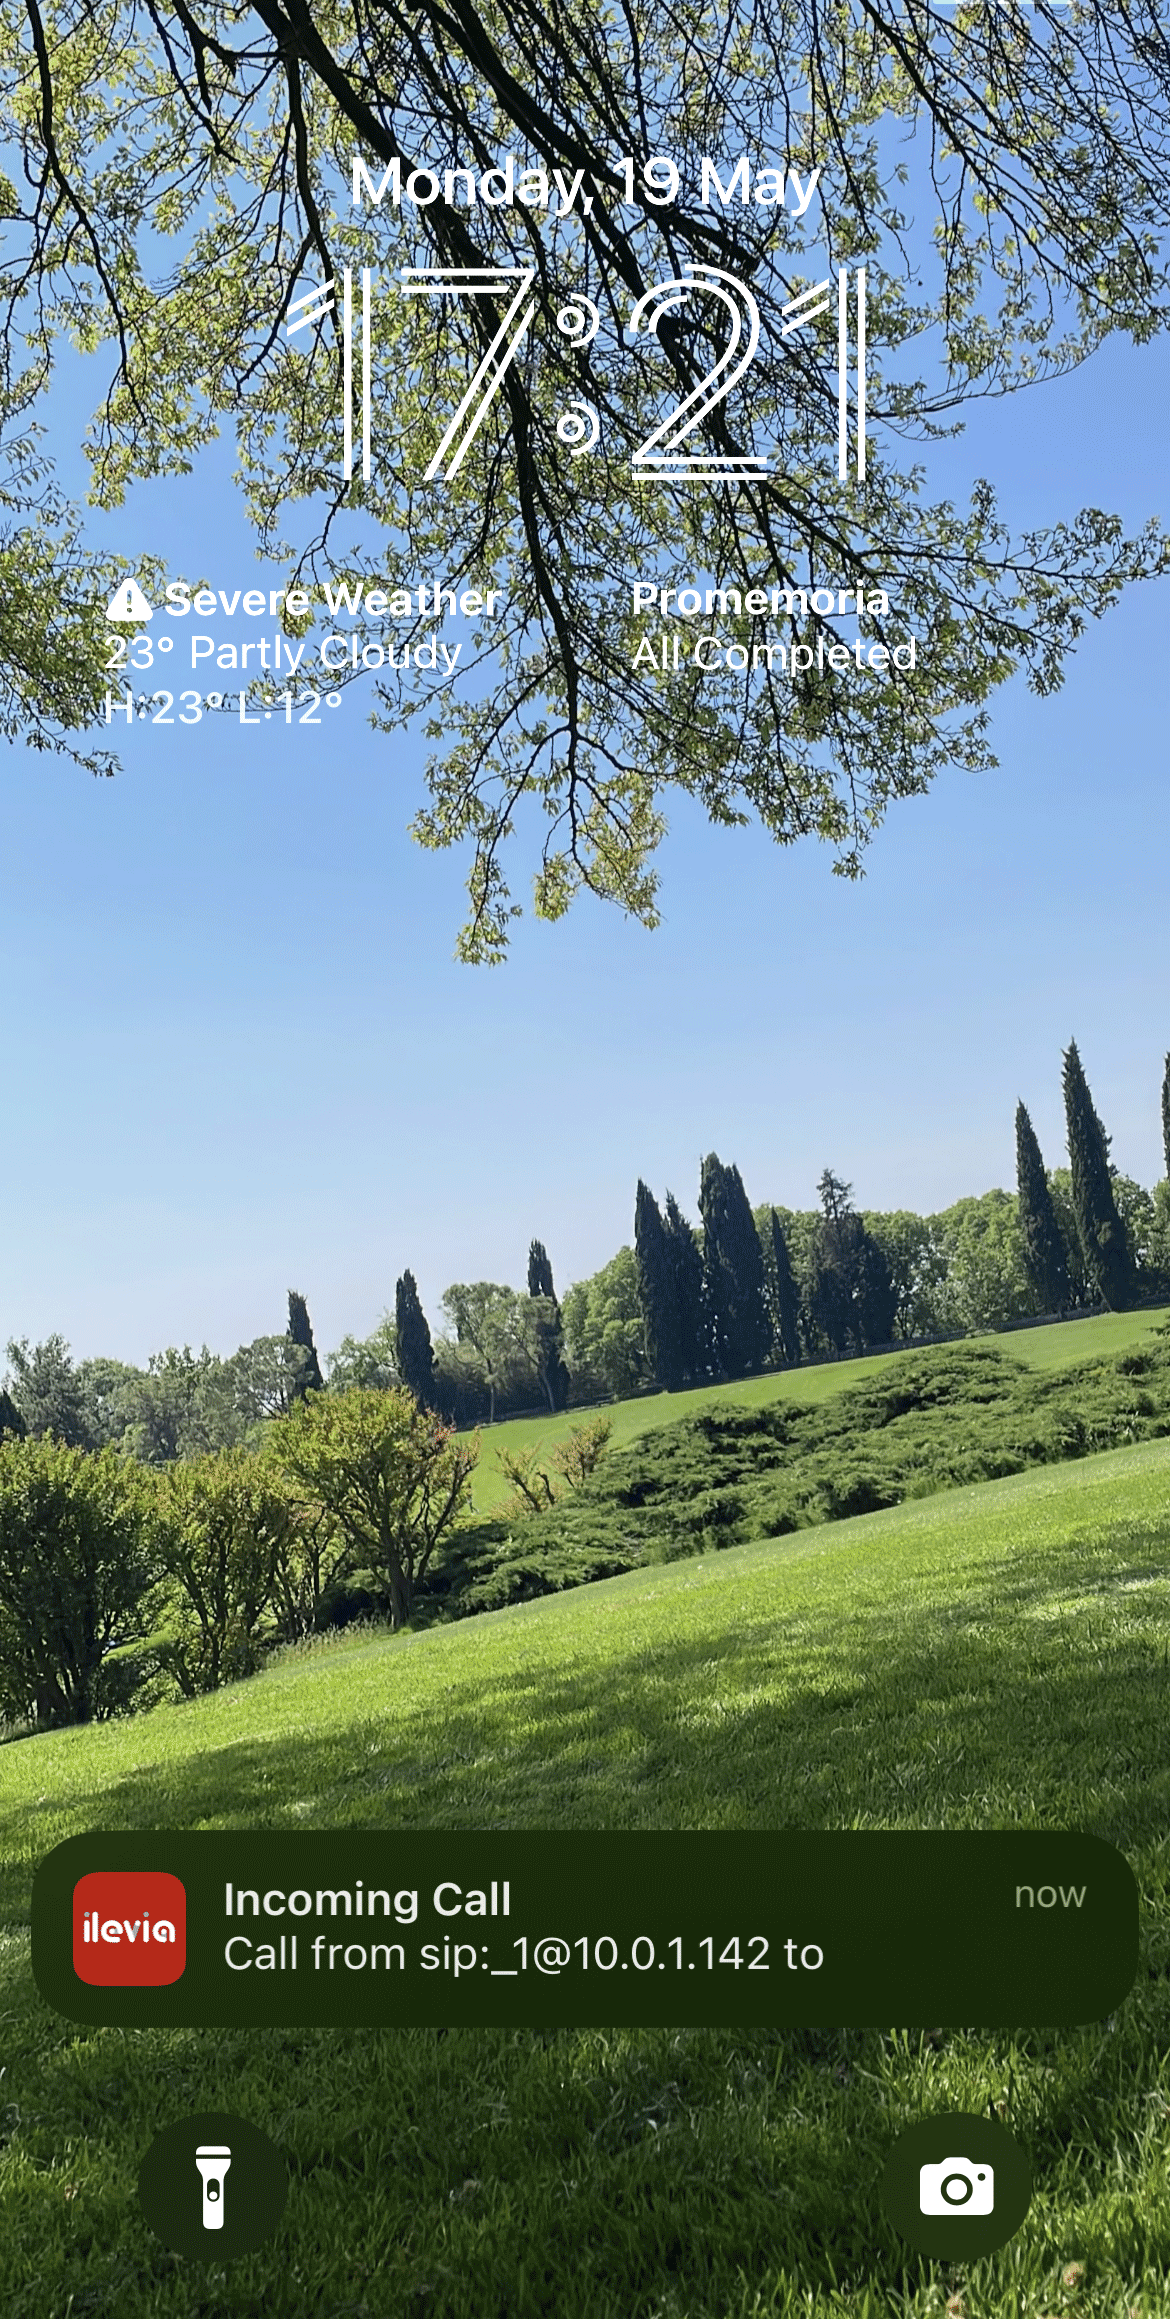
Click the button on the Intercom to make a call. If the configuration has been done correctly you will receive a notification if the app is closed or a calling interface will open where you can accept or refuse the call.

