 Timed Thermostat
INTRODUCTION
It allows the user to schedule the temperature of a thermostat.
USE CASES
- The user can control the thermostat and make any sort of timed configuration to suite its own house schedulement
COMPONENT’S PROPERTIES
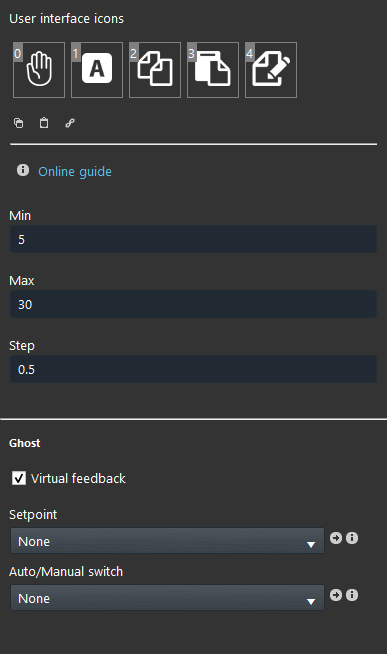
Min: Minimum value that the timed thermostat will display in the temperature setting;
Max: Maximum value that the timed thermostat will display in the temperature setting;
Step: Step value from the previous and the following change;
Setpoint: The temperature which the switch will be activated;
Auto/Manual switch: Using a “Switch” component allows you to set the thermostat in auto mode or manual mode;
TIMED THERMOSTAT USER INTERFACE
Here is the visual result of the component on EVE Remote.
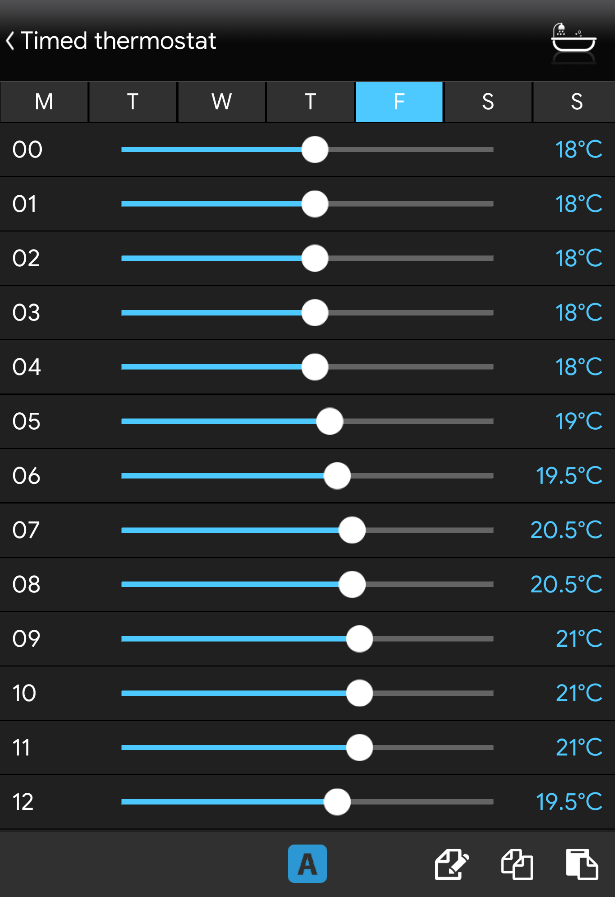
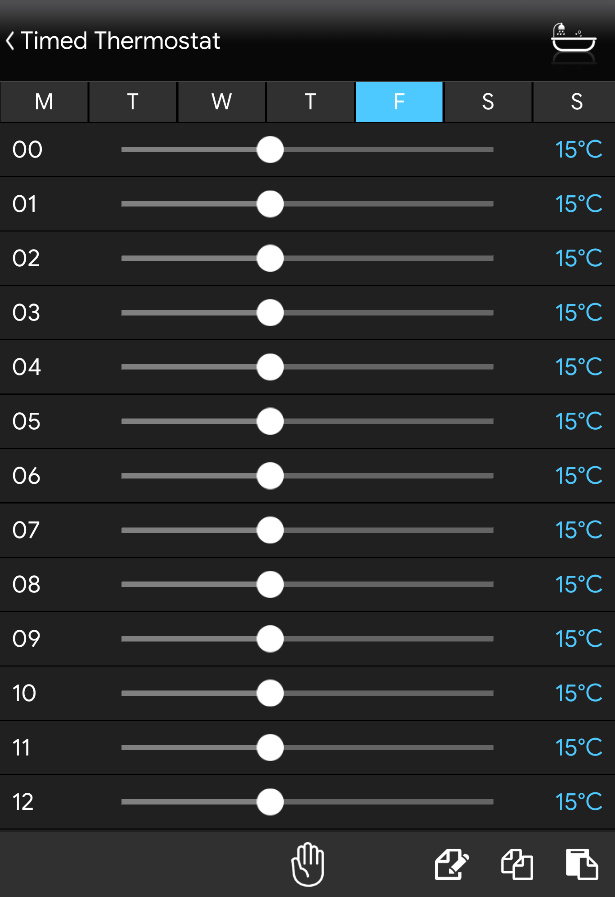
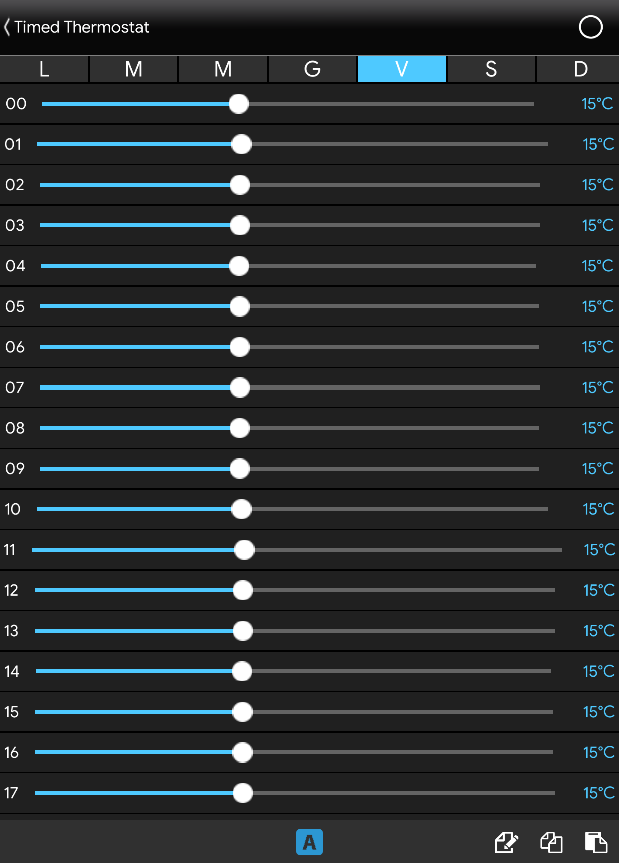
The timed thermostat is displayed with the following mask:
Timed thermostat ⇒ Timed thermostat mask
![]() Day selection (Mon, Tue, Wed, Thu, Fri, Sat, Sun);
Day selection (Mon, Tue, Wed, Thu, Fri, Sat, Sun);
![]() Sliding bar from 5°C to 30°C (timed thermostat mask. Temperature is set through a sliding bar which lights up along the way;
Sliding bar from 5°C to 30°C (timed thermostat mask. Temperature is set through a sliding bar which lights up along the way;
![]() Manual mode;
Manual mode;
![]() Auto Mode;
Auto Mode;
![]() Copy setting
Copy setting ![]() Paste setting
Paste setting ![]() Edit setting
Edit setting
Timed thermostat in Manual mode
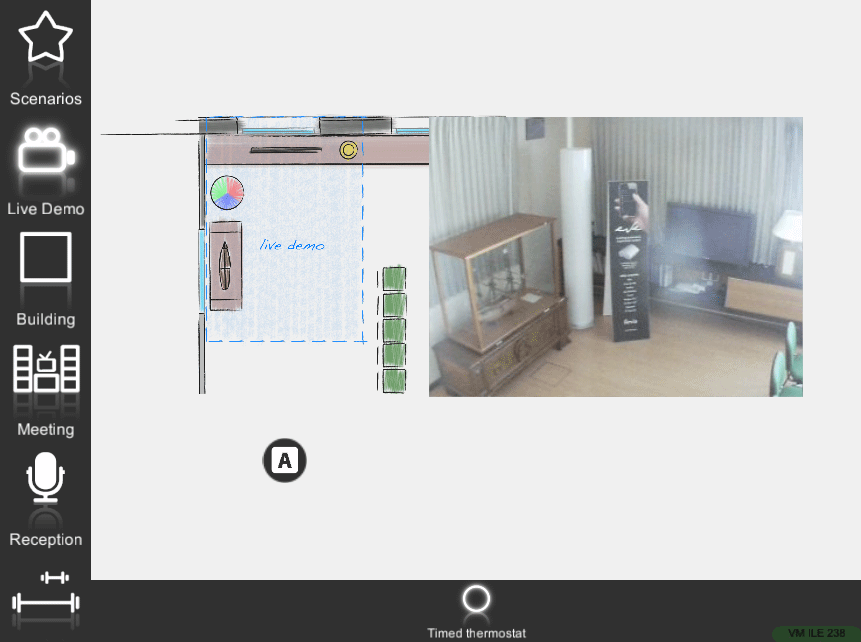
Timed thermostat ⇒ Manual icon
![]() Default icon (customizable icon)
Default icon (customizable icon)
Timed thermostat in Auto mode
Timed thermostat ⇒ Automatic icon
![]() Default icon (customizable icon)
Default icon (customizable icon)
PRACTICAL GUIDE FOR THE TIMED THERMOSTAT CONFIGURATION
The main benefit obtainable in the use of one or more timed thermostat in your home is the ability to adjust the temperature according to schedules set by us, with the aim of using the heating only in times of real and effective need. Using the Eve Remote Plus App it will be possible to enable the heating automatically according to the time bands chosen by us or simply to control them manually.
The use of multiple timed thermostats in a home allows you to keep the sleeping area cooler, for example, during the day and to heat it only from the evening hours. The discrimination between zones and different time slots ensures significant energy savings.
How to configure a timed thermostat
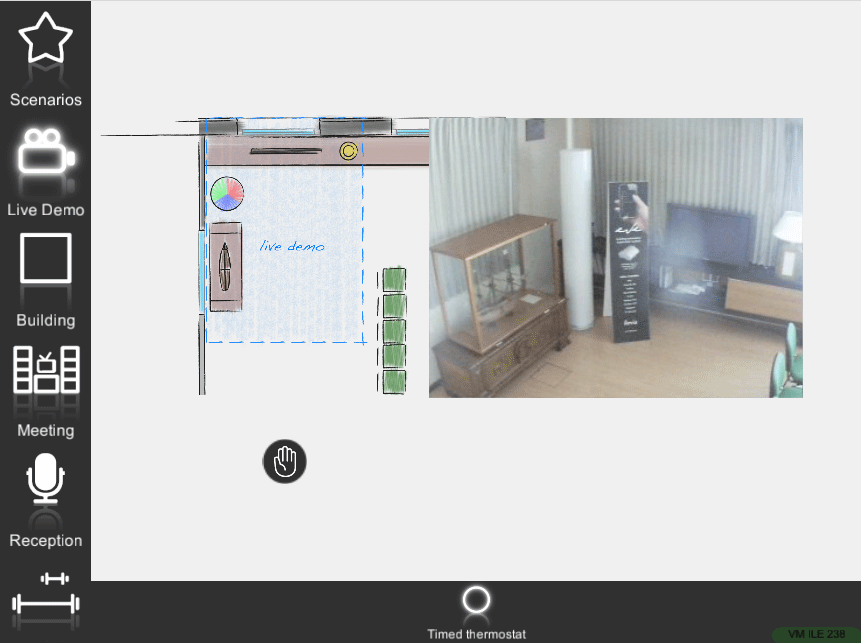
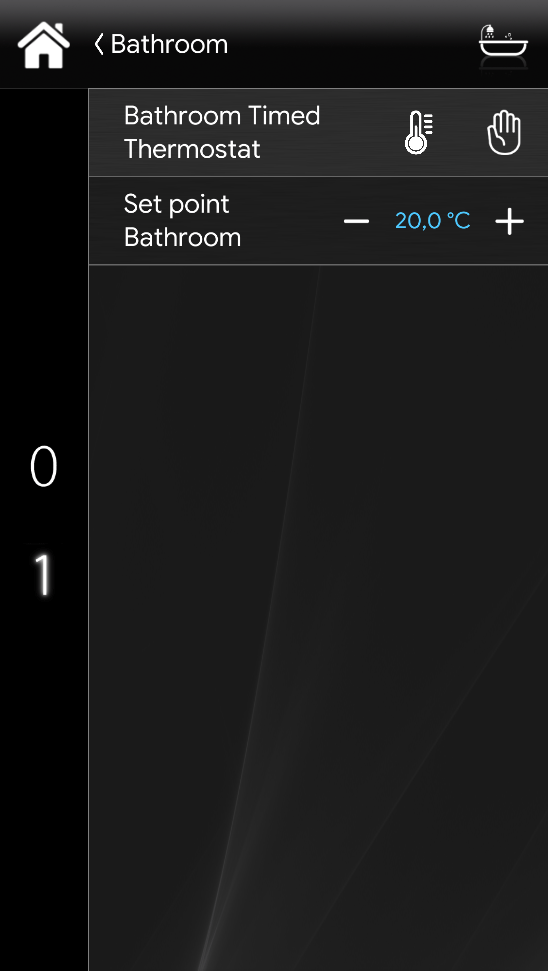
In this screen we will find two components:
1. The timed thermostat has two icons, pressing the thermometer ![]() icon will enter the programming mode that we will see in the next steps and the icon of a hand
icon will enter the programming mode that we will see in the next steps and the icon of a hand ![]() , which means that the timed thermostat is currently set to manual mode and therefore not will take into account the programming we have made. If you press the hand icon, this will change to
, which means that the timed thermostat is currently set to manual mode and therefore not will take into account the programming we have made. If you press the hand icon, this will change to ![]() that will instead activate the weekly schedule we have made.
that will instead activate the weekly schedule we have made.
2. The thermostat controls the temperature using the – and + commands.
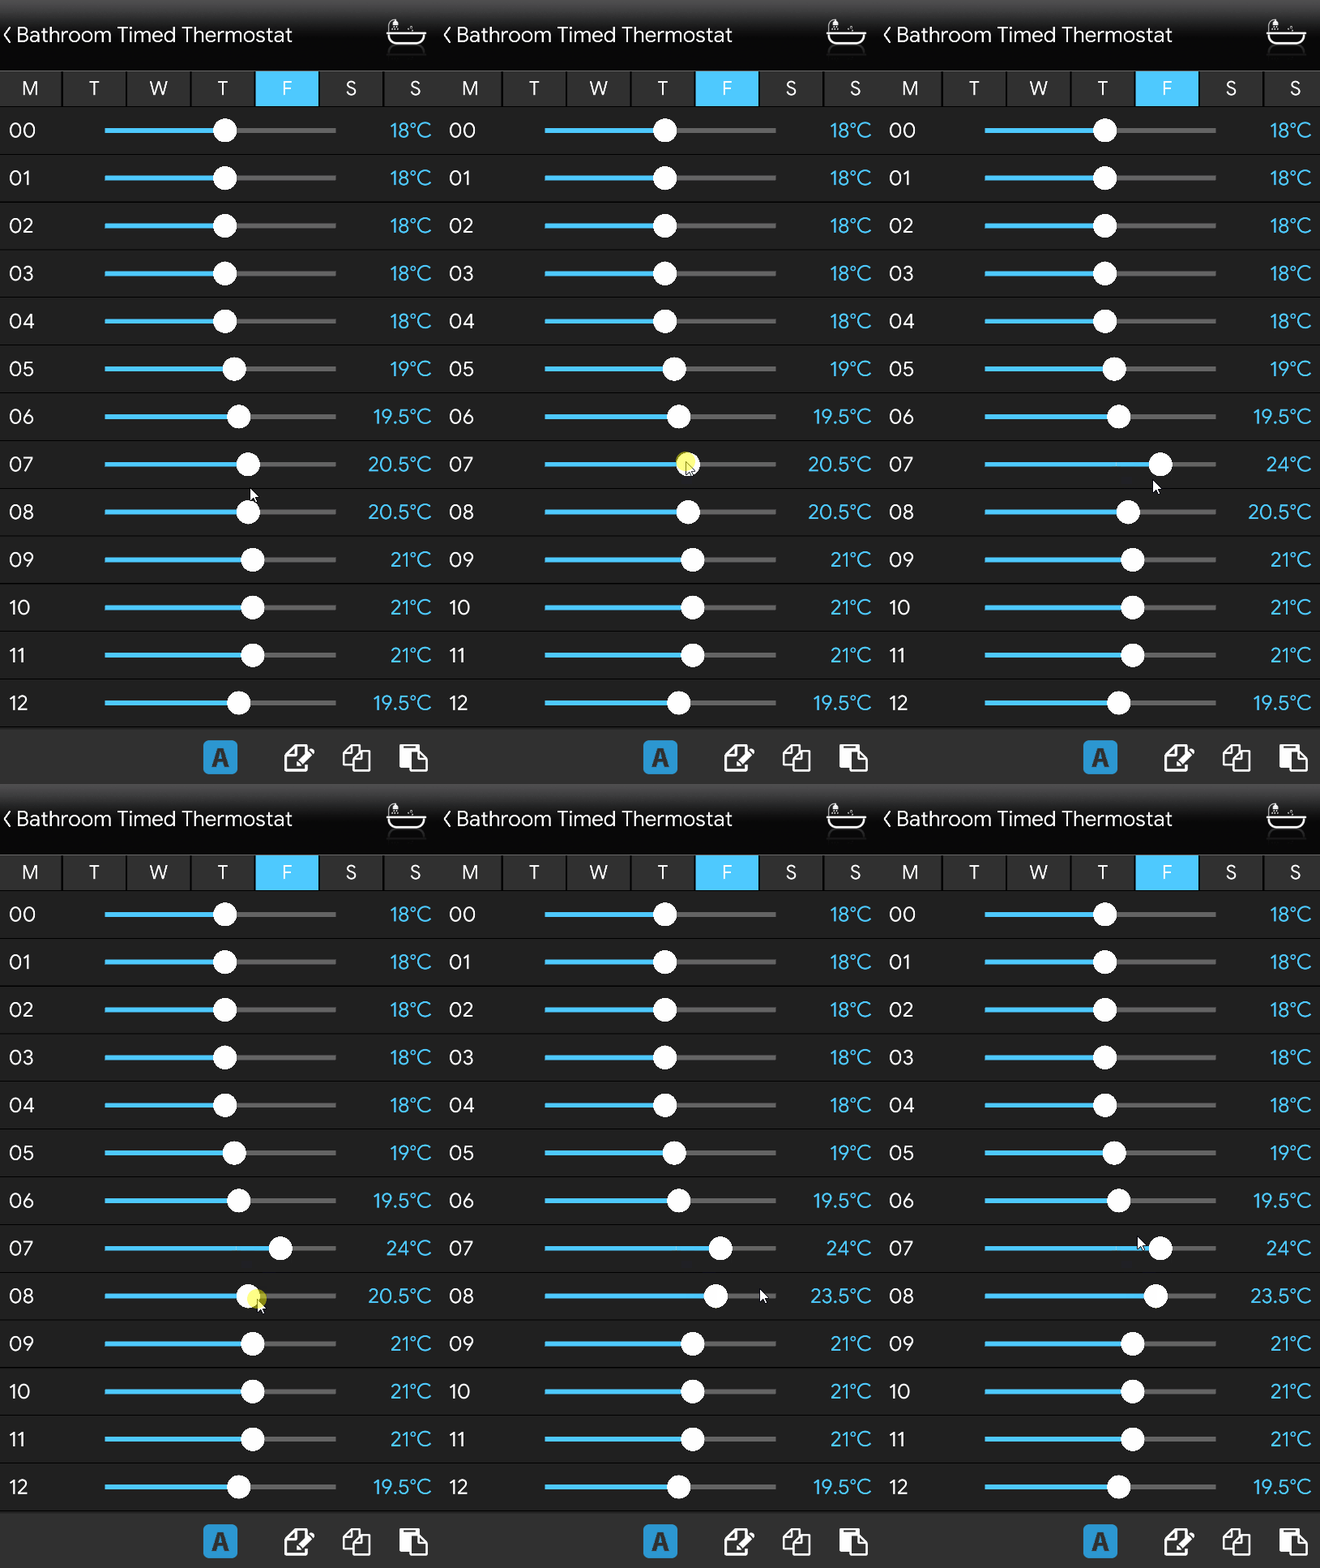
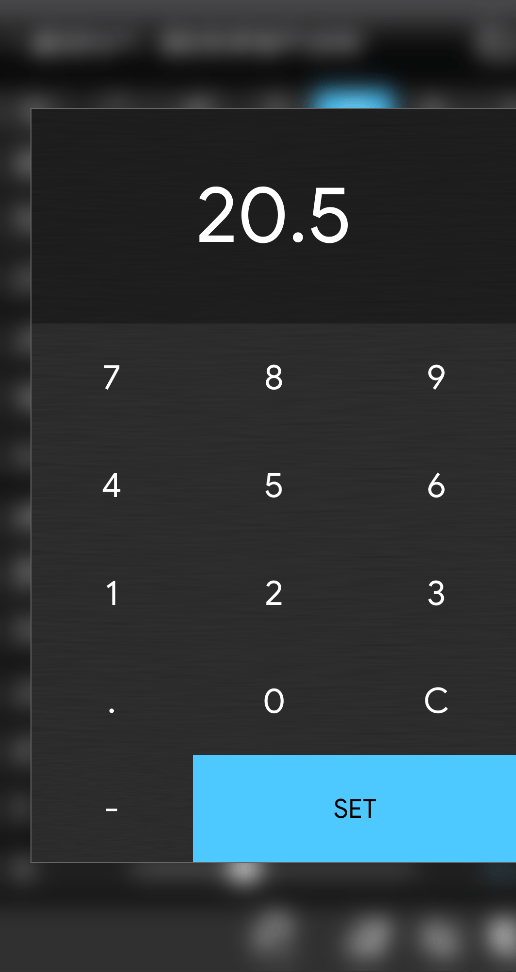
To enter the programming mode of our timed thermostat, press the thermometer ![]() icon once. The screen that appears contains the 7 days of the week and the 24 hours of the day. With the horizontal cursors it will be possible to increase or decrease the temperature of a specific time, instead keeping the ball of our cursor pressed you can set the value using the virtual keypad. For example in this image we have set a typical working day schedule by increasing the temperature only when the person is at home.
icon once. The screen that appears contains the 7 days of the week and the 24 hours of the day. With the horizontal cursors it will be possible to increase or decrease the temperature of a specific time, instead keeping the ball of our cursor pressed you can set the value using the virtual keypad. For example in this image we have set a typical working day schedule by increasing the temperature only when the person is at home.
The icons at the bottom right represent respectively:
Copy/Paste values of the day ![]() .
.
Copy timed thermostat values ![]()
Paste values to another timed thermostat ![]() .
.
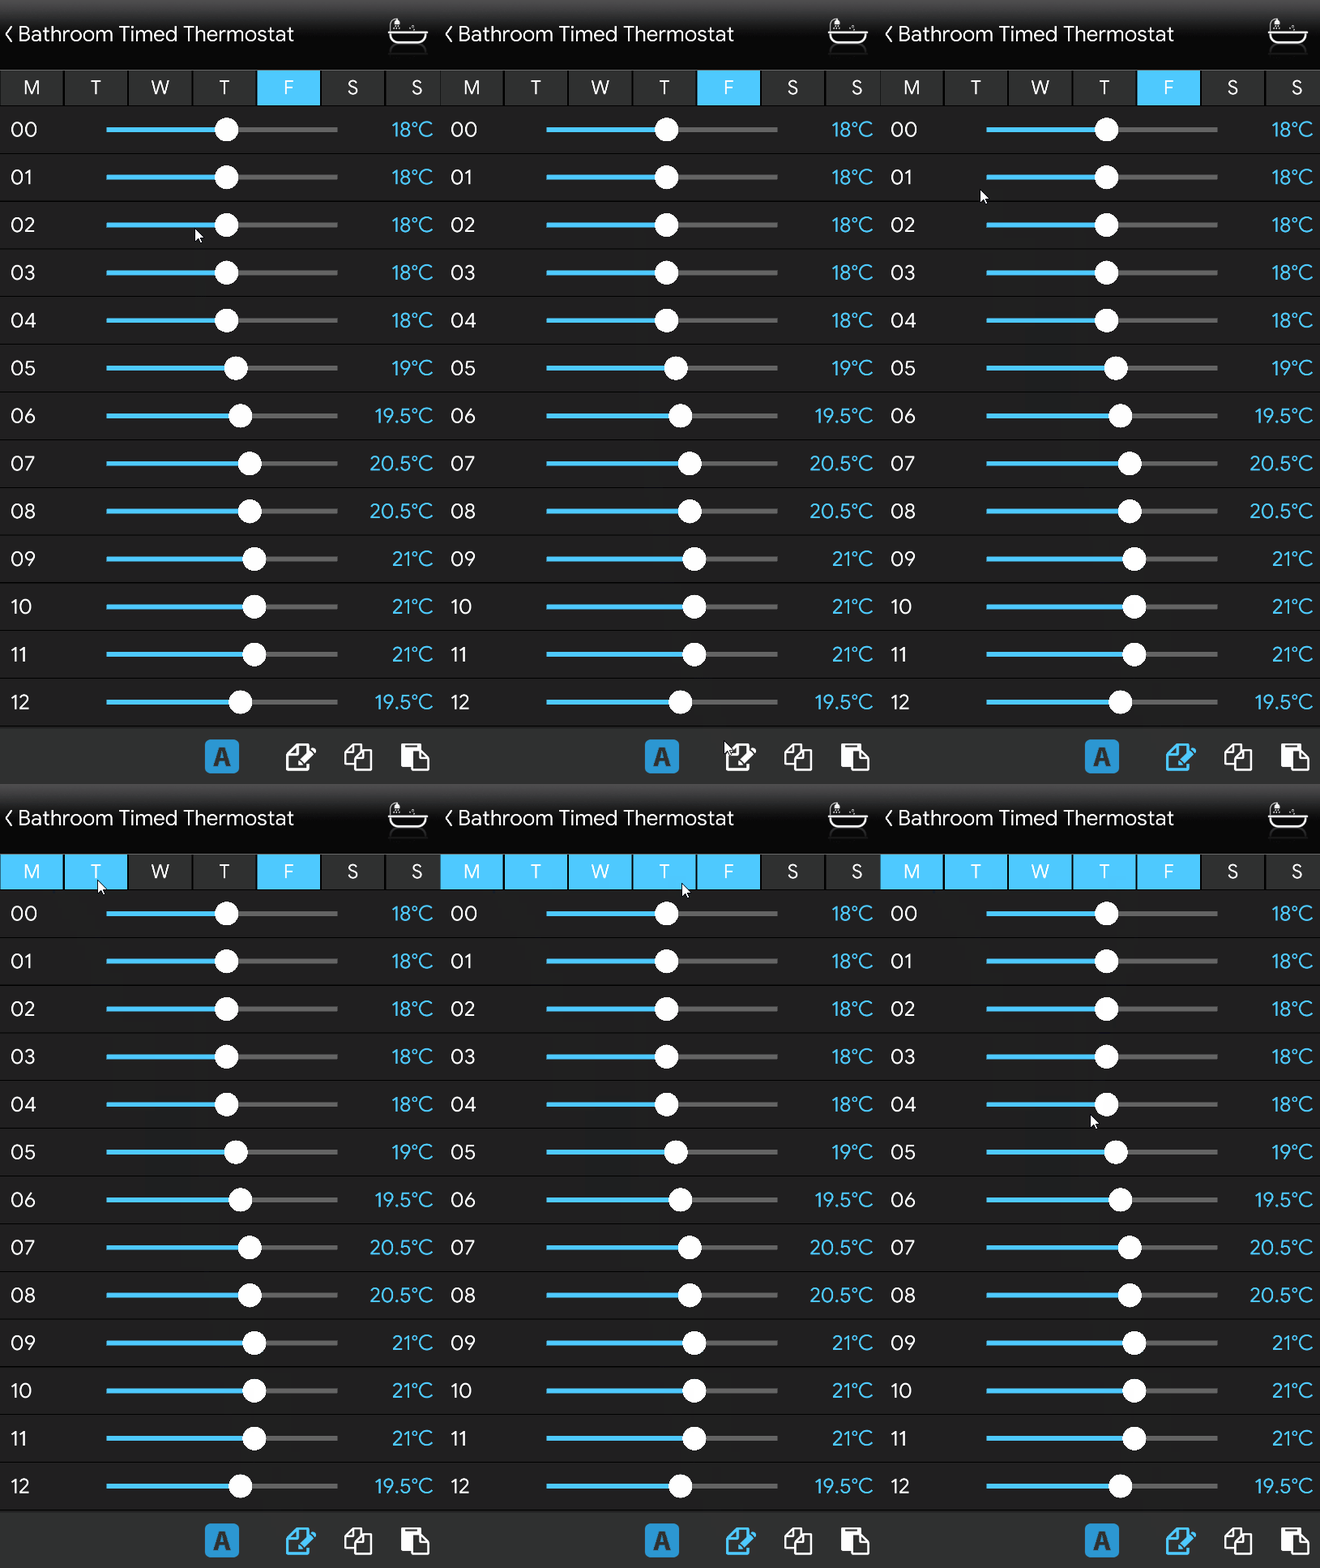
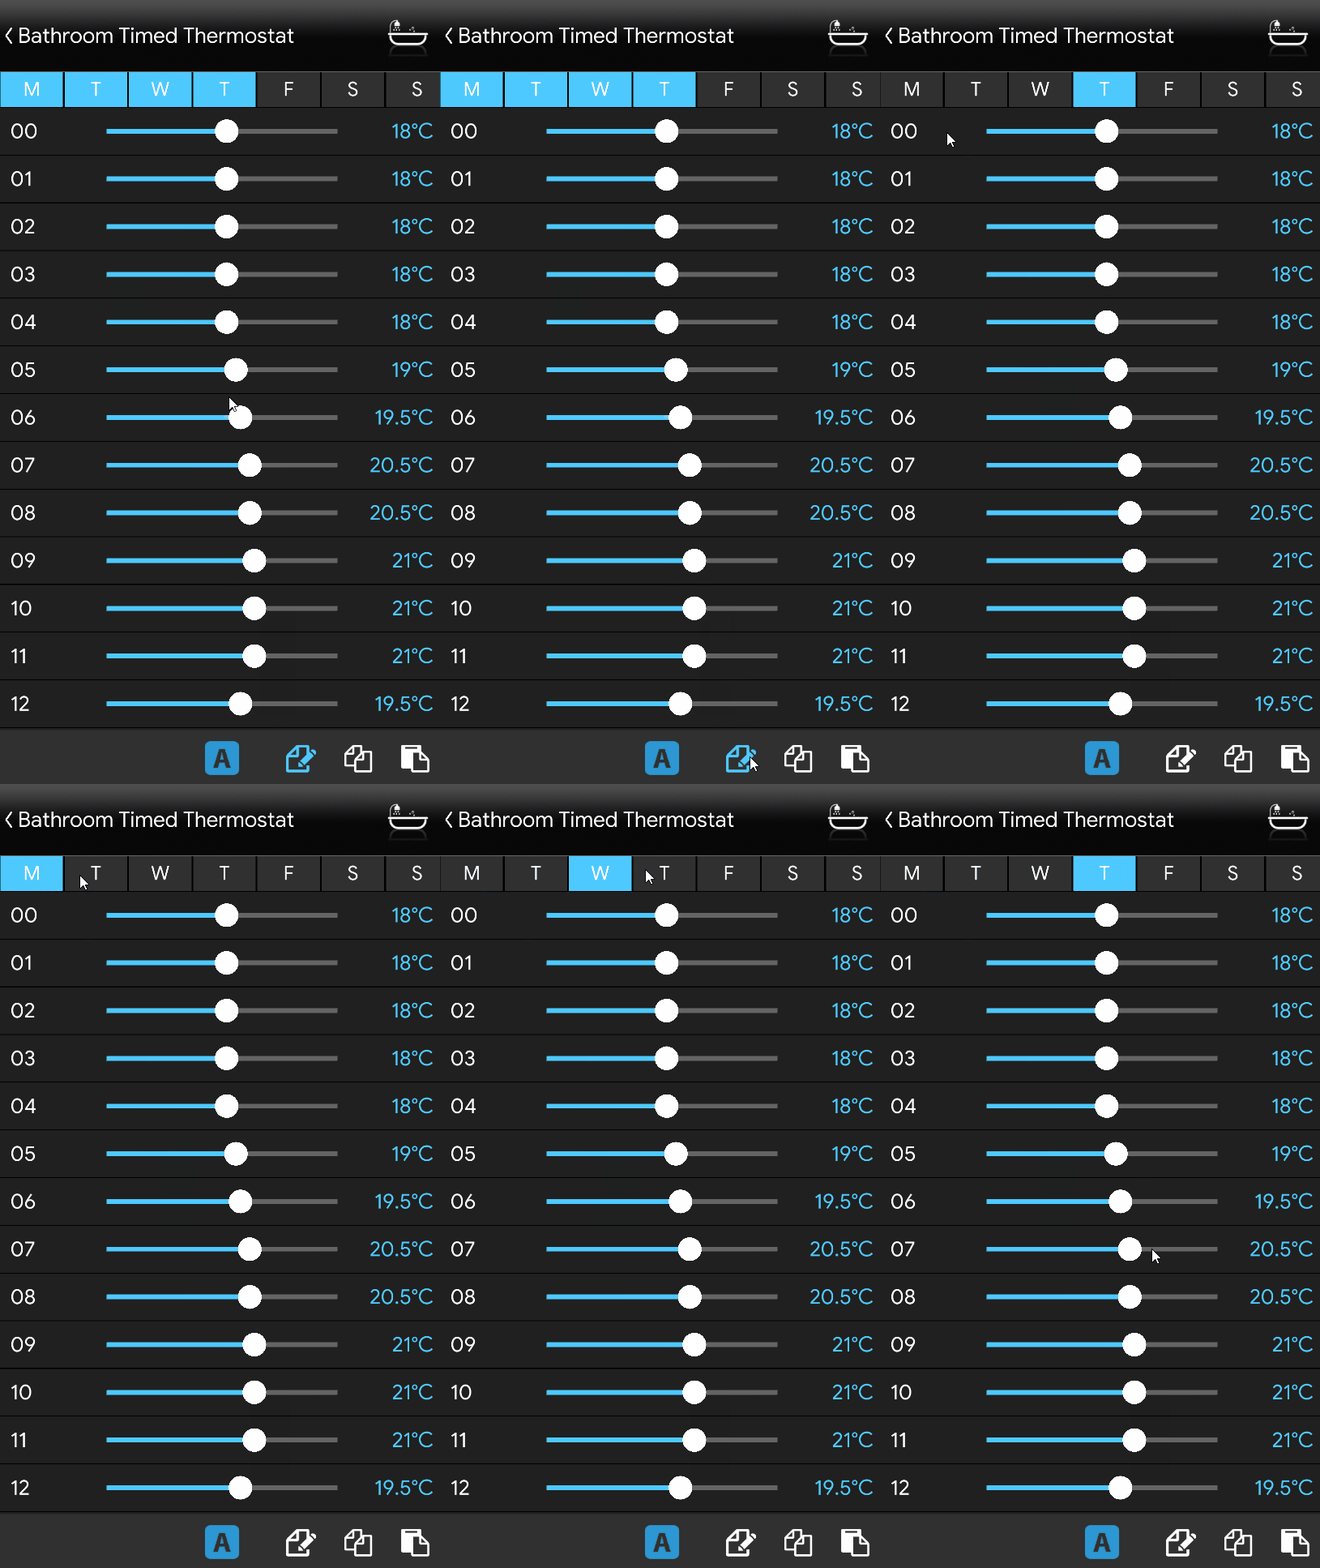
To copy the values of a day we press the copy icon ![]() of the day that we want to use as a reference and select the relevant days of the week by pressing the day button, for example, Click Thursday
of the day that we want to use as a reference and select the relevant days of the week by pressing the day button, for example, Click Thursday ![]() , which is the day wwe want to copy the schedulation to. Once you press paste
, which is the day wwe want to copy the schedulation to. Once you press paste ![]() , the days will be set with the schedulation of the day we have selected first.
, the days will be set with the schedulation of the day we have selected first.
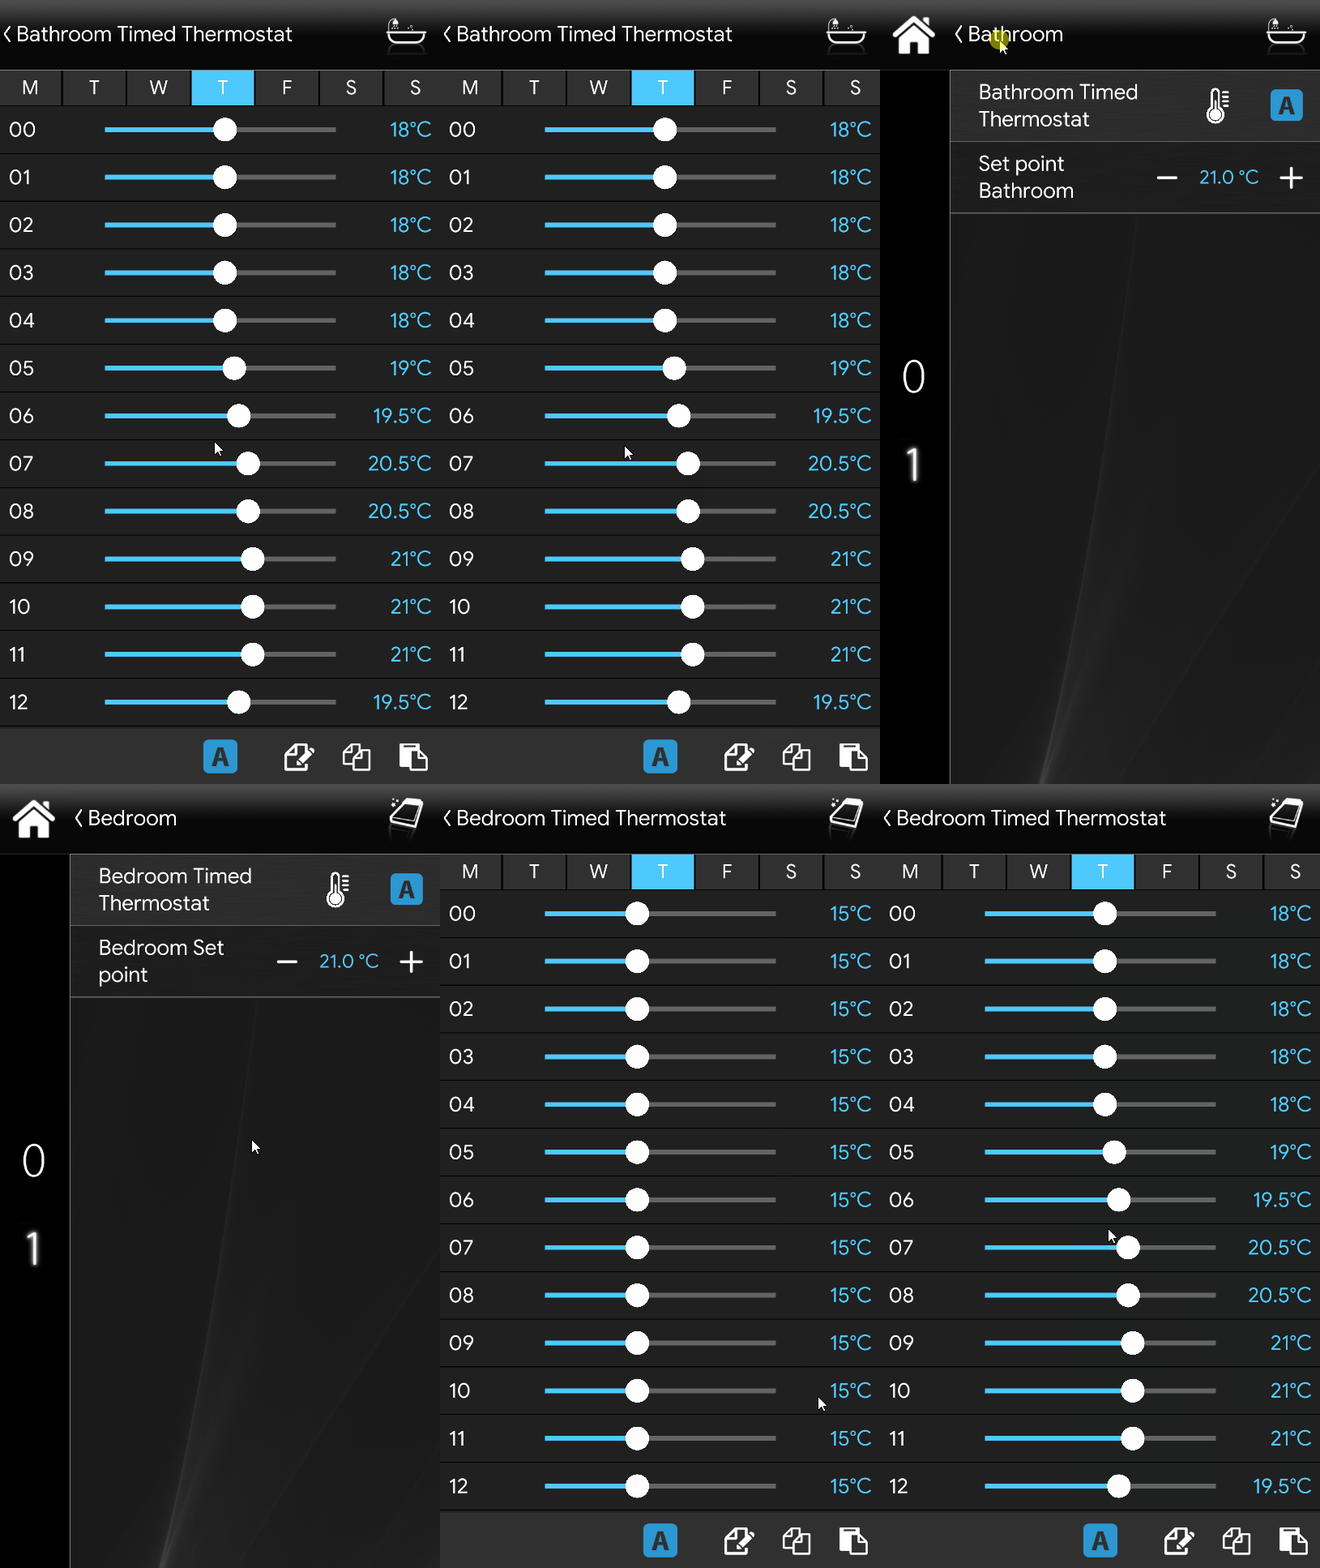
In the case of several programmable timed thermostats, it will be possible to copy the values of the timed thermostat 1 and paste them to the other timed termostats. To perform this operation, simply press the icon ![]() on the timed thermostat with the original values, move to the desired timed thermostat and paste the values by pressing the icon
on the timed thermostat with the original values, move to the desired timed thermostat and paste the values by pressing the icon ![]() .
.

