LINKER SAMPLE PROJECT
INTRODUCTION
In this guide shows an example of to configure the Linker component to turn On a group of light.
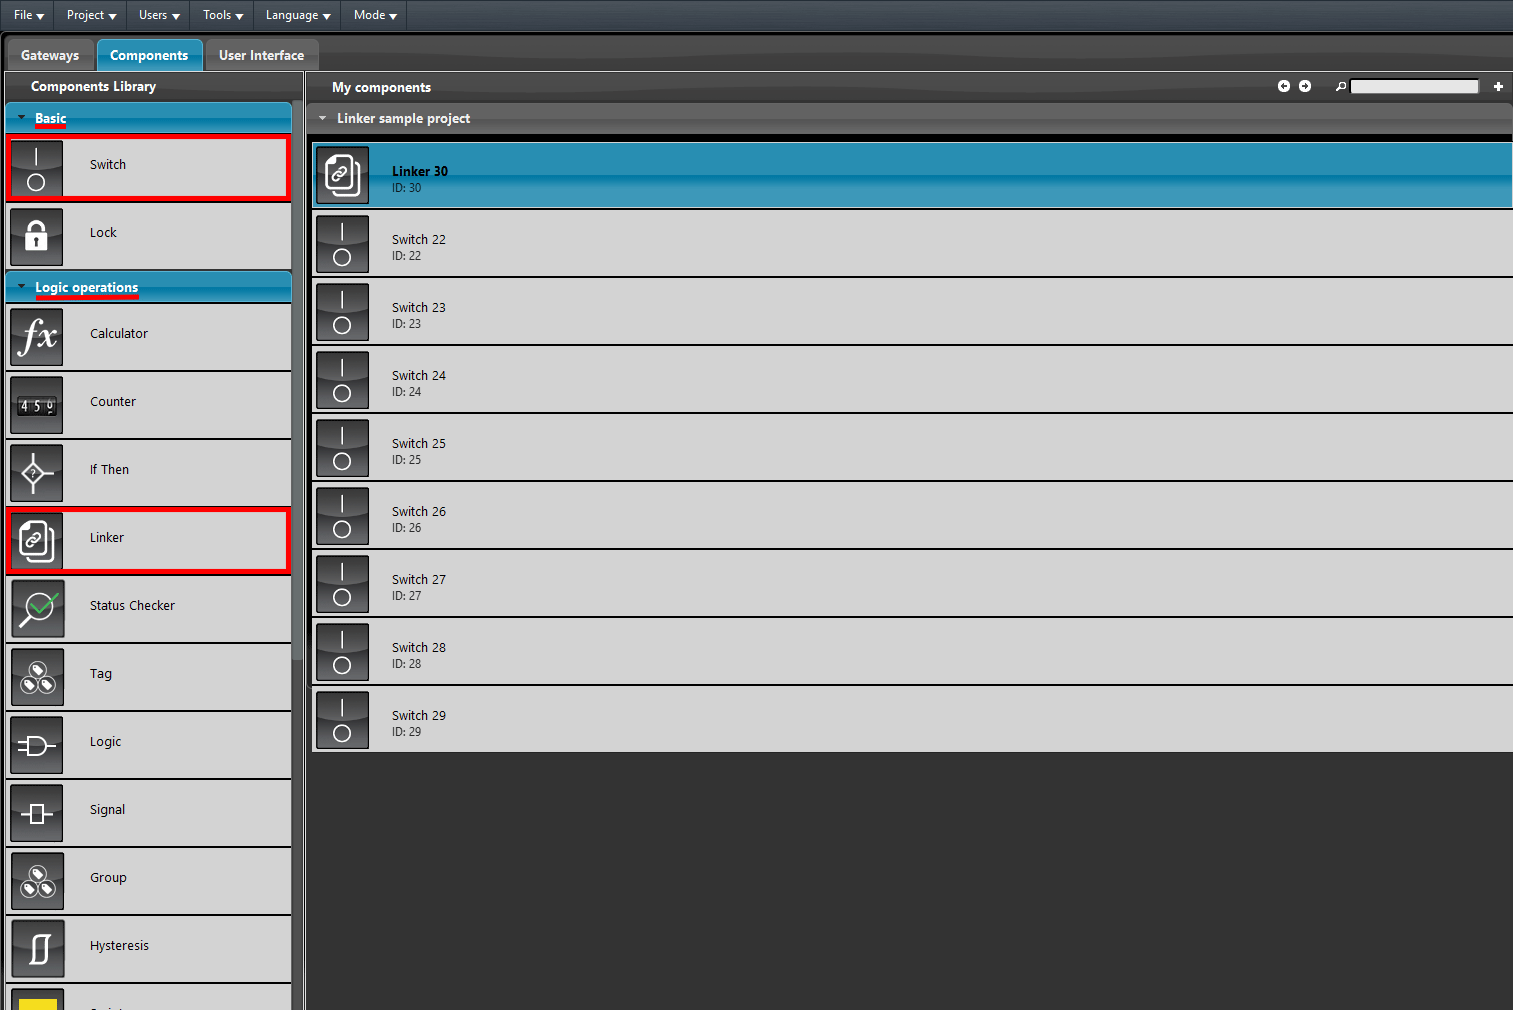
Preparing and loading the project in EVE Manager:
- unzip the file;
- open EVE Manager, go to the top left, File – Open – press “Ok” on the message that appears and select the file just decompressed;
- Start the virtual machine or the Raspberry;
- Download and Install the Logic by following this guide.
PROJECT CONFIGURATION
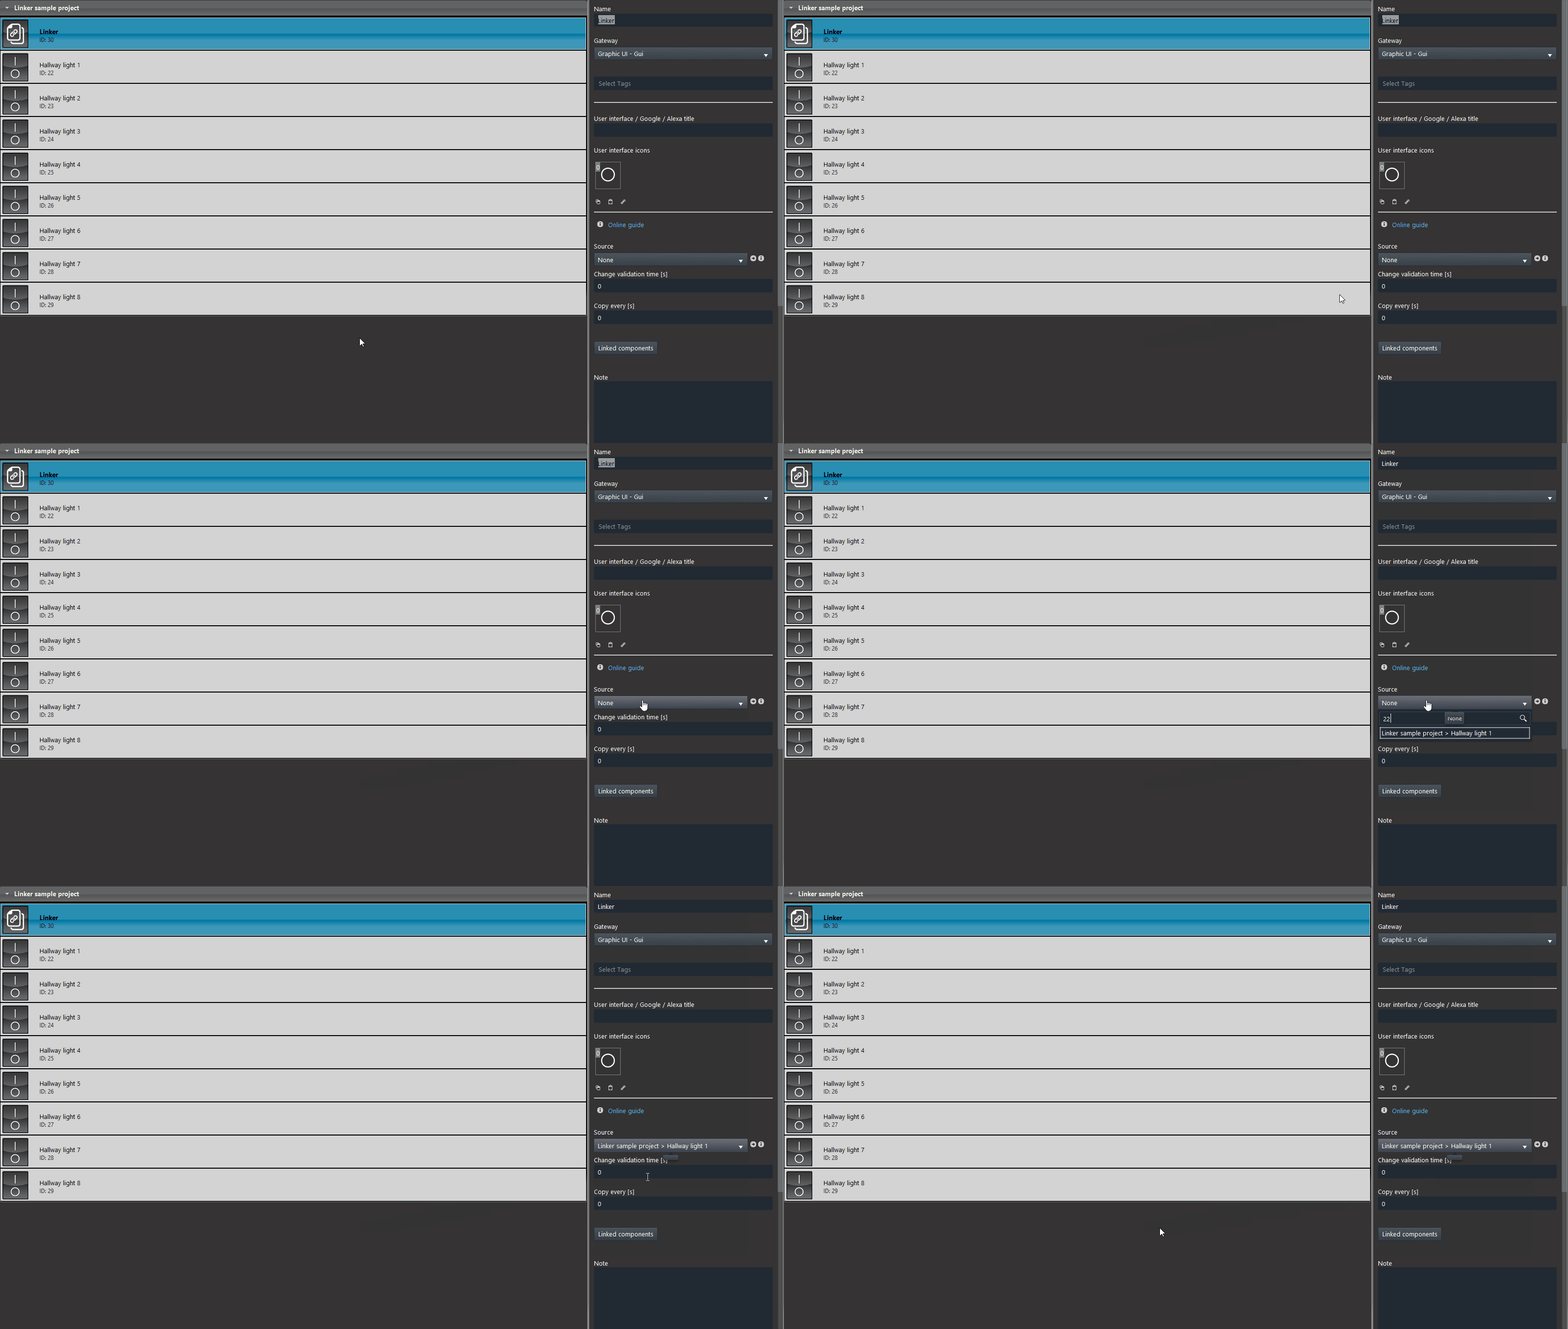
Enter the Linker component’s properties. Add the source component, in this case the Hallway light 1.
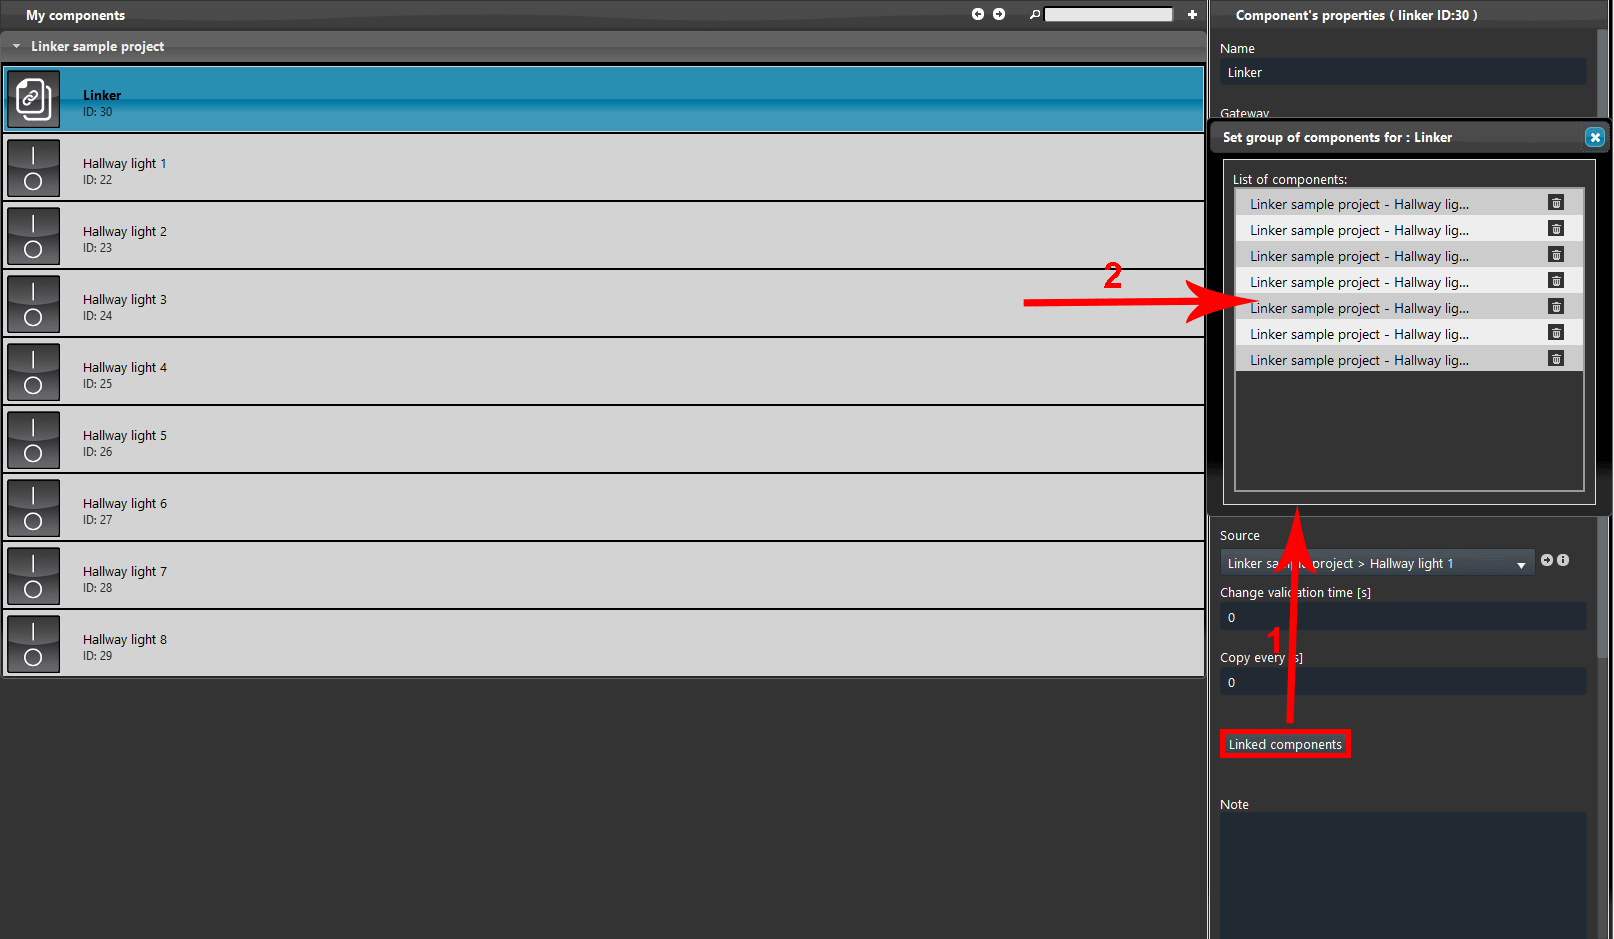
1. Click the Linked components button within the Linker component’s properties, 2. then drag and drop or double click on top of the component which the value will be copied to in order to add them into the list.
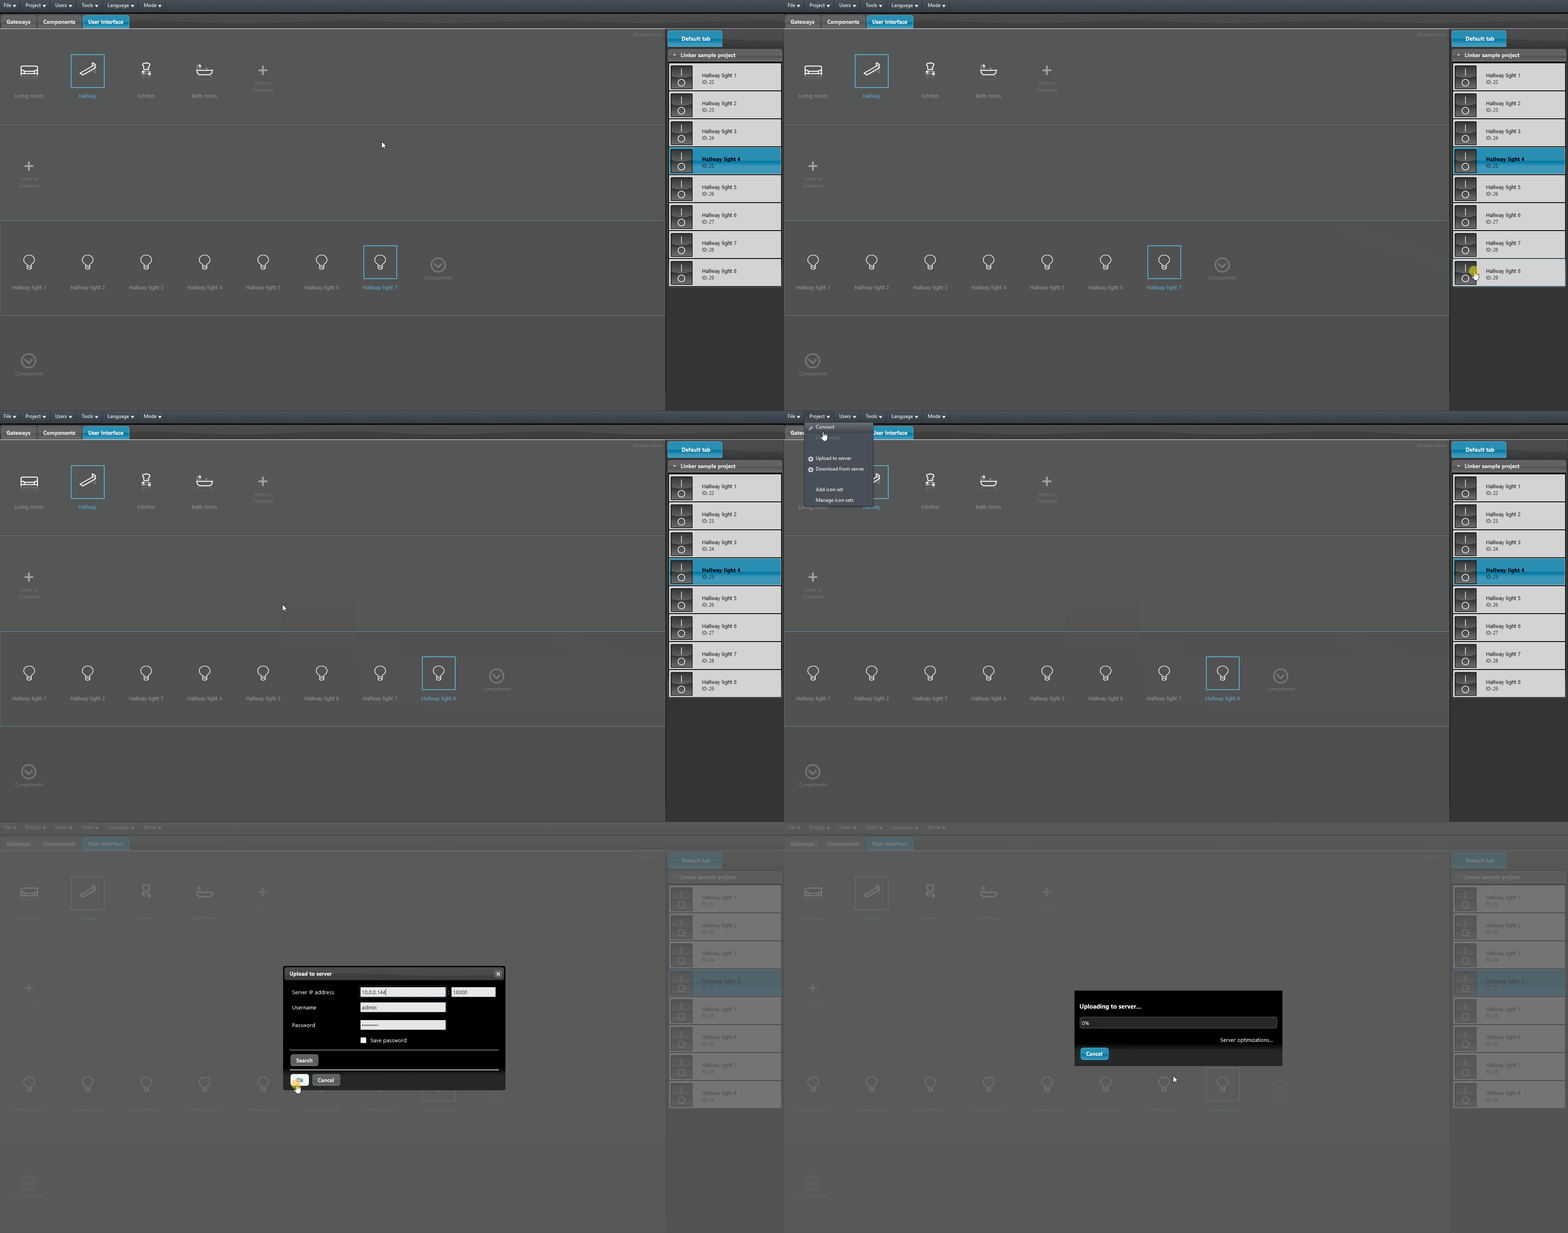
Finally enter the Interface editor and add the component within the user interface. In this example the User interface style used is the one called Classic.
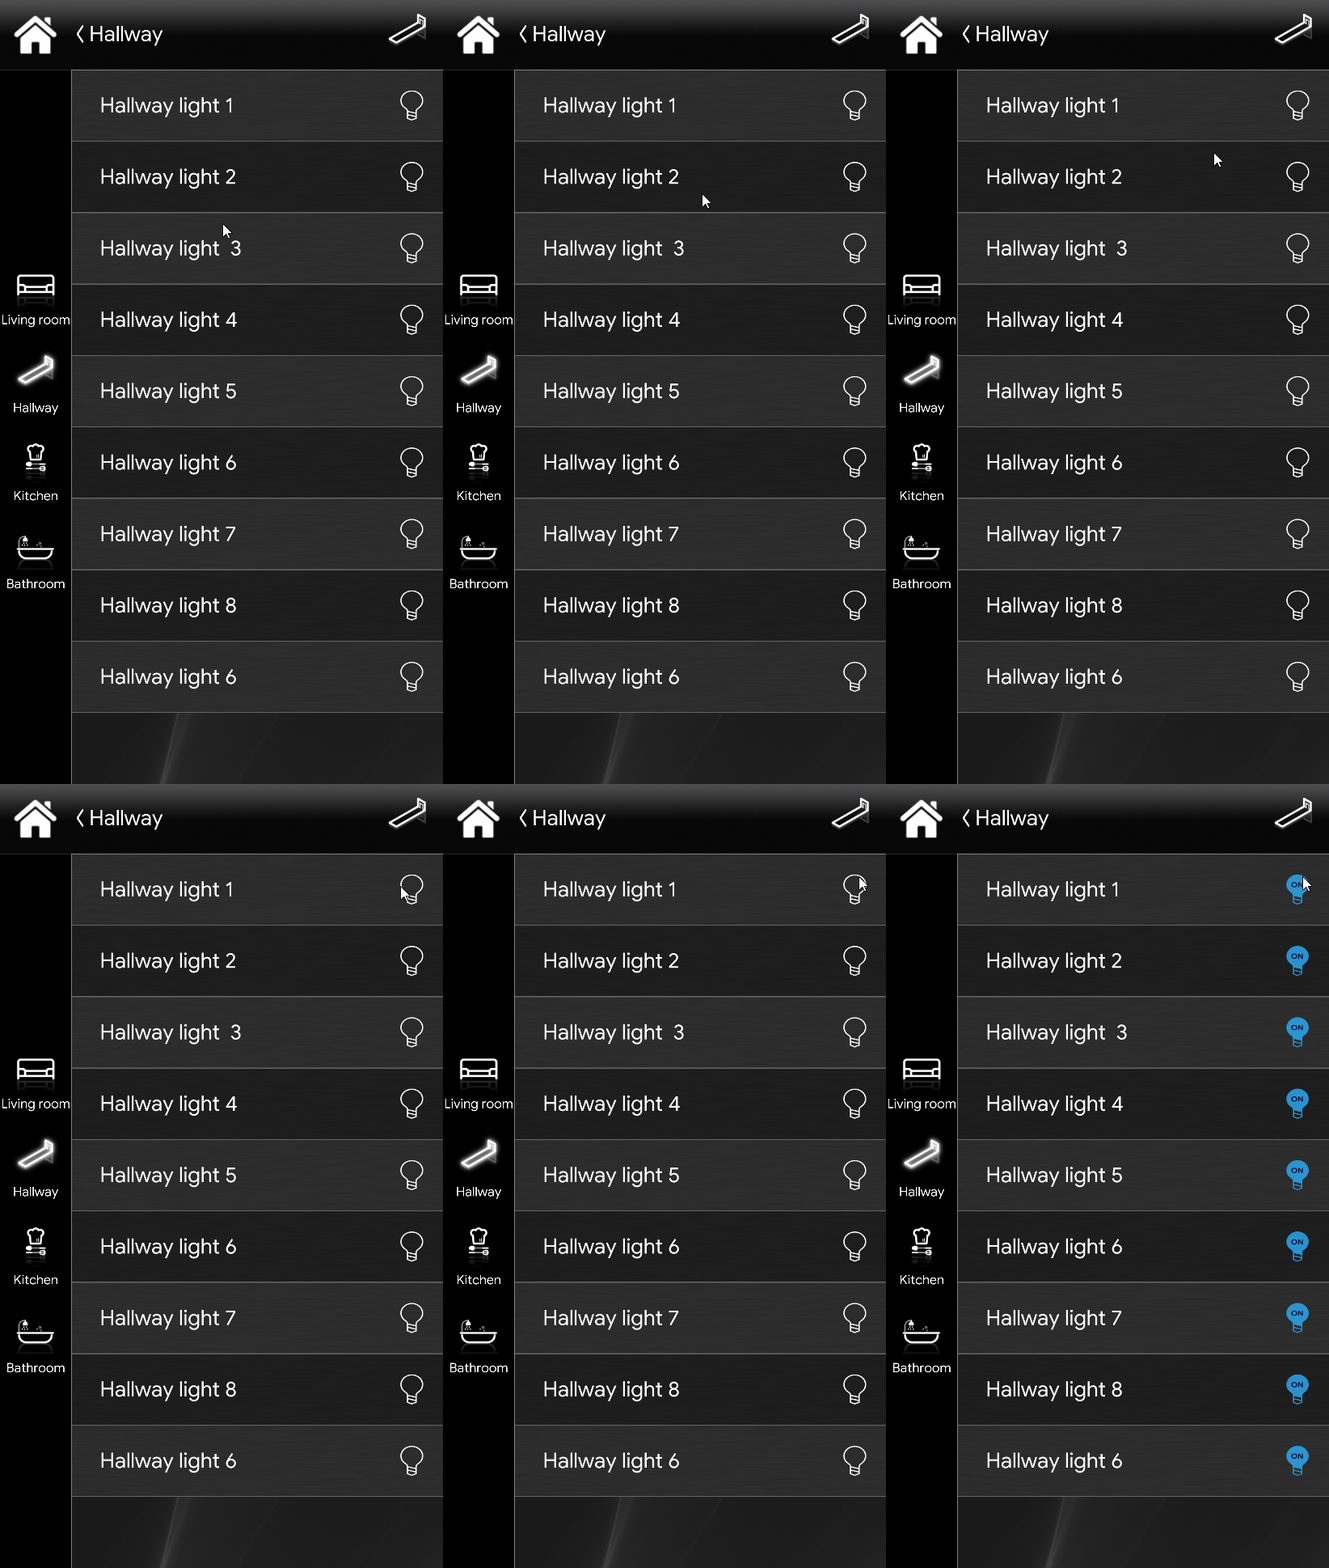
This below is the visual result of the configuration just done within the Ilevia’s User interface (Classic style).
Click the link below to download the demo project and try it your self.

