 KUMUX
KUMUX
INTRODUCTION
Kumux is a cutting-edge platform that optimizes dynamic lighting to enhance human well-being by adjusting illuminance and color temperature throughout the day. When combined with Ilevia’s versatile home automation capabilities, users can achieve seamless control over their lighting environment.
Ilevia’s system, known for its compatibility with various protocols such as KNX, Modbus, and Zigbee, allows for intuitive management of all smart home functions. By integrating Kumux with Ilevia, you can automate lighting adjustments based on time of day, occupancy, and user preferences, ensuring a harmonious and energy-efficient living space. This guide will walk you through the steps to set up and configure this powerful combination, enabling you to create a truly human-centric lighting experience.
COMPONENT’S PROPERTIES
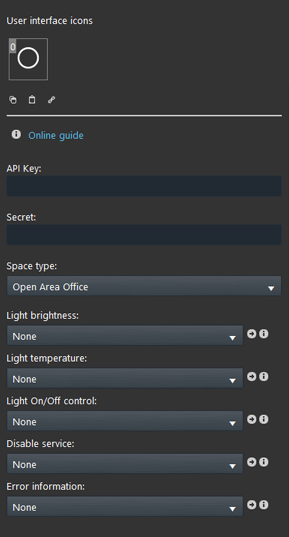
Space type: Select the type of building or environment that will be controlled by the Ilevia server.
API Key: Enter here the API key of the Kumux online service.
Secret: Enter the secret Key of the Kumux project.
Light brightness: Link a Changeable Value or a Slider component that will be set with the perfect Brightness value from the Kumux service.
Light temperature: Link a Changeable Value or a Slider component that will be set with the perfect Temperature value from the Kumux service.
Light On/Off control: Link a Switch component in order to turn On and Off the lights.
Disable service: Link a Switch component that will disable the Kumux feature.
Errore Information: Link a Info component to get additional error information.
! For further information about the Kumux service and how to get started with it consult the Kumux website.
Component configuration
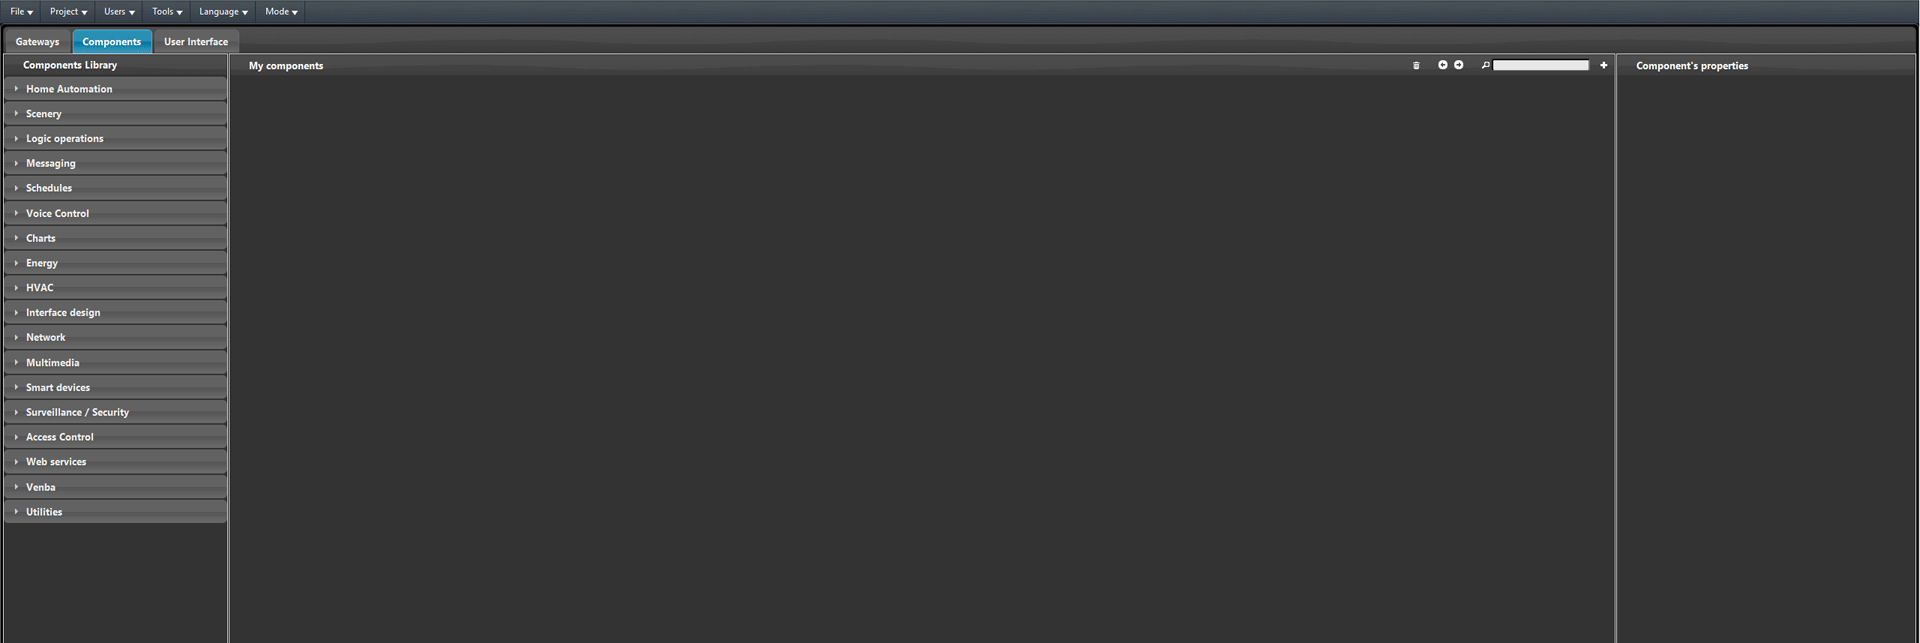
Open the configuration software Ilevia Manager and access the Components tab.
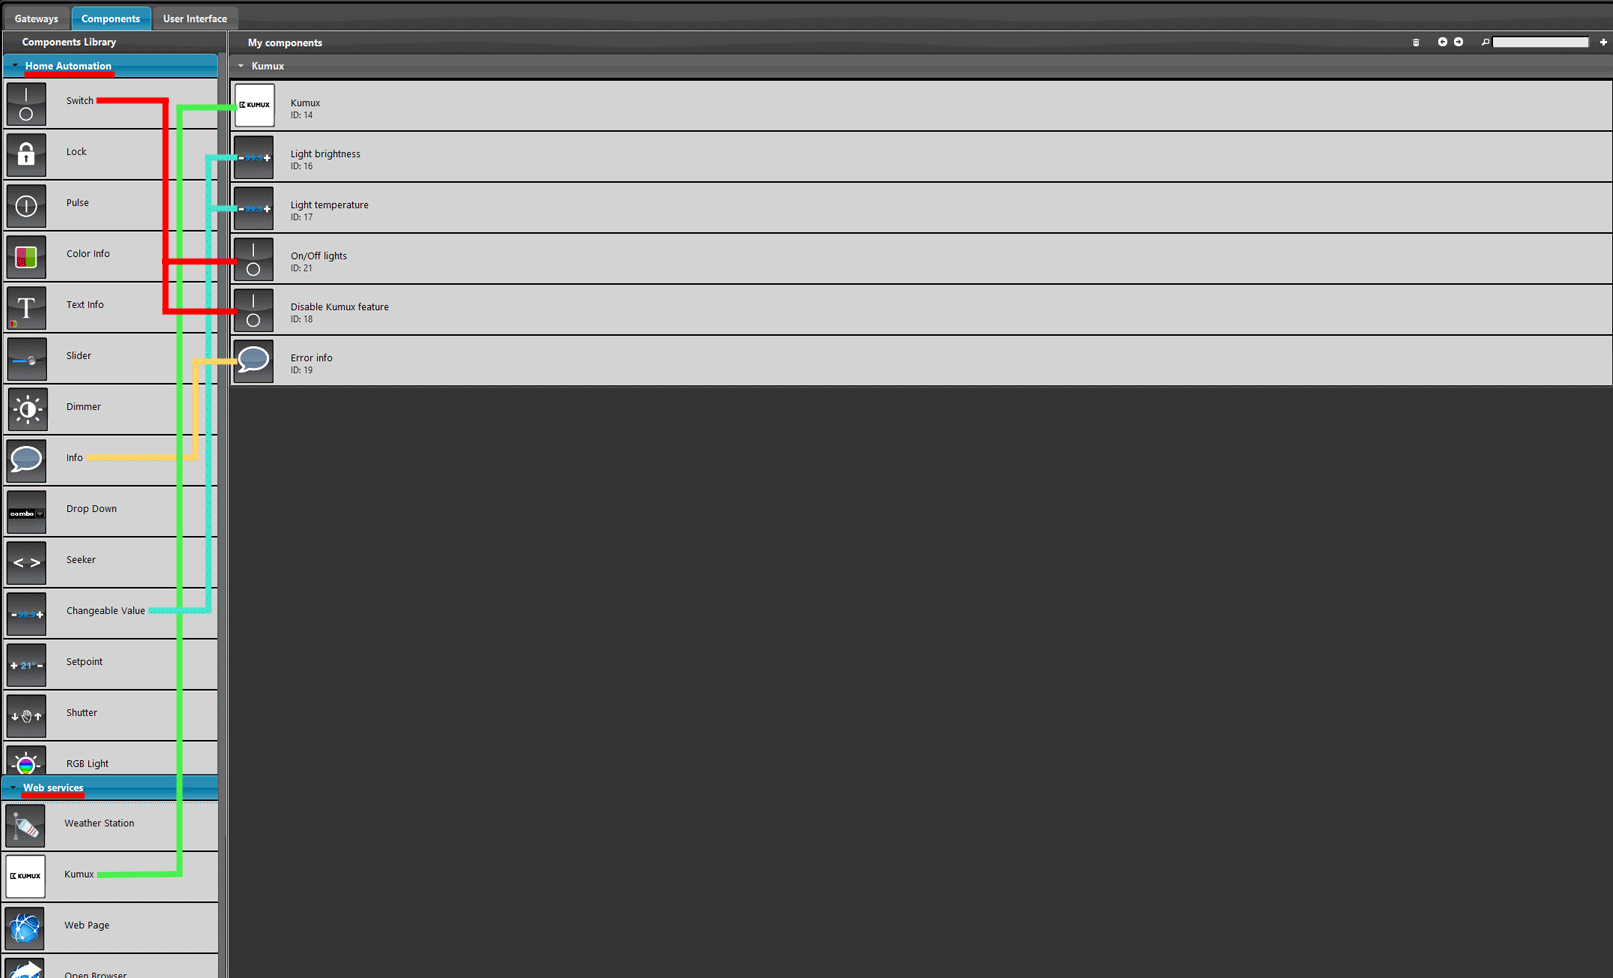
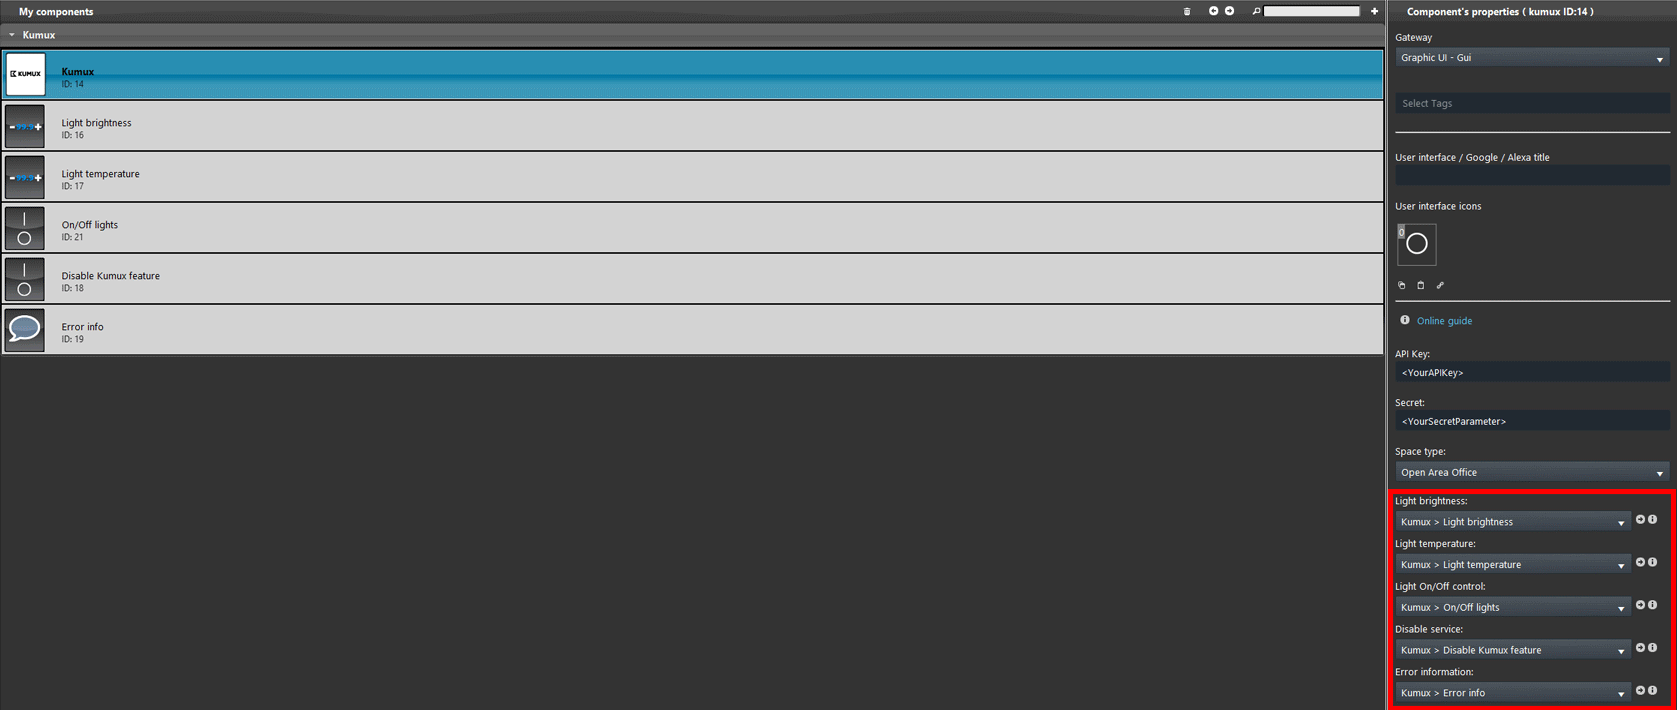
Add the following components into the My components section. First add the Kumux component from the web services section of the Components library pane, then open the Home automation section and add the two Changeable values that will set the Brightness and the color Temperature of the lights, then add two Switch components and finally an info component to check the Errors.
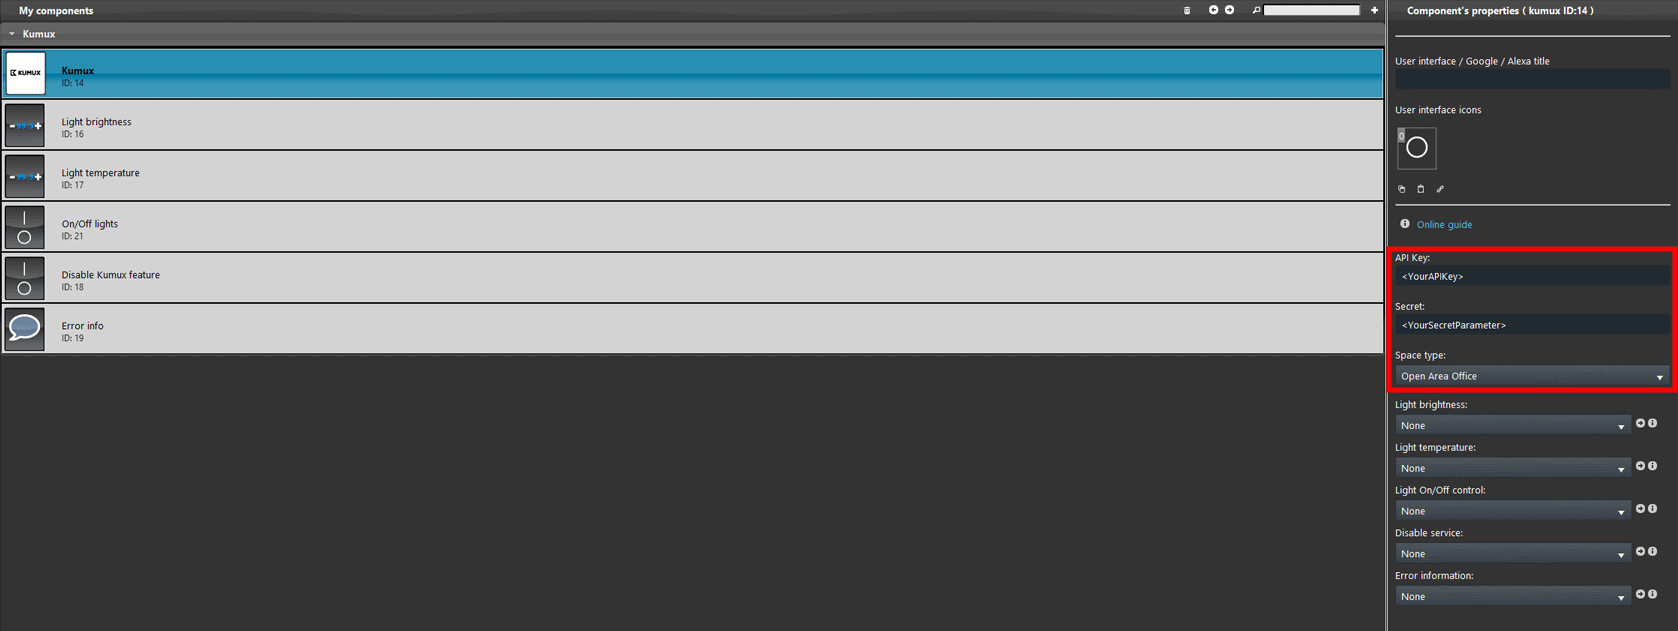
Add the API key and the Secret parameters within the Kumux component parameters and select the Space type.
Link the components to the Kumux component parameter as shown in the picture below.
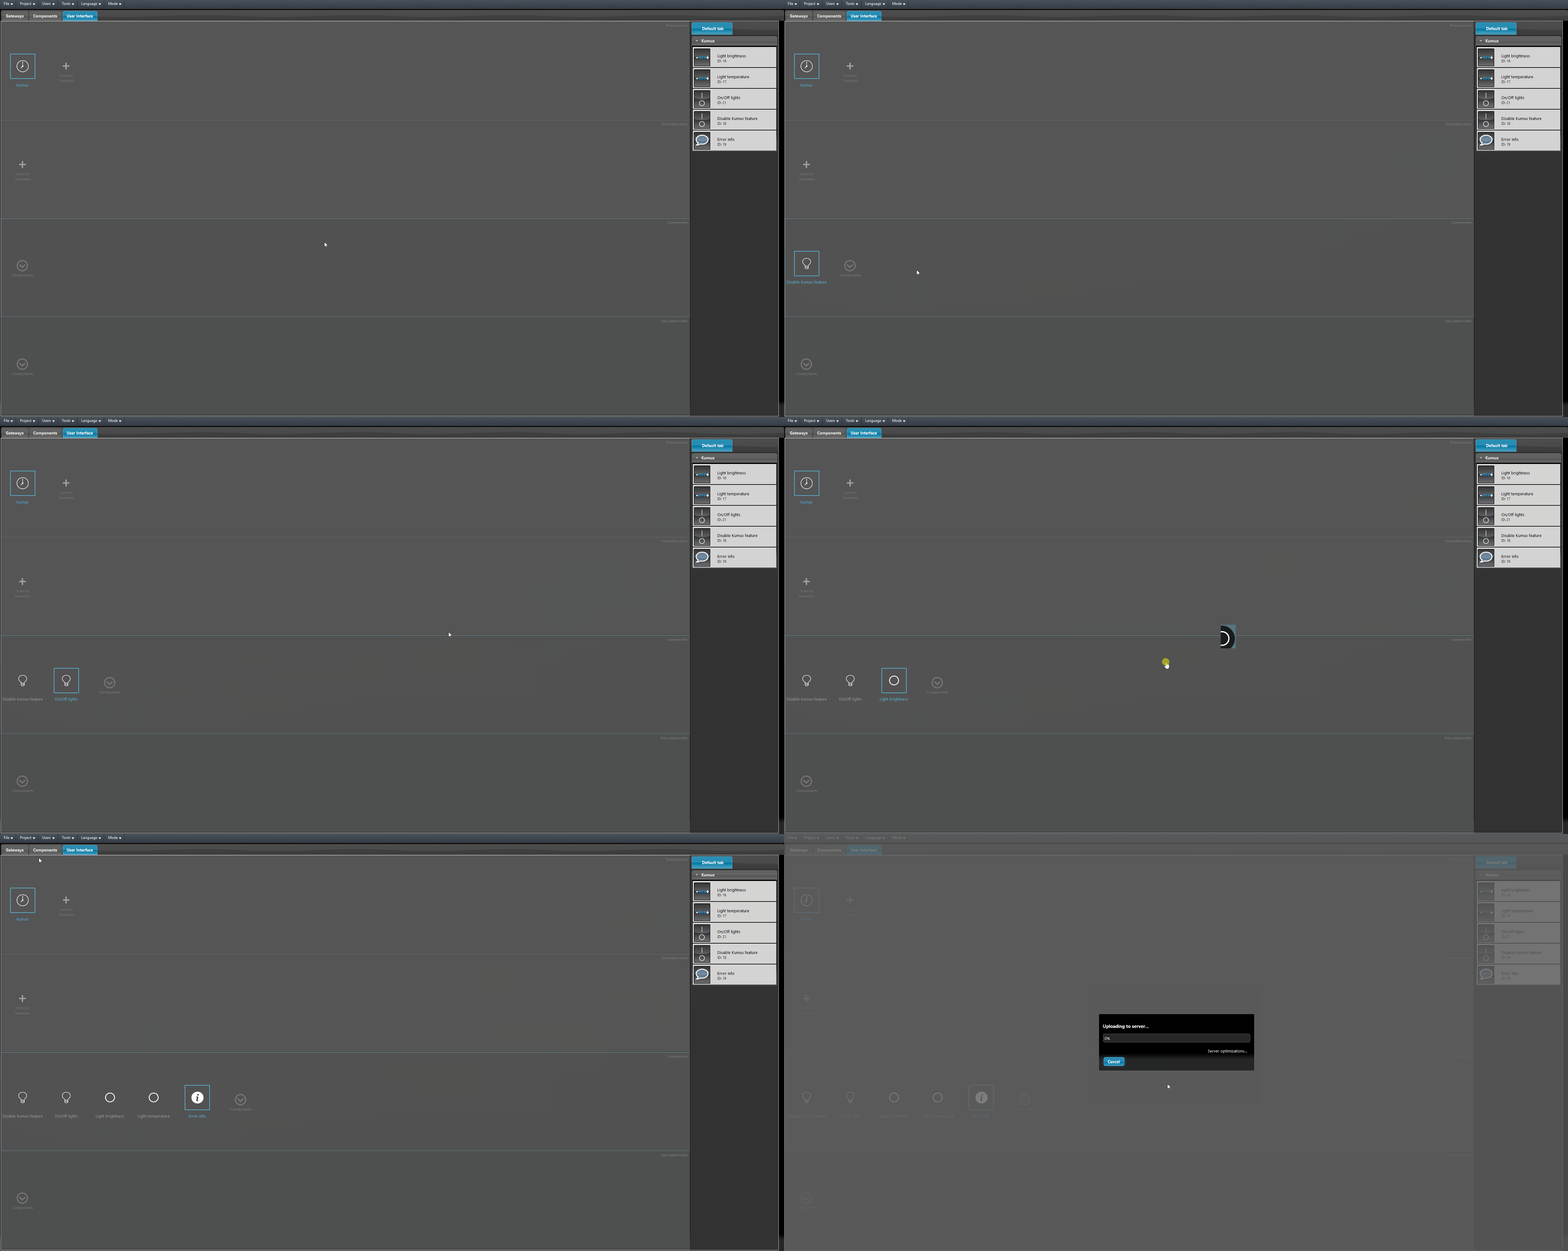
Add the components into the User interface and then upload the project into the server.
Visual result of the Ilevia’s integration with Kumux
Click the link below to download the demo project and try it your self.

