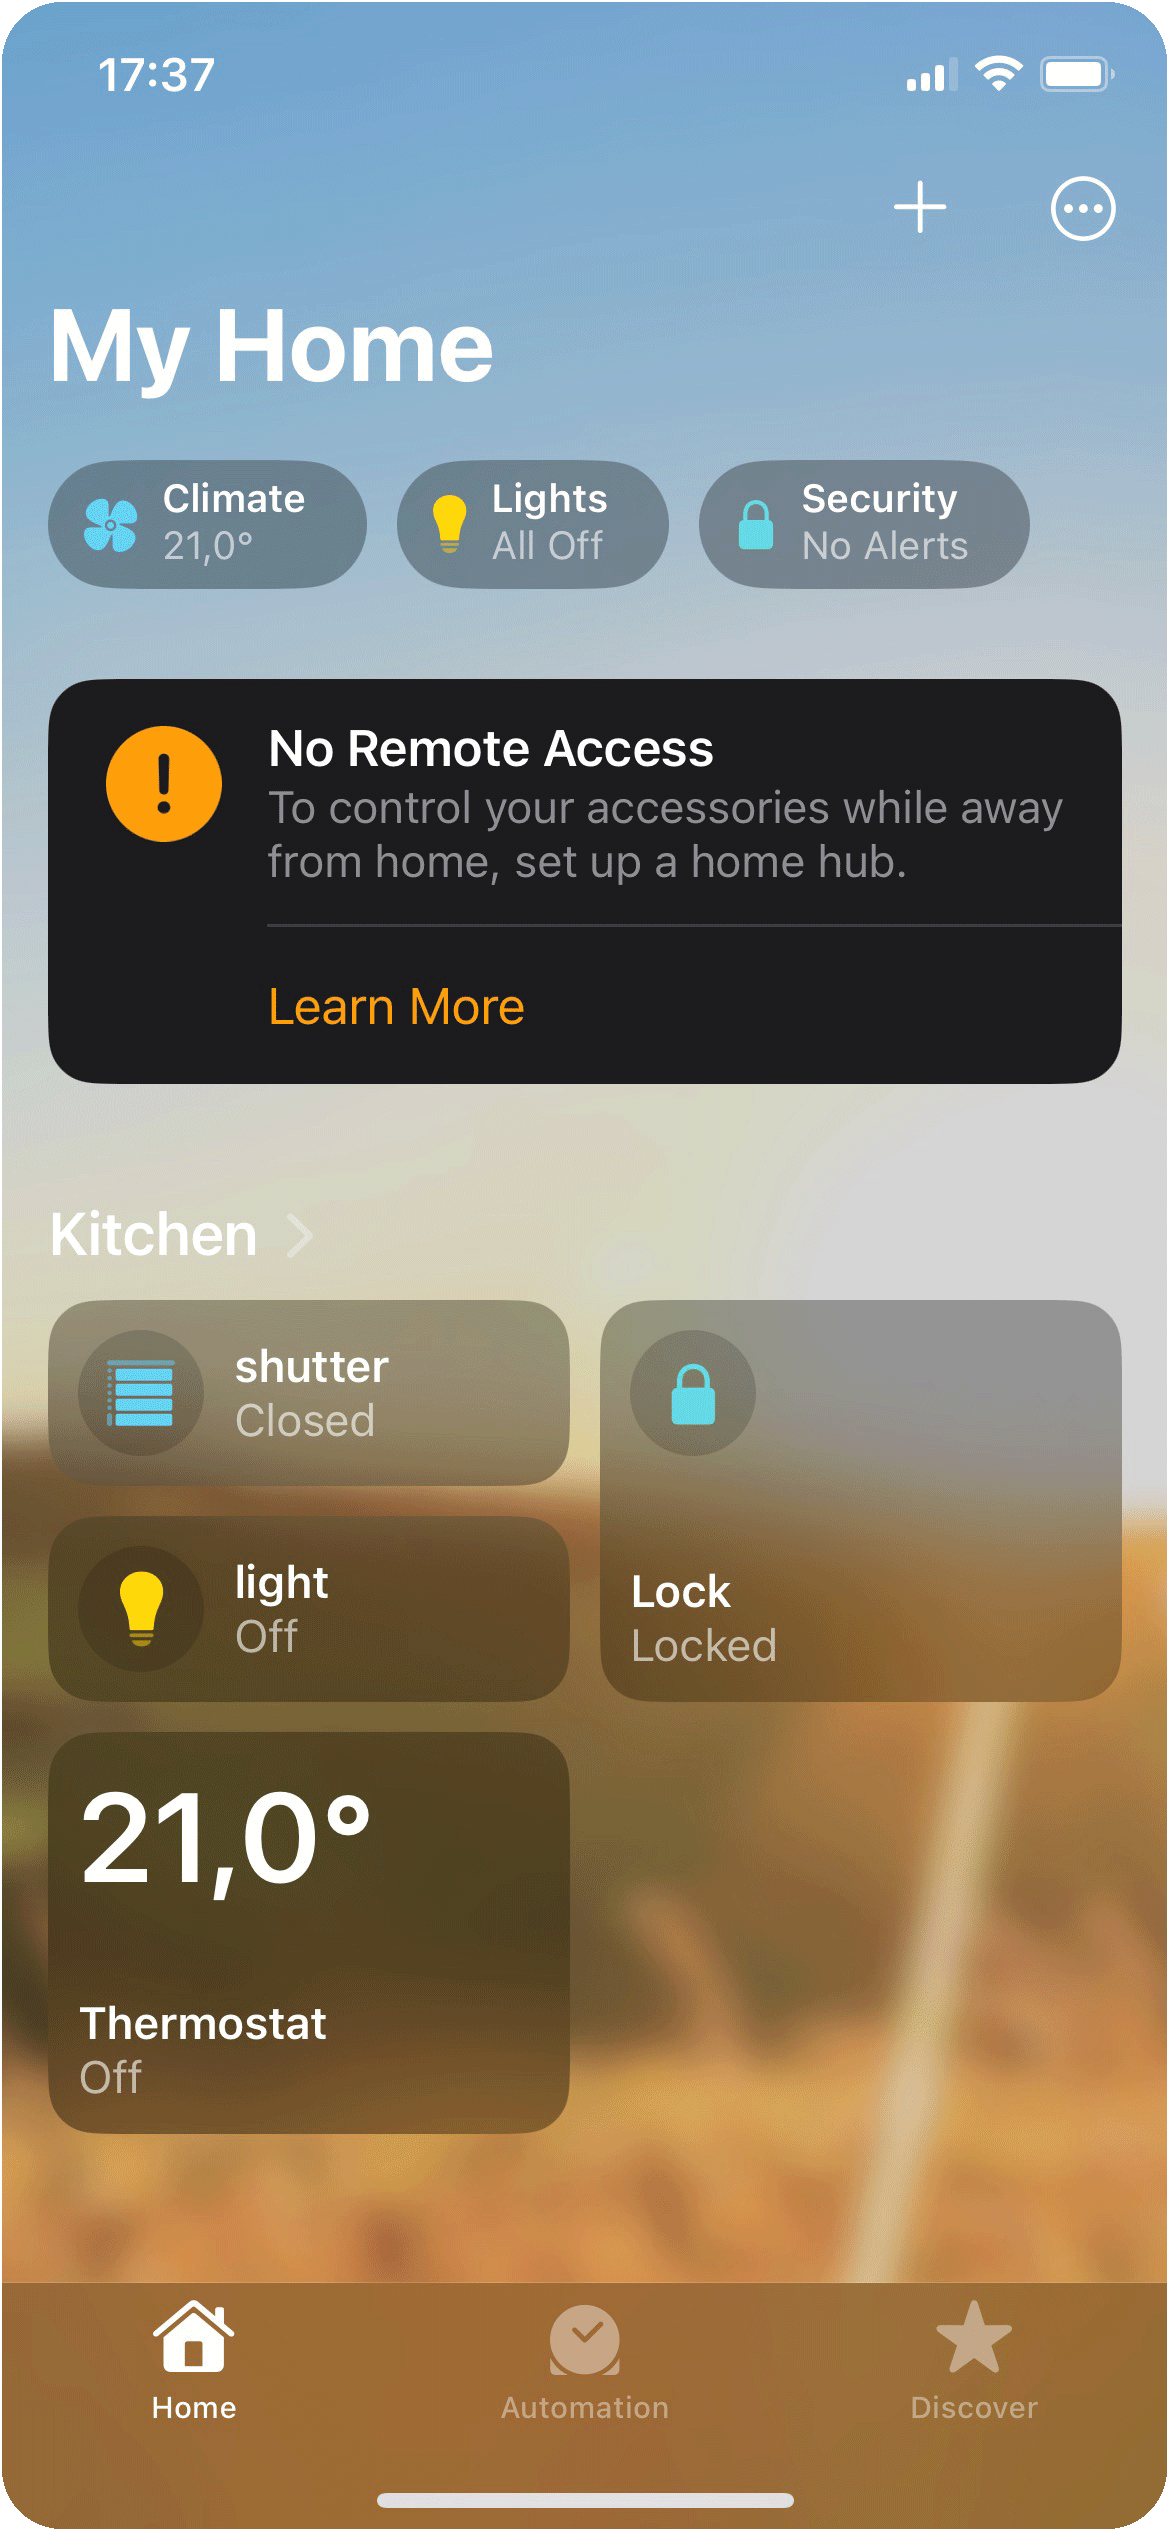
HOW TO LINK YOUR ILEVIA SERVER WITH HOMEKIT APP
INTRODUCTION
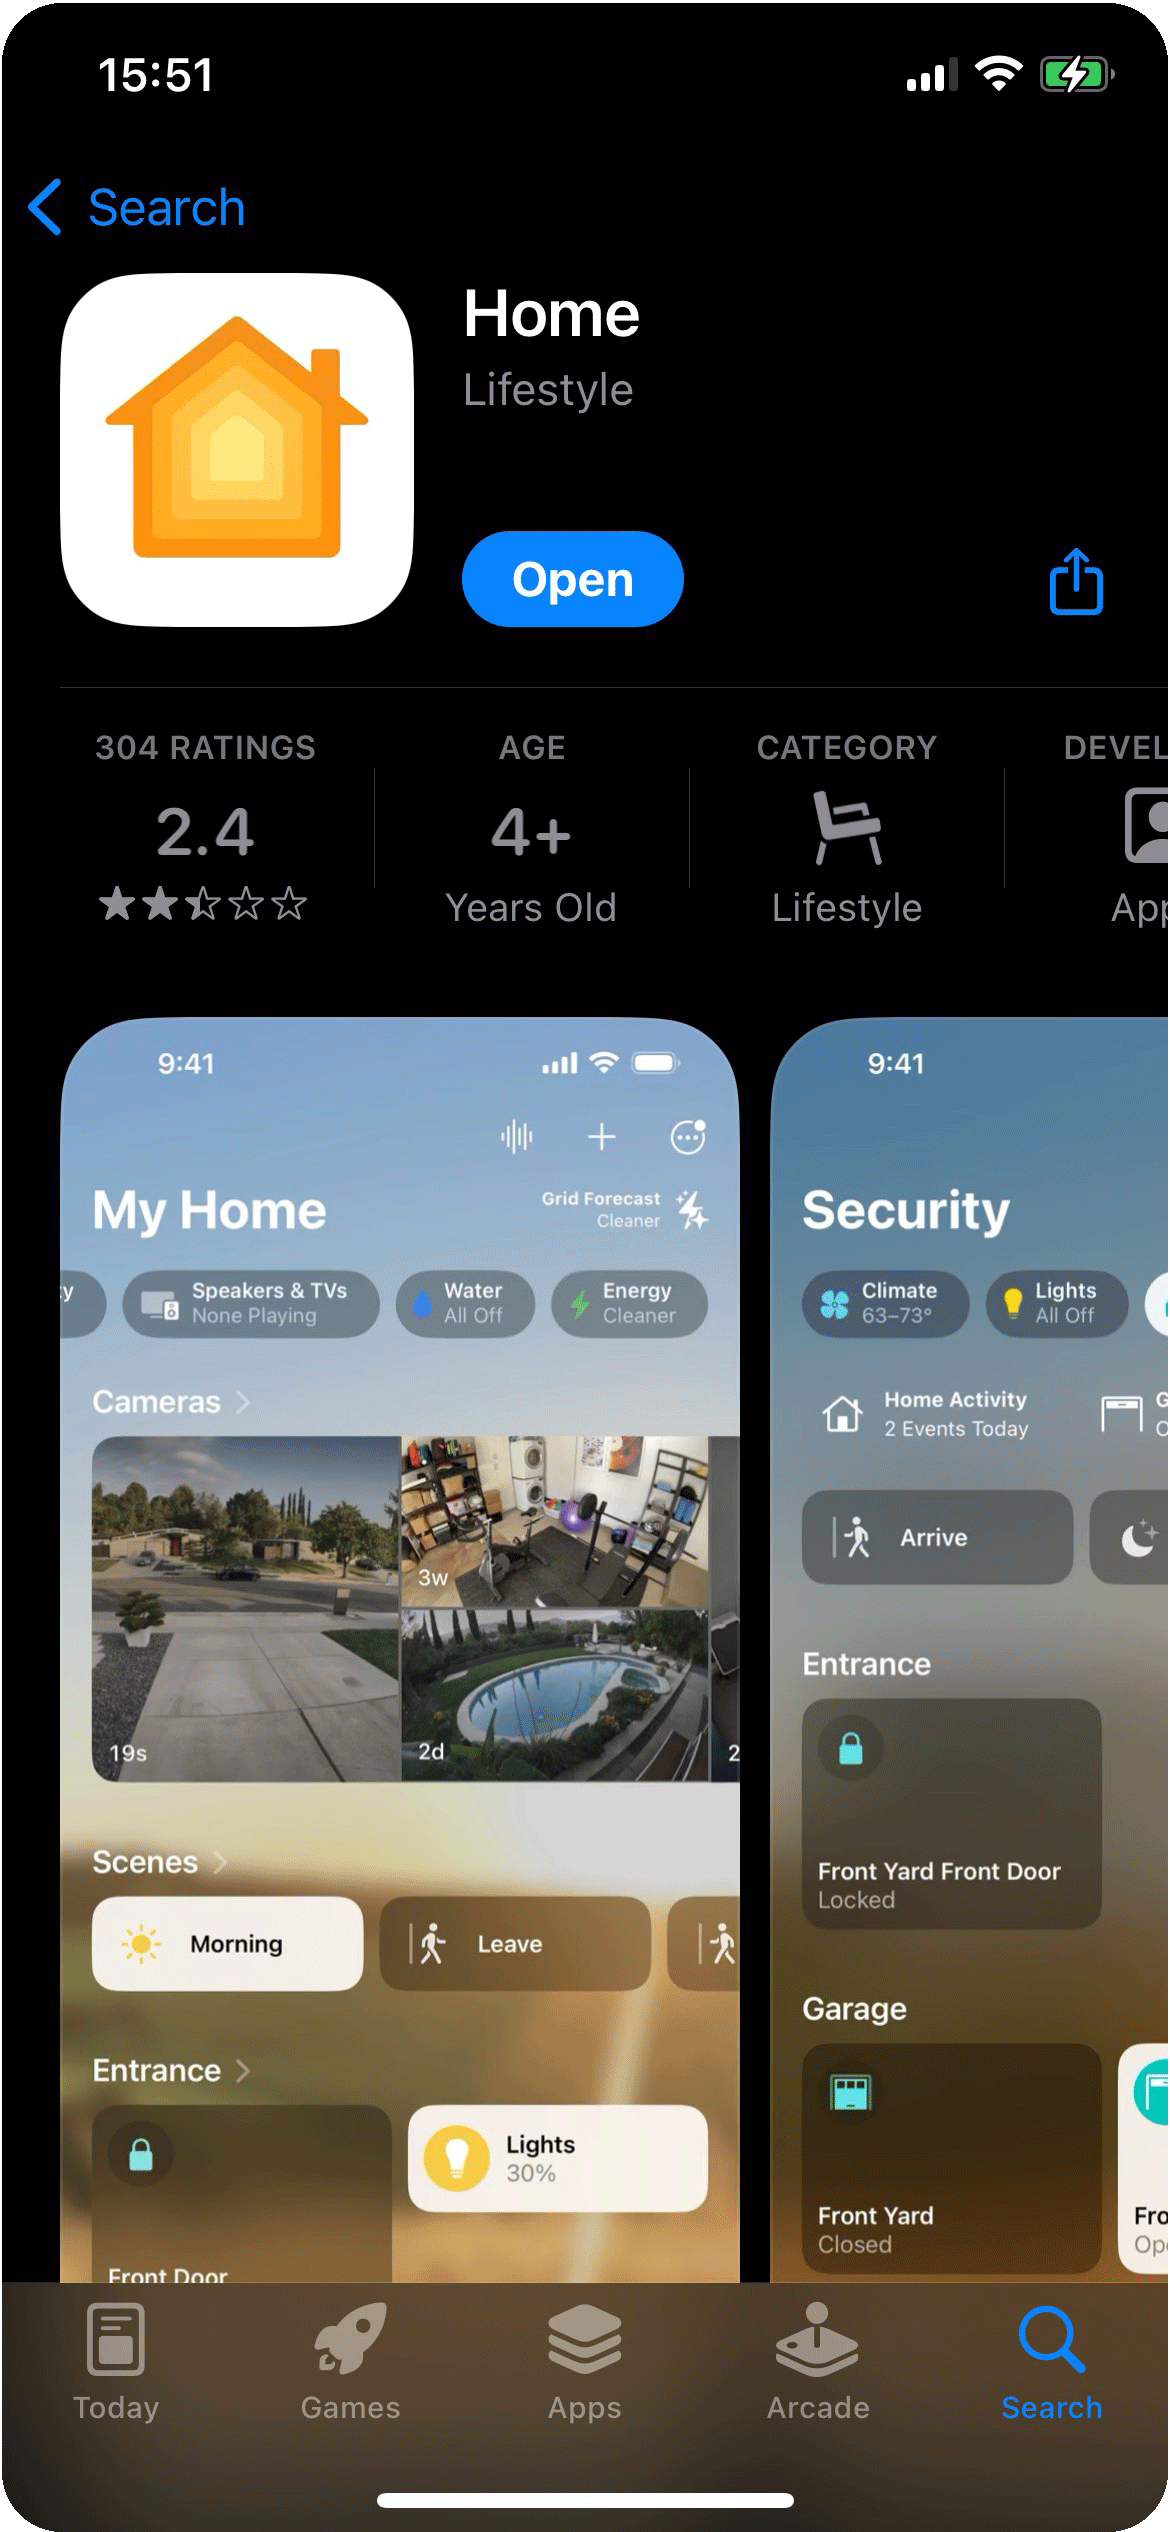
In this guide is explained how to link your Home App on your Apple device with the Ilevia server in order to be able to control your home appliances through Siri voice assistant.
How to control your Smart Home using HomeKit
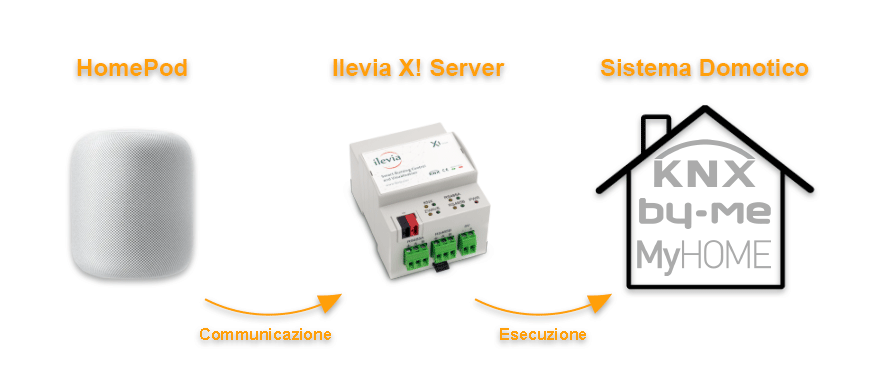
- ILEVIA has made possible the use of HomeKit with KNX devices, Vimar By-Me, BTicino My Home, Z-Wave and other EVE System protocols;
- After the installation of our system, the user, without using any app, will be able to control the devices simply by using the voice recognition of Siri or through the Home Pod or Apple TV devices.
! Keep in mind: To enable the Homekit app to reach the Ilevia server remotely, a HomePod or a Apple TV is required.
ASK SIRI:
Lights
| Voice command: | Say “Hey Siri”, then… |
| To turn on/off a light | “Turn on <light name>” |
| Dim a light | “Dim the <light name>” |
| Brighten a light | “Brighten the <light name>” |
| Set a light brightness to a certain percentage | “Set <light name> to 50%” |
| Dim/Brighten lights by a certain percentage | “Dim/Brighten <light name> by 50%” |
| Change the color of a light | “Turn <light name> green” |
| Turn on/off all lights in room | “Turn on/off lights in <room name>” |
| Turn on/off all lights | “Turn on/off all of the lights” |
Switches, Outlet:
| Voice command: | Say “Hey Siri”, then… |
| Turn On/Off a switch | “Turn on/off the <Switch, Outlet name>” |
Shutter, Blinds, Curtains:
| Voice commands: | Say “Hey Siri”, then… |
| Open / Close Shutter | Open / Close the <Shutter, Blind, curtain name> |
| Set the Shutter to a certain opening percentage | Set the <Shutter, Blind, curtain name> to 50% |
Lock:
| Voice commands: | Say “Hey Siri”, then… |
| Lock / Unlock | Lock / Unlock <Lock name> |
Thermostat
| Voice commands: | Say “Hey Siri”, then… |
| Set the Thermostat temperature to a sepcific value in degree celsius | Set the <Thermostat name> to 22 degrees celsius |
| Setting the Thersmostat mode | Set the <Thermostat name> in comfort |
| Ask the current temperature | What’s the <Thermostat name / room where the thermostat has been placed in> |
| Ask to raise / decrease the temperature and set the mode accordingly | Make it warmer / Make it cooler |
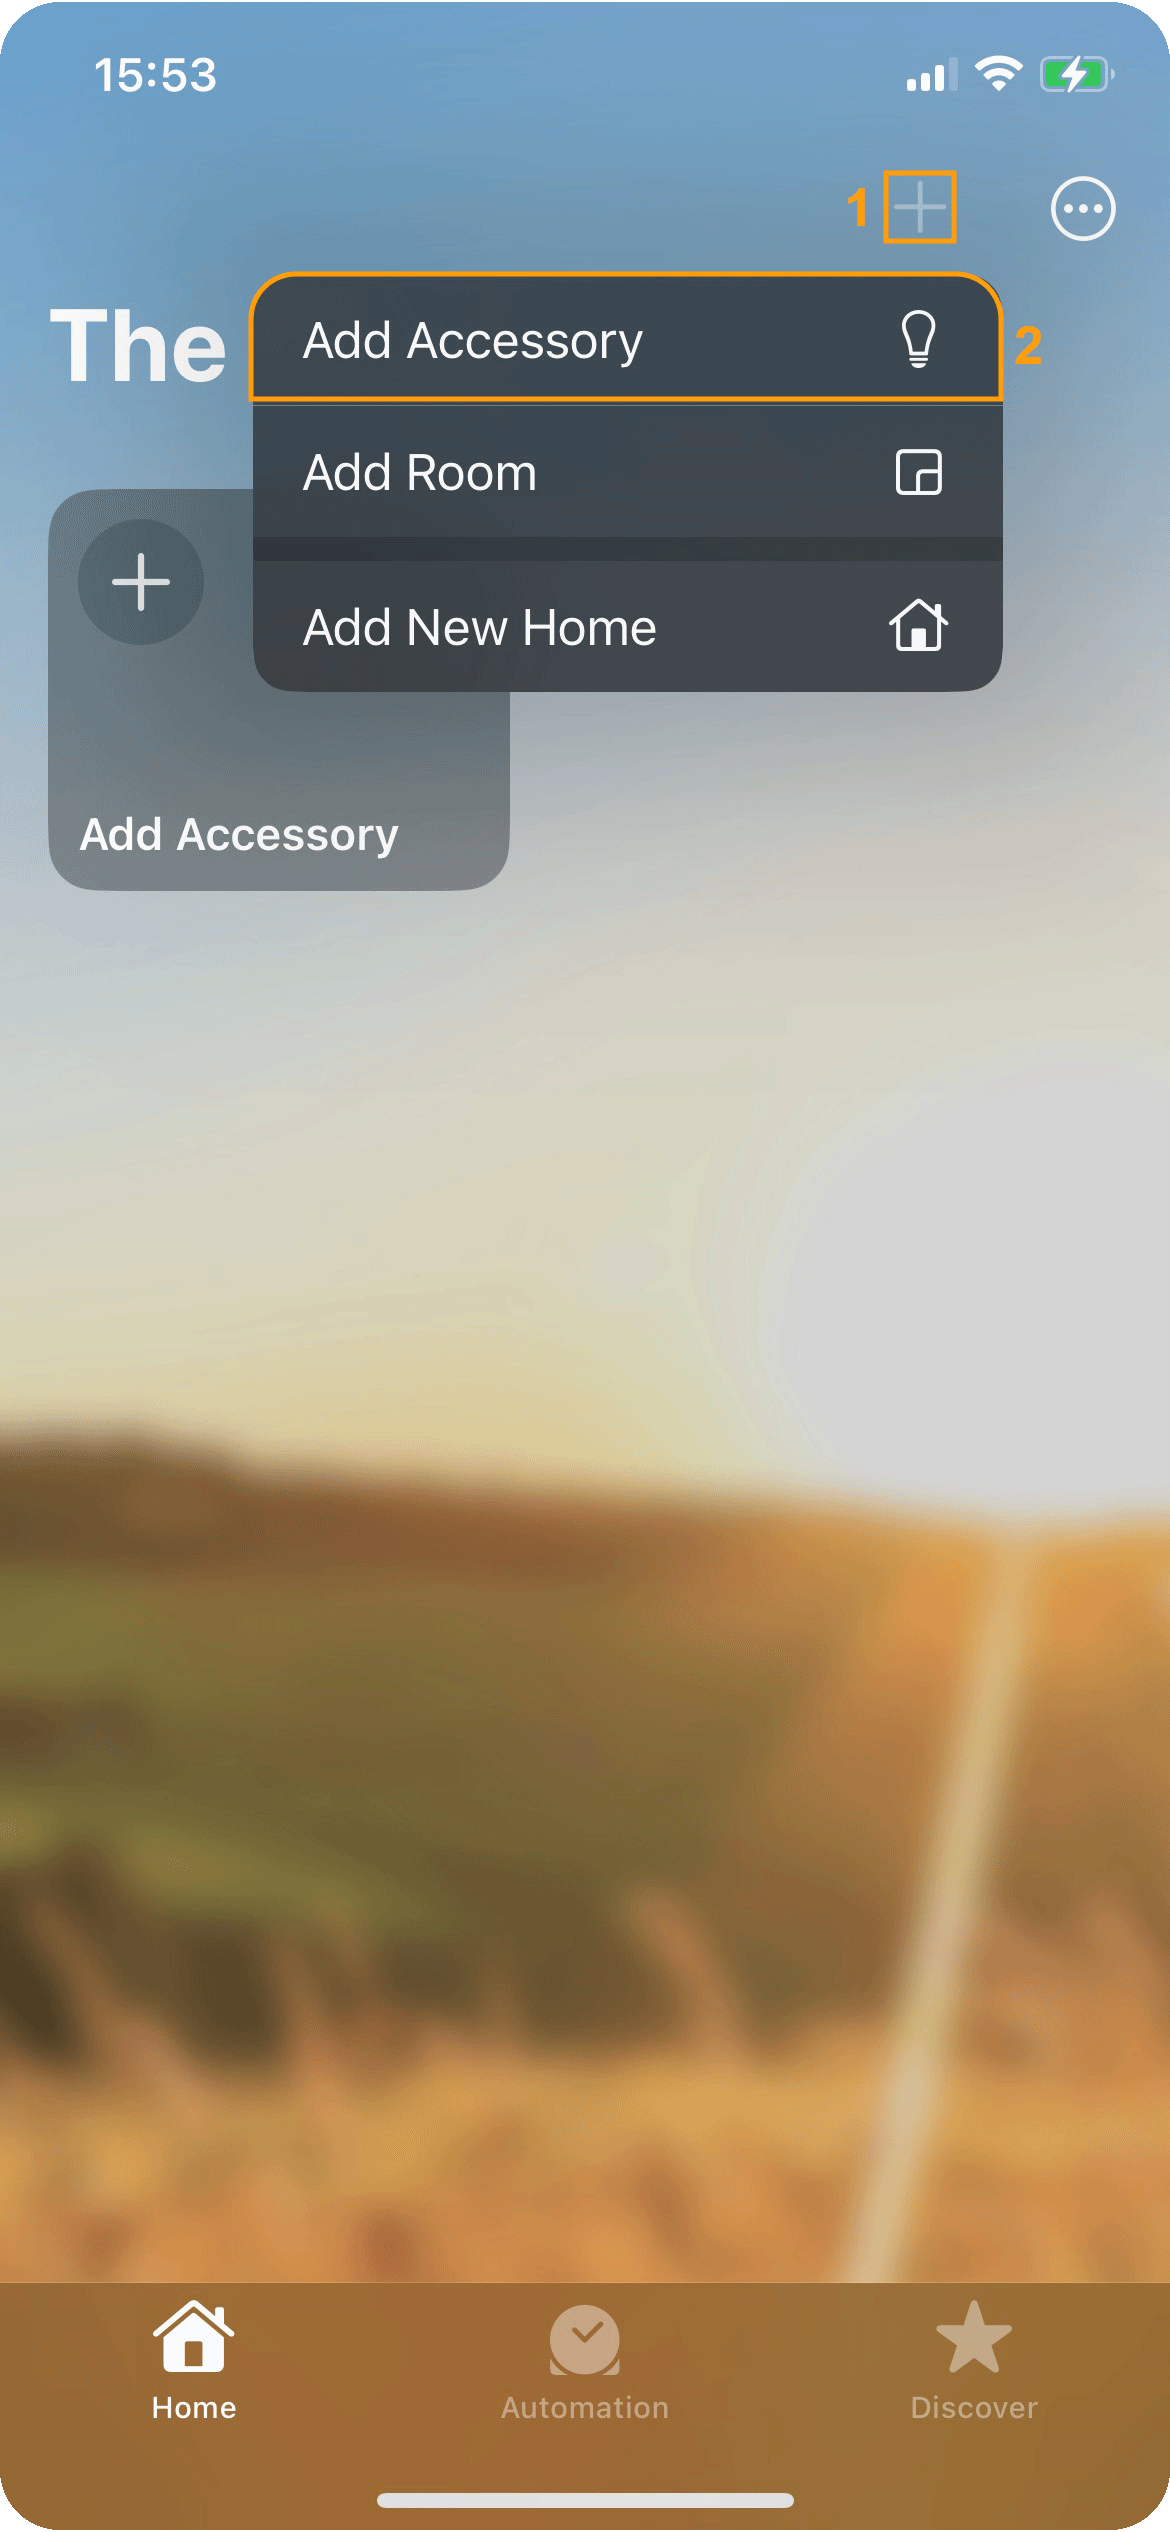
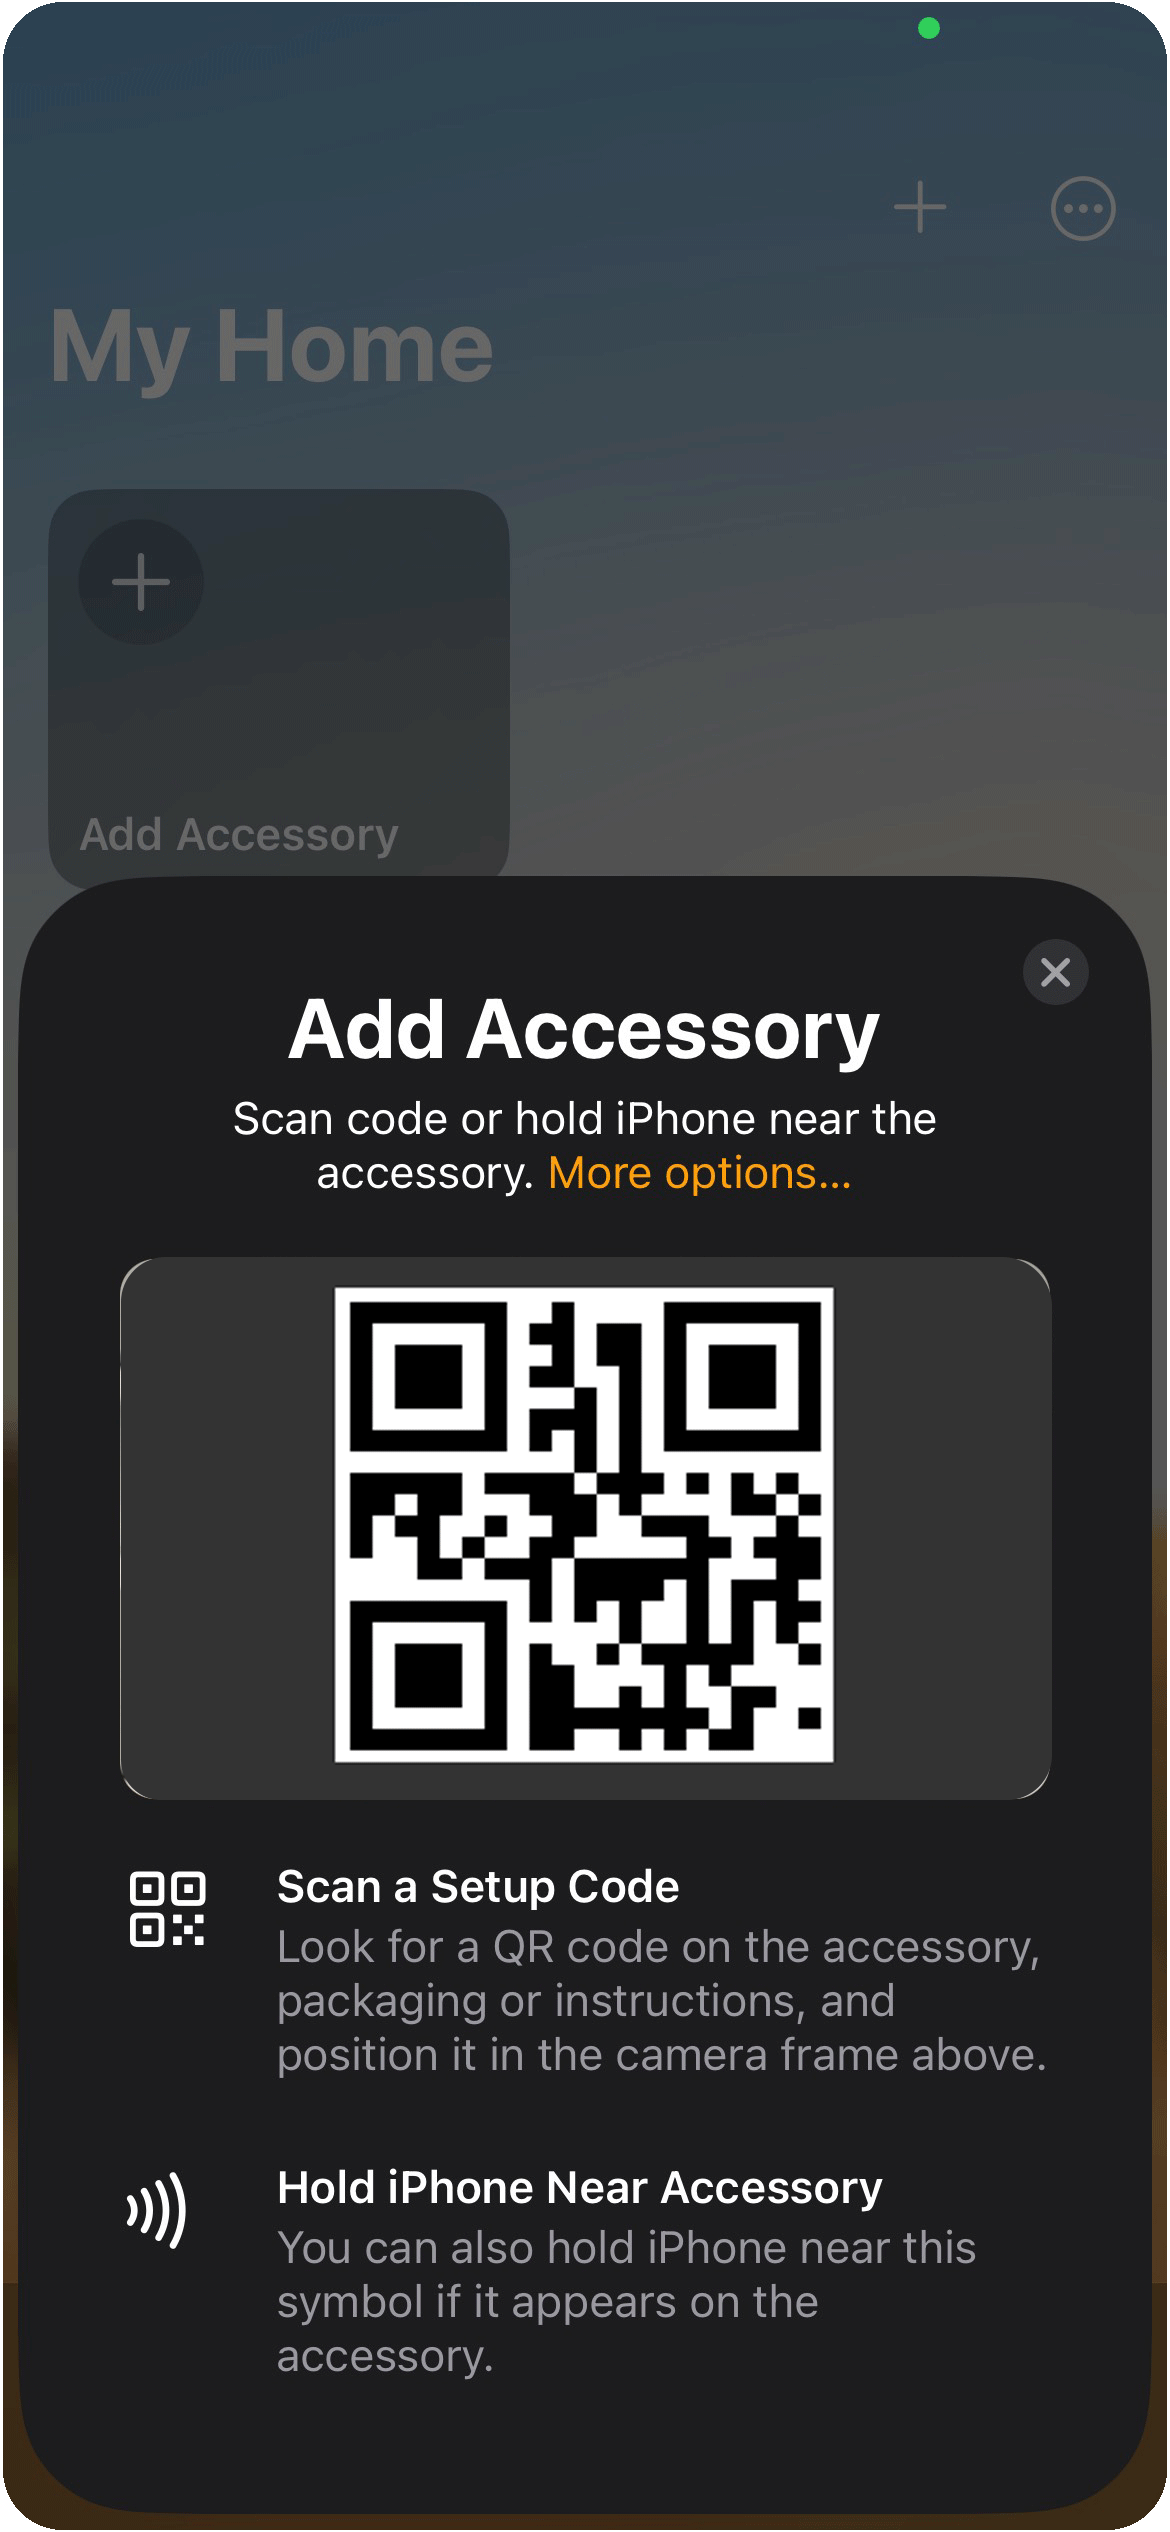
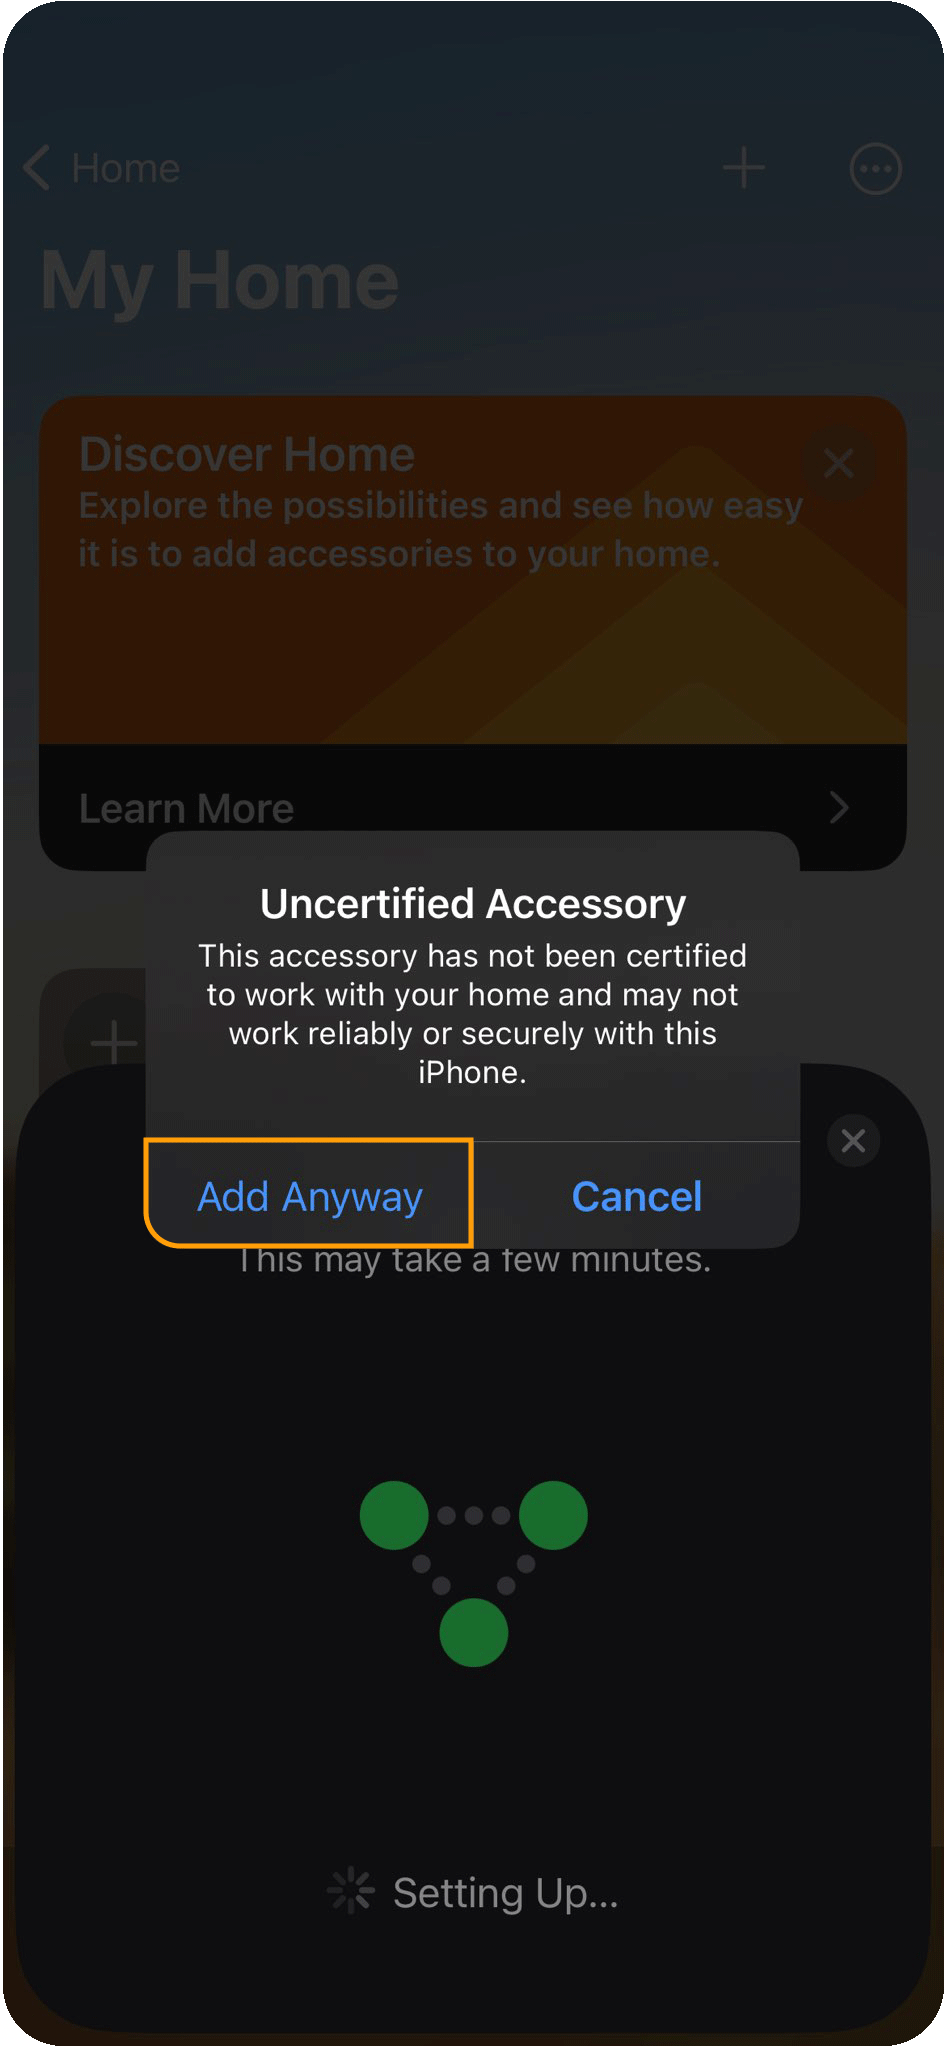
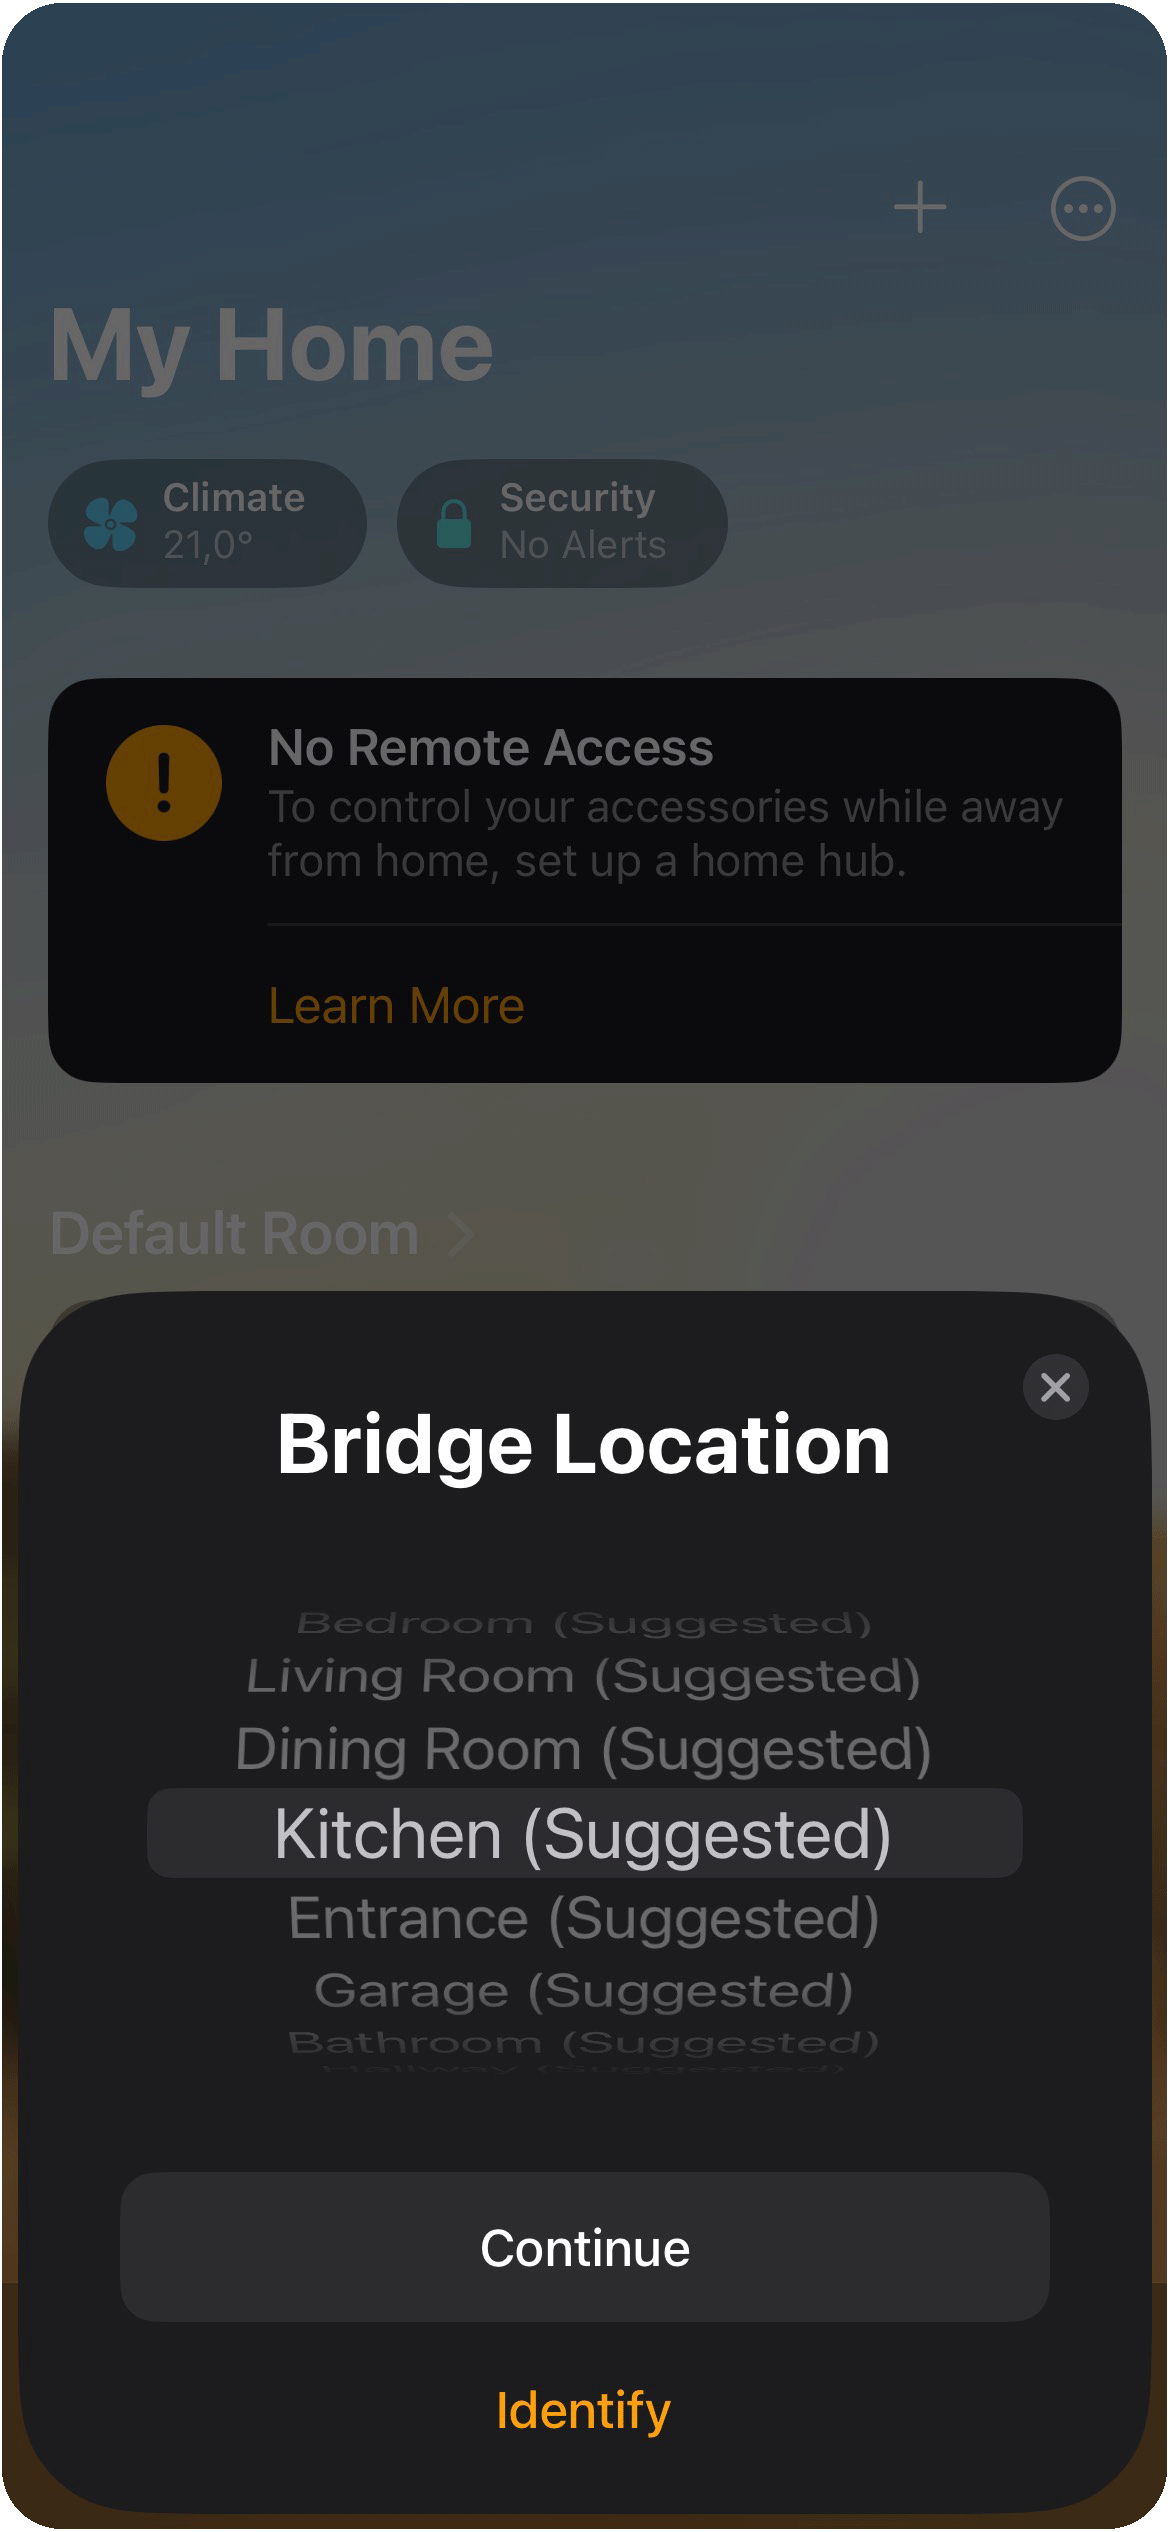
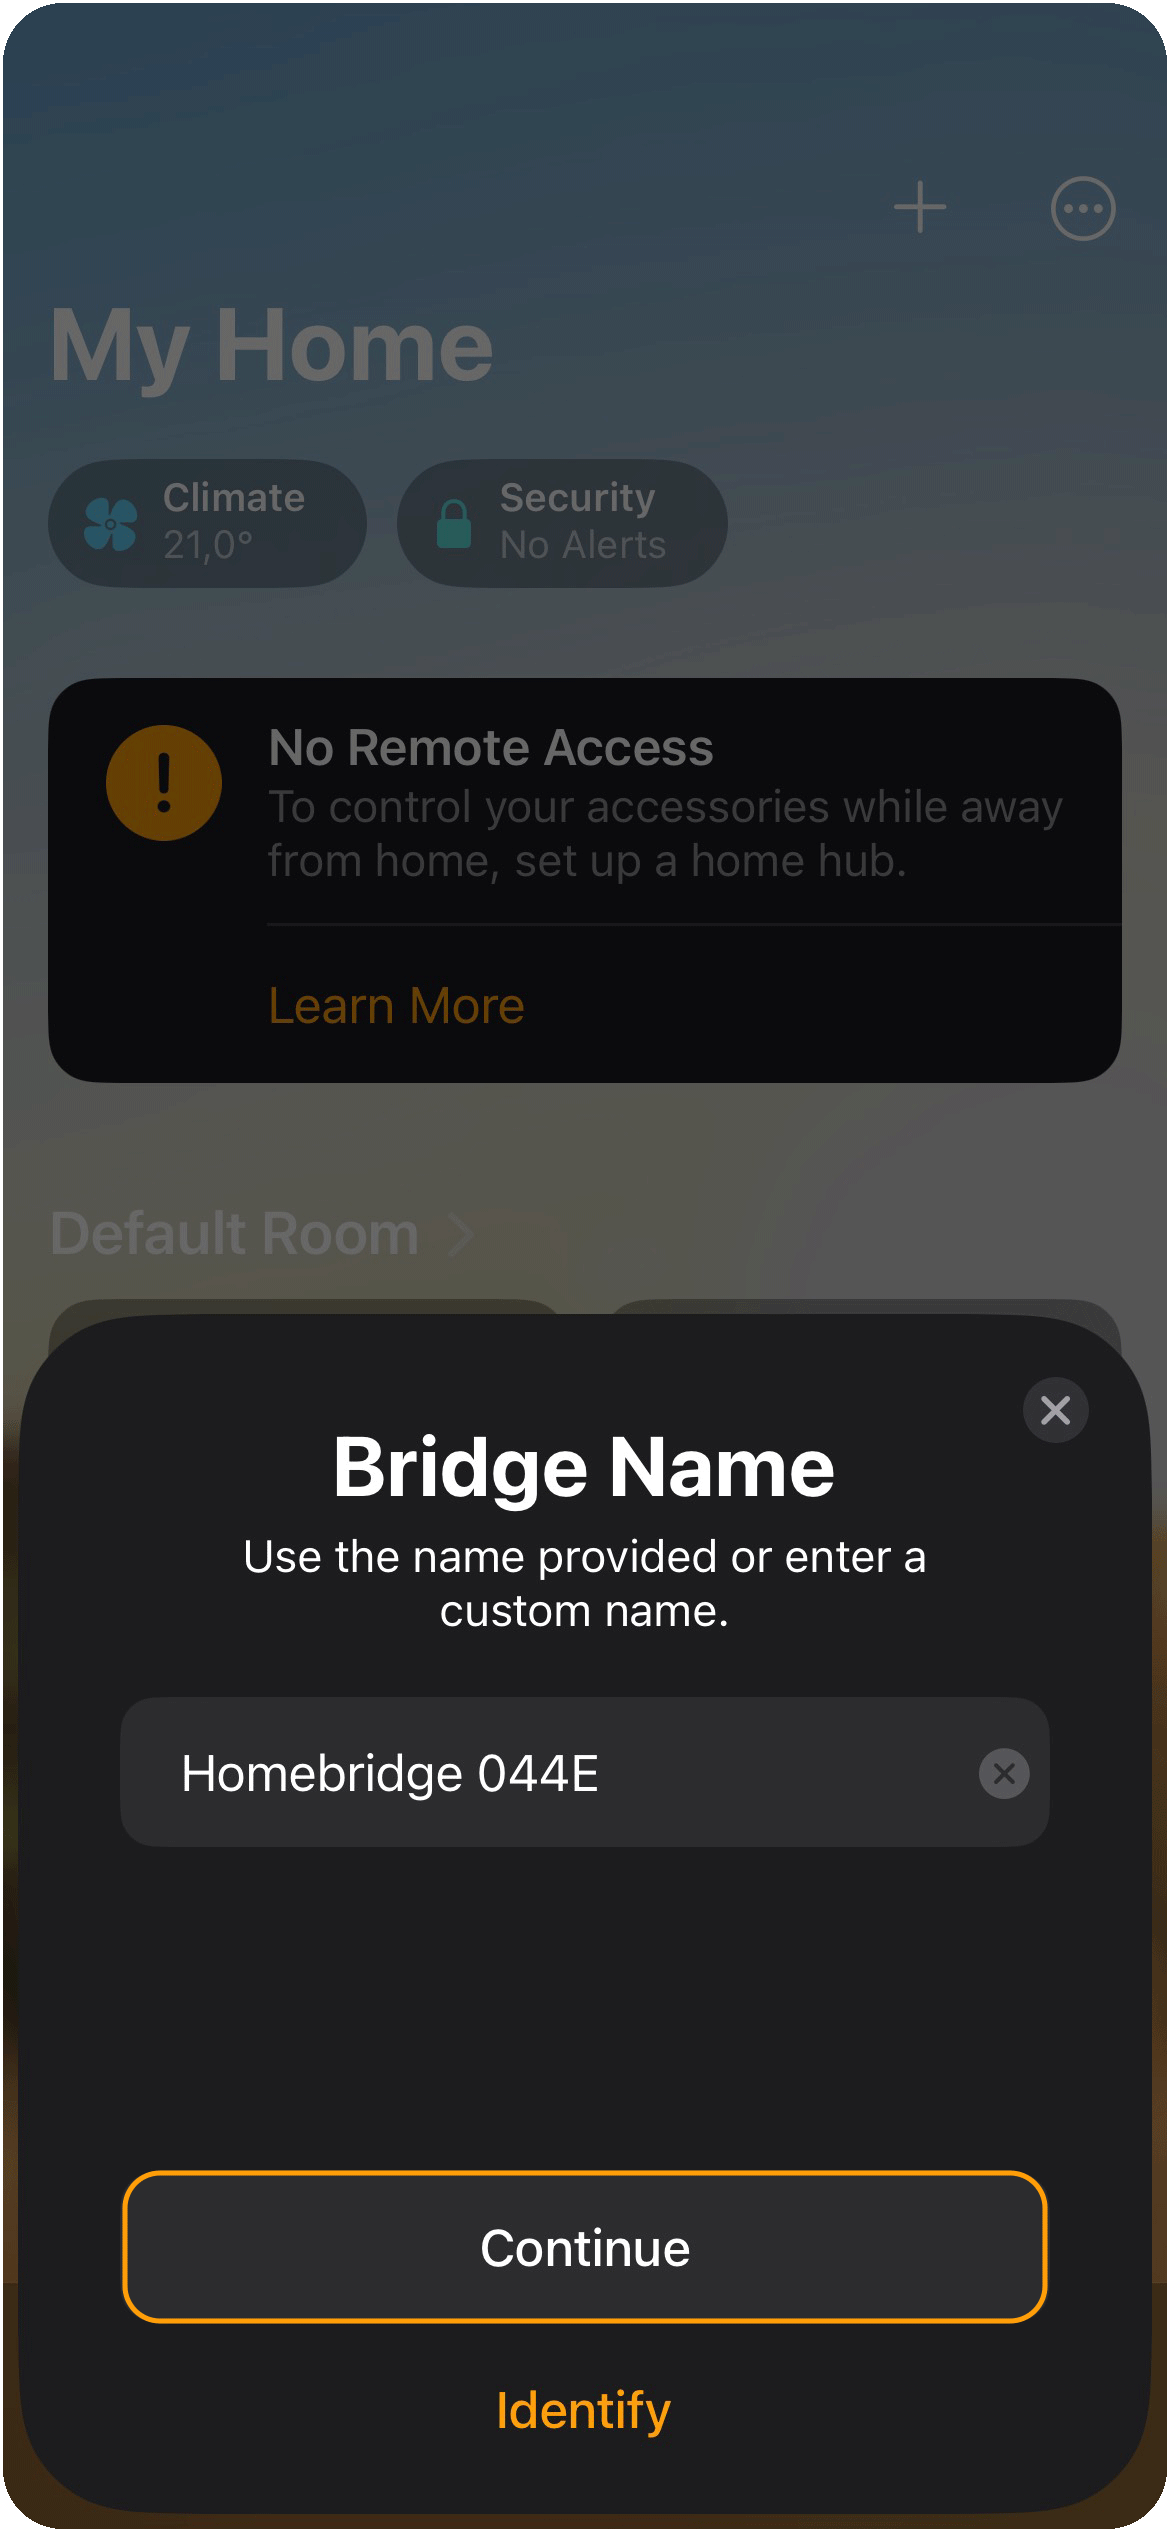
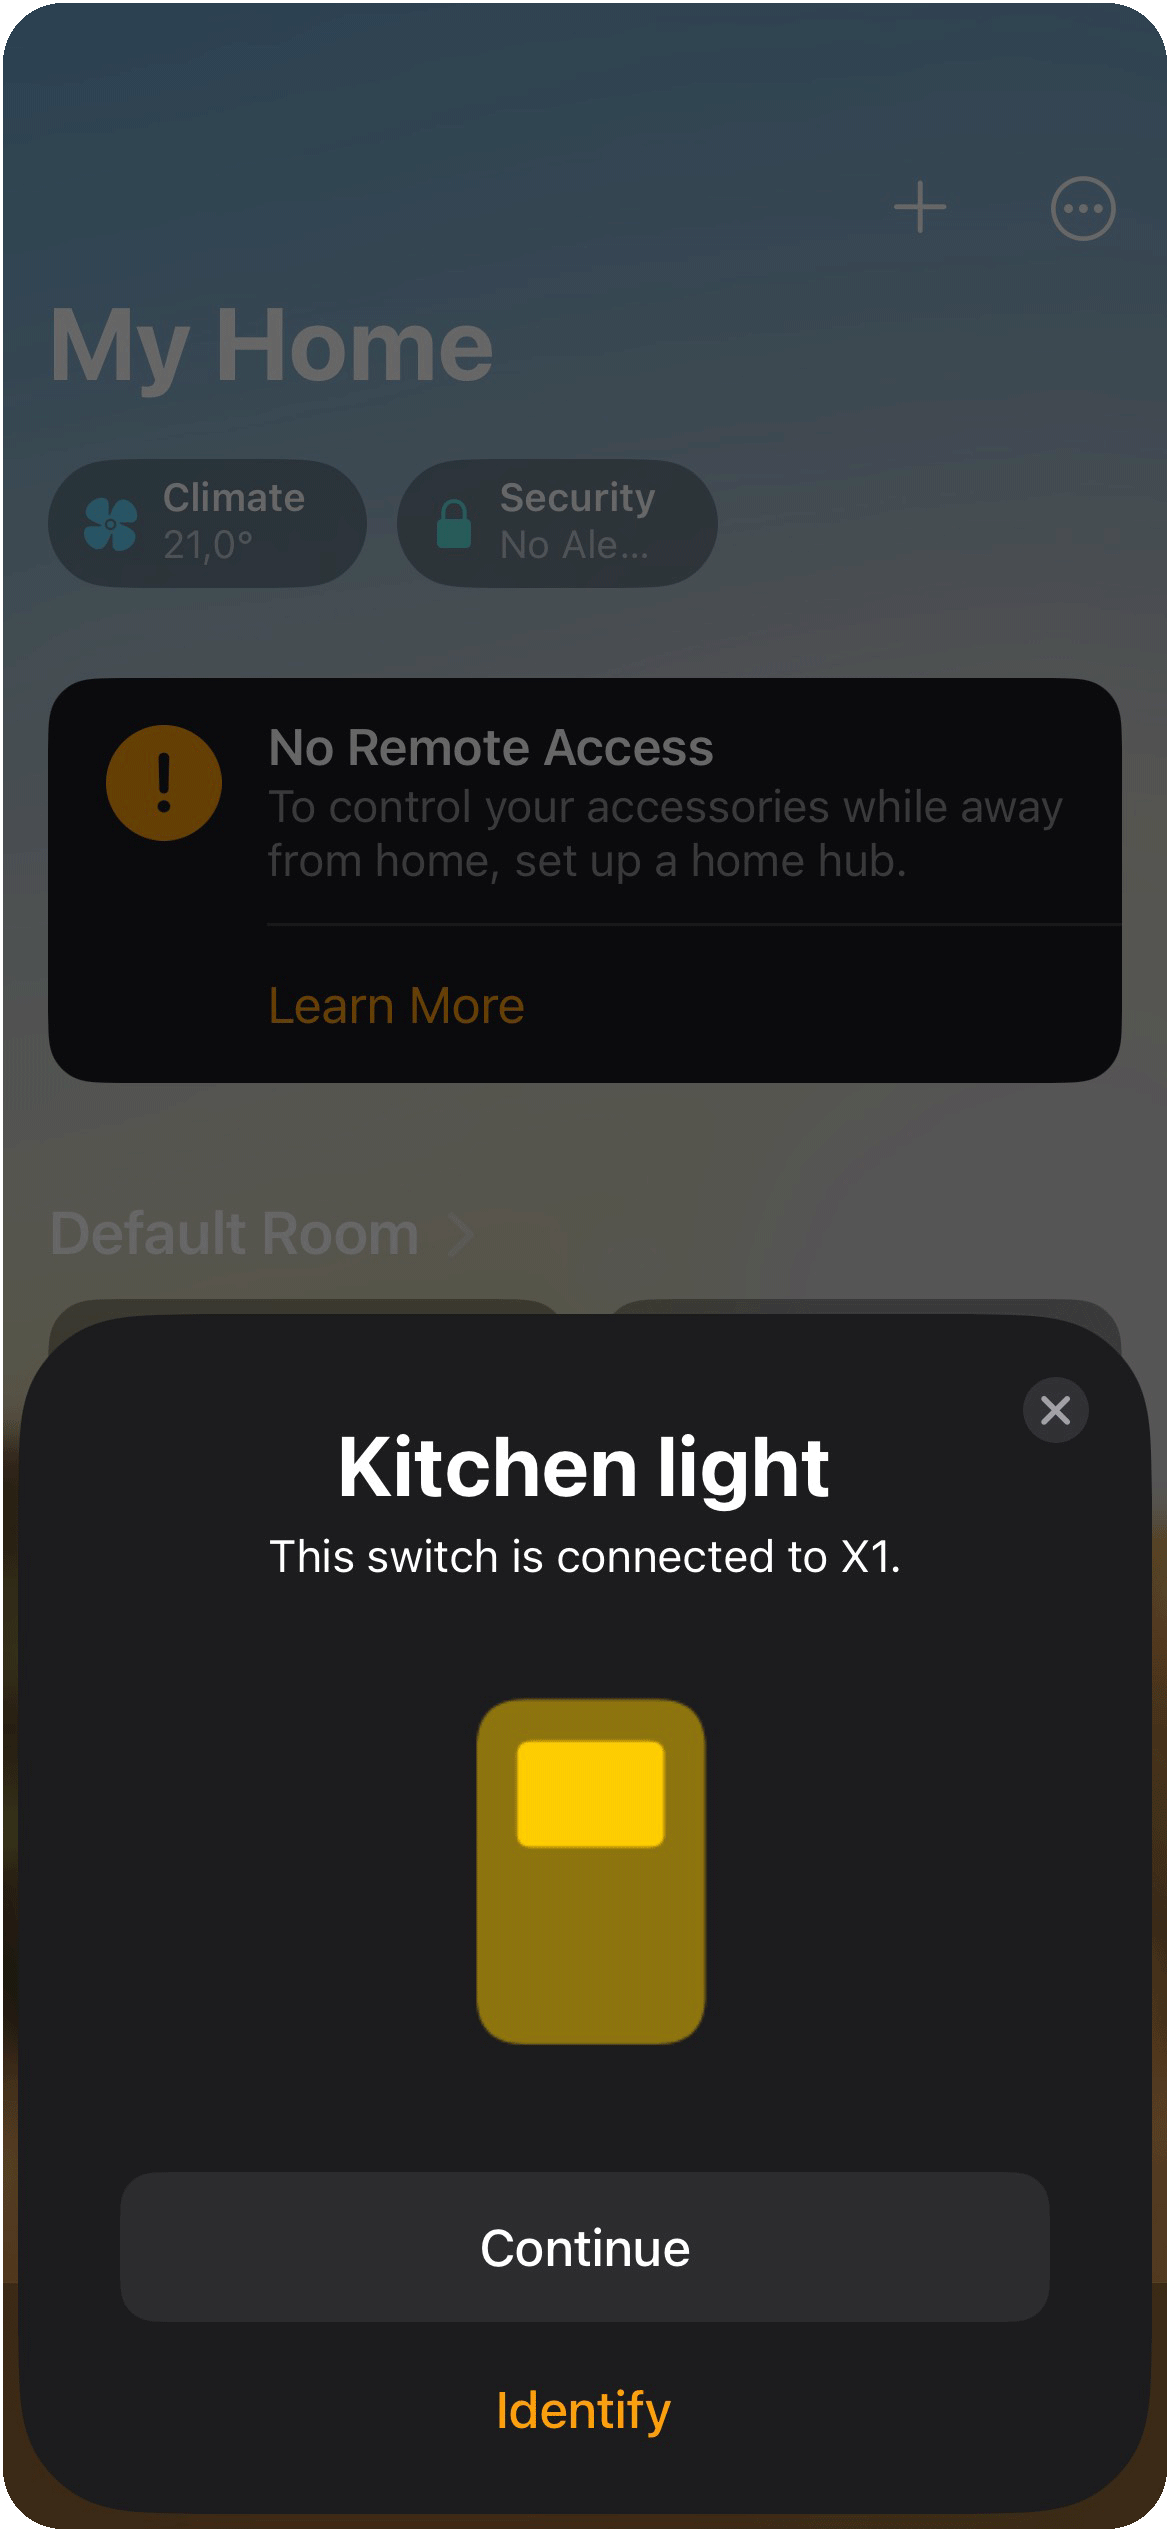
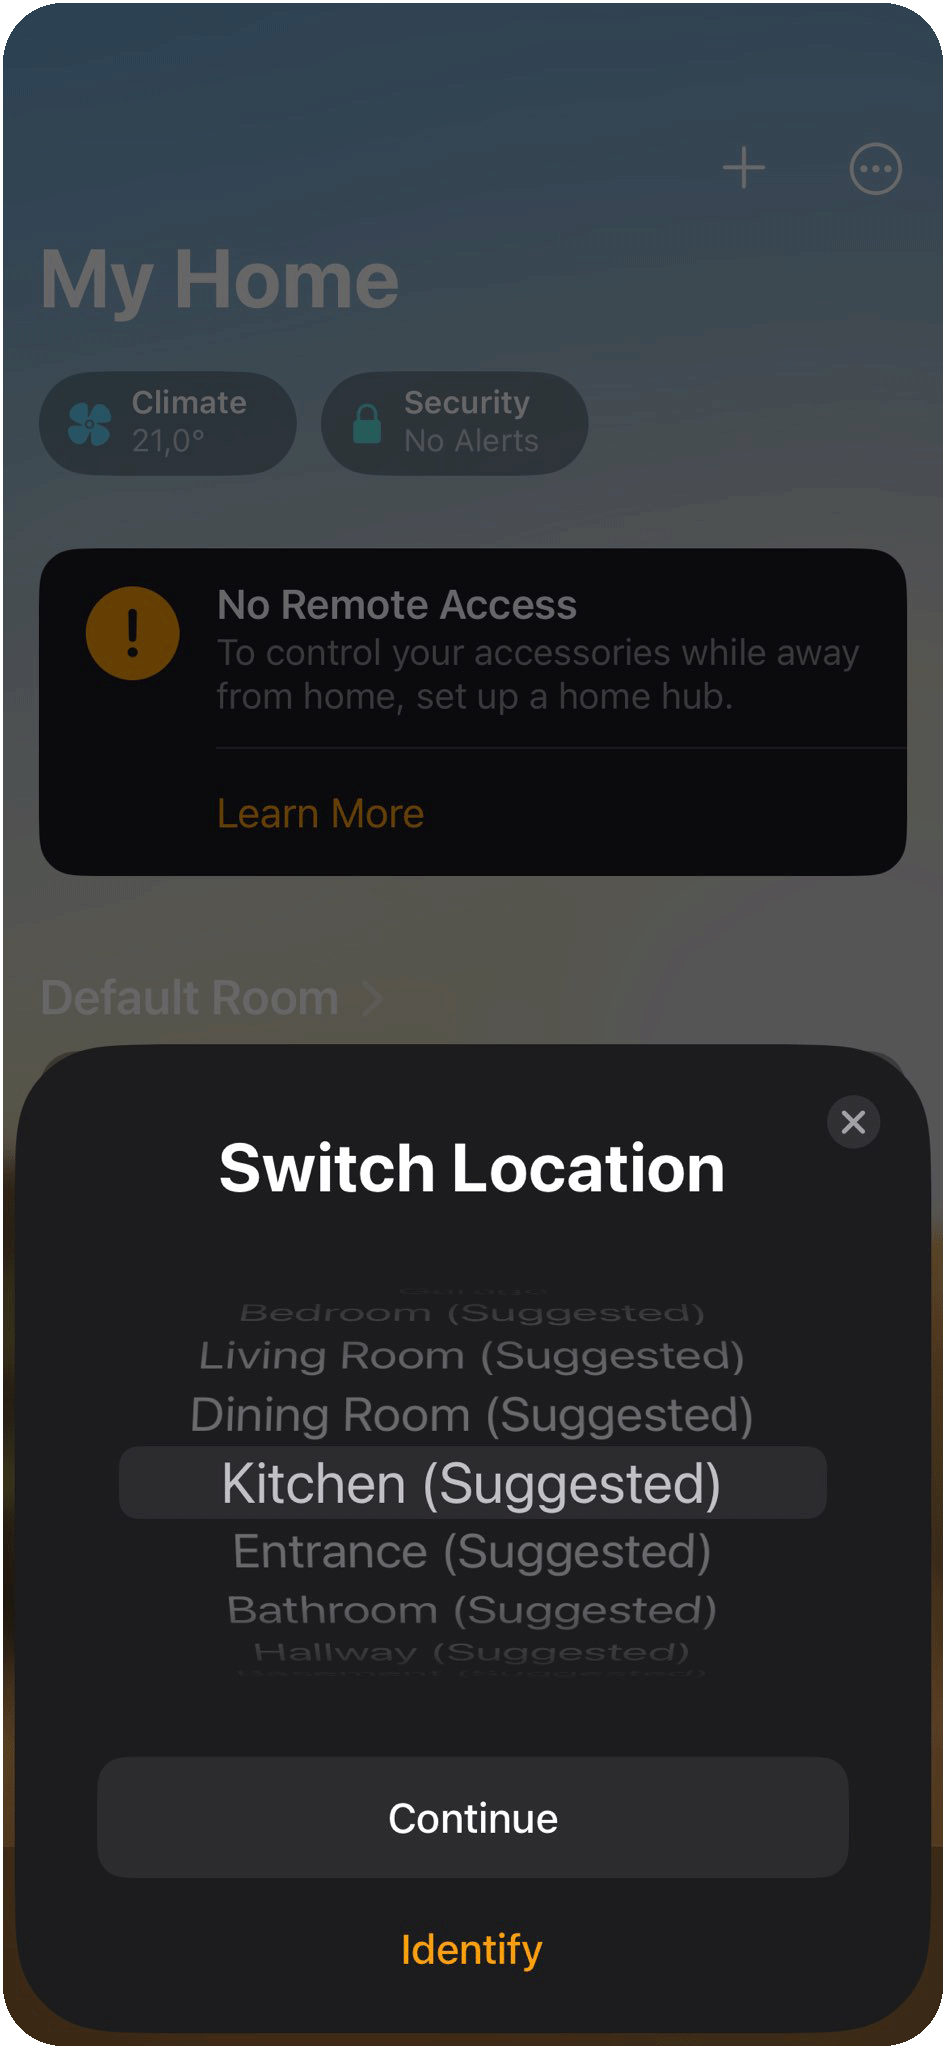
Procedure
CONCLUSION
Now you are able to use the Apple voice assistant Siri through HomeKit to interact with the devices you have integrated with the Ilevia Server.

