 HOMEKIT INTEGRATION WITH ILEVIA
INTRODUCTION
Welcome to the seamless integration of Ilevia’s home automation system with Apple HomeKit. This collaboration brings together Ilevia’s cutting-edge smart home technology with the intuitive voice control of Apple HomeKit. Now, you can manage your Ilevia devices using Siri, create personalized scenes, and enjoy a connected home experience that’s both sophisticated and user-friendly. Whether you’re adjusting the lights, setting the temperature, or securing your home, Ilevia and Apple HomeKit make it all possible with just a few simple words. Embrace the future of home automation today!
COMPONENT PROPERTIES
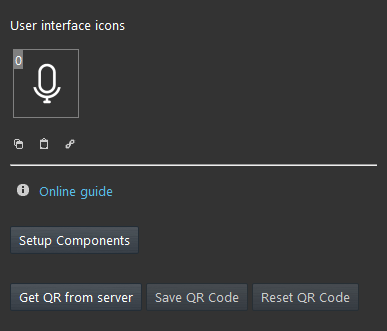
Setup components: This button will open the components setup screen of the Homekit component, there, is where all the devices that you want to control with Siri are setup;
Get QR Code from server: This button will request the QR code from the Ilevia server;
Save QR Code: This button will let you save the QR Code given by the server in your local files;
Reset QR Code: This button will reset and create a new QR code stored in the Ilevia server.
HomeKit wizard
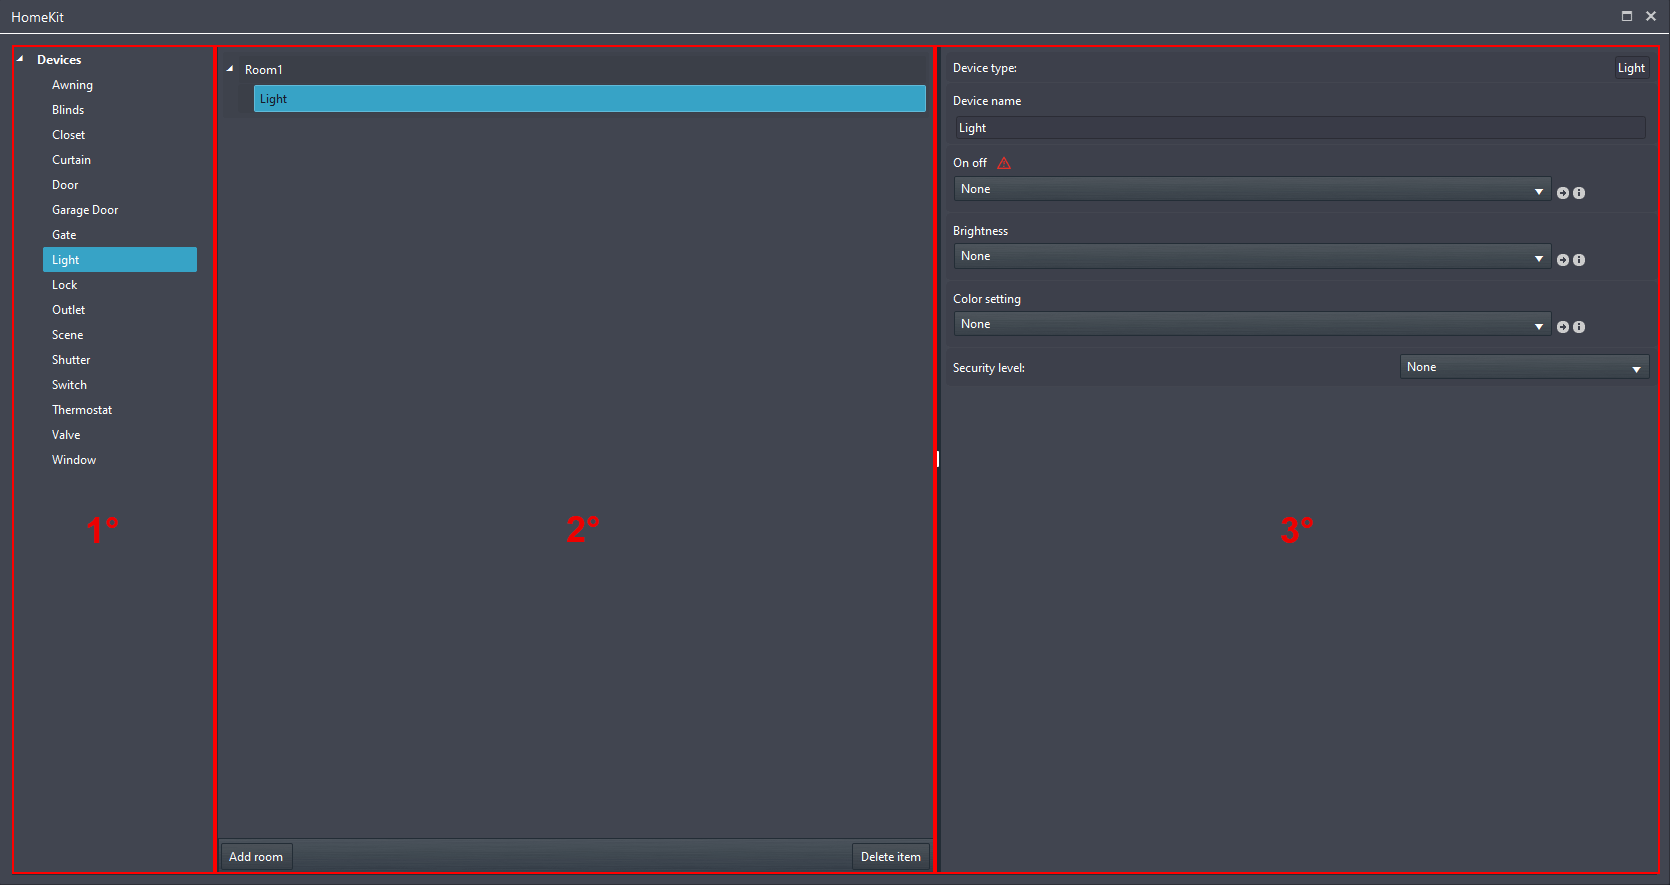
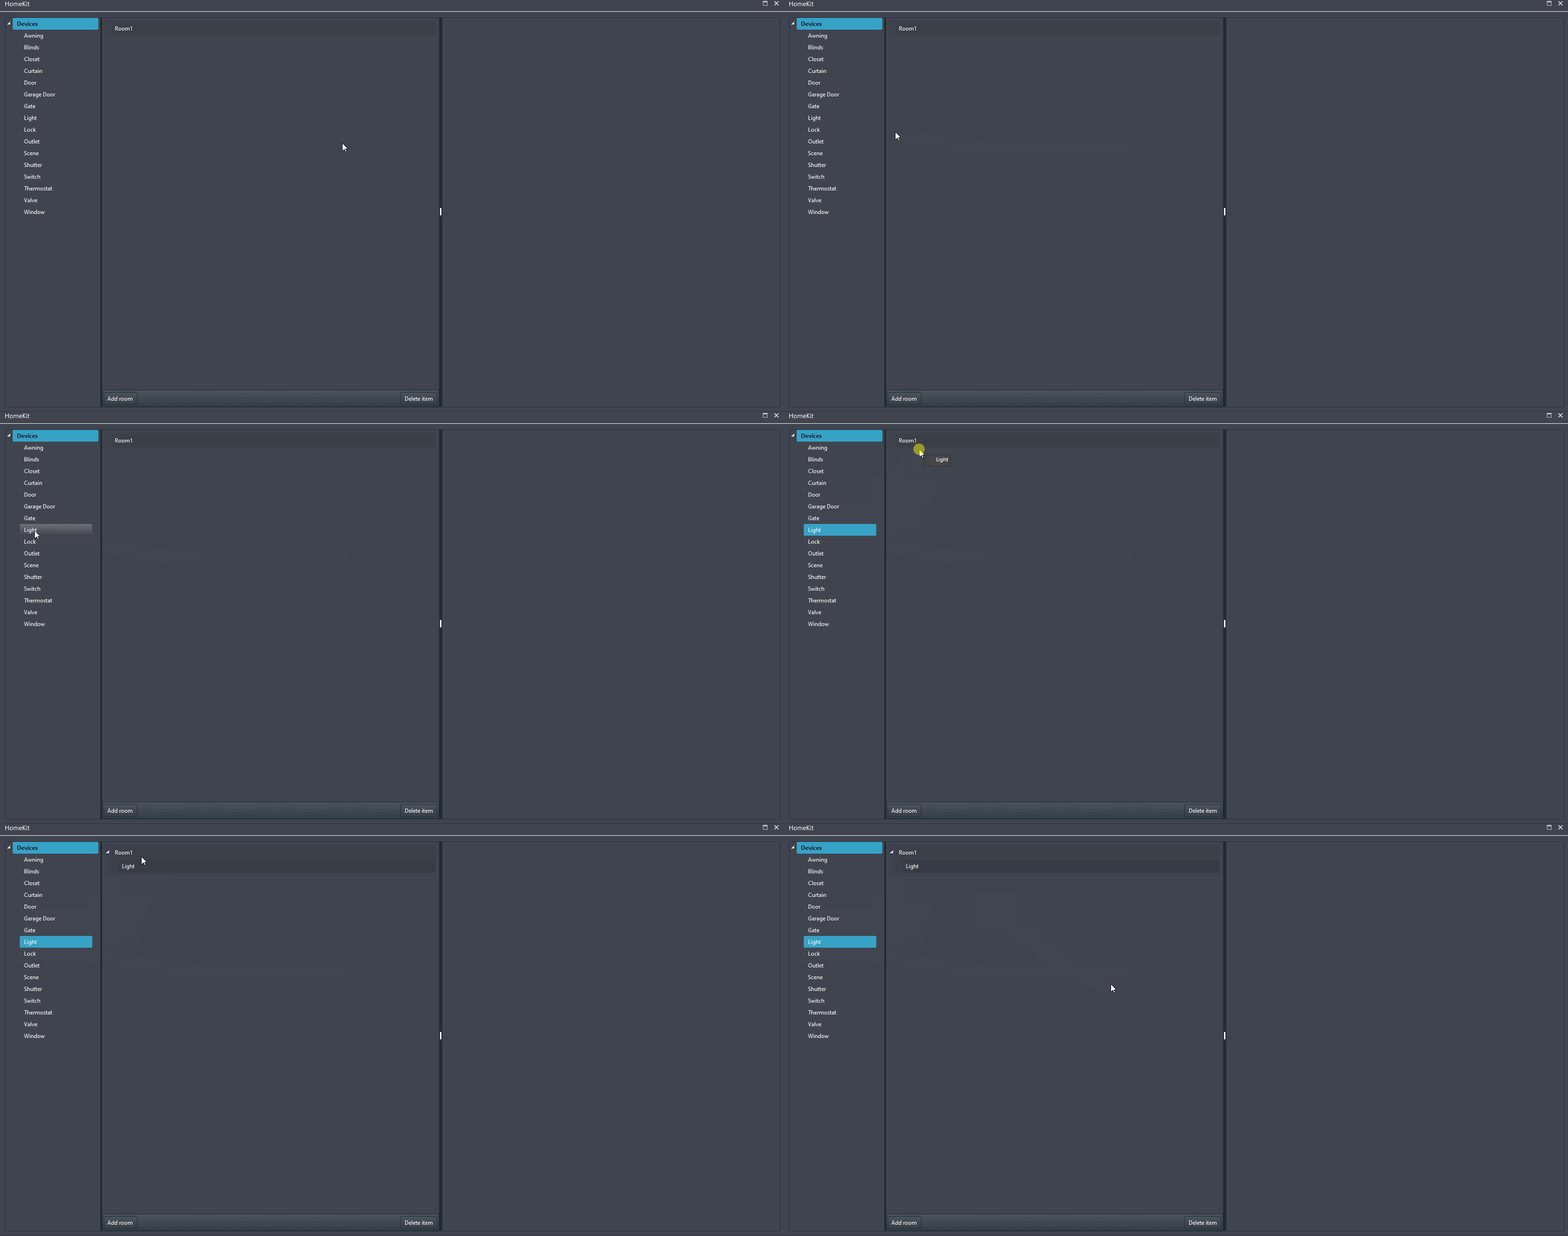
Add room: This button allows to add rooms within the structure of the Voice Control Manager Configurator.
COMPONENT CONFIGURATION
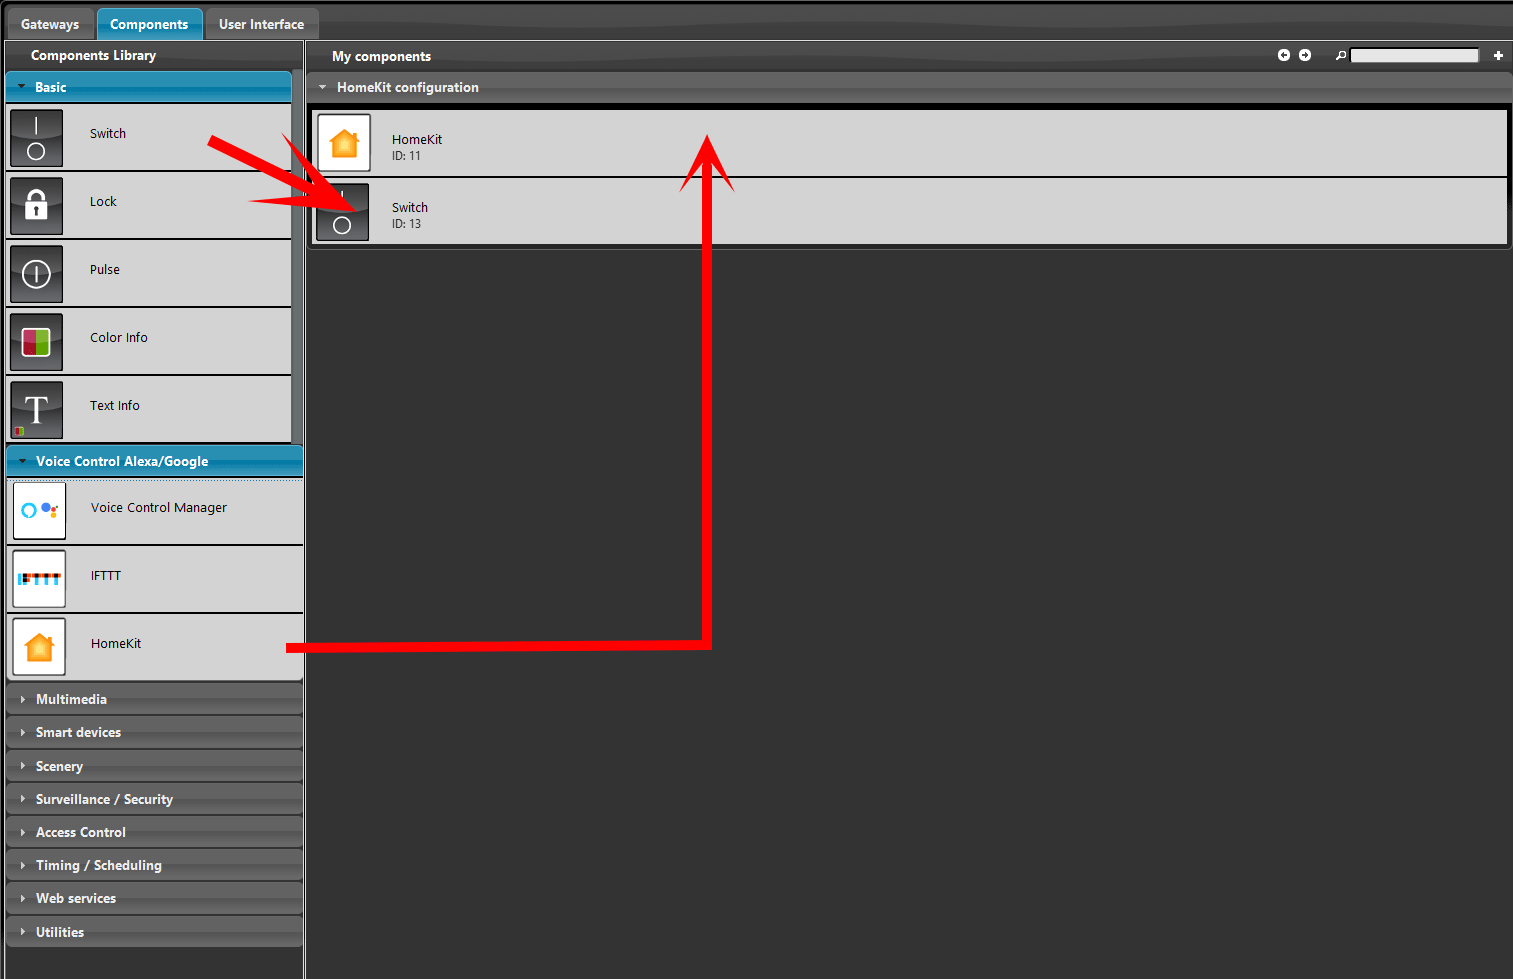
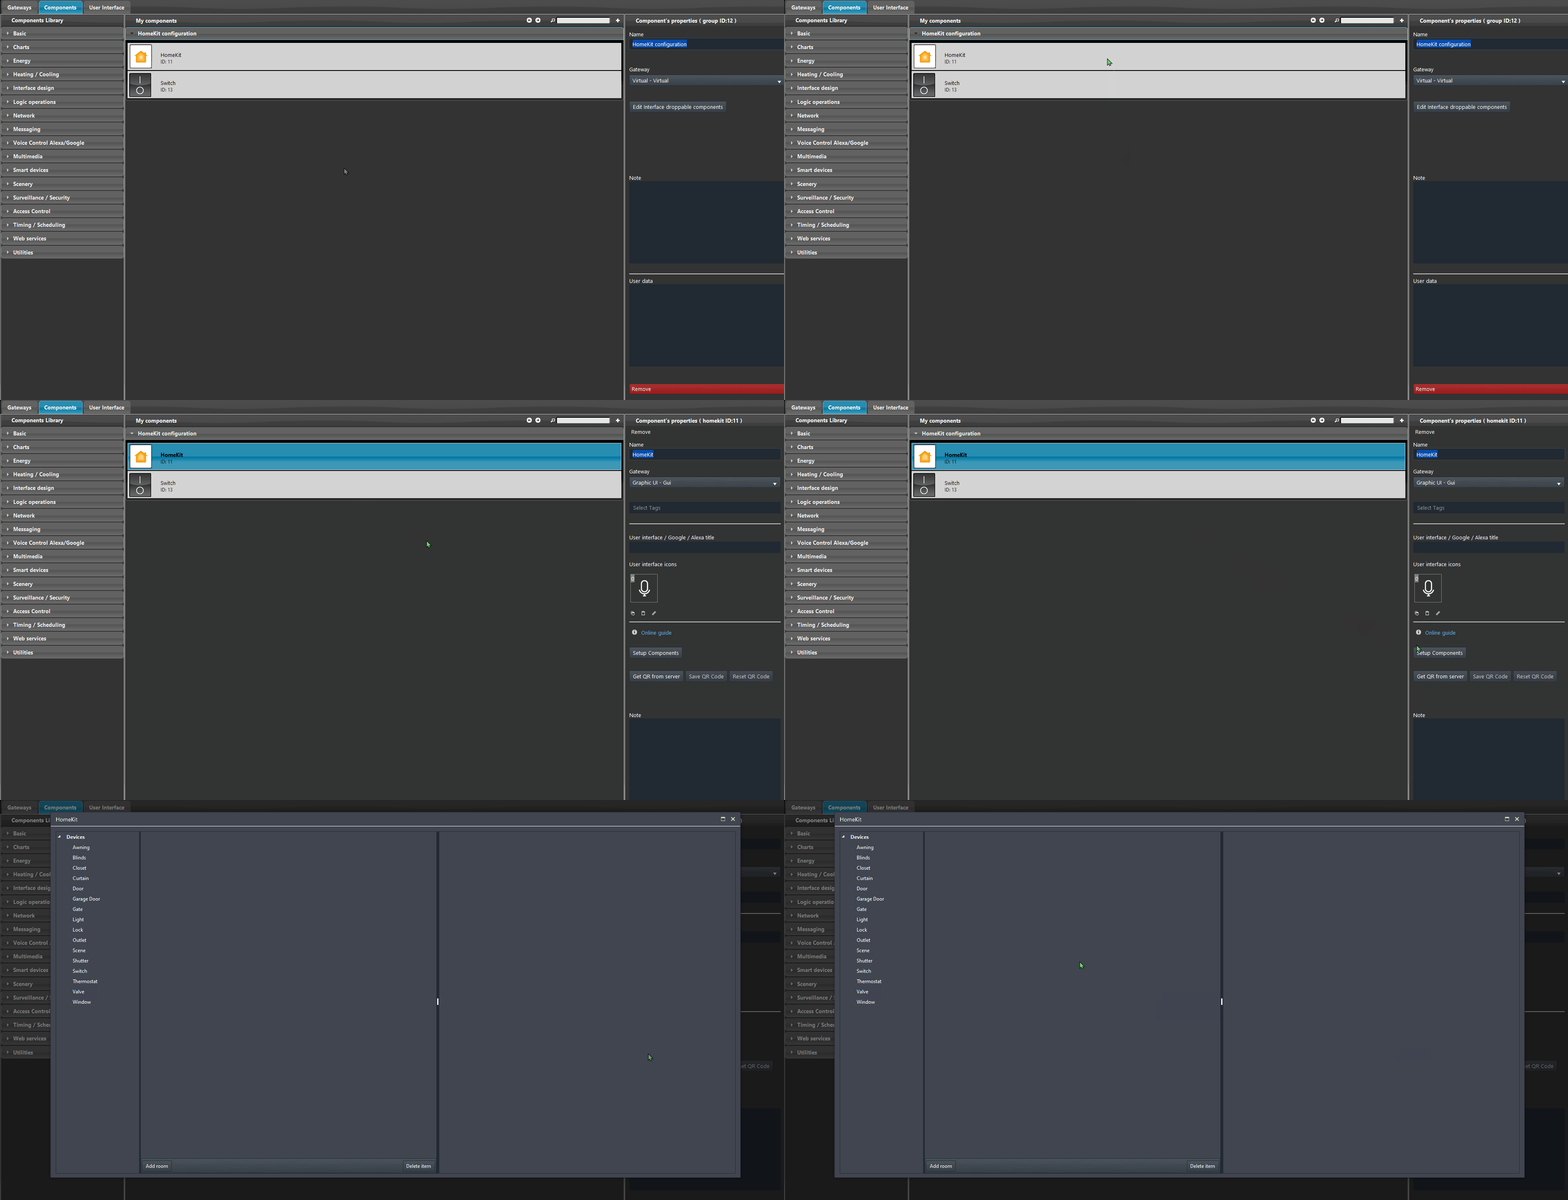
Open Ilevia Manager. Add a new switch component within the project from the Basic section of the Components library, then add the Homekit component from the Voice control Alexa/Google.
Select the Homekit component and click the “Setup components” button.
Add a new Light device into the Room1 by drag and dropping it from the the left panel called “Devices“.
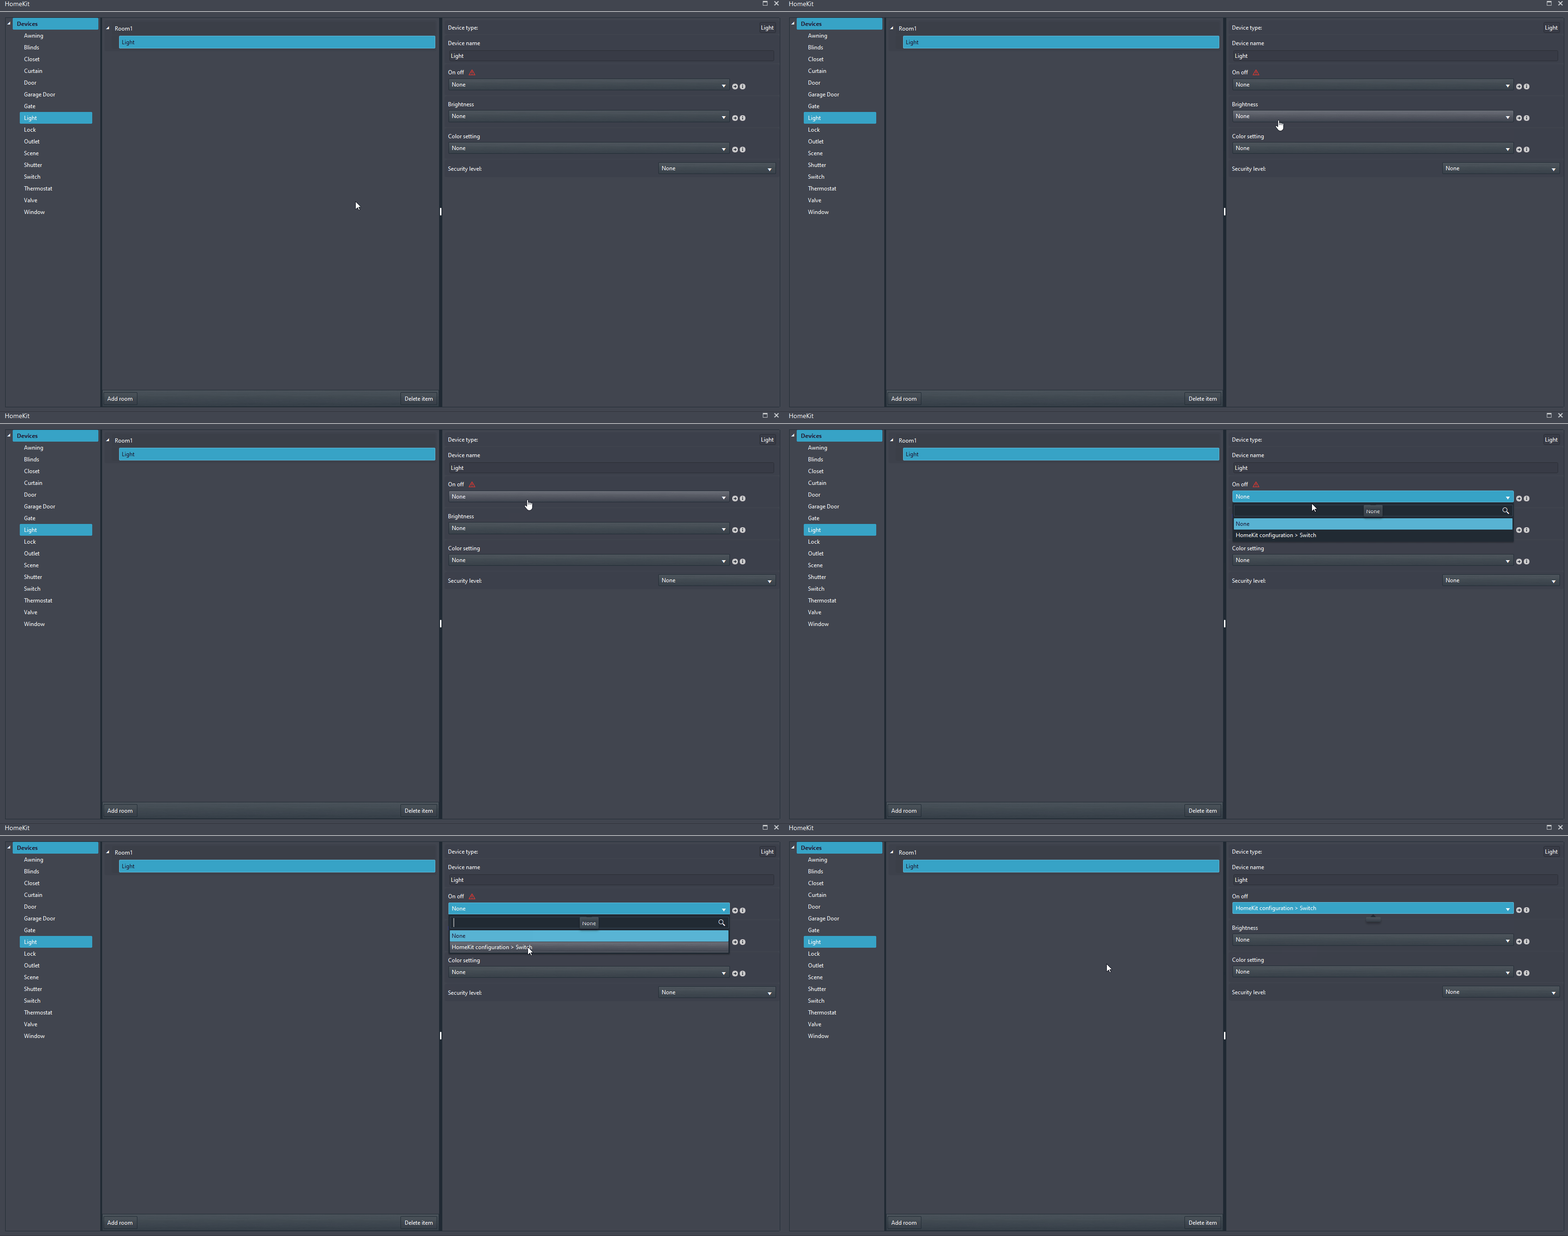
Now link the light with the component from the project. Click the On Off drop down menu within the parameters of the light and select the component you want it to be configured with.
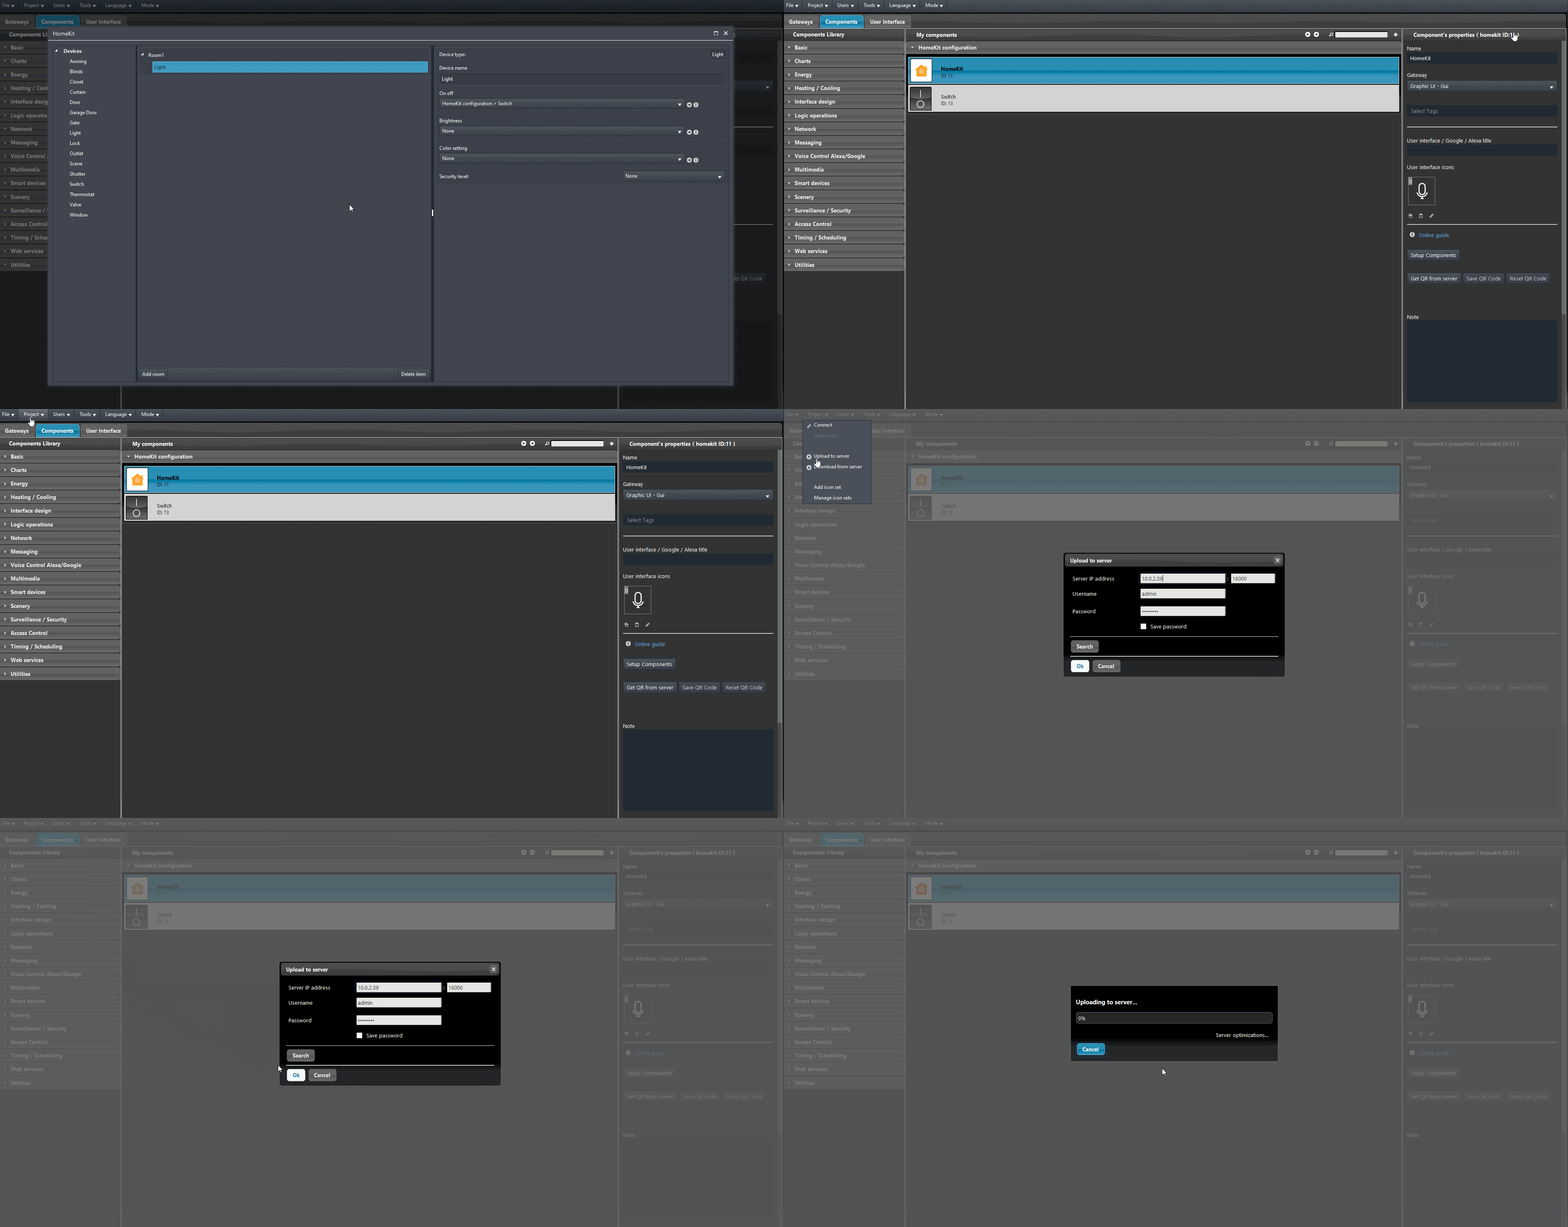
Close the Setup Components screen by clicking the cross on the top left of the windows. Finally Upload the project into the server.

