 How to integrate the EVE system to control your Home automation plant with Amazon Alexa
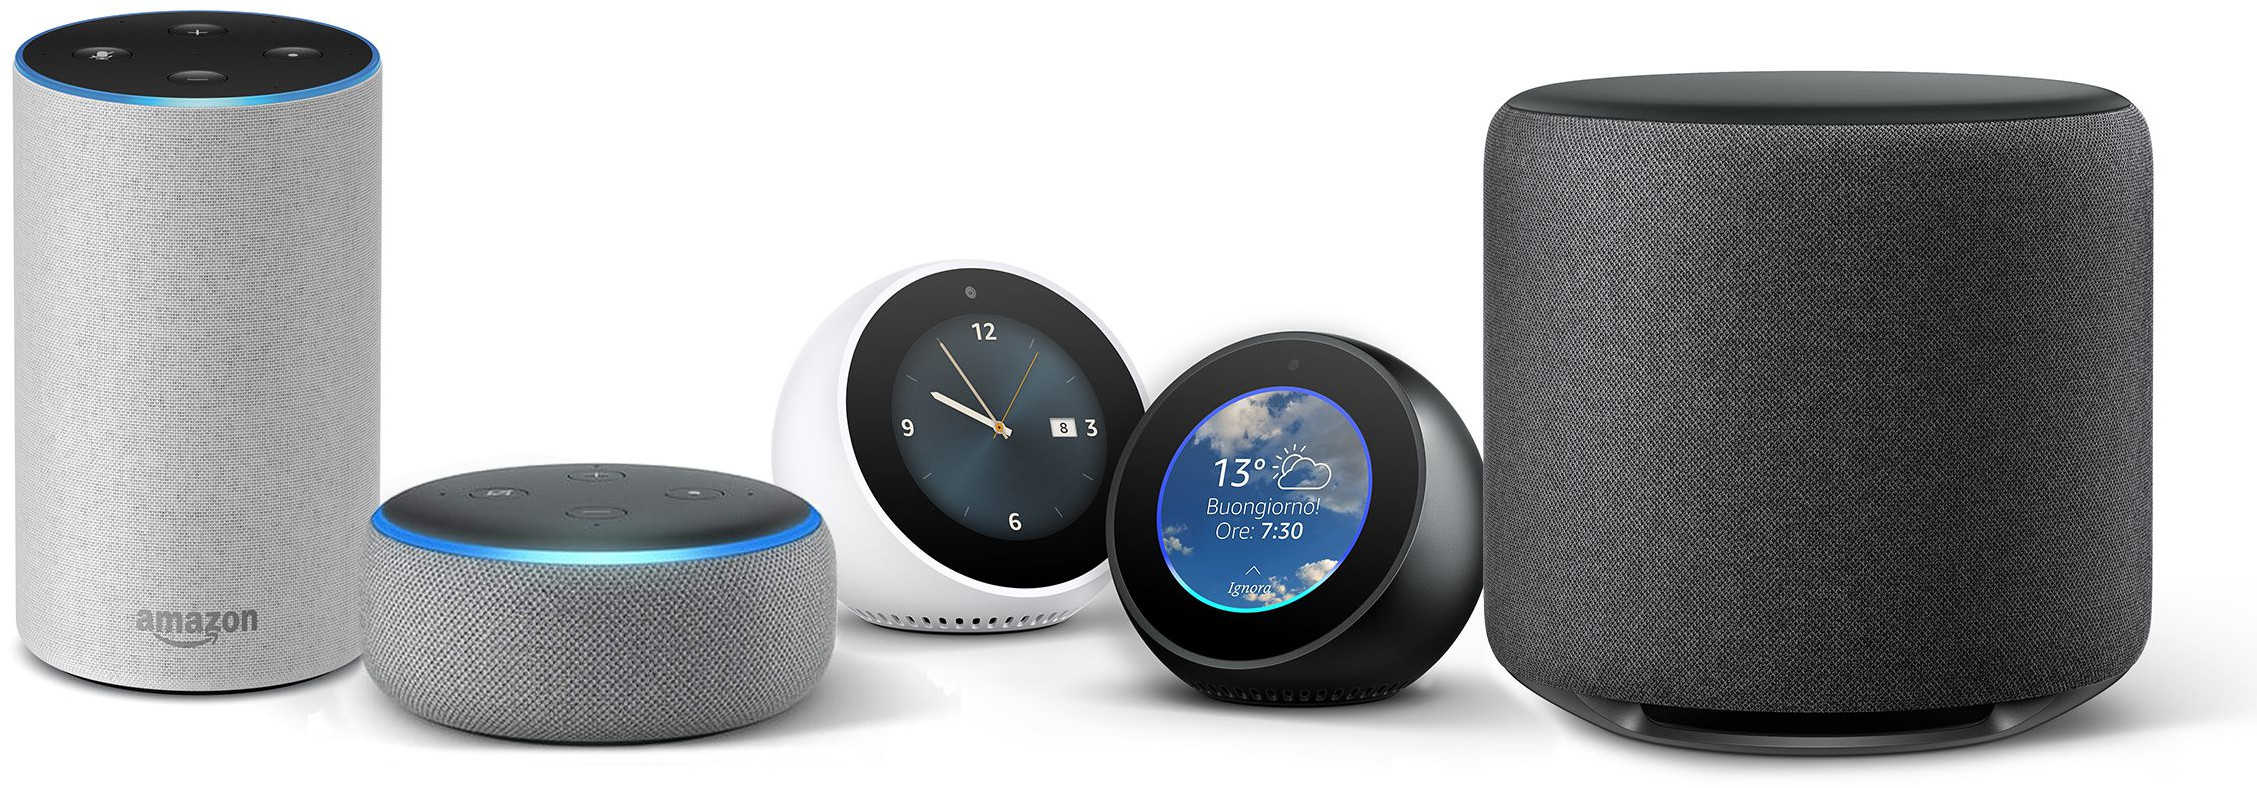
Amazon Alexa includes home automation features that allow owners to use it as a central hub to control Smart devices by voice commands.
Before starting the conifguration
If you are in this page because you are approcing the voice control integration with the Ilevia server to a new installation or just taking a look on how to set it up, we suggest to take a look to the new integration procedure here.
How to control your Smart Home using Amazon Alexa
- ILEVIA has made possible the use of Amazon Echo with KNX devices, Vimar By-Me, BTicino My Home, Z-Wave and other EVE System protocols;
- After the installation of our system, the user, without using any app, will be able to control the devices simply by using the voice recognition of the Amazon Assistant or through the Amazon Echo devices.
In the following sections we will explain how to configure a KNX light via Eve Manager and the related configuration of Amazon Alexa.

The Amazon Echo built-in microphones allow users to send voice commands to interact with services through Amazon’s personal smart assistant called Amazon Echo. A large number of services, both internal and third-party, are integrated, allowing users to listen to music, control the playback of videos or photos, or receive entirely vocal news updates.
Amazon Echo devices also have built-in support for home automation, which allows users to control smart appliances and KNX devices with their voice. Multiple Amazon Echo devices can be placed in different rooms in a home to control devices in a specific room. In this guide you will learn how to set up a KNX light in a living room and control it through the voice.
A reminder before continuing:
- You must have already configured an EVE system (we suggest you follow our tutorial at this link).
- Download and install the updated EVE logics to enable the Amazon plug-in correctly (follow this link);
- Update your server with the latest firmware available by following this guide;
PRACTICE GUIDE:
STEP 1:

In this guide we will see how to correctly set a switch that will turn on and off a table light using an Amazon Alexa device. Once you have selected the Components screen, insert a Switch, assigning the “Table Light“ user title (you can choose a different name according to your preferences) that will identify the keyword to be pronounced on our Amazon Alexa device. Now in “Select Tag“ you will have to select “Light” and “Amazon Alexa”, this step will allow you to correctly use the service and correctly identify which device is a Light and which is not. This step must be done for every component of the system that you want to make manageable by the user through Amazon Alexa, in case the selected device is not a Light, you will have to use only the “Amazon Alexa” tag.
STEP 2:
Click Project-> Upload to the server and it’s done! Time to move on to the next topic: Cloud Ilevia and Amazon Alexa app.
SHUTTER AND BLINDS

The integration of the shutter and blinds will need to be build in the following way:
Add a new Scenario component from its menu “Scenario” that you can find on the left hand screen of EVE Manager “Components library“. The scenario must be set with the Eve – Ghost gateway in order to accomplish the operation, drag and drop the Shutter component inisde the Scenery’s actions, with the drop down menu place on the left of the component allows you to choose which action will be performed once the scenario triggers.
Madatory operation
In case of frequent server uploads once the project is correctly uploaded its asked to restart the logic module. The Logic module is a software inside the EVE server that manage all the logical operation of the project such as the comunication between the server and the Ilevia cloud. This operation can be easily carried out by connecting to the server from Project menu → Connect. Then Tools menu → stop logic and start logic, this way the logic software will be restarted.
STEP 3:
ILEVIA Account Creation
Subscribe to the ILEVIA cloud:
1. Open the browser from your phone or PC.
2. Type http://api.cloud.ilevia.com in the address bar of the browser.
3. Select the “Sign Up” option to create a new ILEVIA cloud account.
4. Complete the registration, filling all the required information and selecting “Sign Up“.

STEP 4:
EVE Server registration

1. Log in to your ILEVIA account by entering your credentials and pressing Sign In.

2. Click the green Connect New Ilevia Hardware button.


4. Press the Back Home button to return to the main screen.

5. If you have followed all the steps correctly you will see in the Home screen all the devices previously configured on Eve Manager.
STEP 5:
Amazon Alexa App Configuration


1. After installing the Amazon Alexa app, open it and this will be the first screen you’ll see, log in with your Amazon credentials.


3. Select the item Skill and games.

4. Press the search icon on the top right corner of the screen.

5. Search for our Amazon Alexa skill using the ilevia keyword.

6. Awards enable use.

7. Now enter your previously created credentials of your profile

9. Press Yes, Allow.

10. If all is successful, you will see this screen.

11. Press Discover Devices.

12. Now the application will start searching for the devices previously configured in EVE Manager.
ADD DEVICES
In case you want to add new devices in future (for example a new light / switch in the house) please follow the steps below.

1. Press the + symbol at the top right.

2. Now press Add device

3. Press on Others.

4. Now press on Find devices.
5. Now the application will start searching for additional devices configured later in EVE Manager.
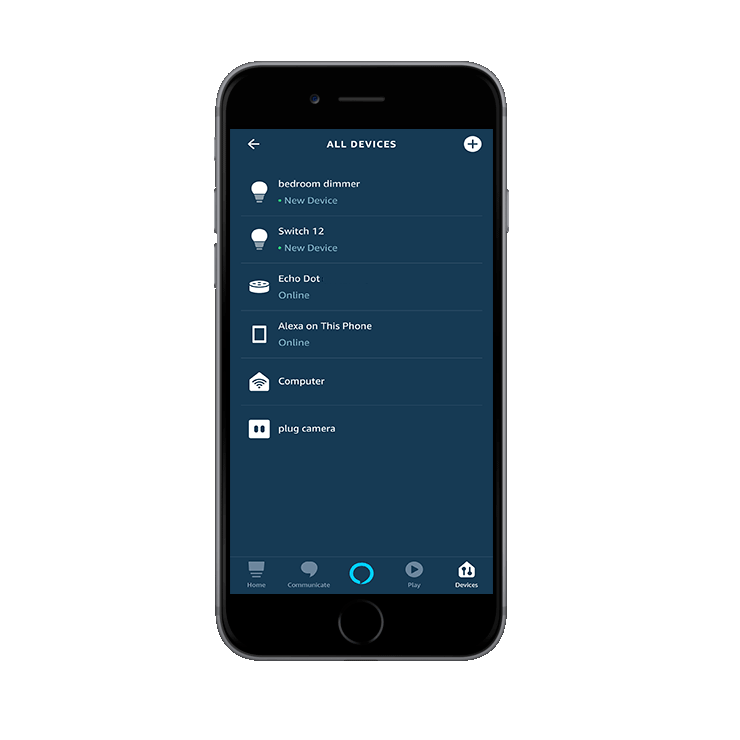
6. Under the heading All devices you can view all the configured components.
AMAZON ALEXA’S VOICE COMMANDS EXAMPLES
You can use your voice to enjoy the features of Amazon Alexa such as Scenarios, User Scenarios, Activation, Lights and Temperatures, Shutters and much more. To do this, just follow these examples:
Lights:
| Voice command: | Say “Alexa”, then… |
| To turn on/off a light | “Turn on <light name>” |
| Dim a light | “Dim the <light name>” |
| Brighten a light | “Brighten the <light name>” |
| Set a light brightness to a certain percentage | “Set <light name> to 50%” |
| Dim/Brighten lights by a certain percentage | “Dim/Brighten <light name> by 50%” |
| Change the color of a light | “Turn <light name> green” |
| Turn on/off all lights in room | “Turn on/off lights in <room name>” |
| Turn on/off all lights | “Turn on/off all of the lights” |

“Alexa, turn on Living Room Light”
“Alexa, set Living Room Light to 30%”
“Alexa, turn Living Room Light blue”
Switches:
| To do this: | Say “Alexa”, then… |
| Turn on/off switch | “Turn on/off the [switch name]” |
“Alexa, turn on/off the Television”
Scenarios & User Scenarios:
Note: for this type of component we recommend to follow the examples in this guides to better understand how creating a Scenario and UserScenario. Using also the Script component will allow creating endless possibilities of customization so as to make each Scenario personalized like temperature control, shutters and much more…
| To do this: | Say “Alexa”, then… |
| Turn on | “Turn on [scenario name]” |
| Turn on | “Turn on [remote scenario name]” |
“Alexa, turn on Irrigation”