USER GROUPS
INTRODUCTION
The User group text field within the User settings, helps you manage the user by applying a keyword that will be as a filter once set in a specific object inside the User interface editor. Let’s say that you have 3 kind of users: the admin, that must have the complete control of the components within the User interface, then the user guests that will have access only to certain components and eviroments within the User interface and finally the Gardener that will use the user interface only to start the irrigation or to open the gates within the building, the user group allows you to share the same User interface structure for all the users plus the chance to decide what each user will be able to see within its interface.
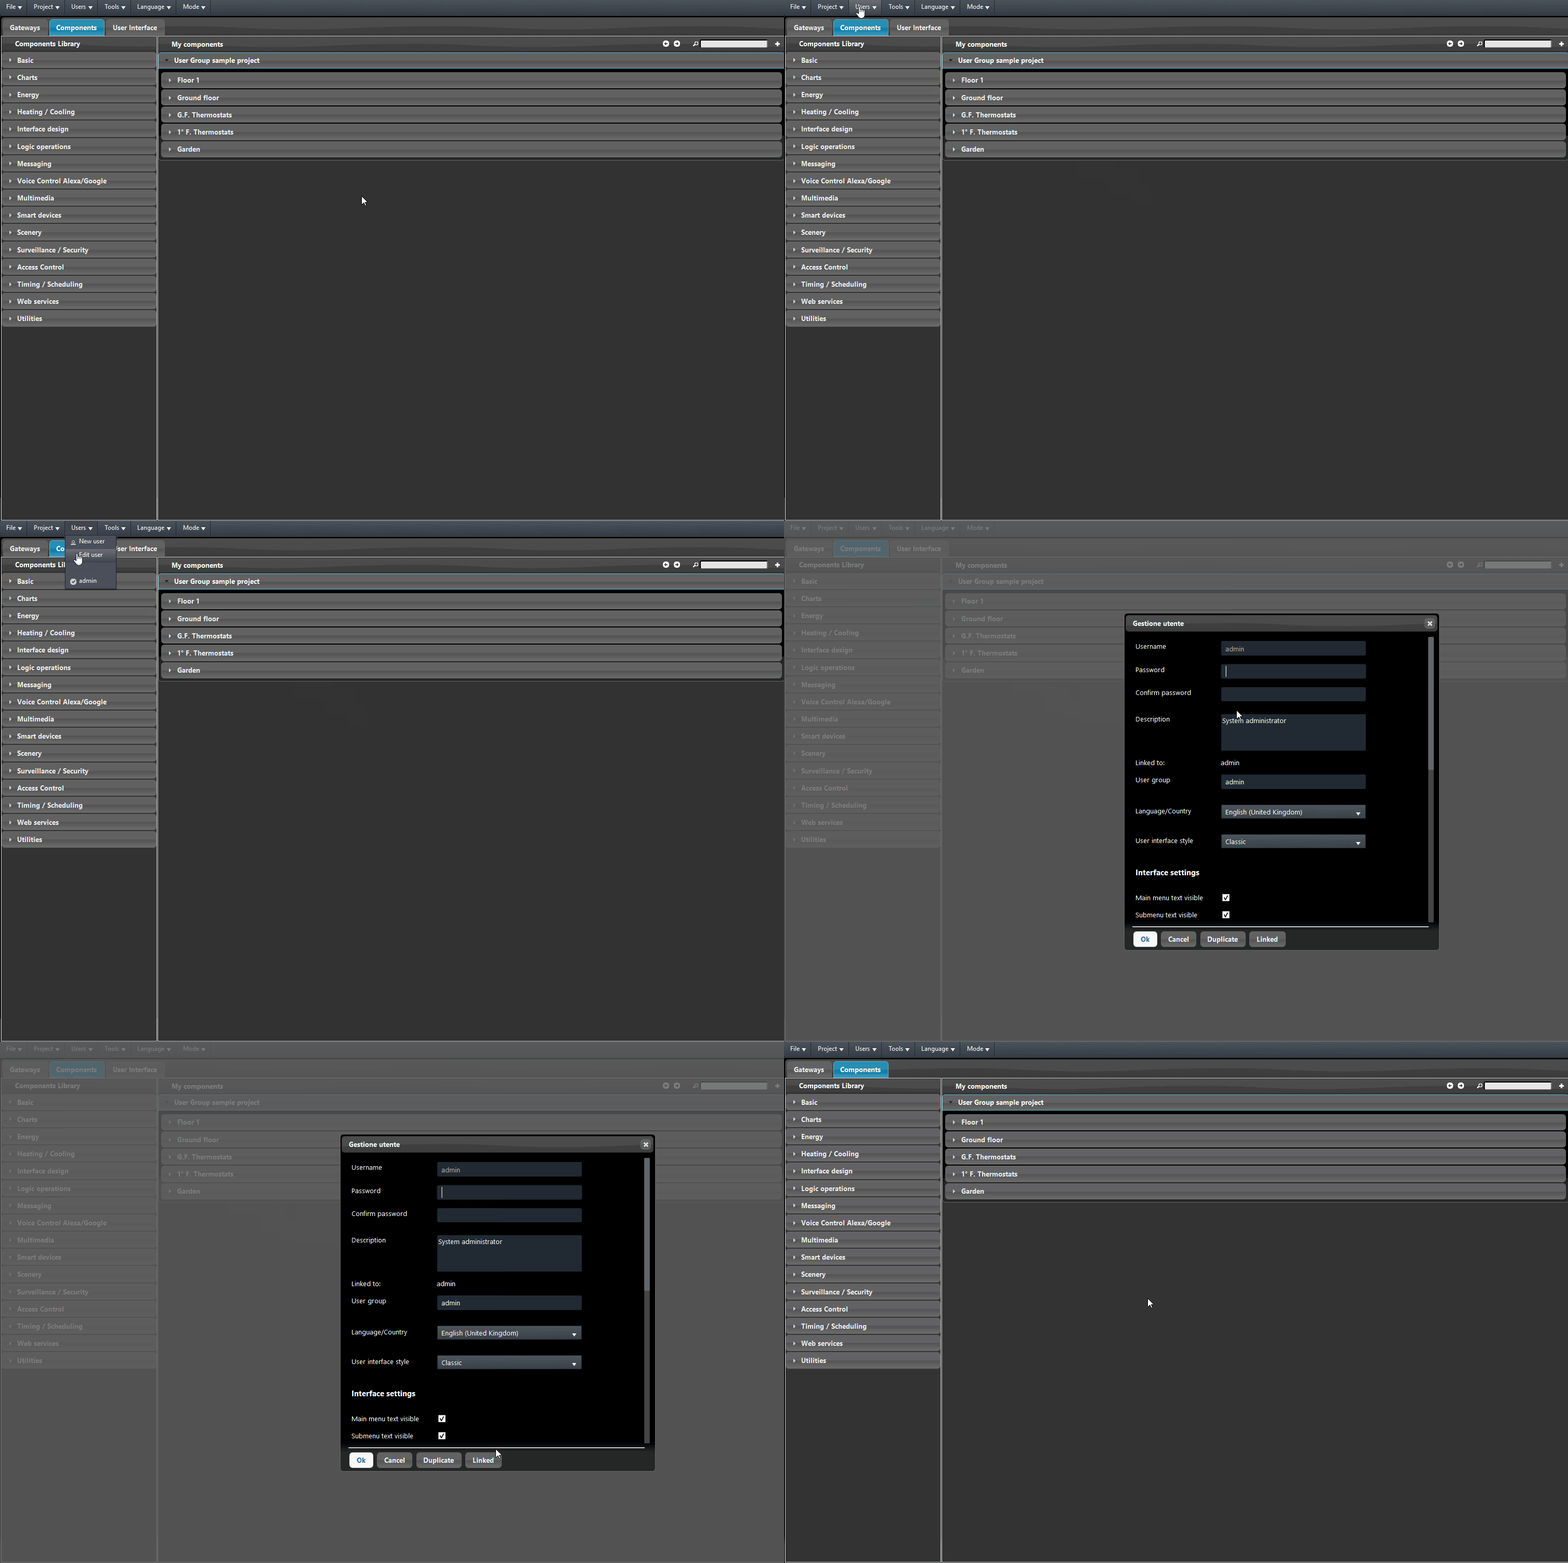
In this test project 3 users have been created: 1. admin, 2. Guests and 3. Gardener. The users will be set up as follows: The admin user has full access of the interface; The Guest will have access to specific environments within the user interface; The Gardener will have access only to the external part of the building (external lights, irrigation and external gates). Enter the User menu and click Edit user, then click on Linked on the bottom of the User settings window.
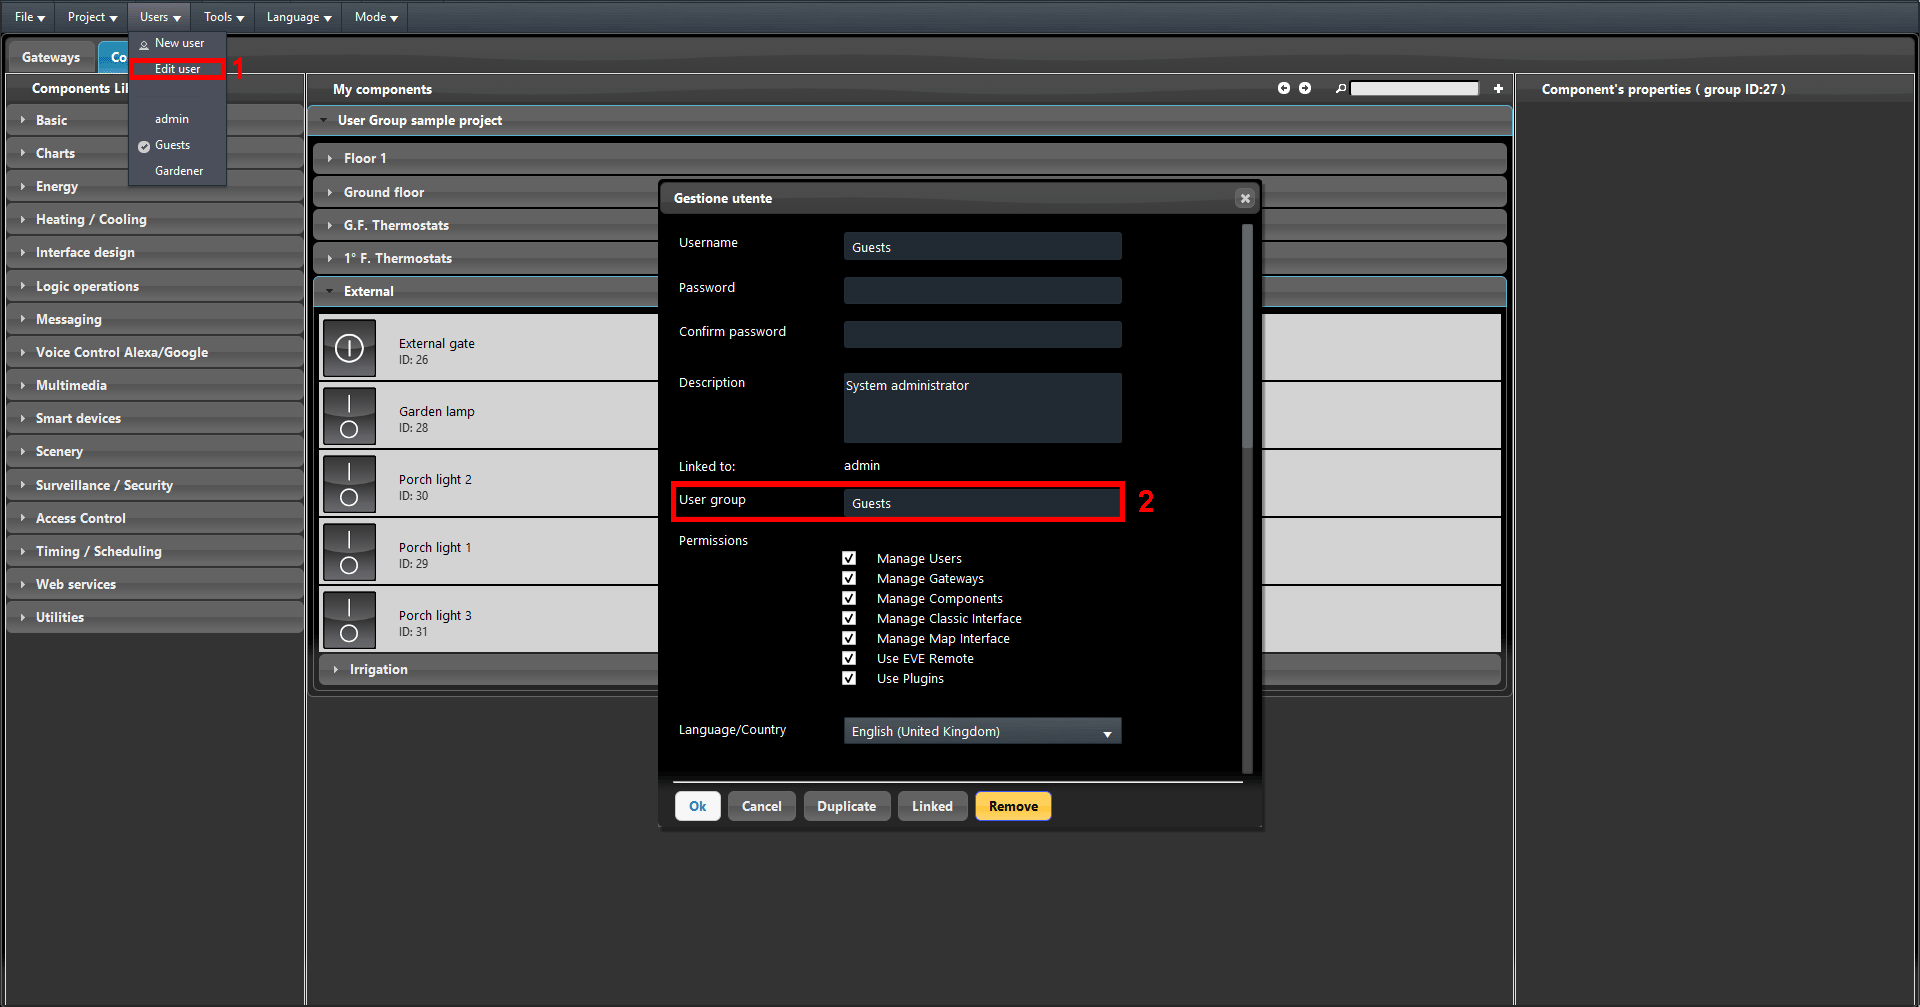
Once the users are created, the next step will be applying the User groups to the Users. 1. Open the Users menu, the admin user, as default, has full access to the User interface, this means that it doesn’t require any customization to its User group. Select the second user on the list, in this case the user called Guests. Enter the User menu once again and click Edit user, the user setting window will pop up. 2. On the User group text field add the following text: Guests.
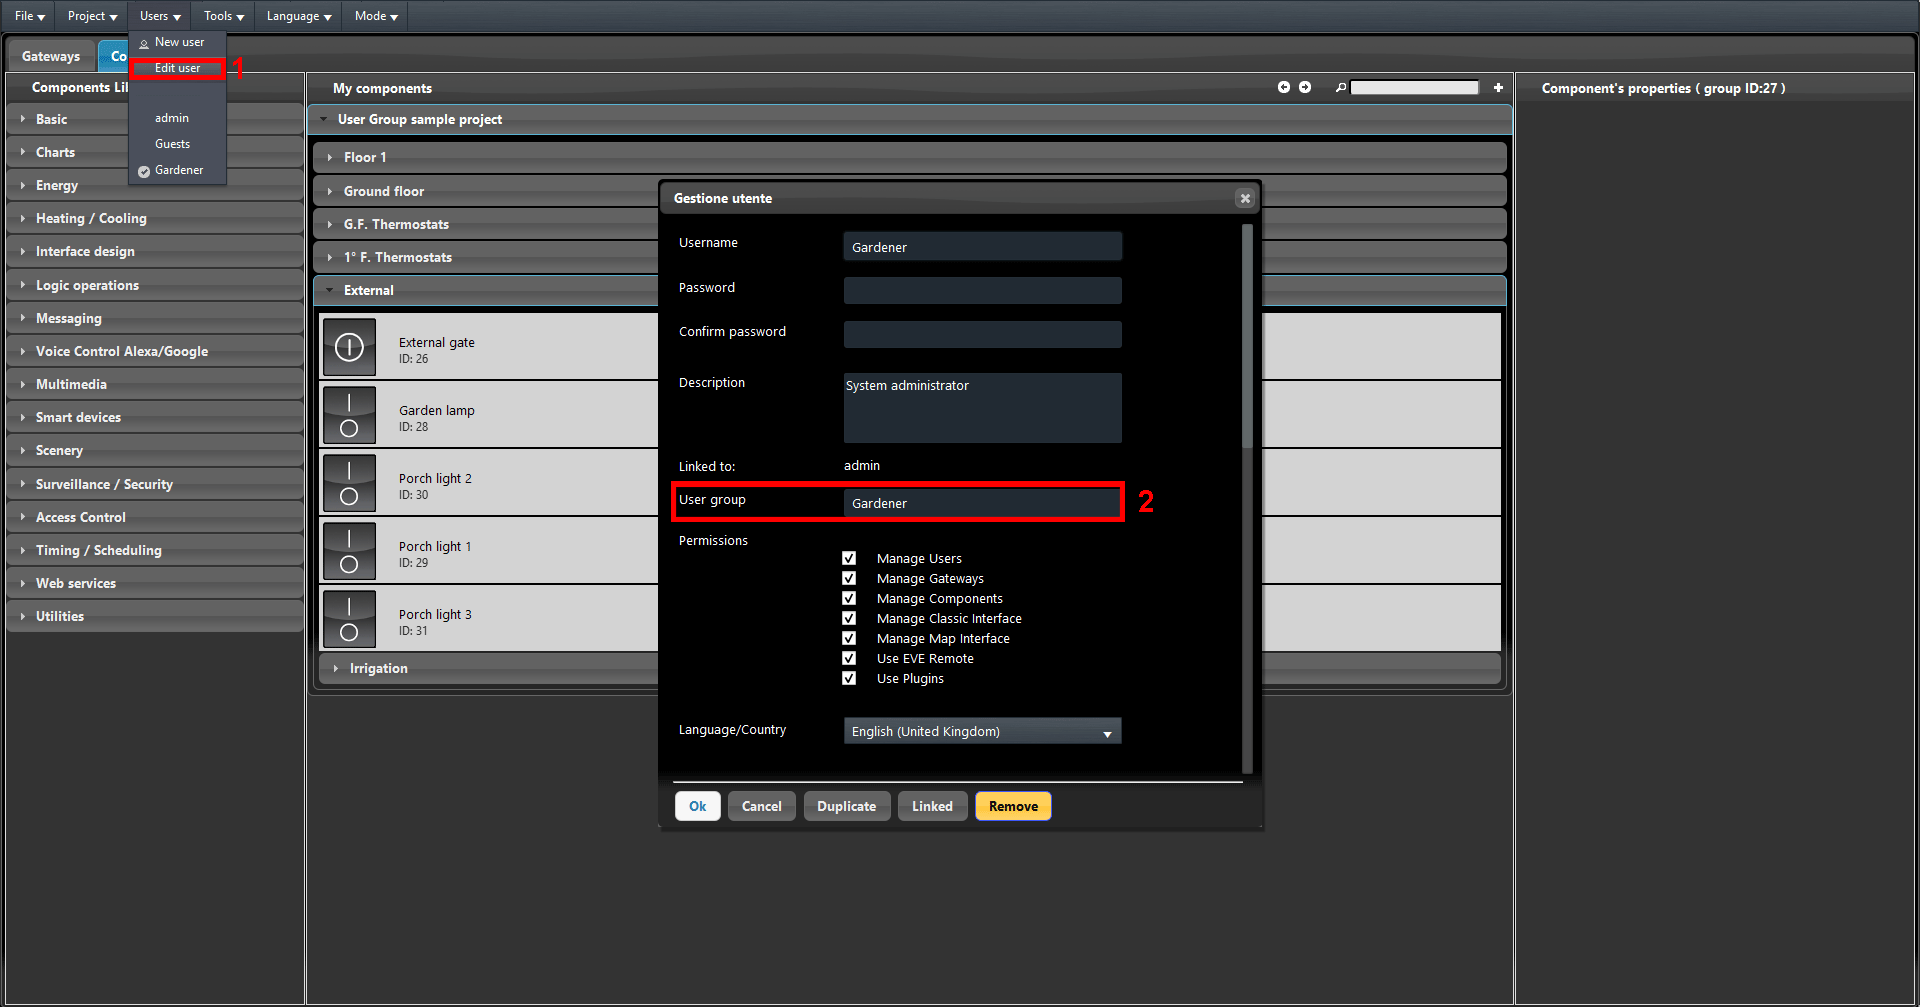
1. Enter the User menu and select Edit user. 2. Enter the User menu once again and click the Edit user change current name of the last User to Gardener. Then insert the following text inside the User group text field: Gardener.
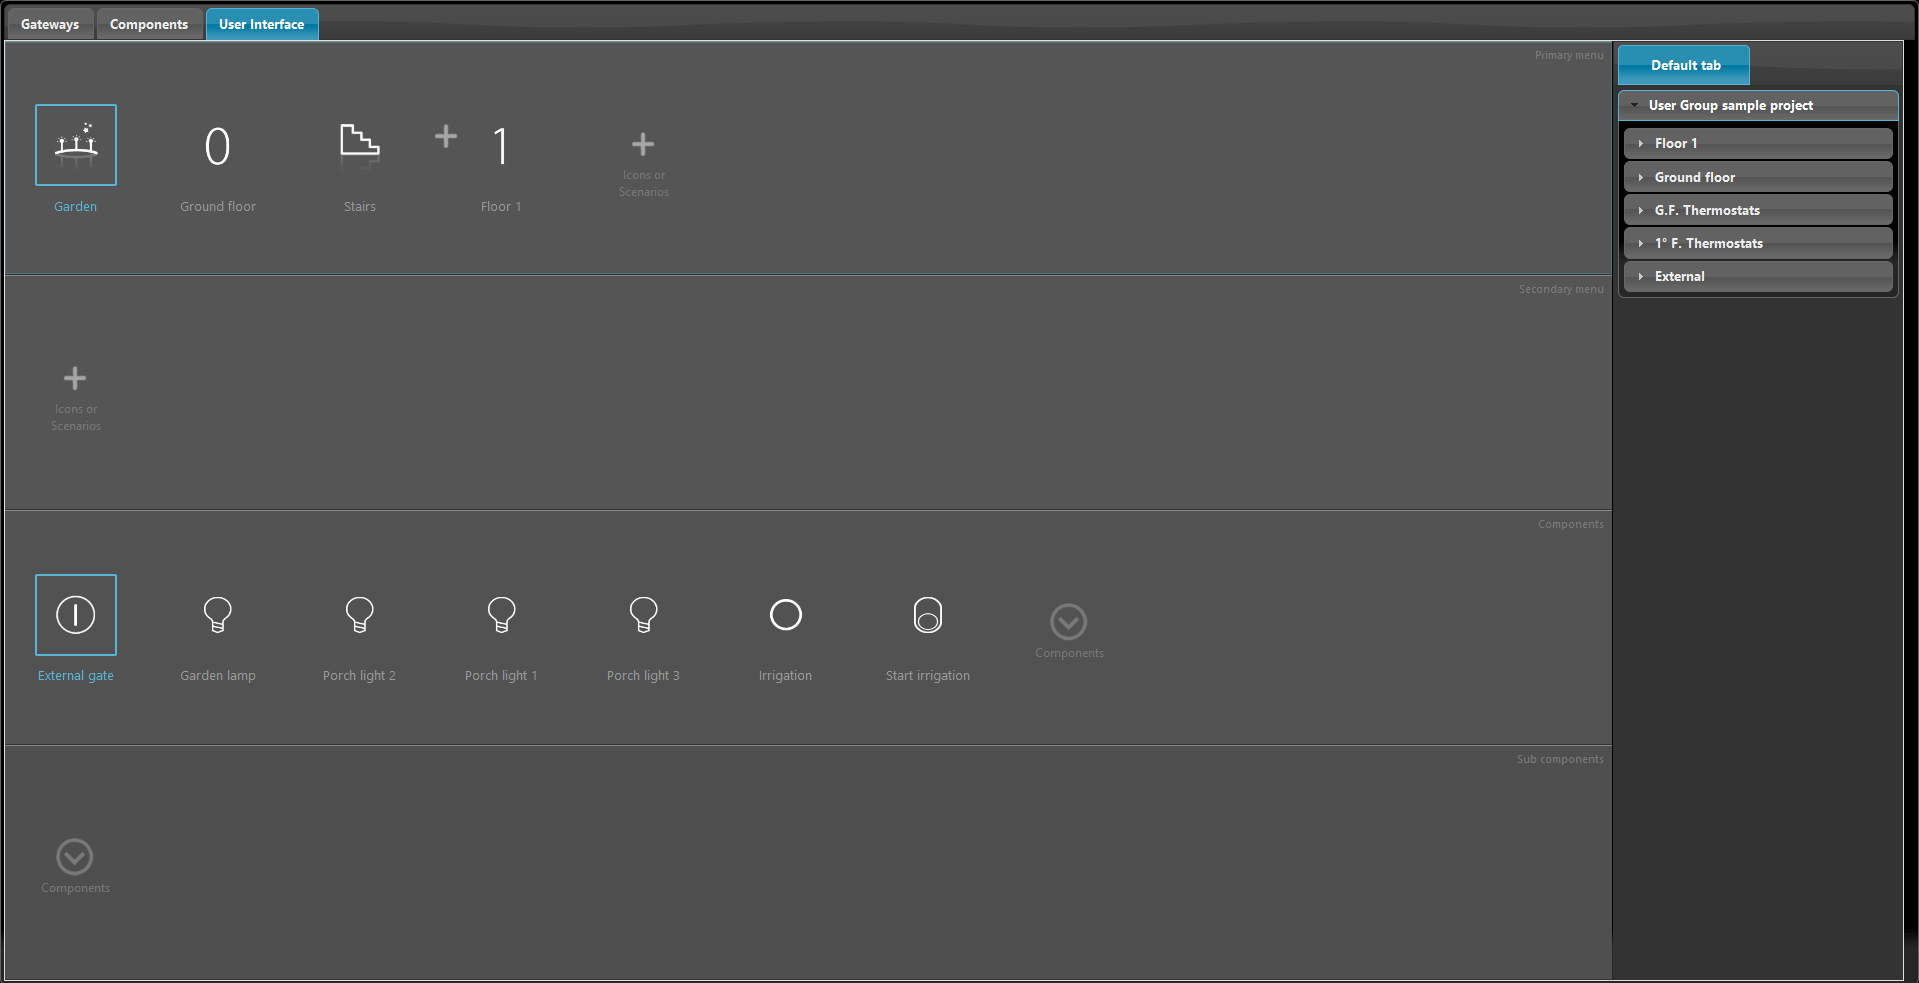
Enter the User menu and select the user admin. then enter the User interface tab to access the Interface editor. In this case the user interface has already been setup, in case of a new project you will need to add the menus and components within the interface.
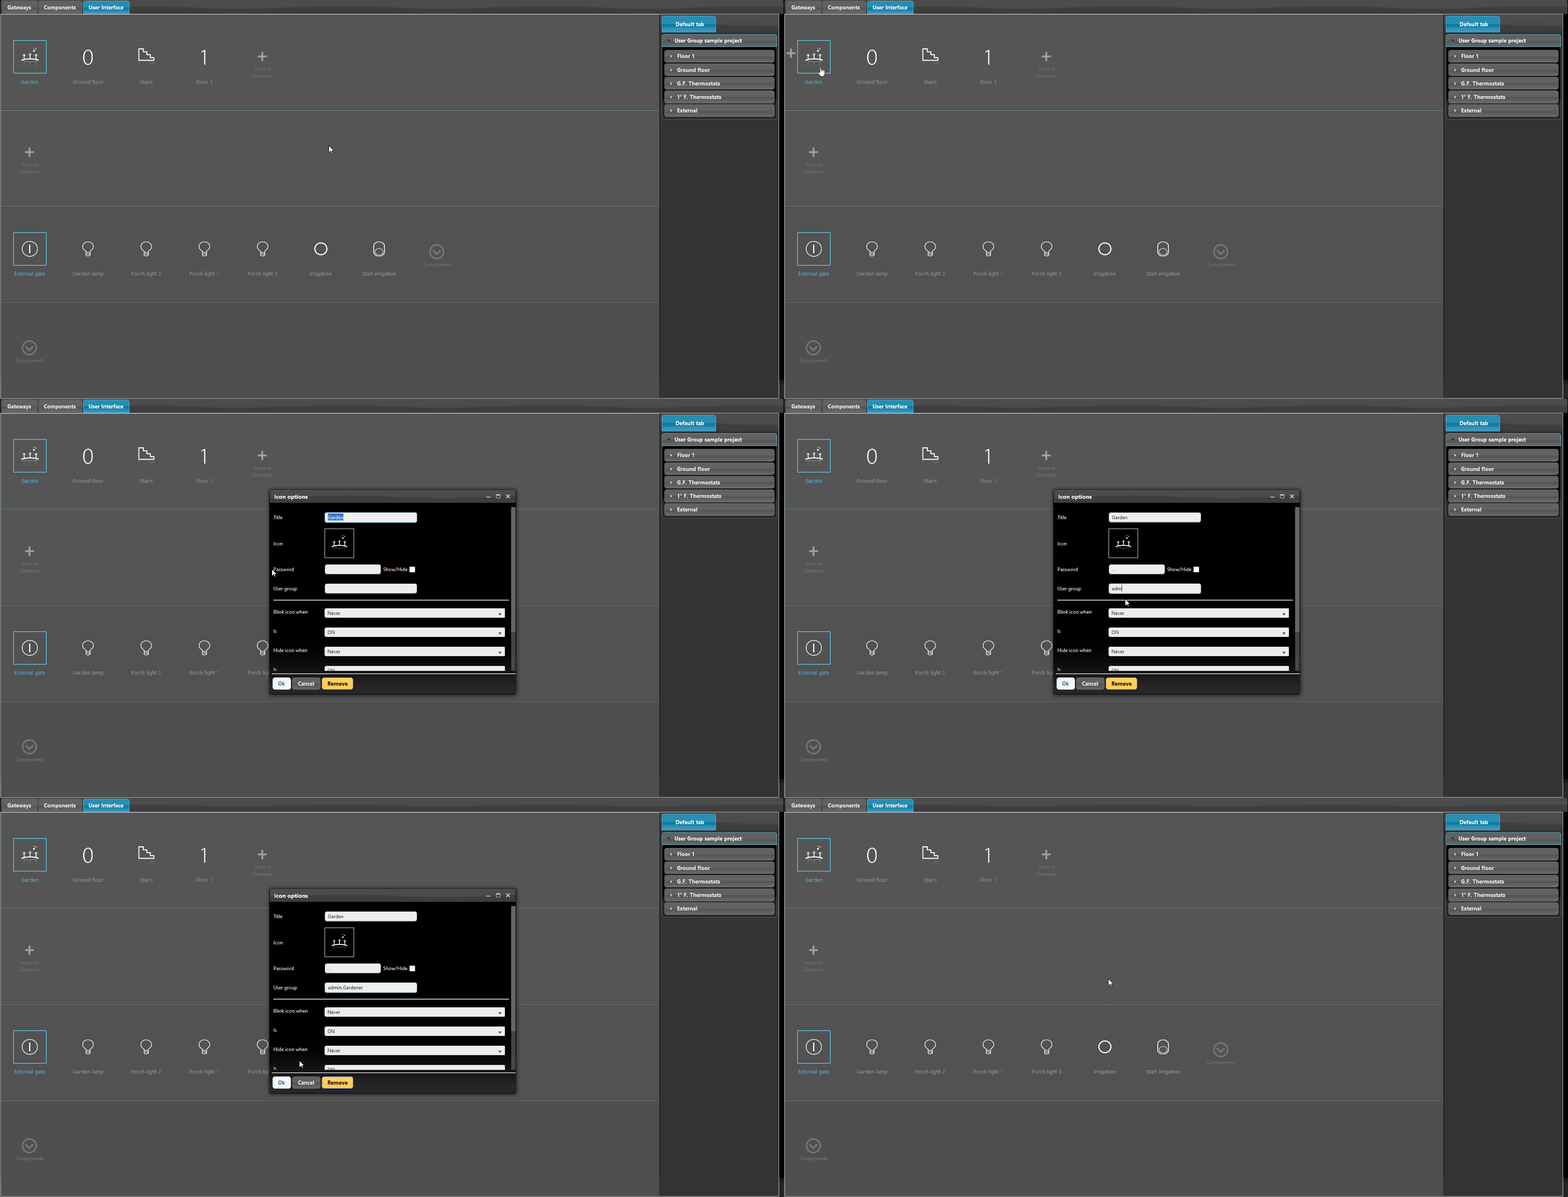
Access the menu by double clicking with the left mouse button on the menu Icon. Once the Icon option window’s pops up, add the User group name on the User group text field. In this case the Menus are going to be set with the following user groups:
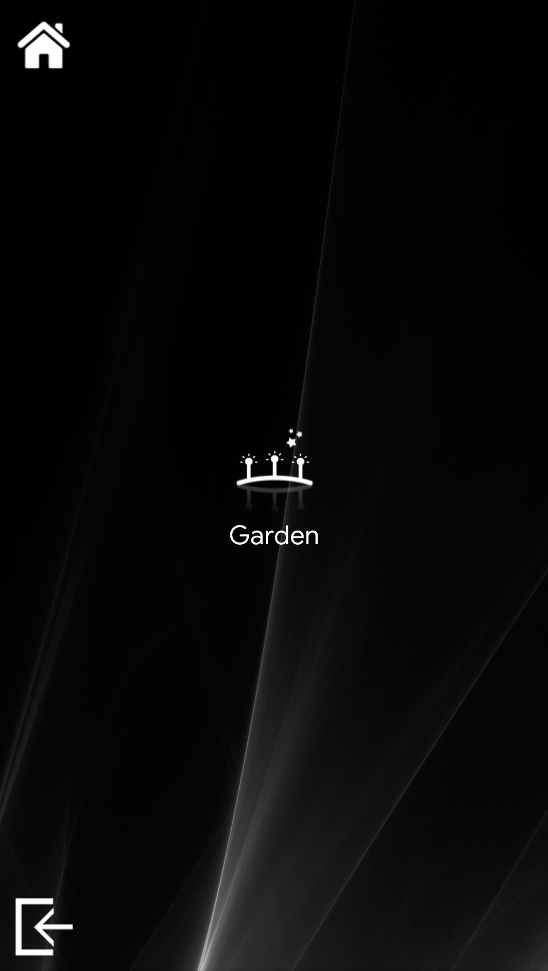
- Garden: admin, Gardener;
- Ground floor: admin, Guests;
- Stairs: admin, Guests;
- First floor: admin, Guests.
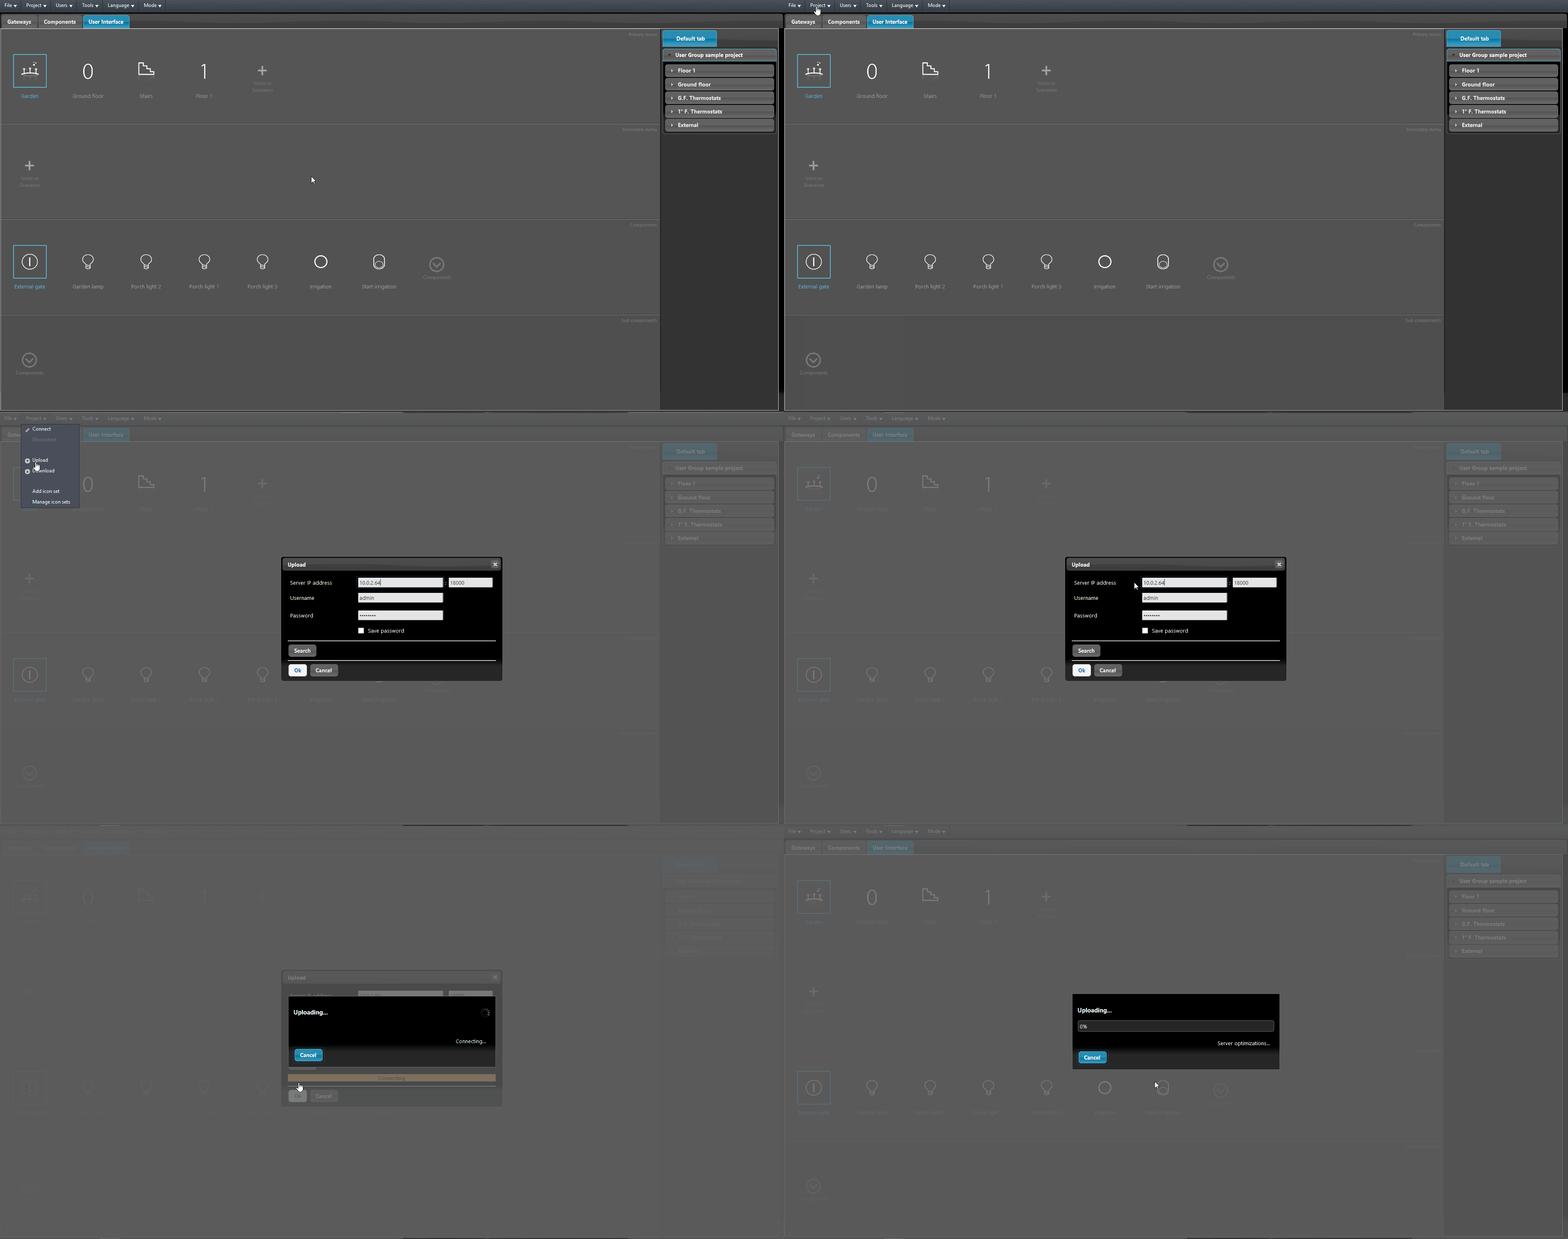
Upload the project to the server to apply the customization done in the User interface.
USER INTERFACE VISUALIZATION
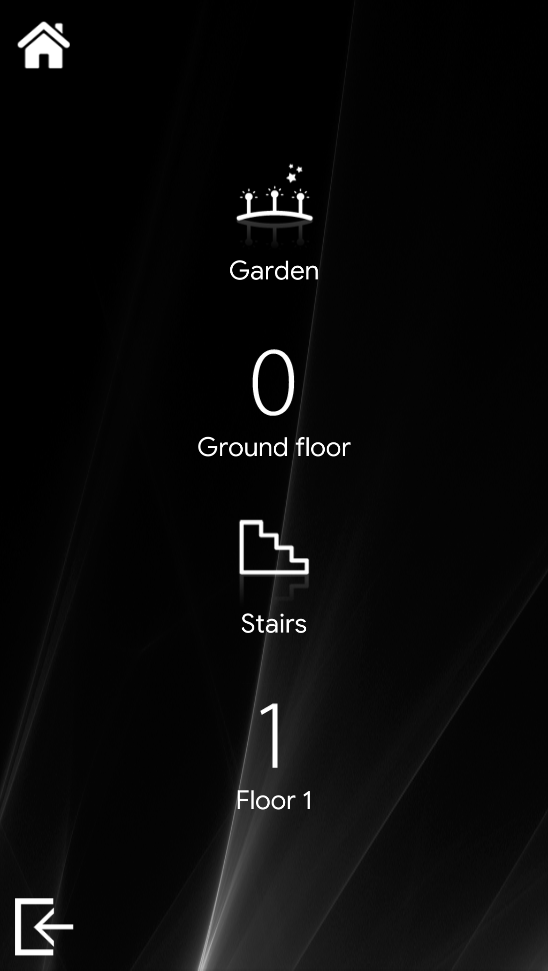
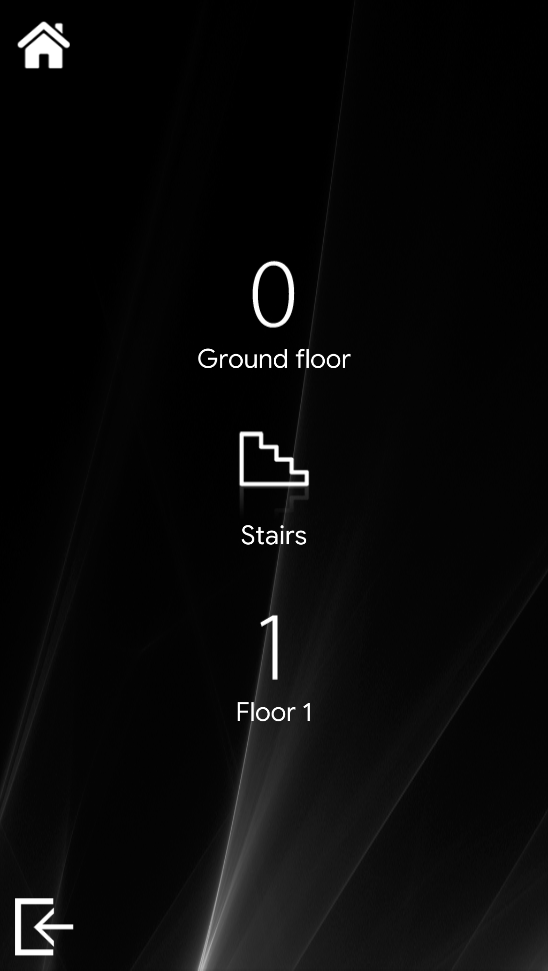
In the images below you can see the different User interface view of each User.
Click here to donwload the project and test it your self!

