INTRODUCTION
EVE Suite Lite is the licence that allows the installer to configure a user smartphone interface for KNX Projects using the fastest possible way.
The main advantages of using EVE Suite Lite are:
- Savings on the purchase cost of 50%;
- If the user needs to add more functionalities EVE Lite can be upgradable to the full version of the license;
- For some projects, the Eve Lite license can be used at half the cost of the full license;
- Unlike the full license, in this case, it is not necessary to install a software but it is sufficient to use the project configuration web page;
- Upgrade to the full license allows to import your already made EVE Lite projects;
- Scheduling;
- User can creates their own Scenarios;
- User interface creation;
- Icons customization;
- Layout resizing function;
- User Interface update;
- ETS projects import;
- Available for: EVE X1, EVE X3, RaspBerry Pi and Virtual Machine;
WATCH THE VIDEO TUTORIAL:
Eve Suite Lite is suitable for systems that have the following characteristics:
- KNX devices only;
- Classic interface only;
- One user management;
First Steps
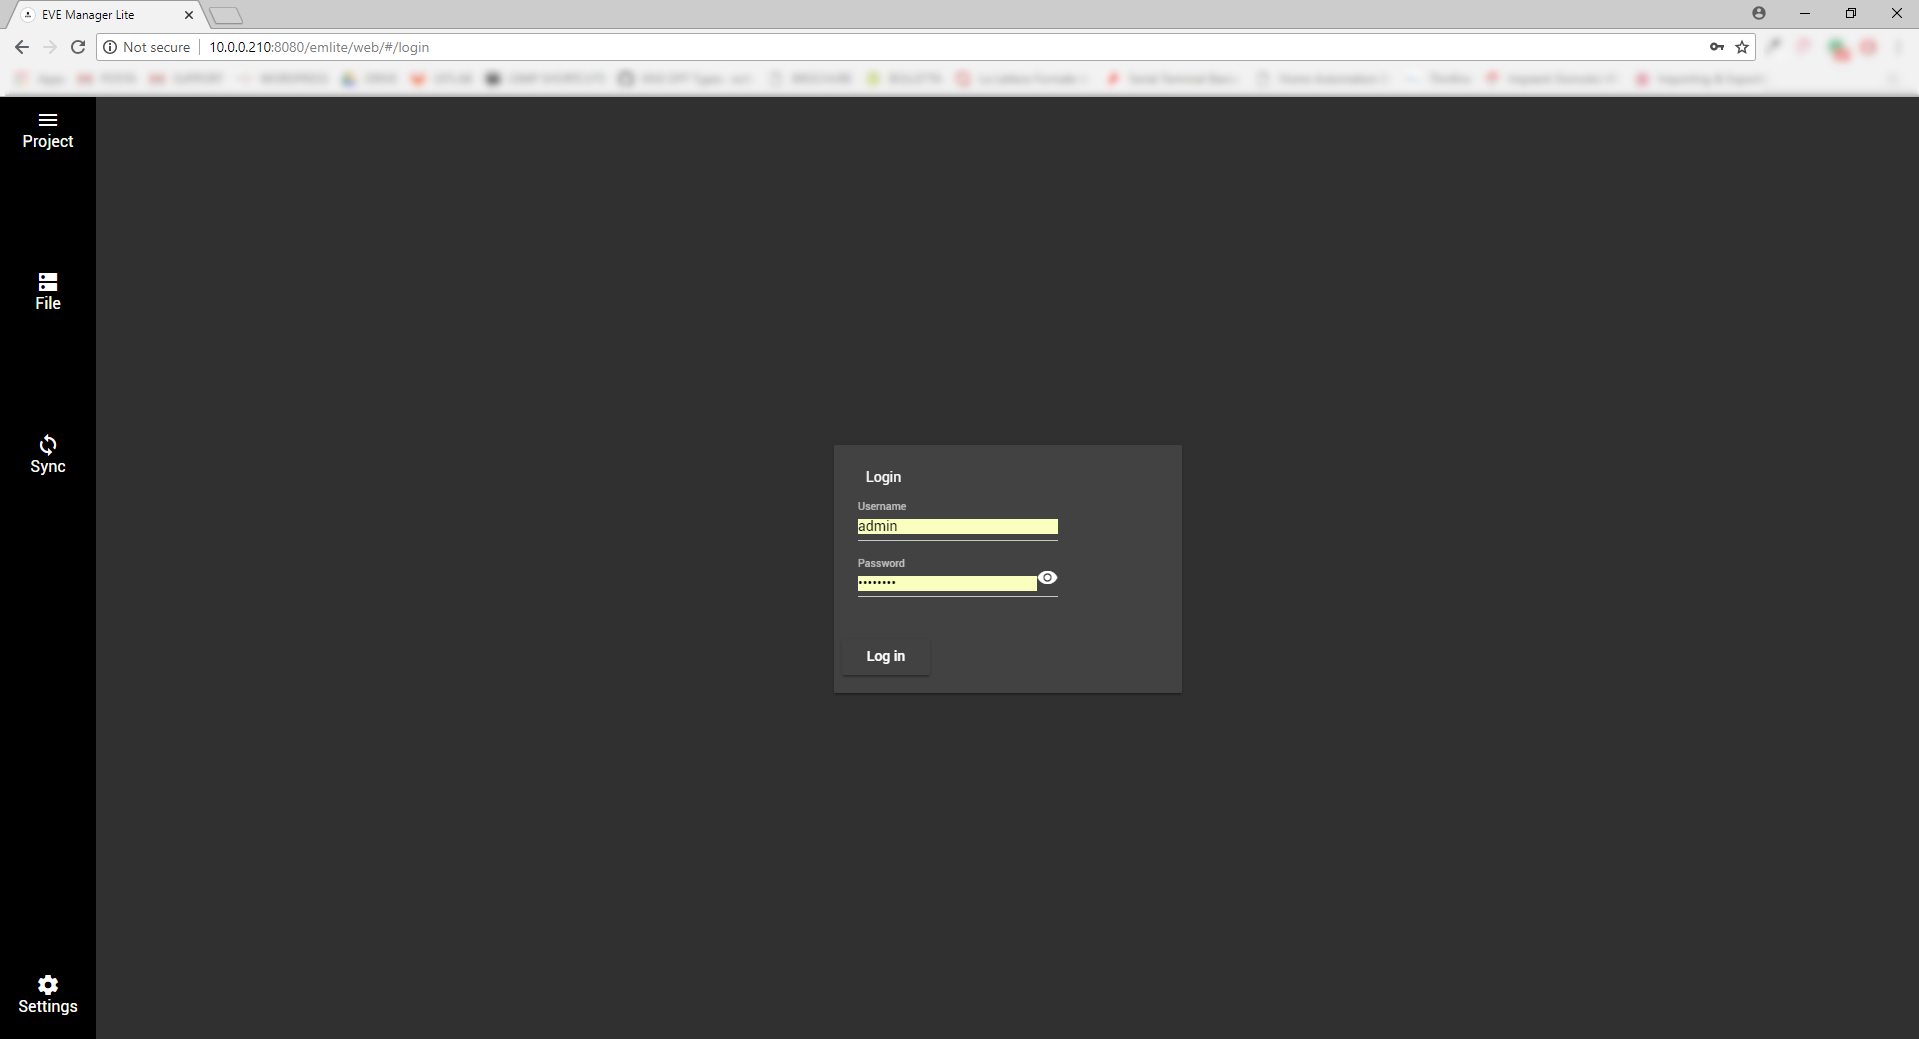
The first step is to access to your personal web interface, you can connect to your server through this link (. At the login screen the default credentials are:
Username: admin
Password: password
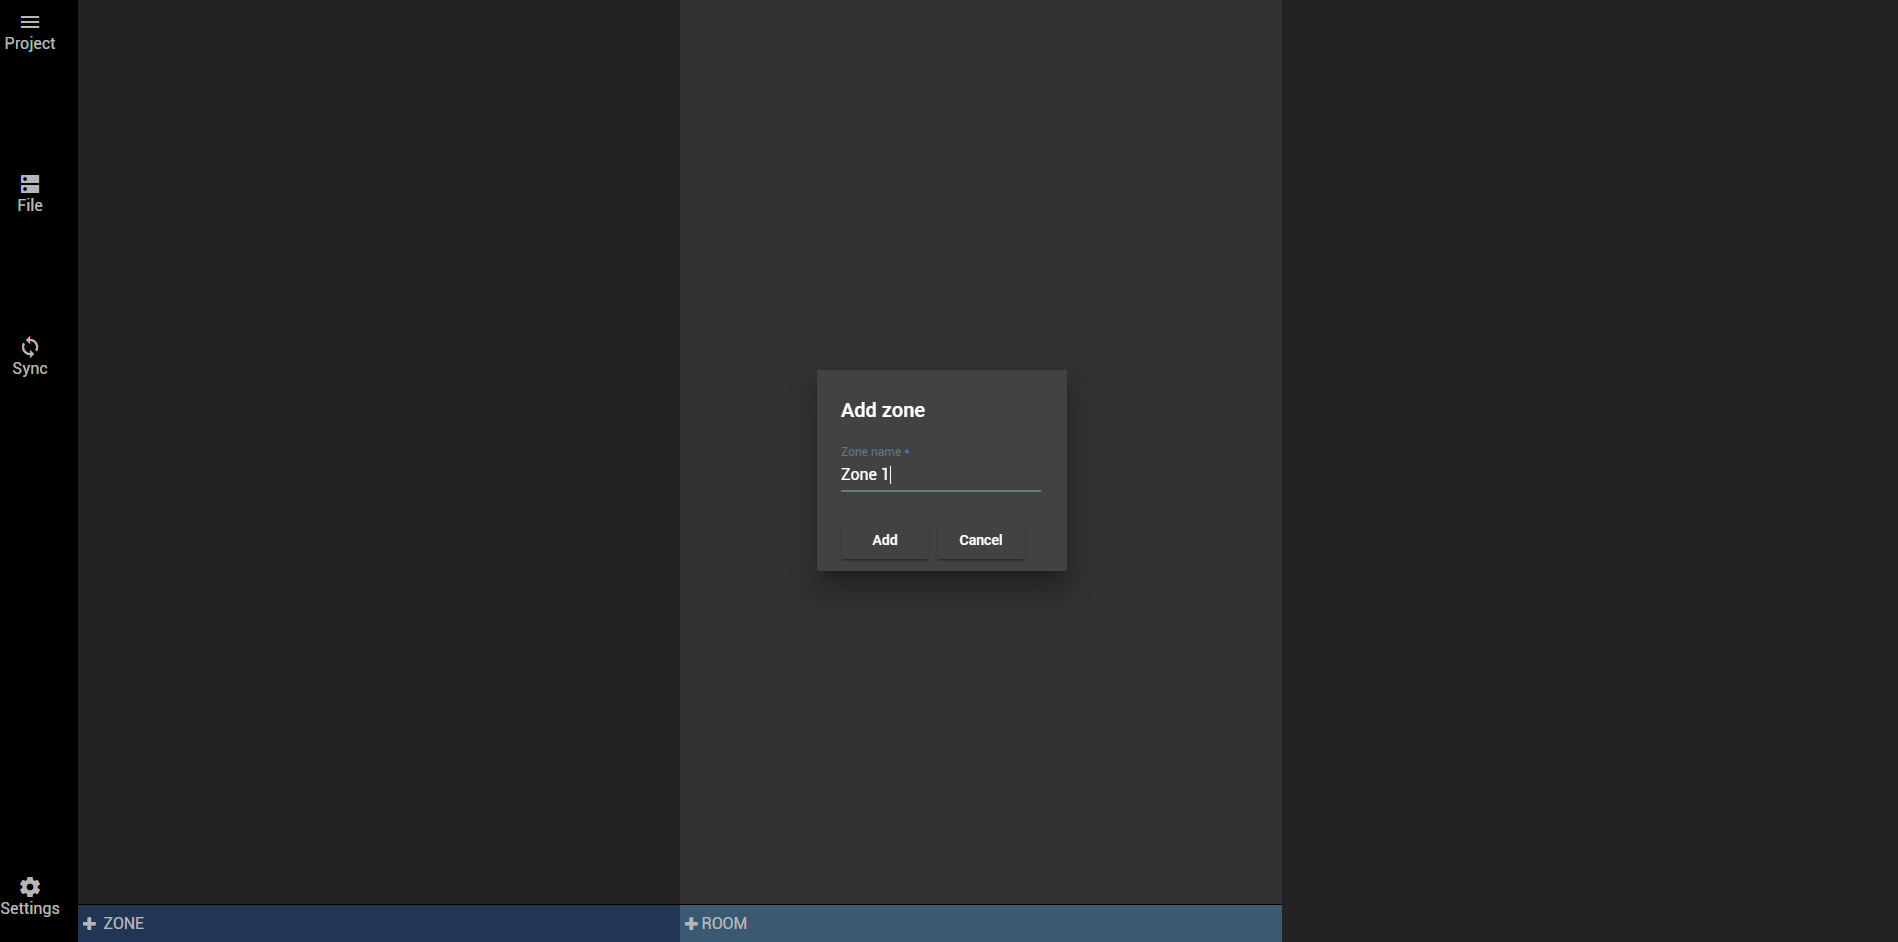
We repeat the same step for the room. This will create the room inside your Zone 1. To do that just click the + ROOM in the centre of the window, doing that will allow inserting the name of your Room.

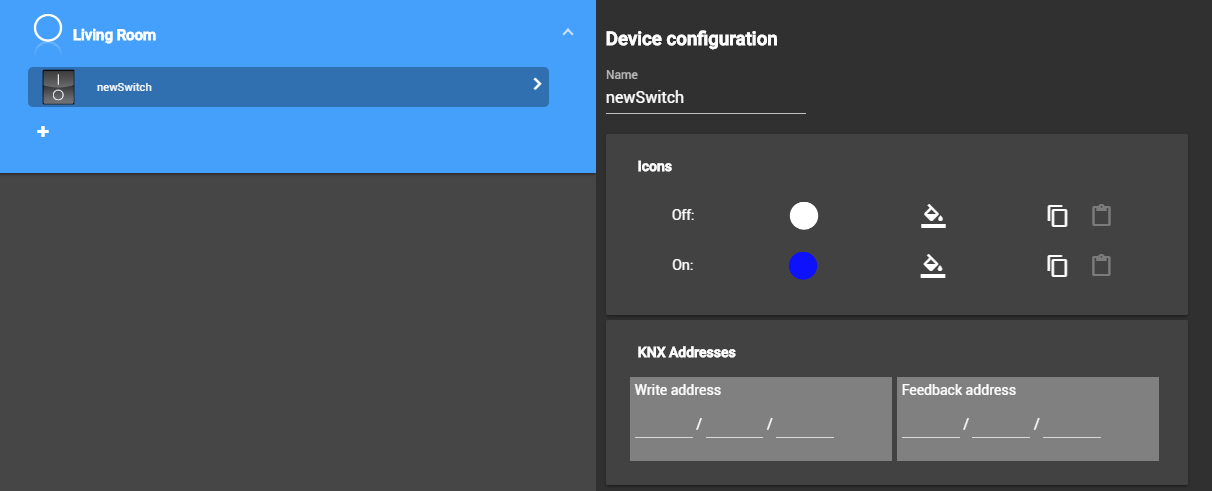
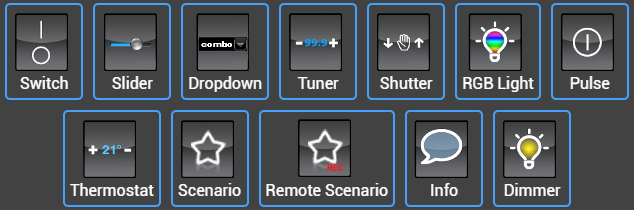
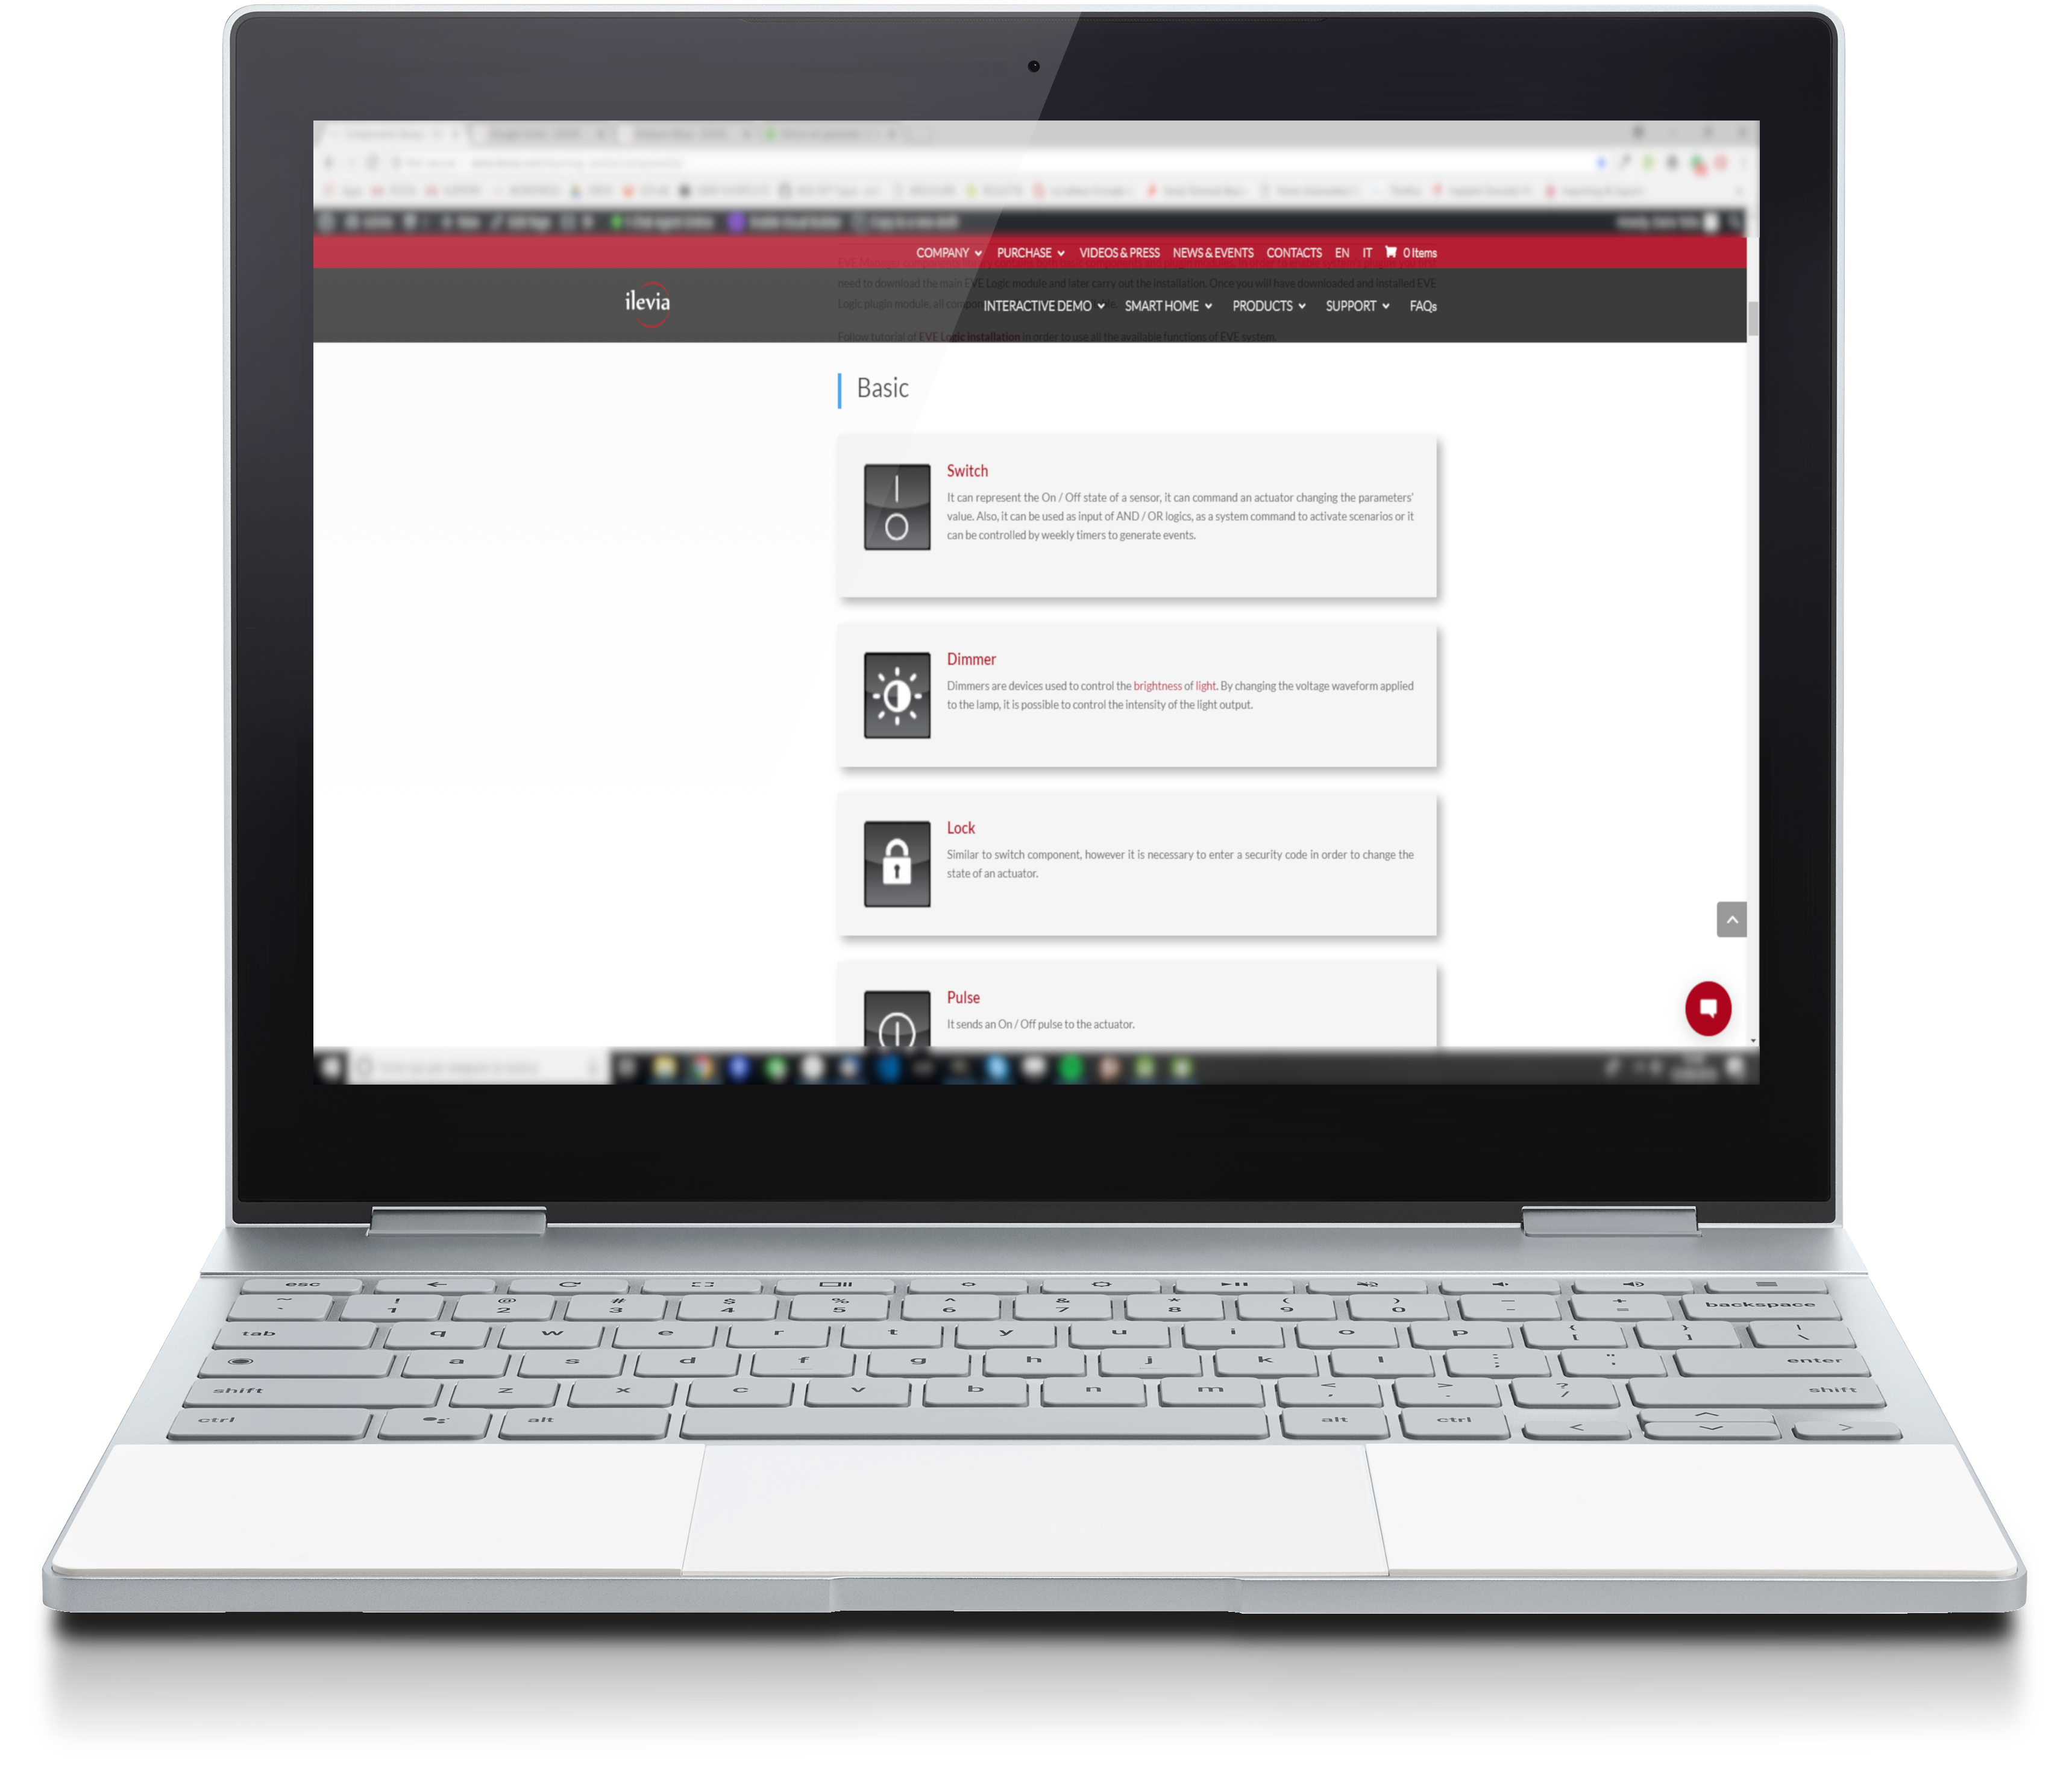
For more information about components please visit this page.
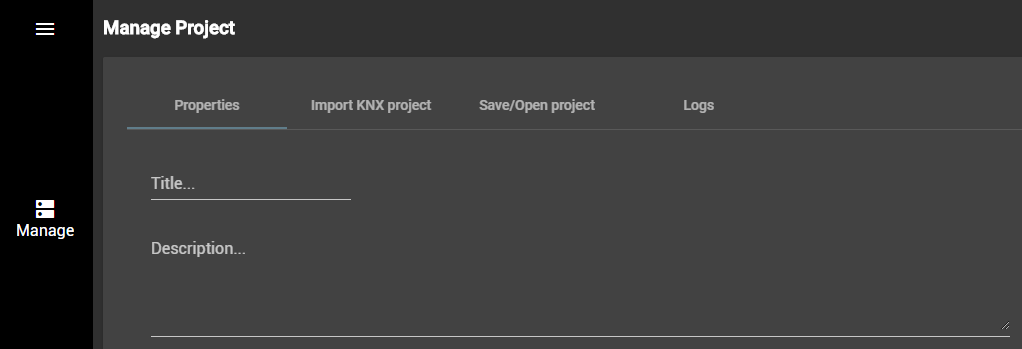
Manage your project
To manage your project click the Manage icon on the left side of the window. You have now the possibilities to edit your project from the Title to the KNX gateway settings.
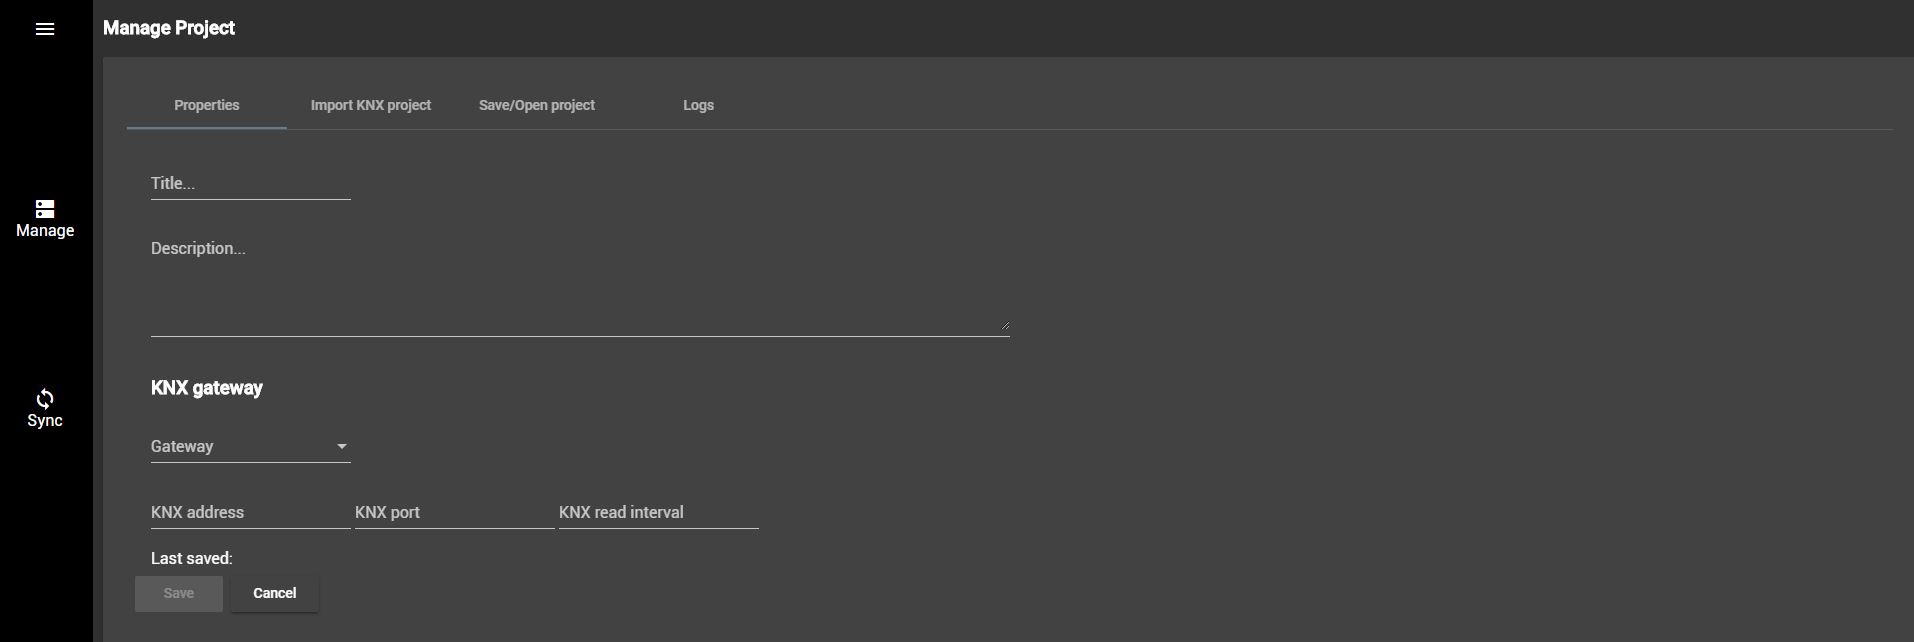
Properties
- Title ⇒ Allows you to enter the desired title for your project
- Description ⇒ Allows you to enter the description of your project
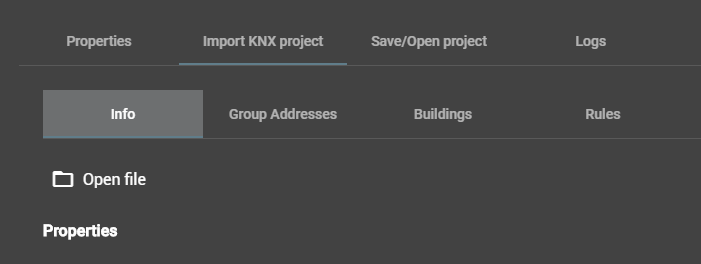
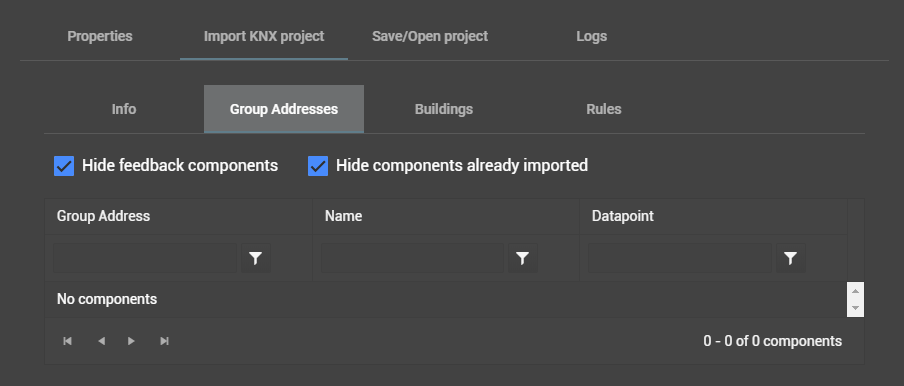
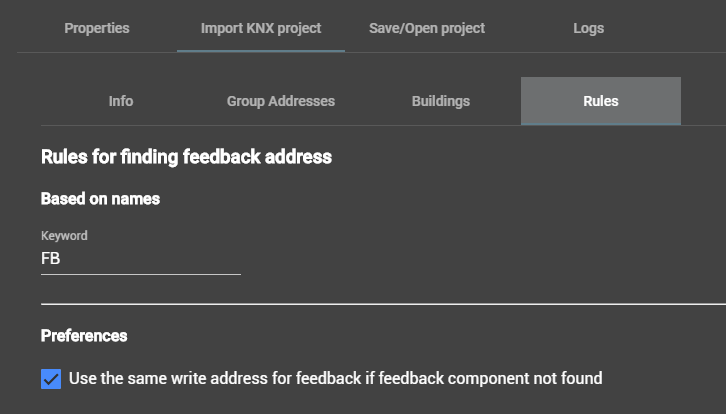
Import KNX project
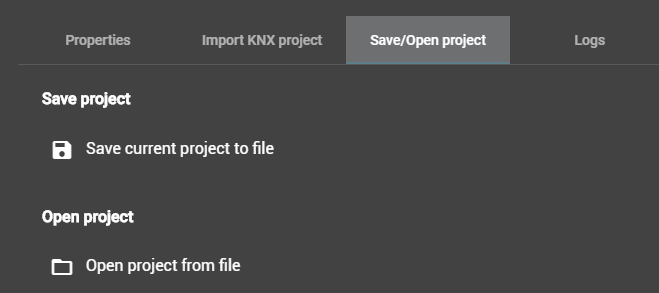
Save/Open project
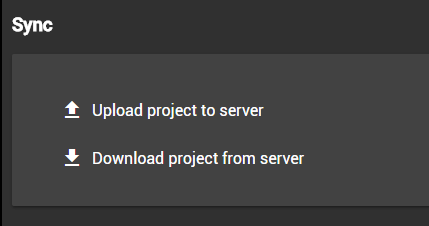
Sync
Settings
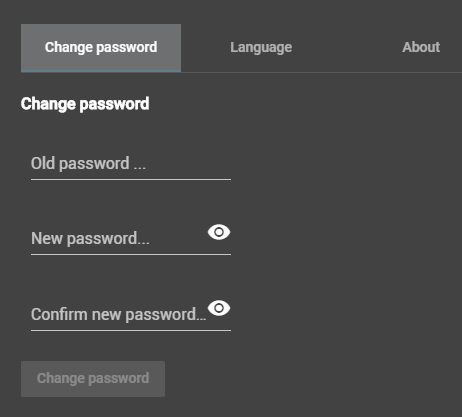
Change password
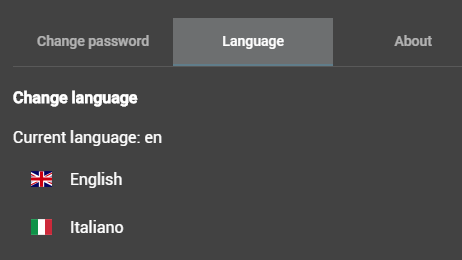
Language
Choose between English or Italian language.