EVE X1 SERVER FIRMWARE UPDATE
PROCEDURE
Please follow the steps below:
Step 1: Power on the hardware unit
Step 2: Connect the unit to the LAN network
Step 3: Launch your internet browser and open a new tab
Step 4: Type http://www.ilevia.com/evelocalip.php on the URL bar
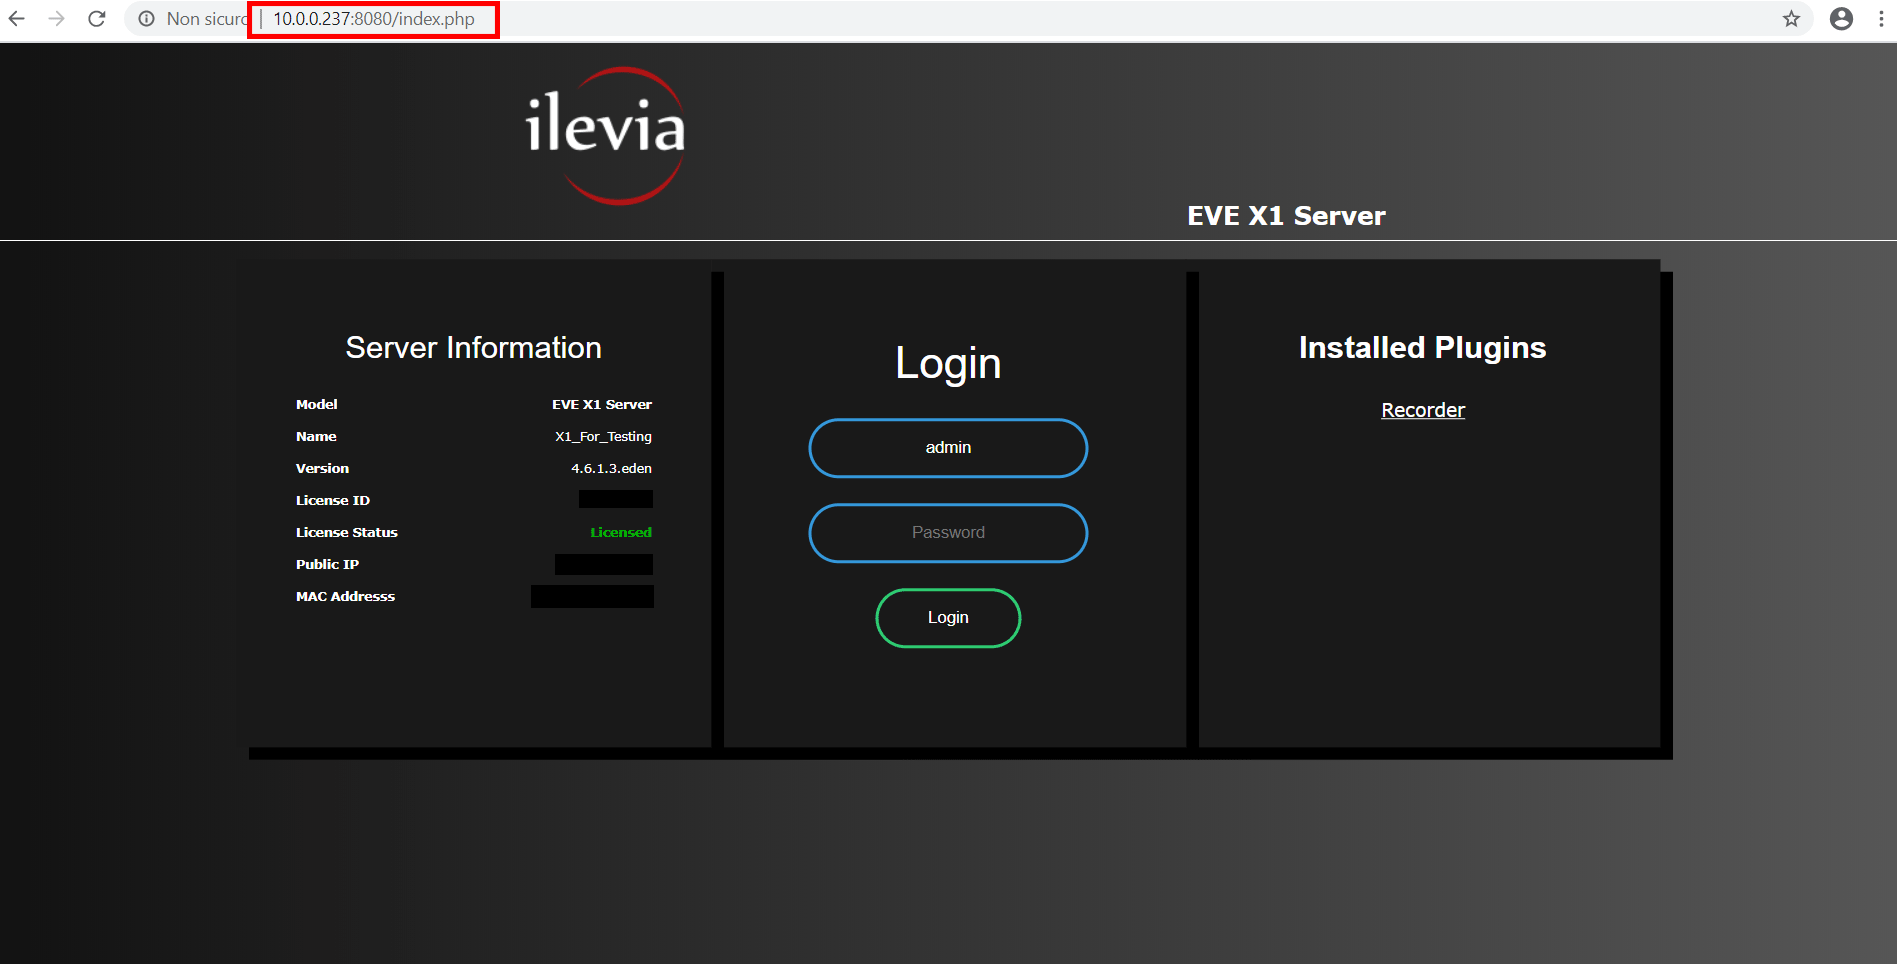
The internet browser will display a list of IP addresses of all the servers in the network. In presence of a single EVE server in the network you will directly land on the web configuration panel login of the only server connected to the local network. On the admin panel login you will find all the most important information about your server: firmware version, license ID and status, public IP, MAC address.
Step 5: Fill in the credential fields and click Login (Default credentials: Username: admin / Password: password)
Once successfully signed in, the navigation menu will be displayed in front of you.
Step 6: Open the Utility section and click Check Now for online firmware updates
Step 7: If a new firmware update is available, then click Update
Step 8: Wait a couple of minutes for system reboot and login
If the system is already updated to the latest firmware version, then a message is shown.
Congrats ! Your system is now updated to the latest version!
MANUAL FIRMWARE UPDATE
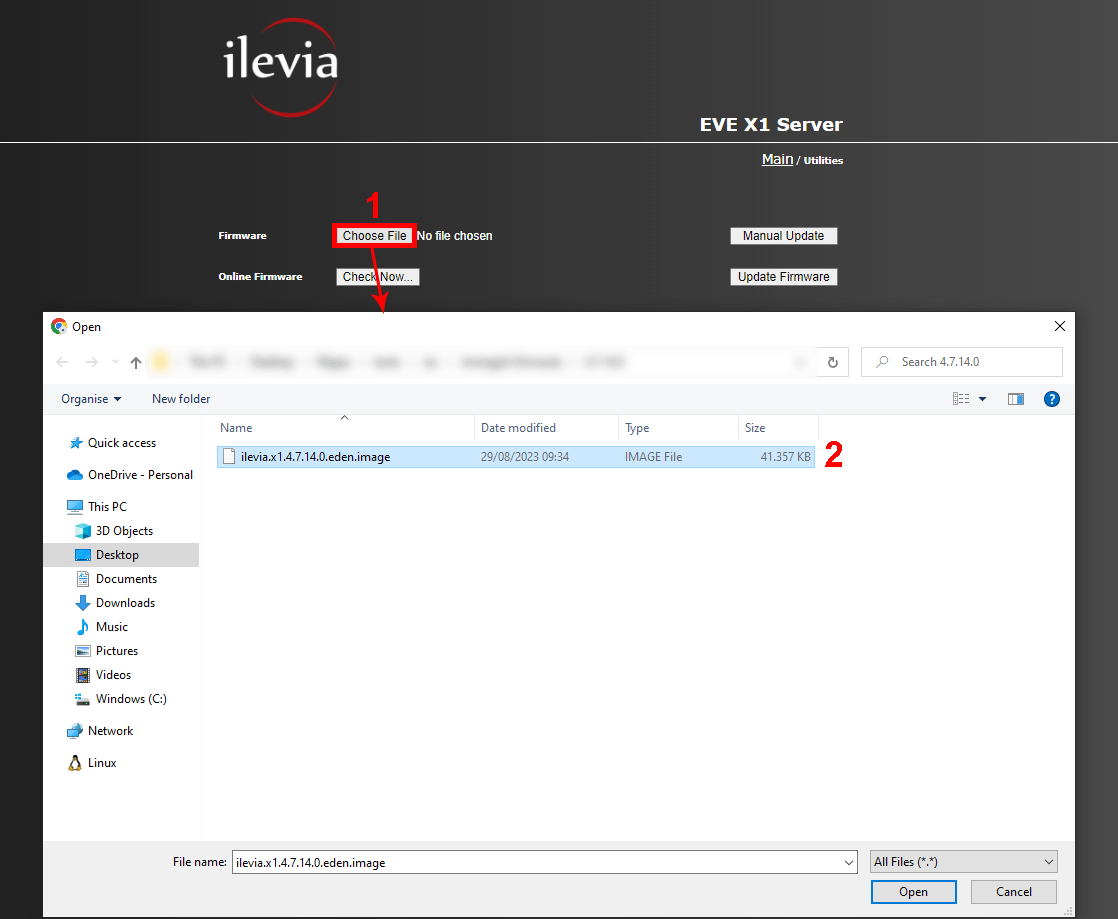
1. From inside the Utility menu click the button Select file, 2. then select the firmware file from your local folders.
1. Finally click the button “Manual update“, 2. confirm the action if asked by the used browser.
Now the X1 will start to load the Update file and then reboot to complete the operation.


